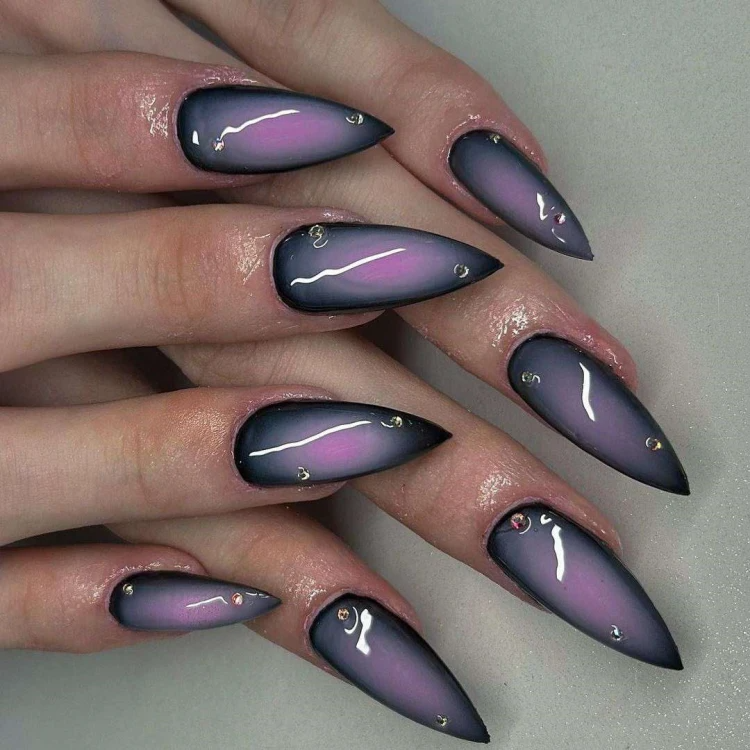
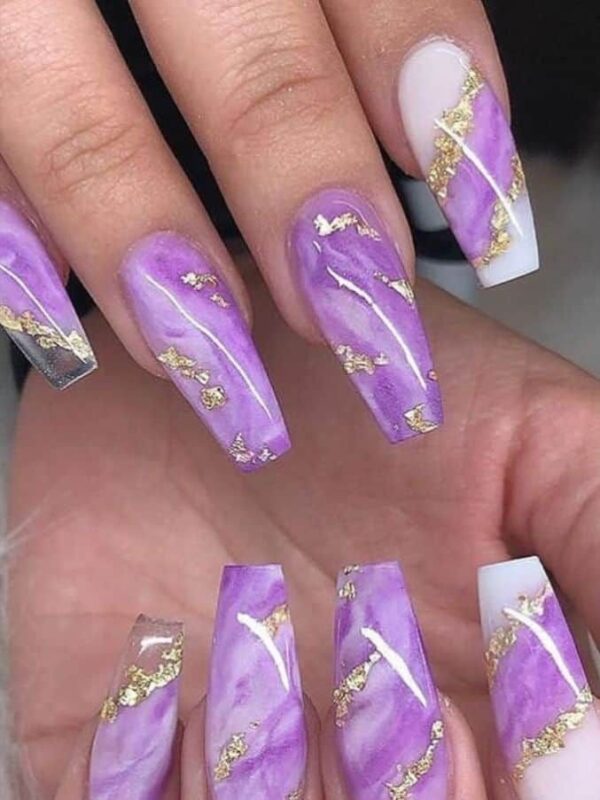
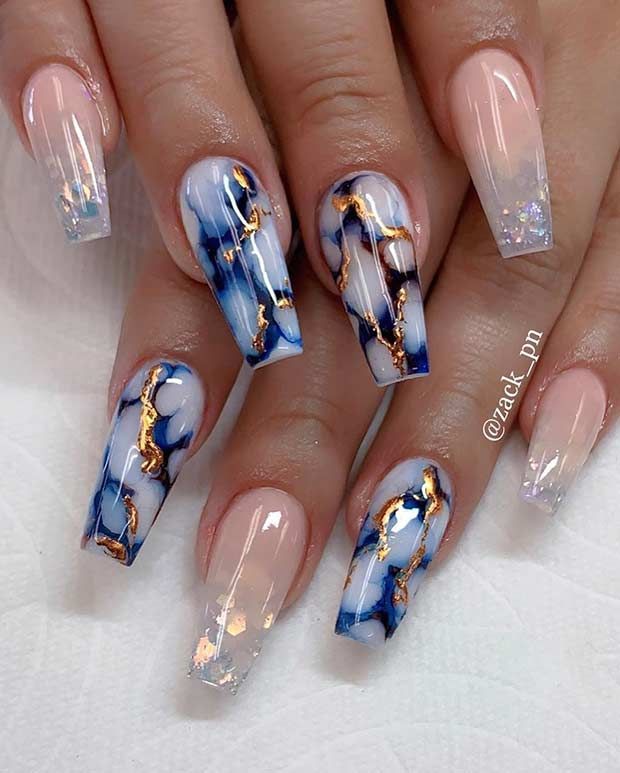
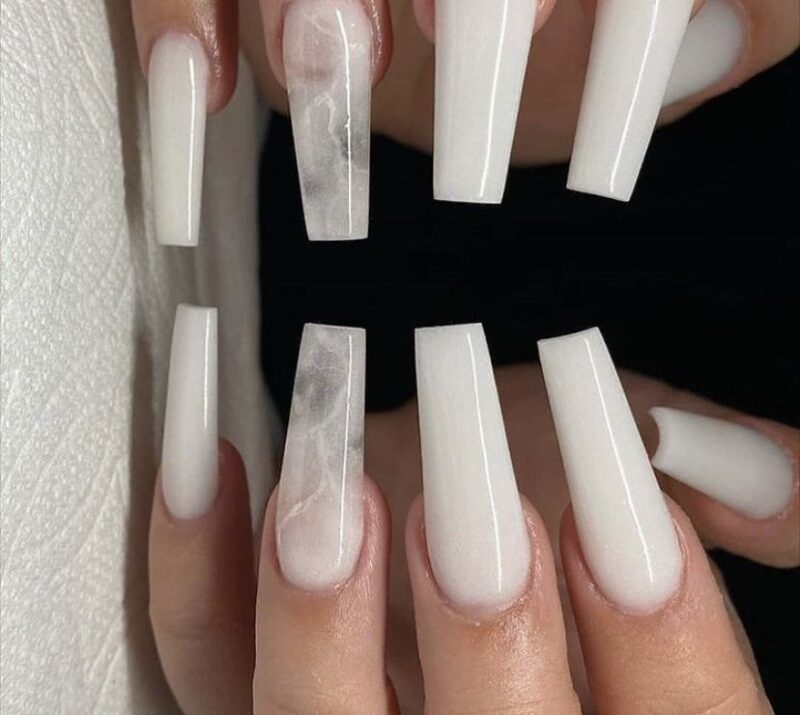
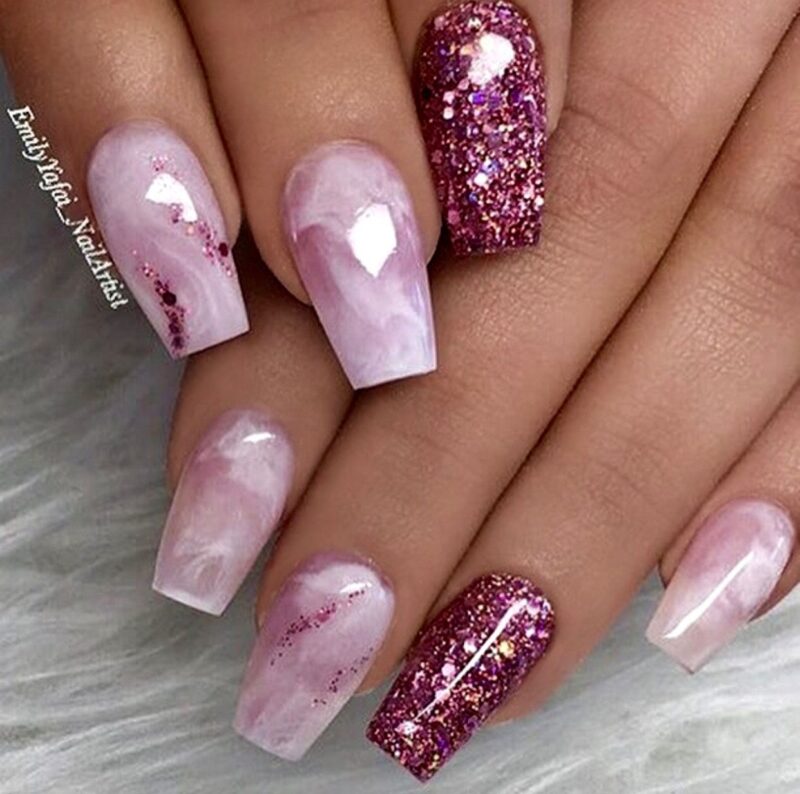
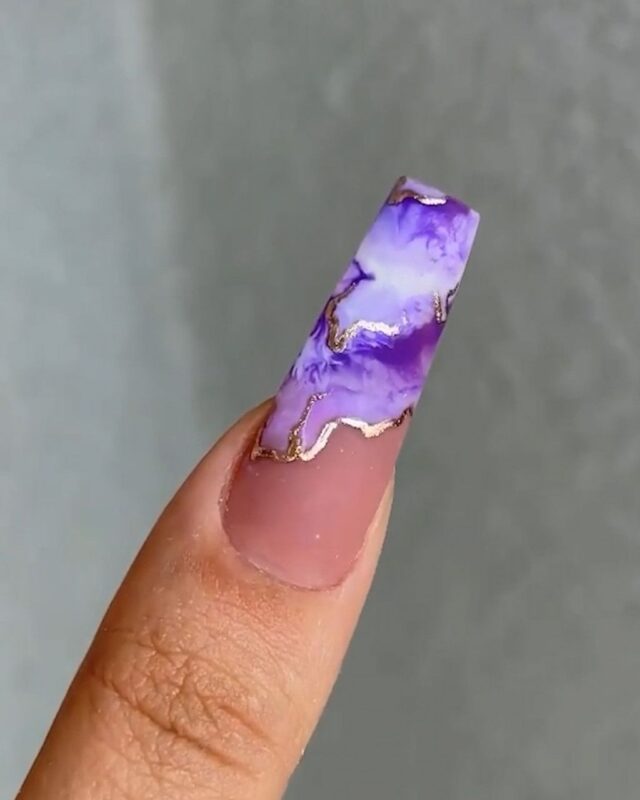
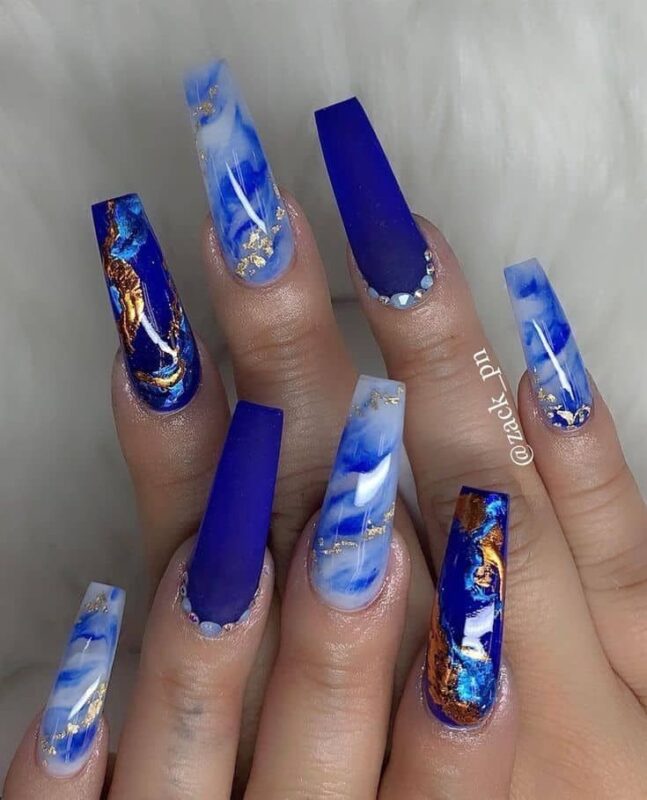
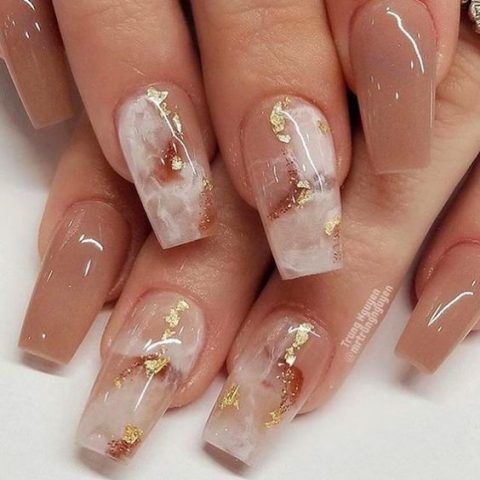
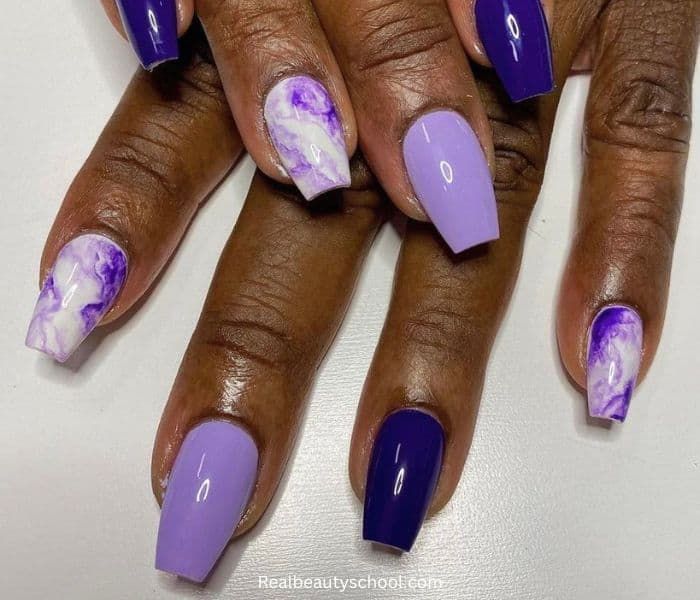
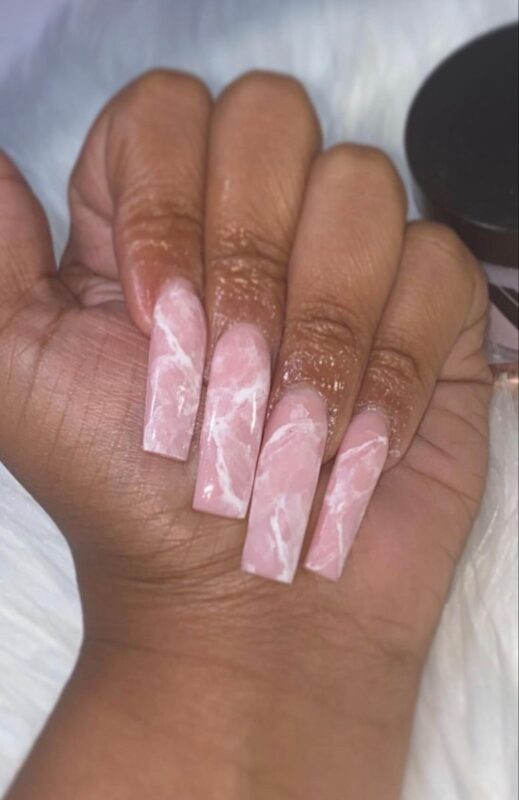
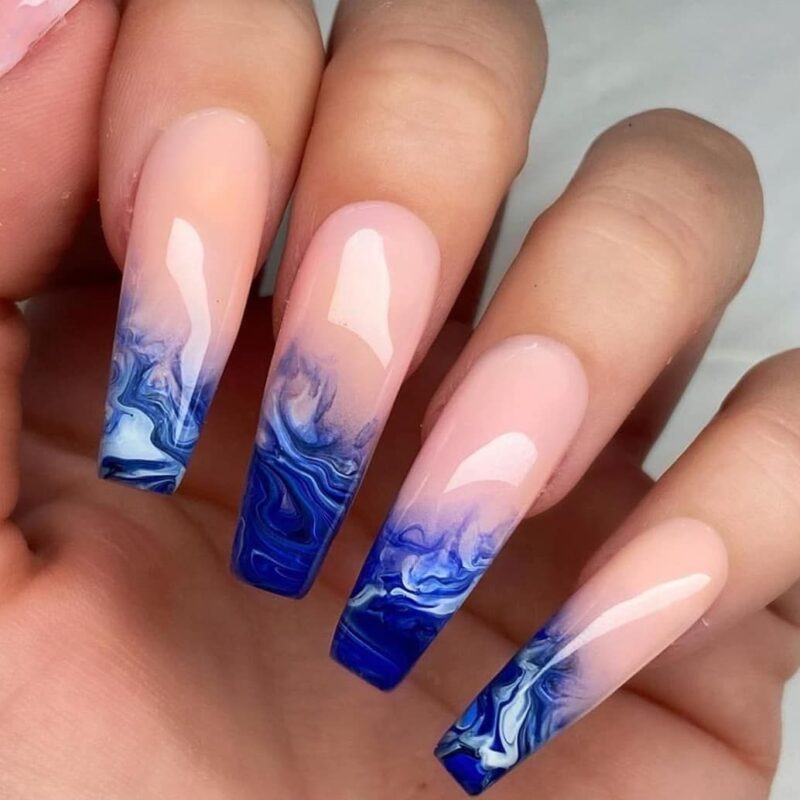
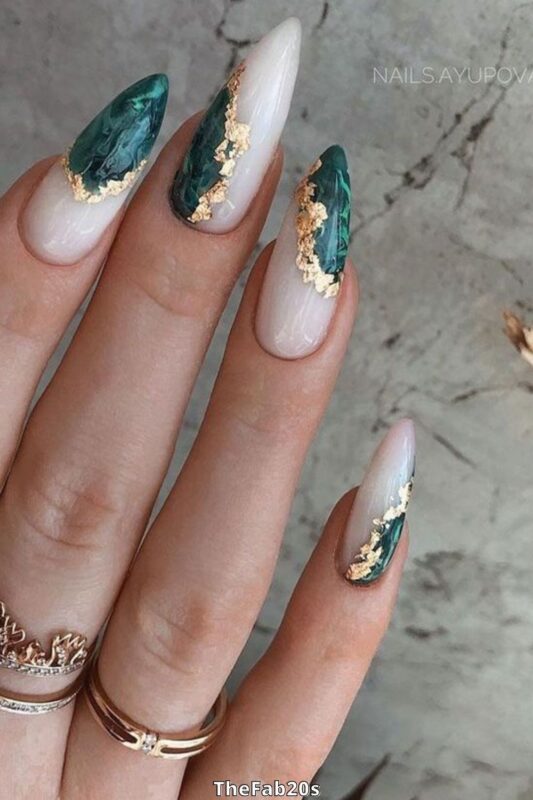
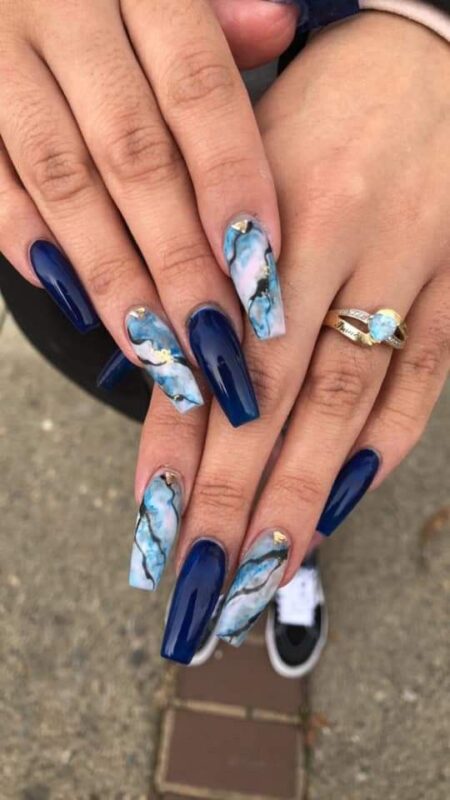
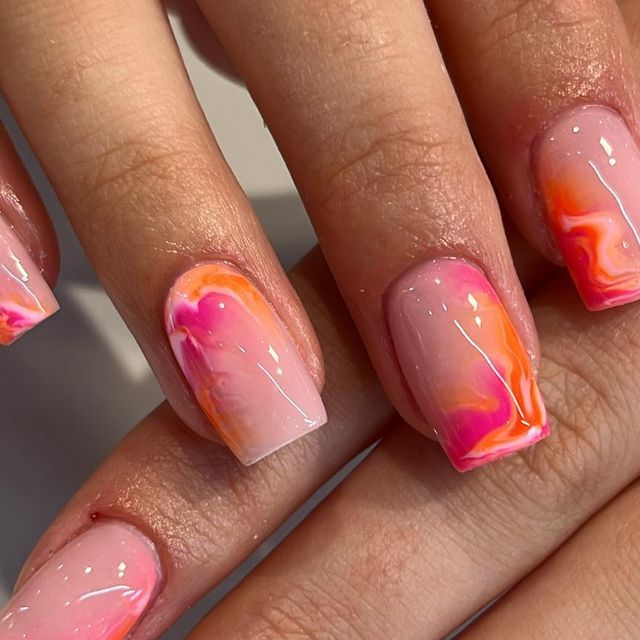
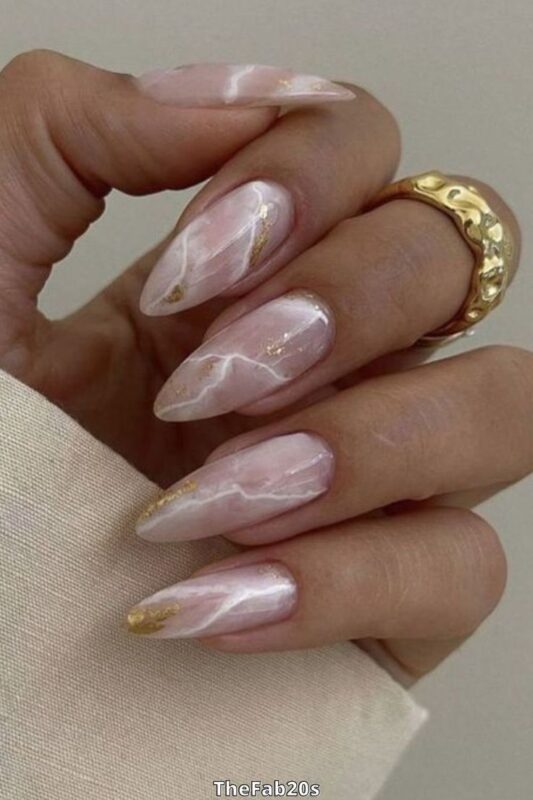
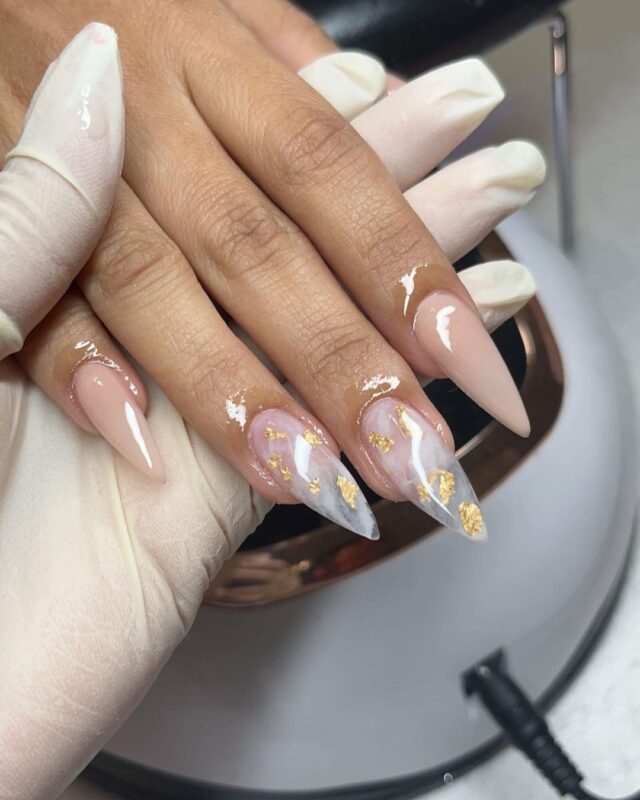
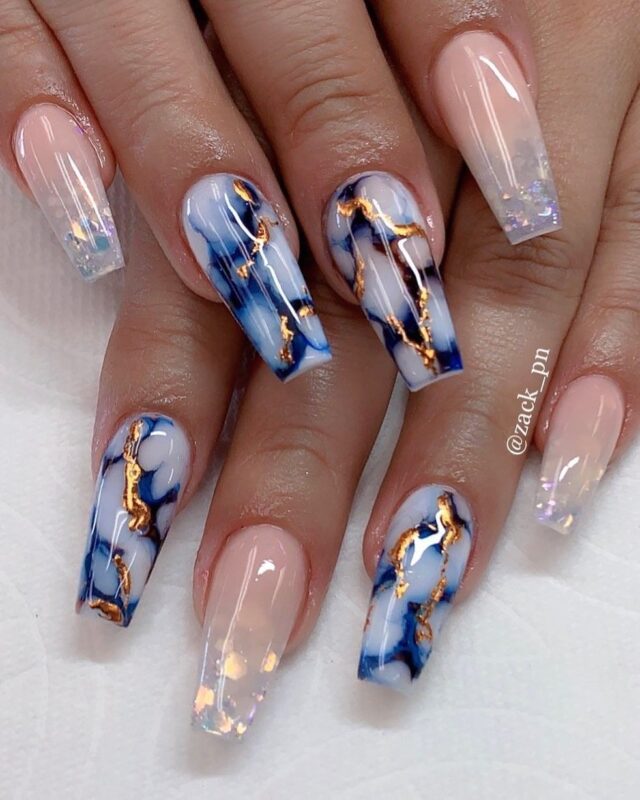
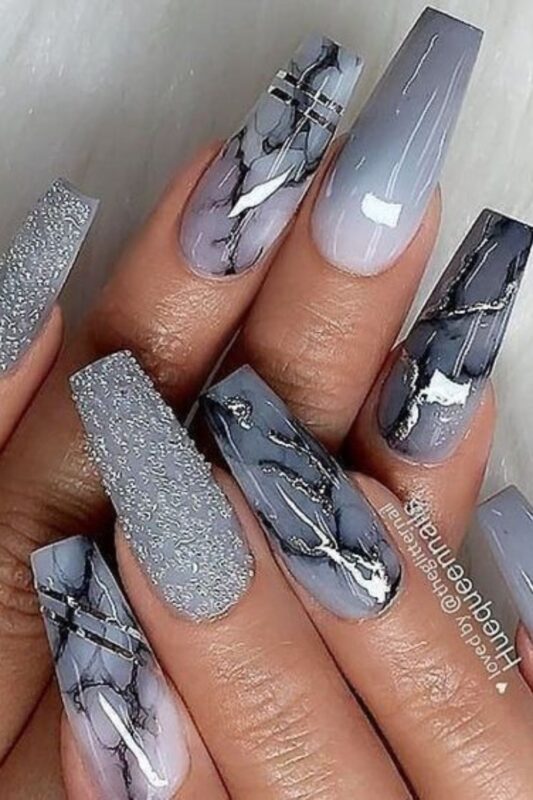
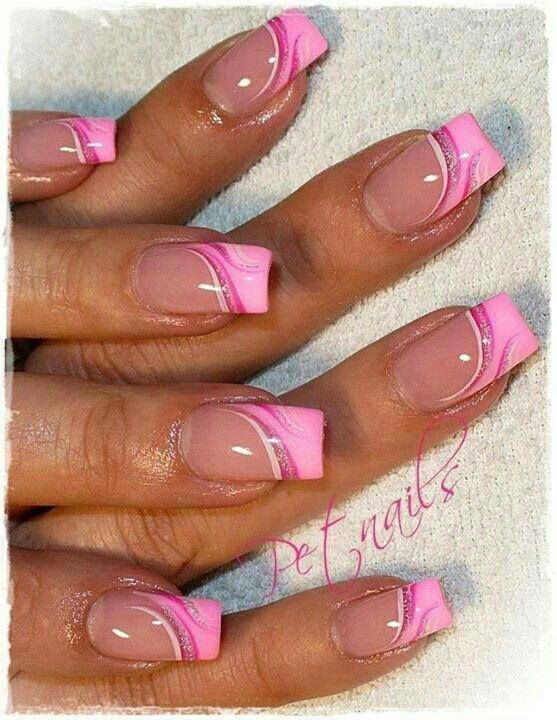
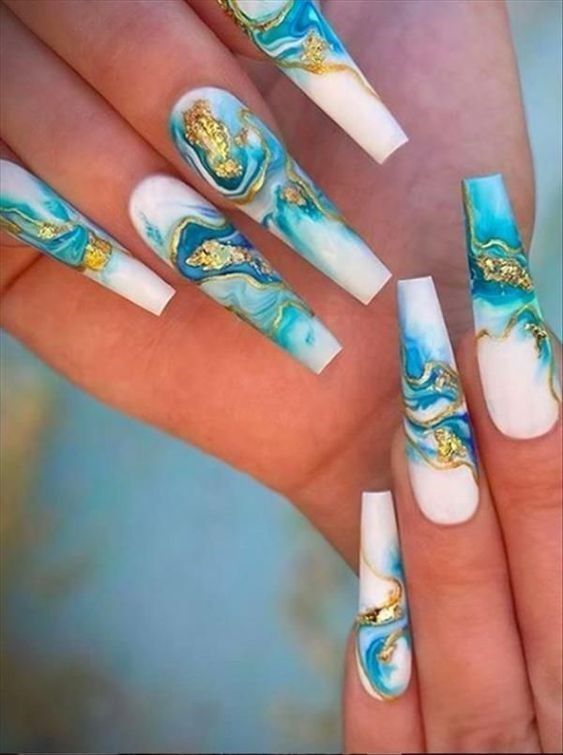
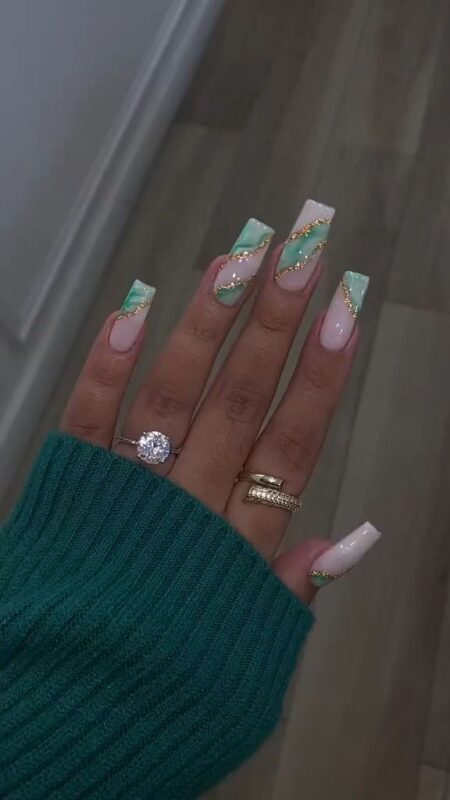
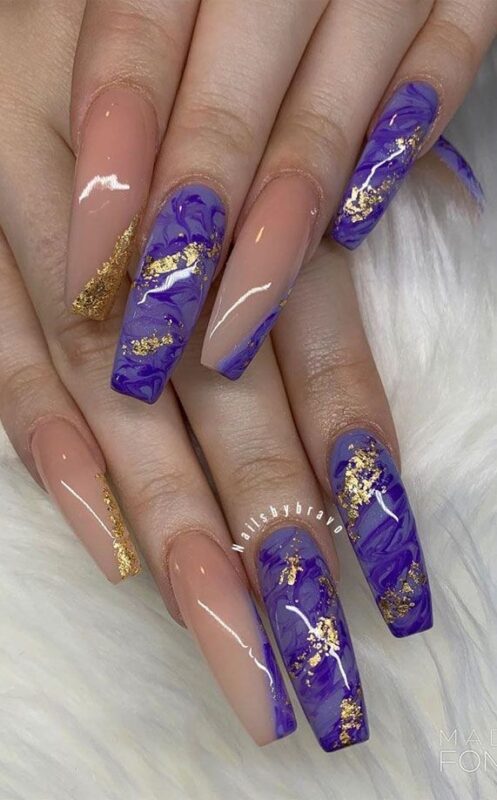
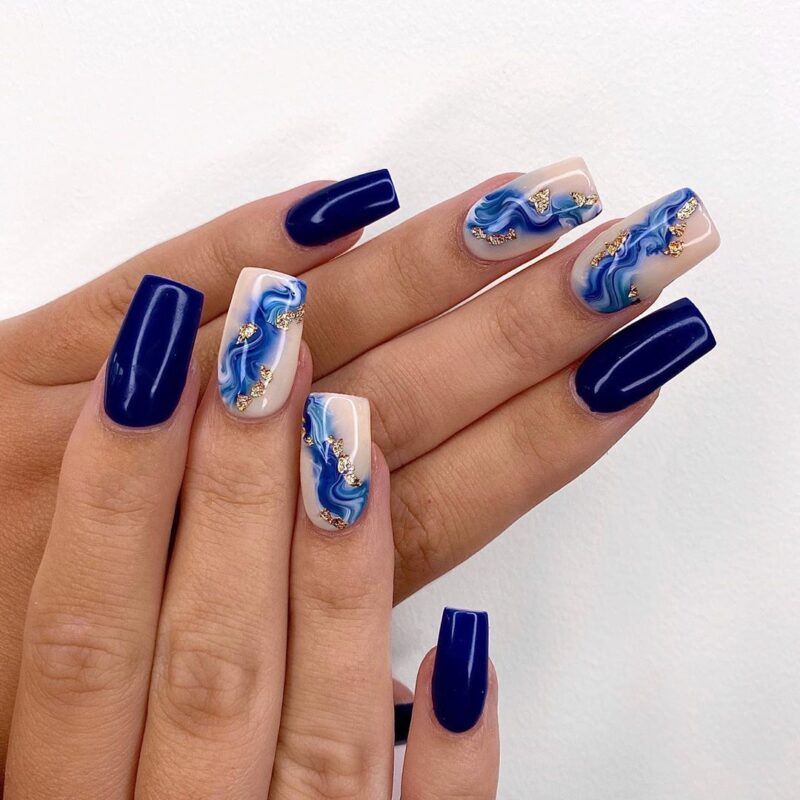
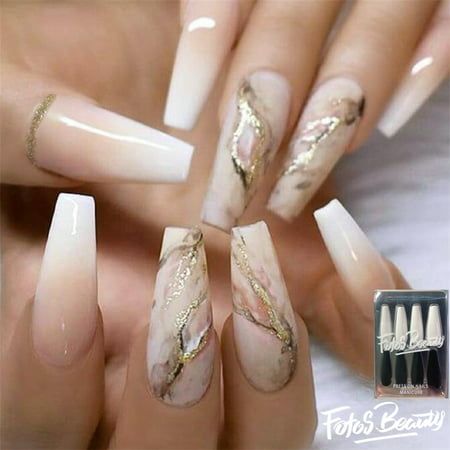
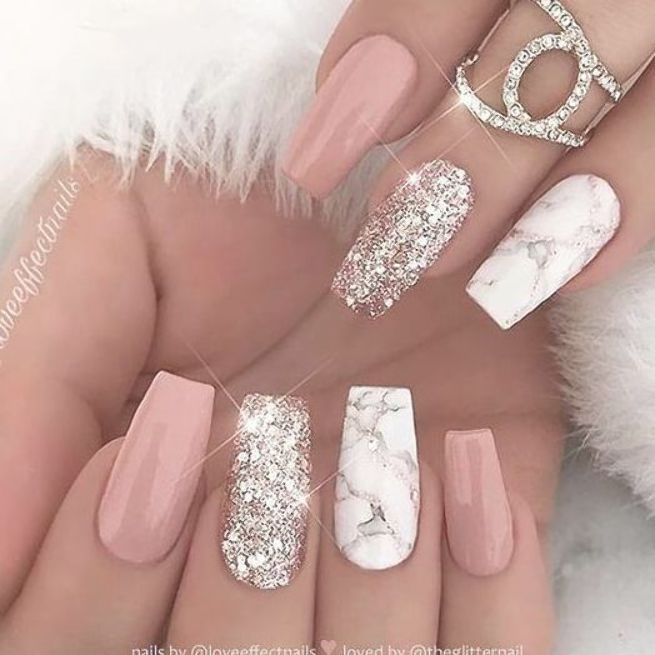
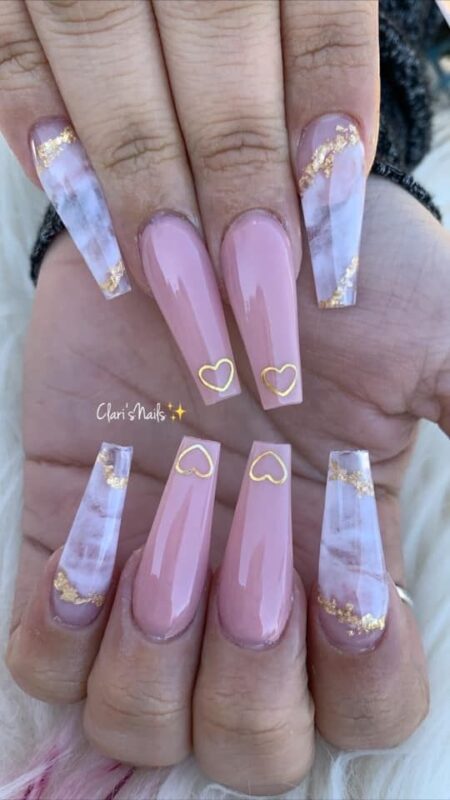
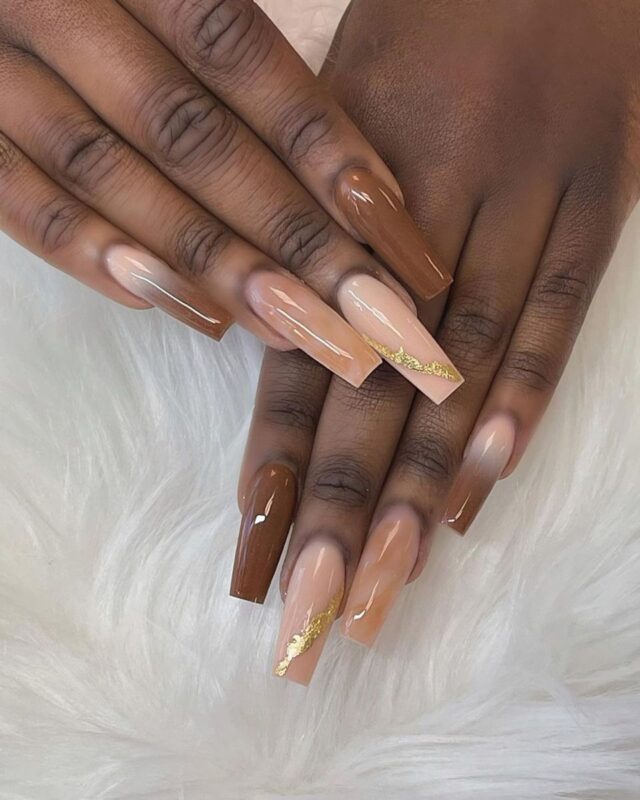
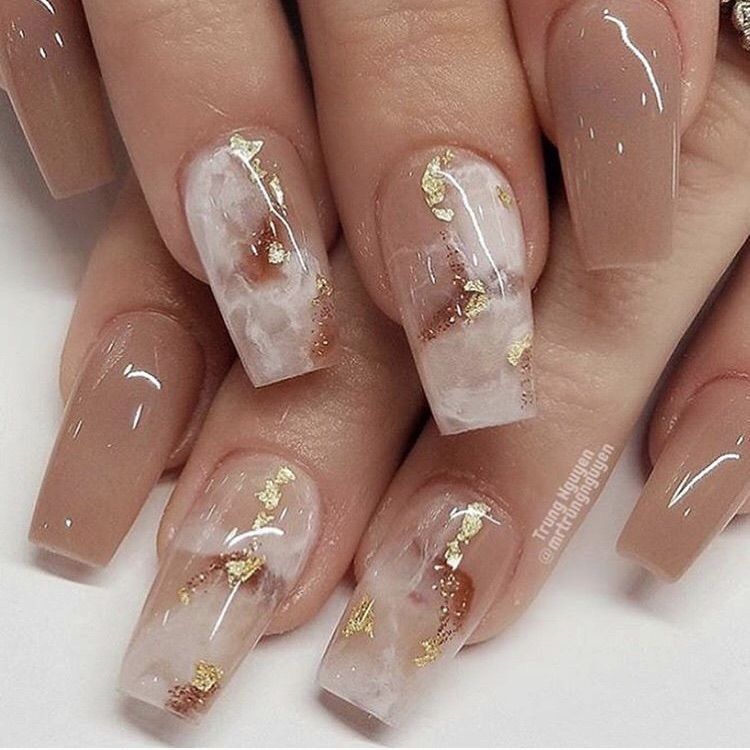
Marble nail designs are a mesmerizing and sophisticated trend that has taken the world of nail art by storm. This style emulates the exquisite and intricate patterns found in natural marble stone, making your nails appear both elegant and modern. Creating marble nail designs can be a bit challenging but is definitely achievable with a little practice. Here’s how to get started:
Materials You’ll Need:
Base Coat: Always begin with a clear base coat to protect your natural nails and promote a longer-lasting manicure.
Nail Polish Colors: Choose two or more nail polish colors for your marble design. Traditionally, black and white are used, but you can get creative with different shades.
Toothpick or Thin Nail Art Brush: You’ll need a toothpick or a thin nail art brush to create the marbled patterns.
Cup of Water: A small cup or container filled with room-temperature water will be used to create the marbled effect.
Nail Polish Remover: Keep a small container of nail polish remover and some cotton swabs handy for clean-up.
Step-by-Step Guide:
Prepare Your Nails: Start by cleaning your nails, shaping them, and applying a base coat to protect your natural nails and provide a smooth surface for the design.
Choose Your Colors: Select the nail polish colors you want to use for your marble design. Traditionally, black and white are popular choices, but you can get creative and choose any color combination.
Water Bath: Fill a small cup with room-temperature water. Make sure it’s deep enough to dip your fingers in comfortably.
Drip the Nail Polish: One at a time, gently drip your chosen nail polish colors onto the surface of the water. The polish will spread and create a marbled effect on the water’s surface.
Marble Your Nails: Before the nail polish dries on the water, use a toothpick or a thin nail art brush to gently create your desired pattern by dragging, swirling, or layering the colors.
Dip Your Nails: Position your nails above the marbled design and carefully dip them into the water. Submerge your entire nail into the pattern, then use the toothpick to collect any excess polish on the water’s surface.
Lift Your Nails: Slowly pull your nails out of the water, and you’ll see the marbled design transfer to your nails.
Clean-Up: Use a cotton swab dipped in nail polish remover to clean up any excess polish around your nails.
Top Coat: Once your marble design is dry, apply a clear top coat to seal and protect your manicure.
Admire Your Marble Nails: Enjoy your gorgeous and sophisticated marble nail design!
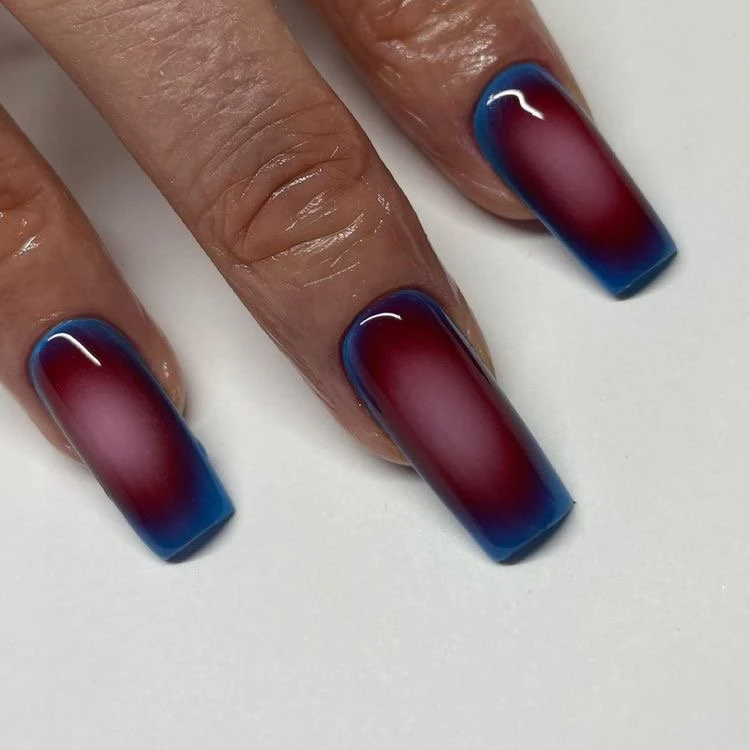
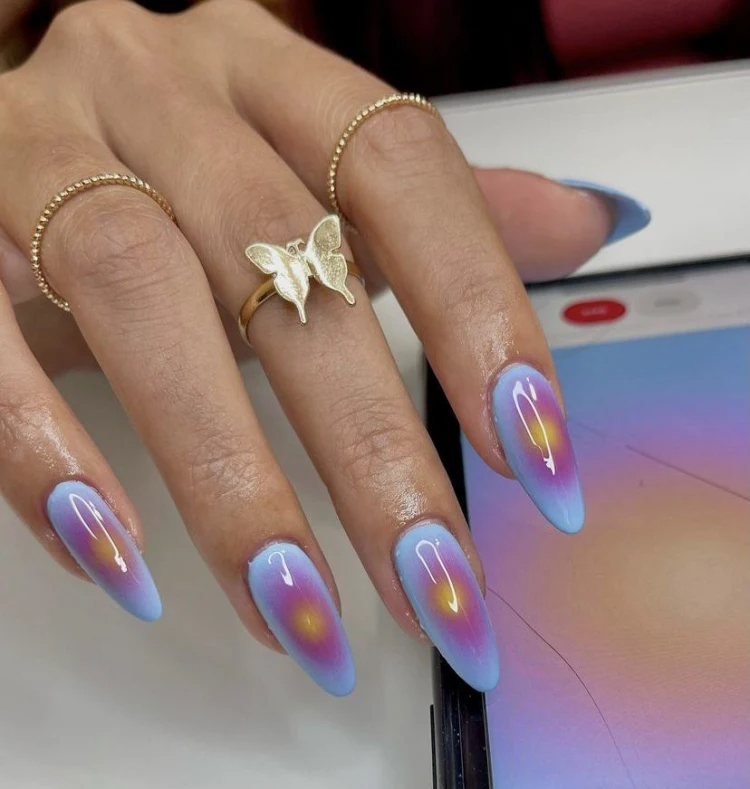
Marble nail designs can vary greatly in appearance, depending on the colors and patterns you choose. Experiment with different color combinations and patterns to create a look that suits your style and mood.
Raised and decorated nails are a stunning way to elevate your manicure and make a bold statement. This trend, known for its 3D elements and intricate designs, offers a unique and artistic approach to nail art. Whether you’re looking to add texture, depth, or just something eye-catching, raised and decorated...
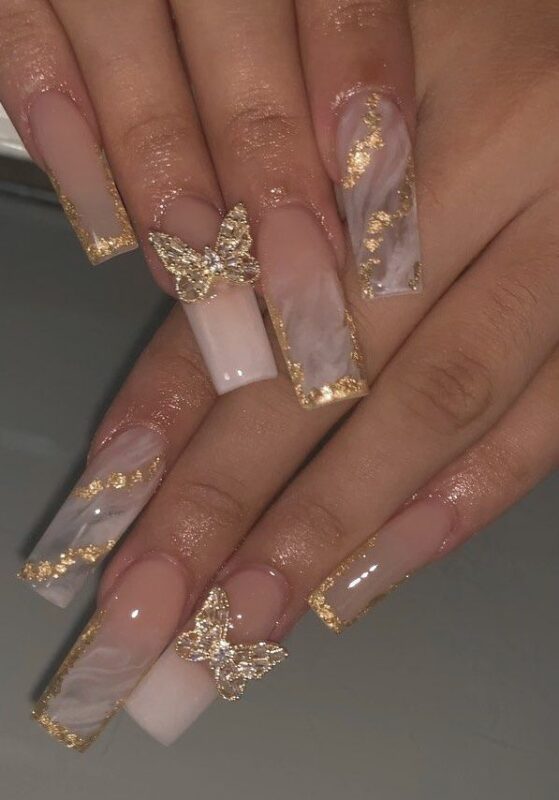
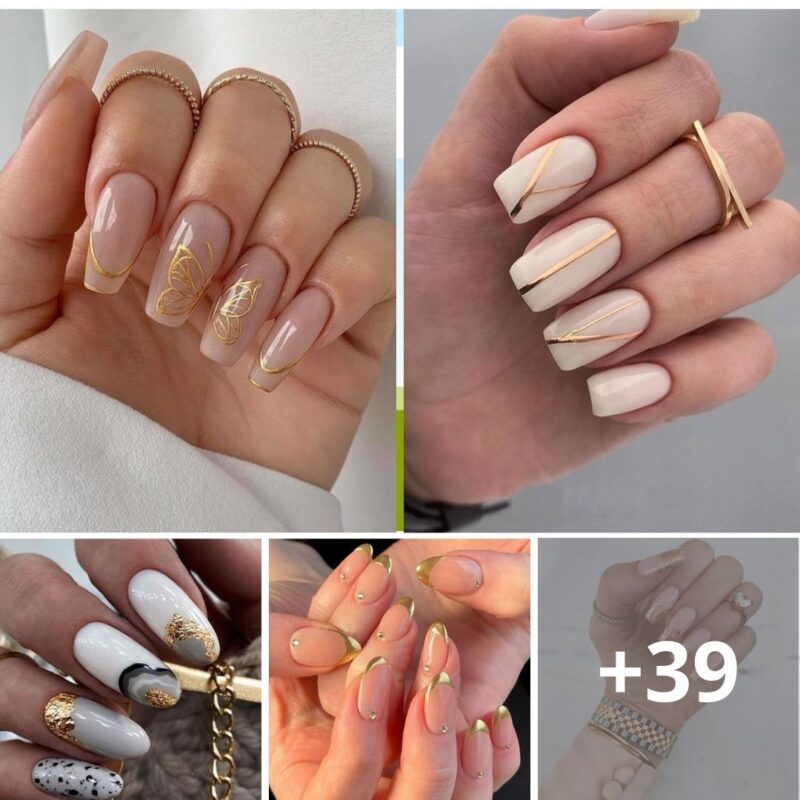
Gold nails are a timeless choice for those looking to add a touch of luxury and glamour to their manicure. Whether you prefer a subtle shimmer or a bold metallic statement, gold nail designs can transform your nails into a chic fashion accessory. Perfect for special occasions or just to...
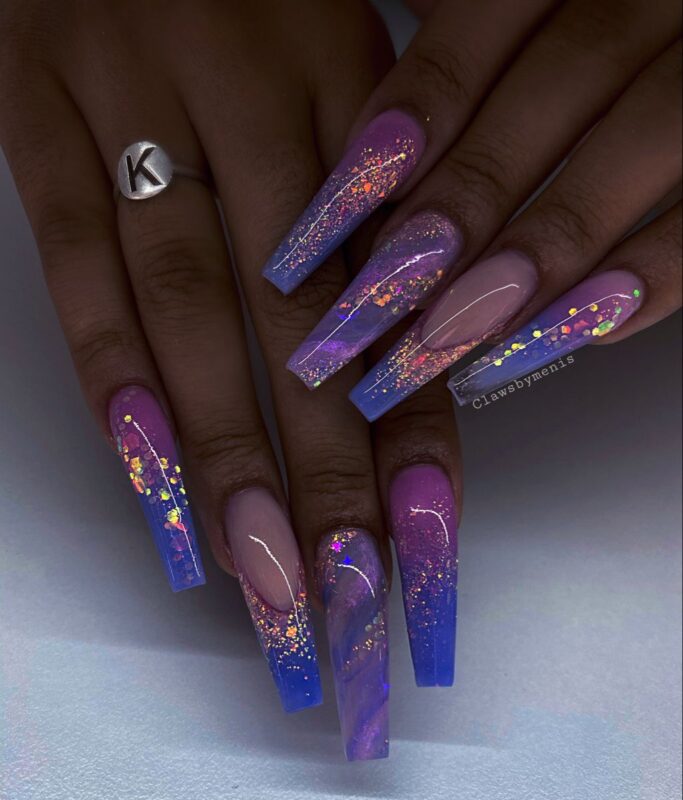
Dark skin tones are incredibly versatile and can complement a wide range of nail colors. If you have dark skin and want to choose nail colors that flatter your complexion, here are some shades to consider: Deep Reds: Deep, rich reds, such as burgundy and oxblood, look stunning on dark...
Nail designs can reflect the changing seasons and various occasions, providing a stylish way to express yourself throughout the year. Temporary acrylic nails are a fantastic option for those who love to switch up their look without the long-term commitment. Here are some seasonal and occasion-appropriate acrylic nail design ideas...
We use cookies to ensure that we give you the best experience on our website. If you continue to use this site we will assume that you are happy with it.