Stepping into the world of nail art can seem daunting, especially when confronted with intricate designs and techniques. However, even if you’re a beginner, there are several designs that are both beautiful and easy to execute. Here are some beginner-friendly nail art ideas to get you started:
Polka Dots:
Tools: Dotting tool or toothpick.
How-To: Apply a base coat in your preferred color. Once dry, dip your tool into a contrasting nail polish and gently dot it onto your nail.
Stripes:
Tools: Striping tape or thin brush.
How-To: After applying your base coat, use the tape or brush to create straight lines, either horizontally, vertically, or diagonally.
Ombre Gradient:
Tools: Makeup sponge.
How-To: Paint two or more colors side by side on the sponge. Press it onto your nail, moving up and down slightly to blend.
Taped Geometric Patterns:
Tools: Scotch tape or nail tape.
How-To: Apply your base coat and let it dry thoroughly. Place tape in desired patterns (like triangles or rectangles), paint over with a second color, and remove the tape.
Marbled Effect:
Tools: Orange stick or toothpick.
How-To: Apply a base coat and, while still wet, add a few drops of another polish color. Use the stick to swirl the colors together.
Stenciled Designs:
Tools: Stencils or stickers.
How-To: Stick the stencil onto your dried base coat and paint over with another color. Remove the stencil while the top polish is still wet.
French Tip with a Twist:
Tools: Scotch tape.
How-To: After applying a base coat, place tape over most of the nail, leaving the tips exposed. Paint the tips in a fun color or glitter.
Glitter Fade:
Tools: Sponge.
How-To: After your base coat, apply some glitter polish onto the sponge and dab onto the tip of the nail. This creates a sparse glitter effect as it moves towards the base.
Dry Brush Technique:
Tools: Nail polish brush (with most of the polish removed).
How-To: After your base coat, take a contrasting polish, wipe off most of it from the brush, and then lightly brush it onto the nail for a distressed look.
Simple Accents:
Tools: Rhinestones or stickers.
How-To: Apply your base coat and simply add a sticker or stick a rhinestone to your nail while the polish is still tacky. Seal with a topcoat.
Final Thoughts: Starting with easy nail art designs will help you practice and gain confidence. As you get more comfortable, you can begin to explore more intricate designs and techniques. Remember, the key is to have fun and express yourself – there’s no right or wrong in nail art!
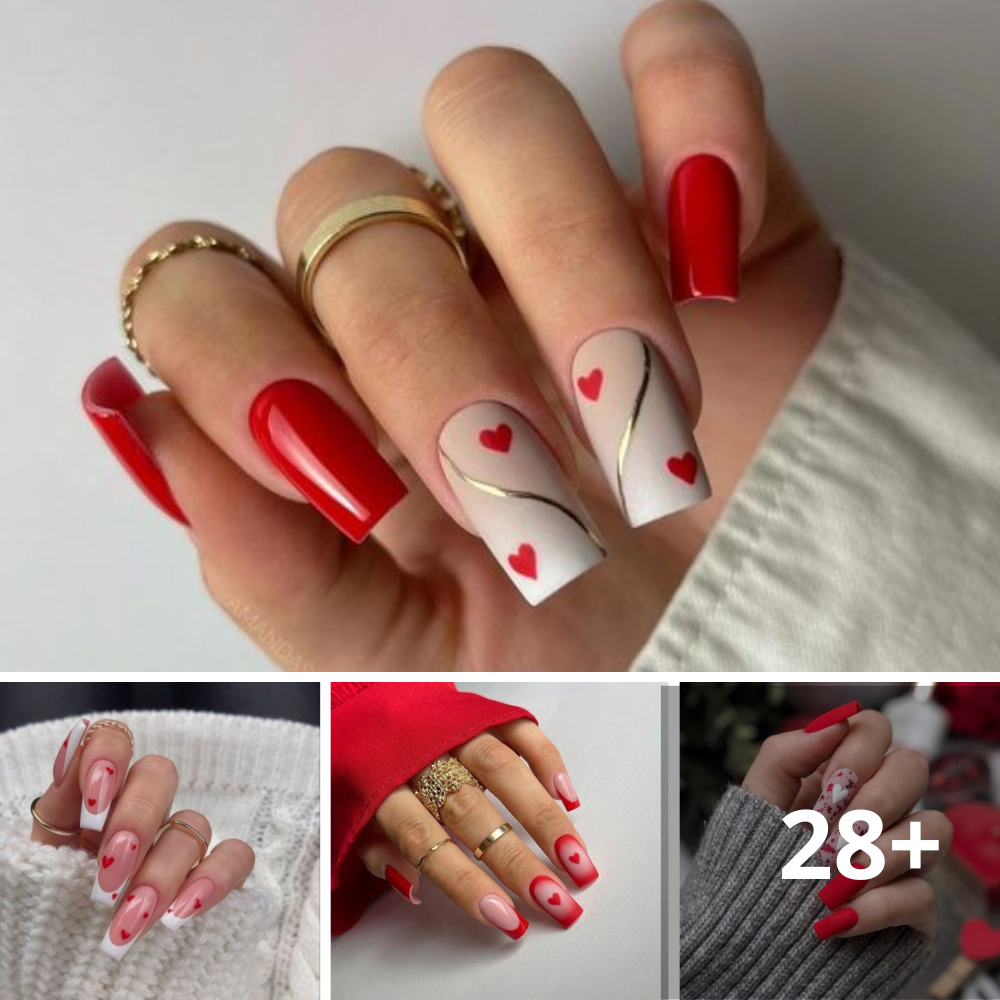
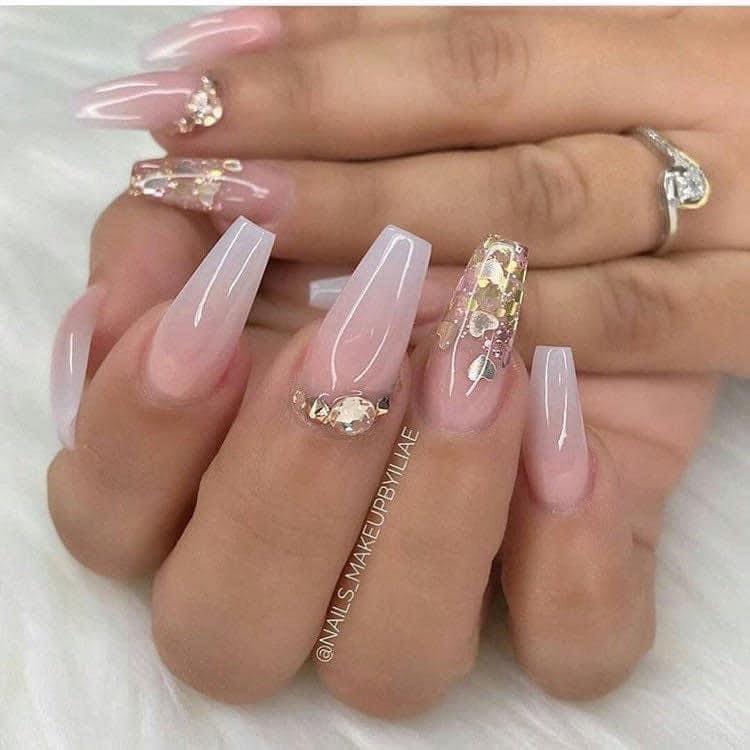
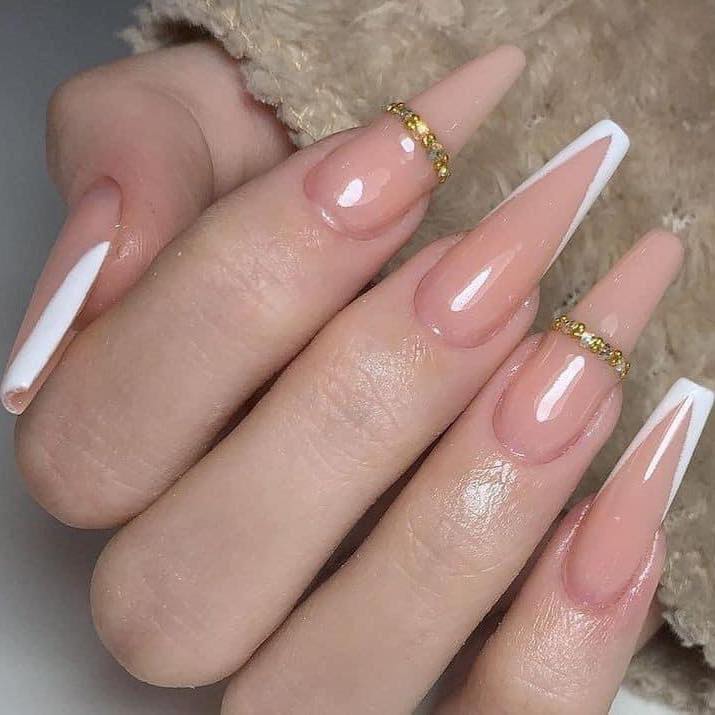
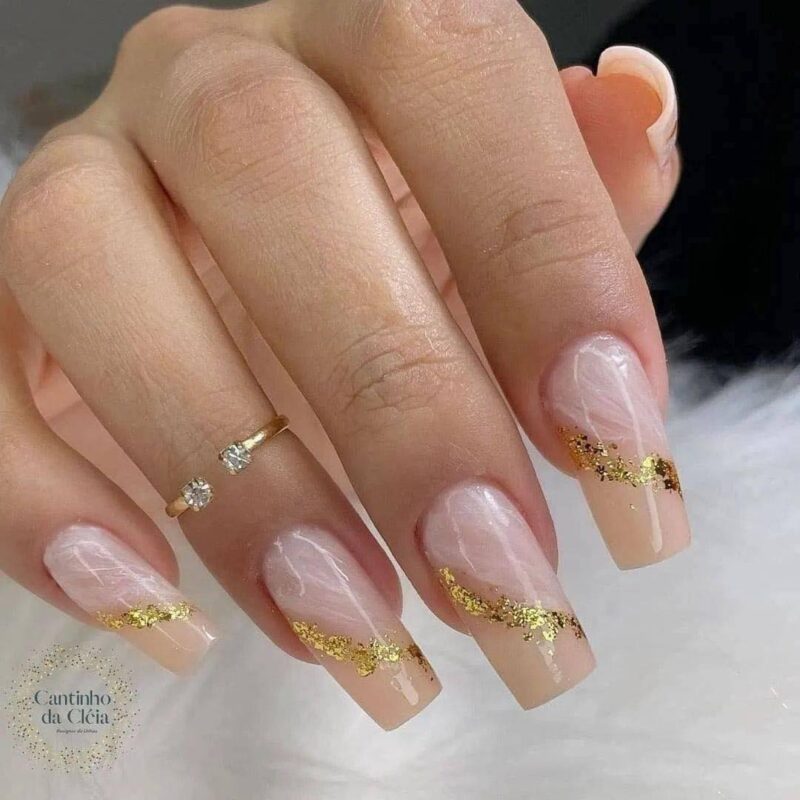
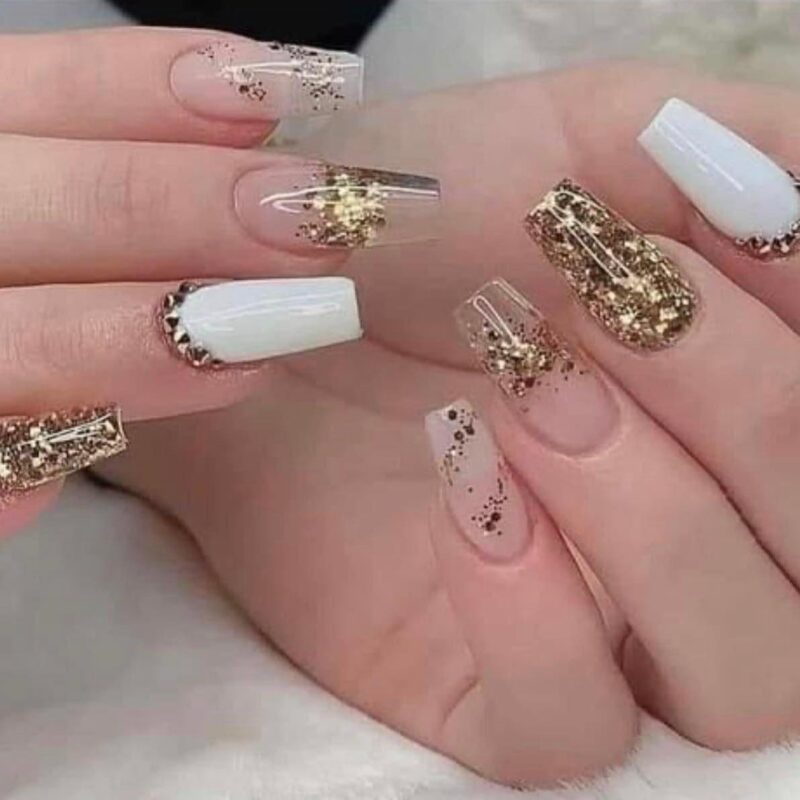
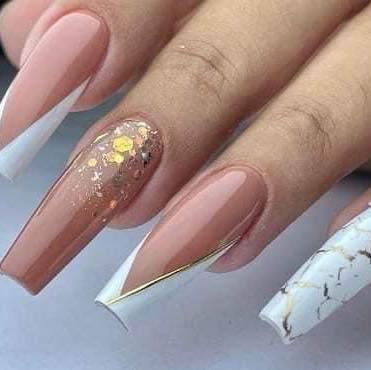
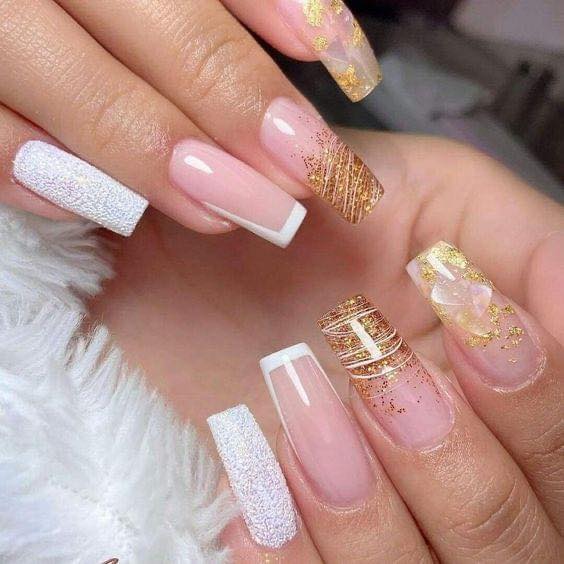
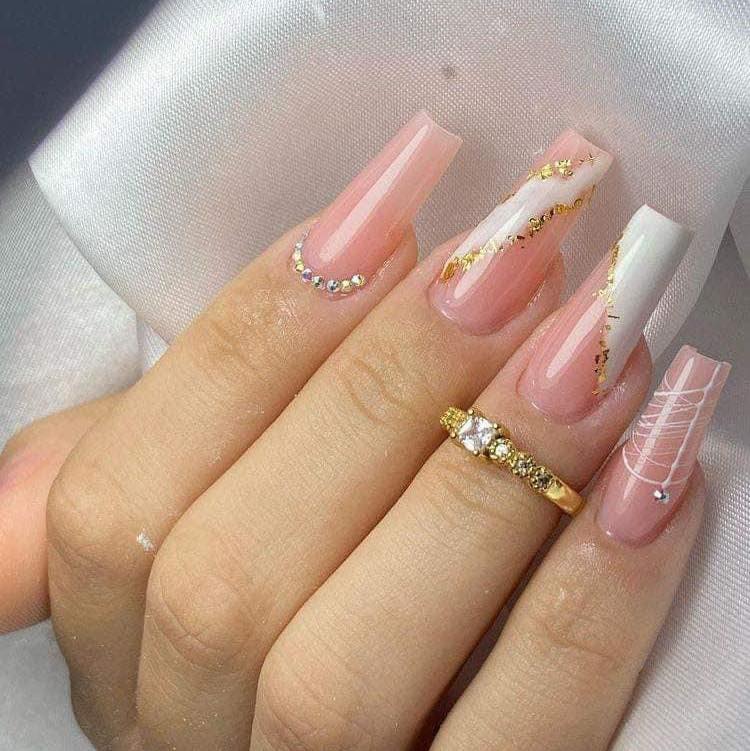
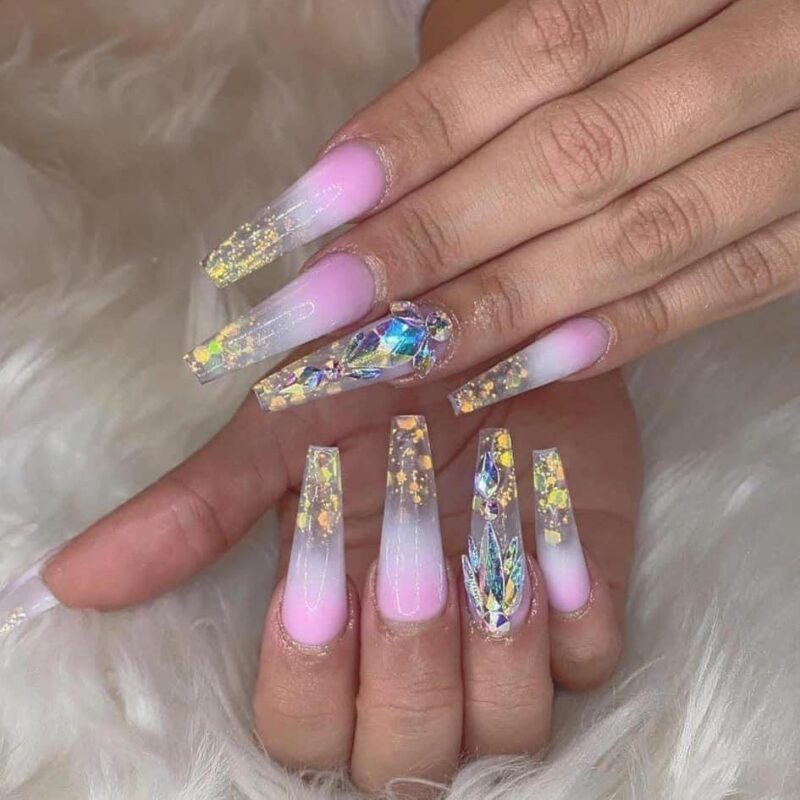
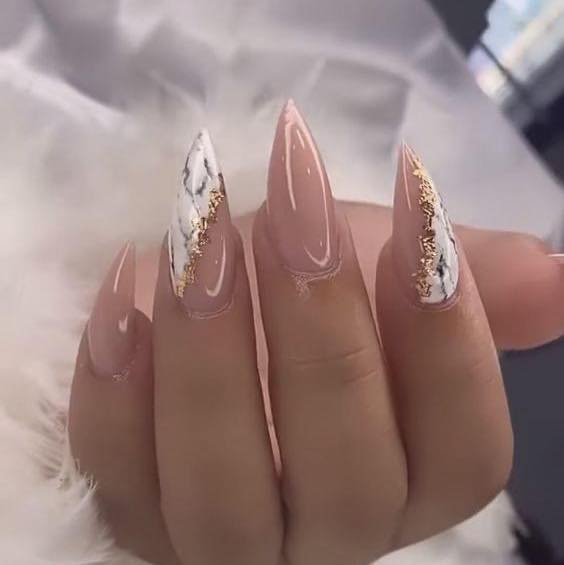
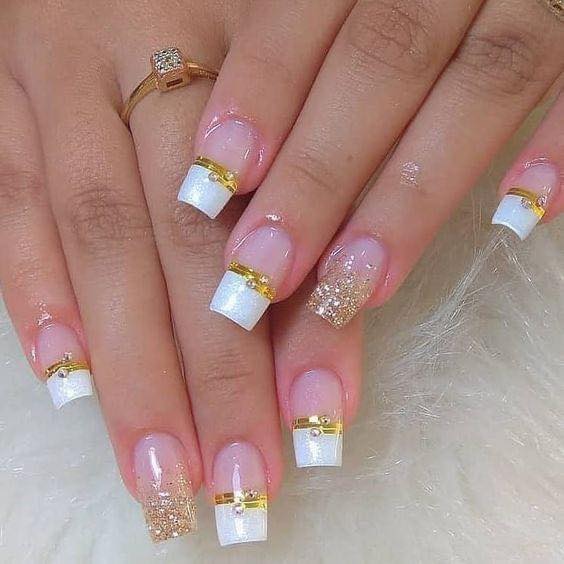
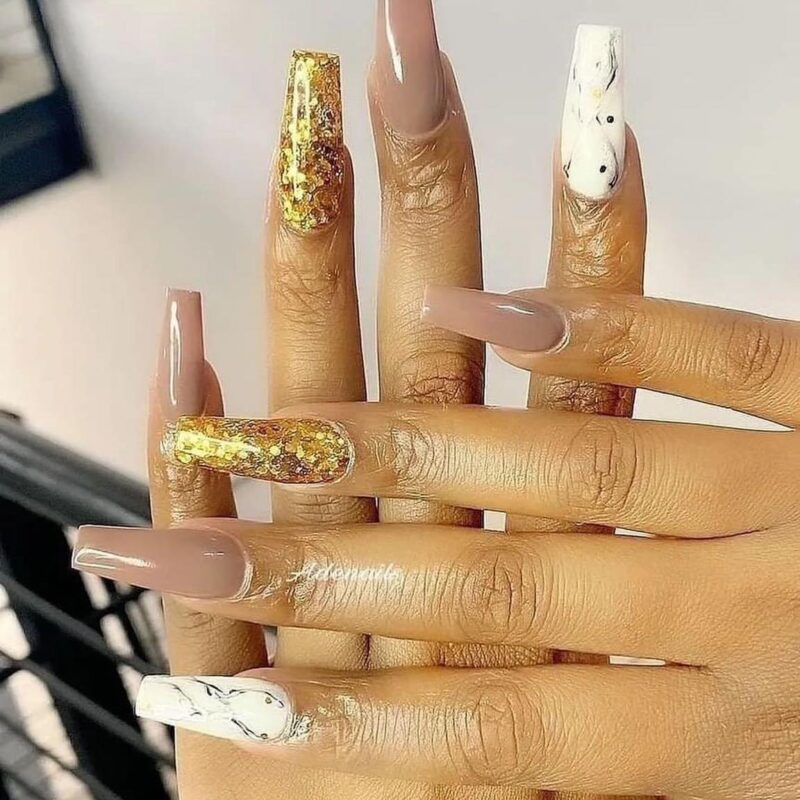
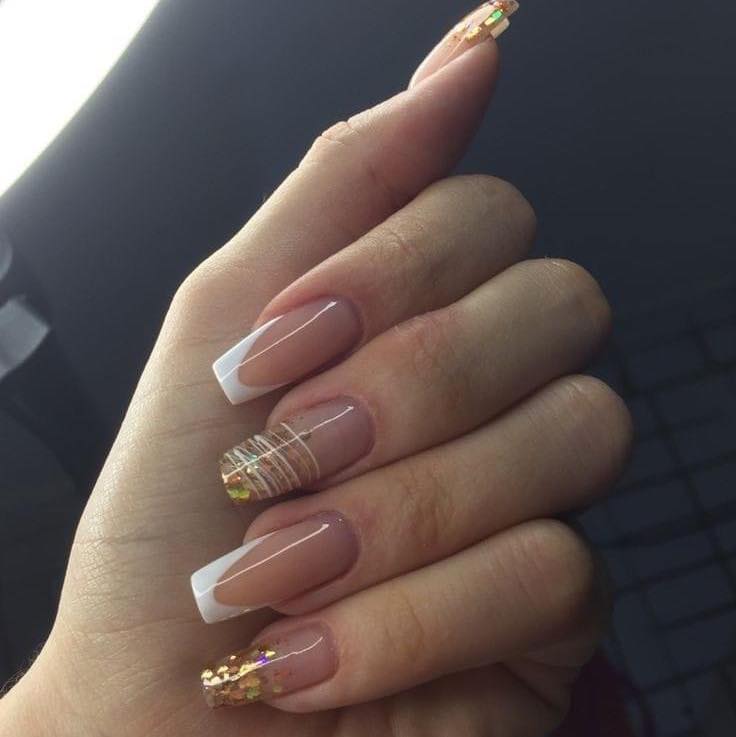
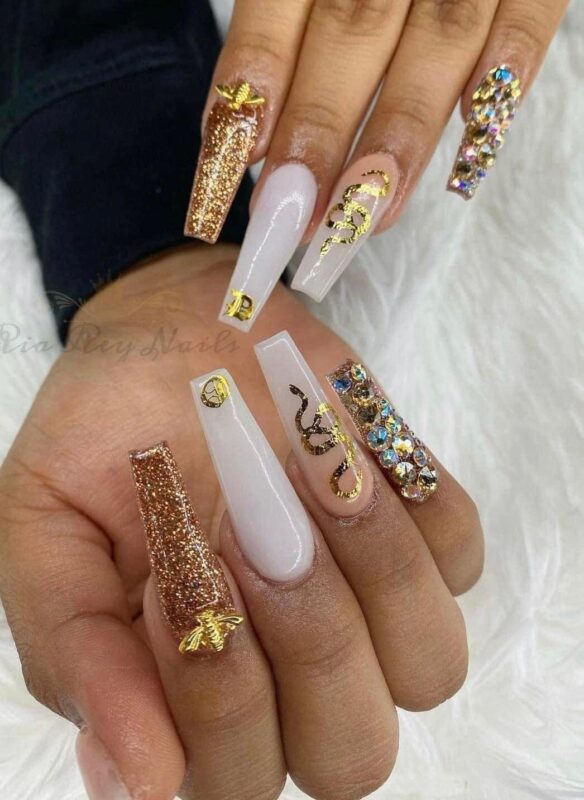
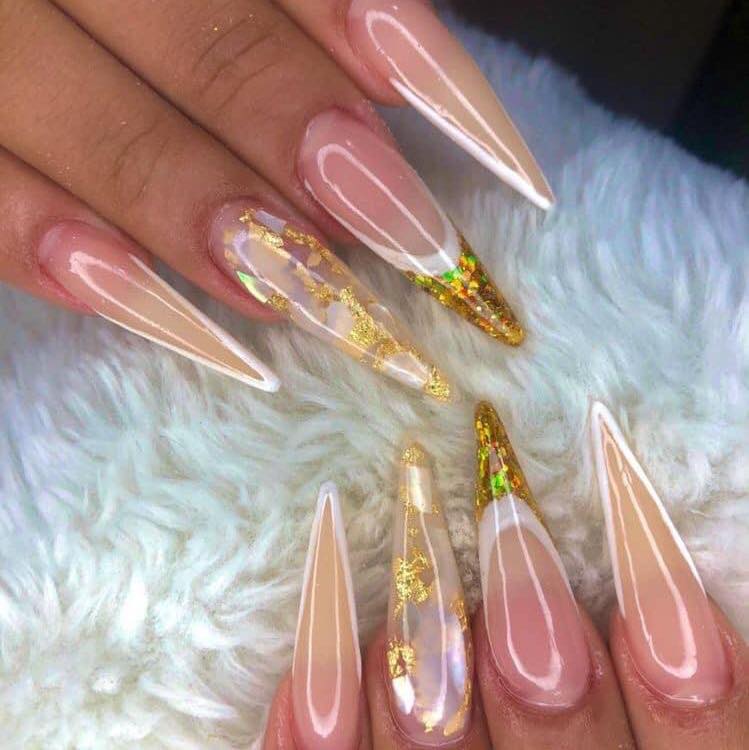
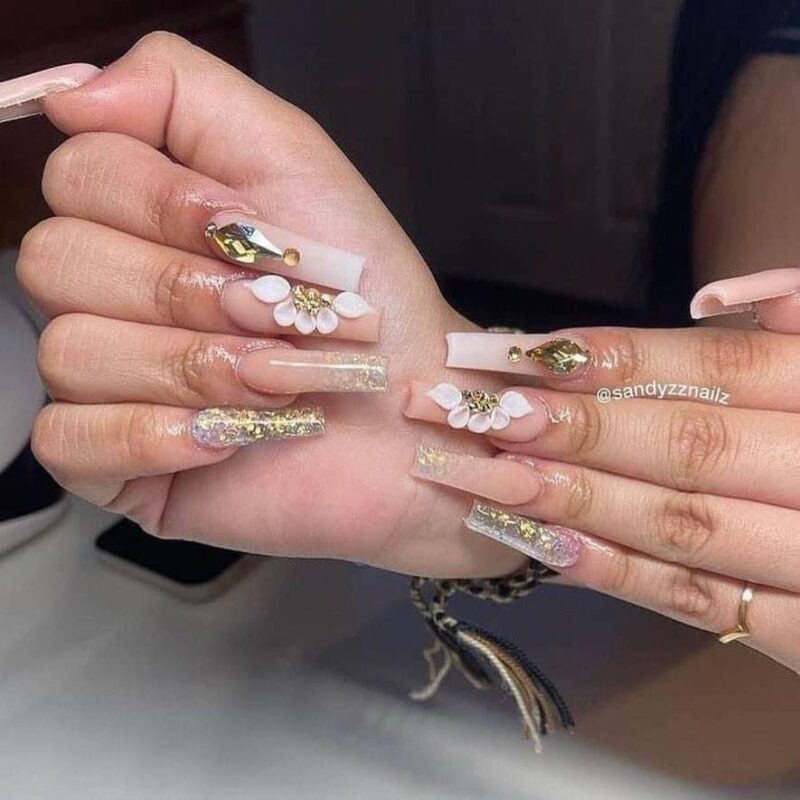
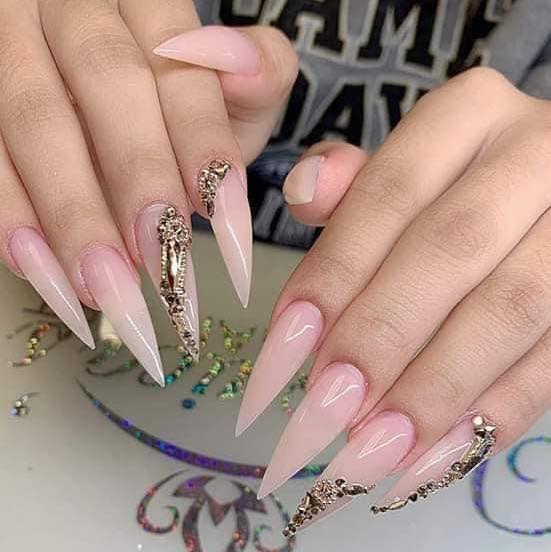
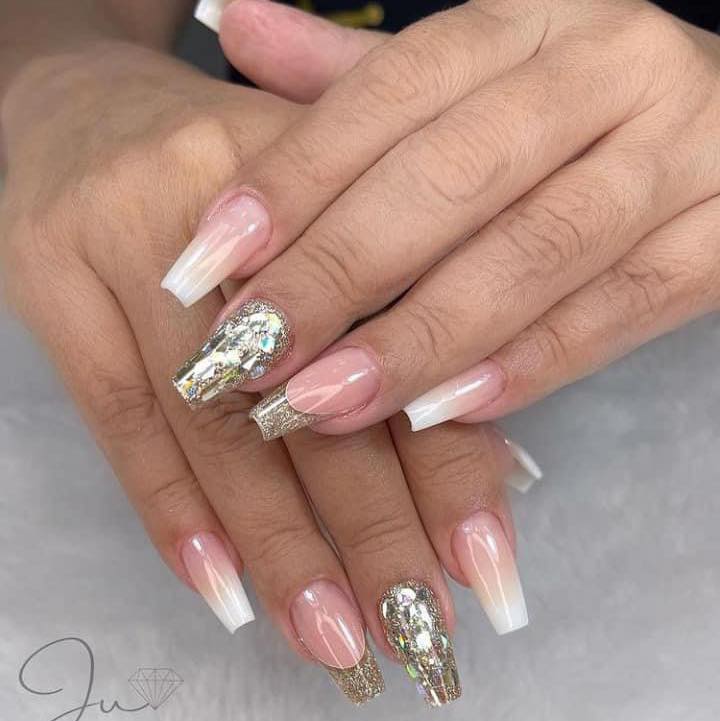
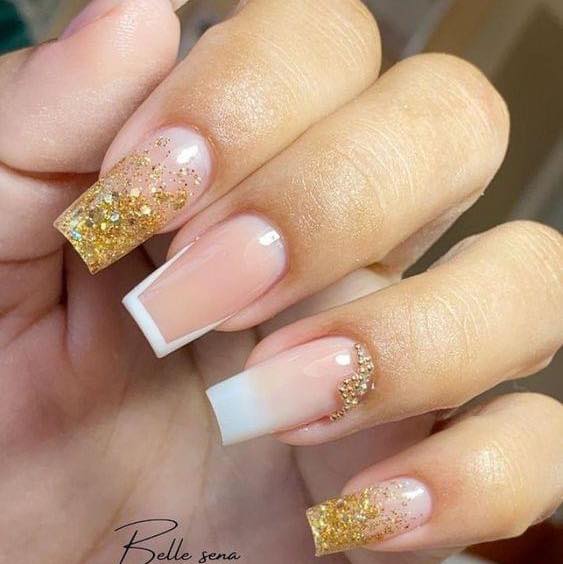
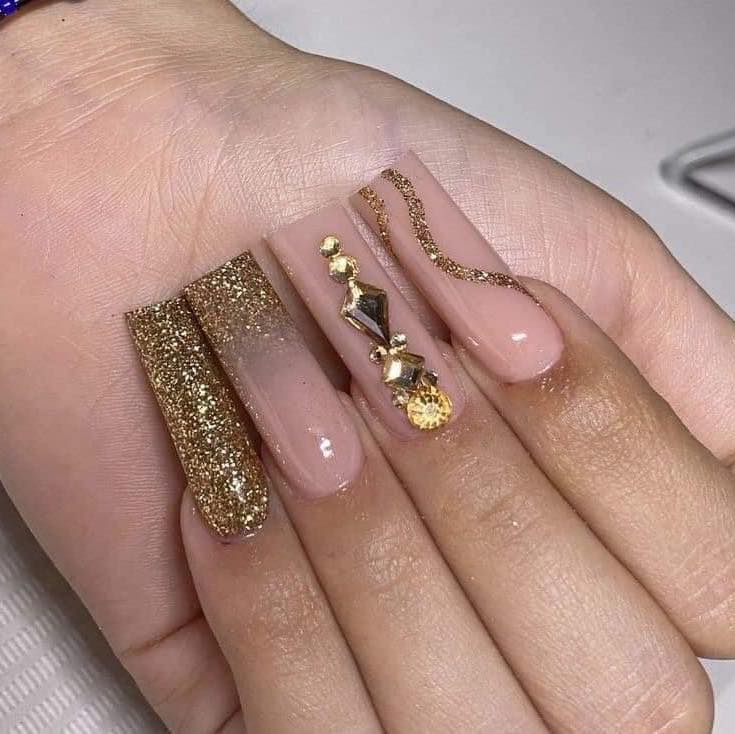
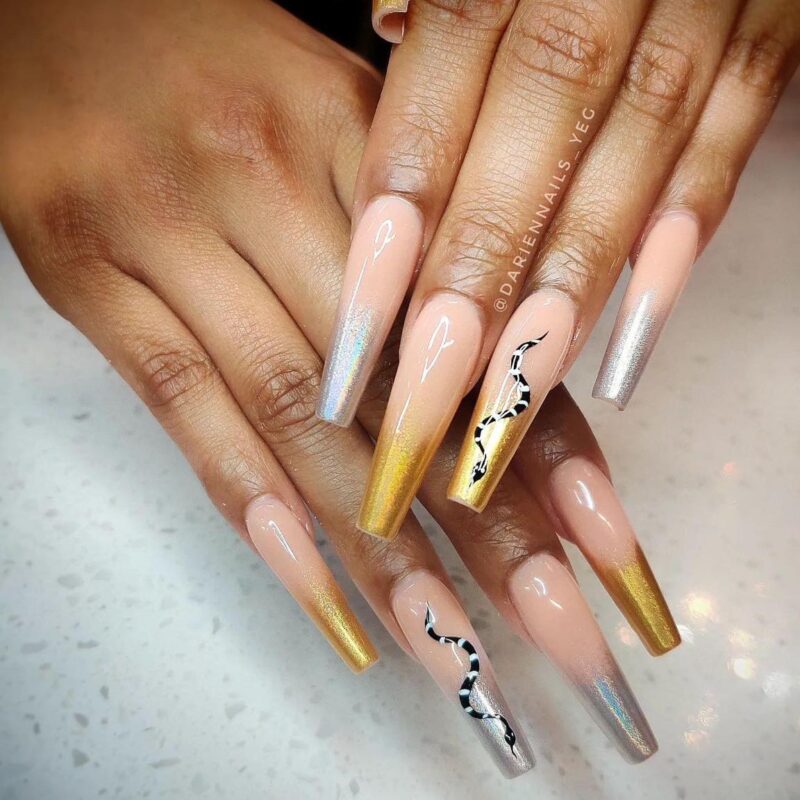
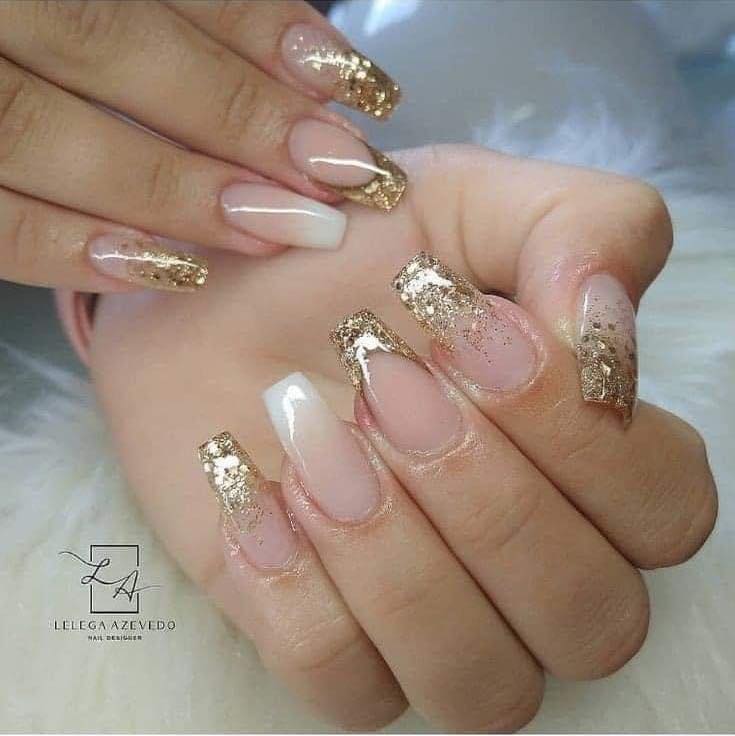
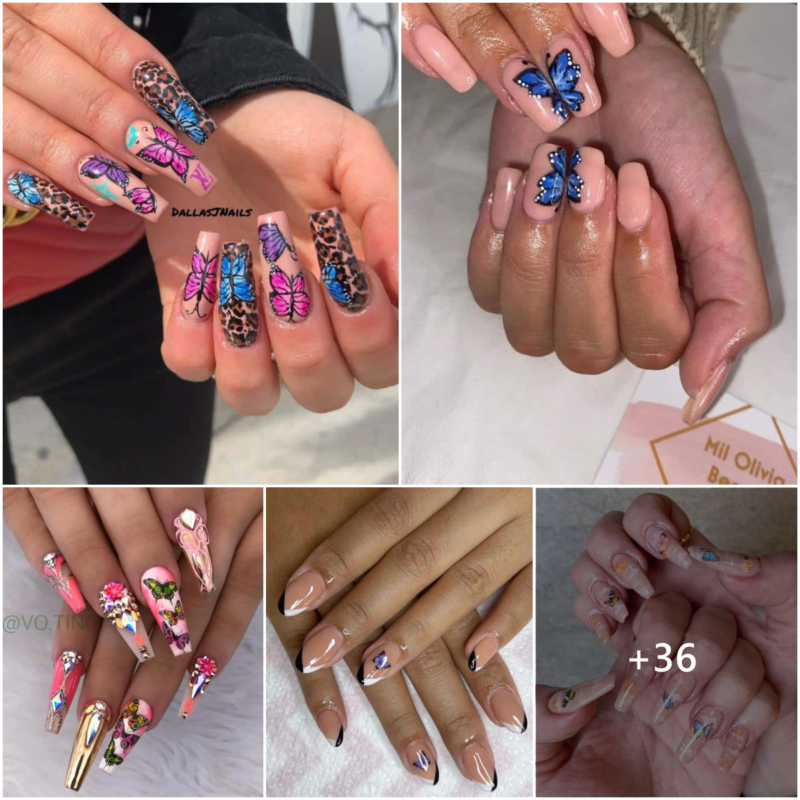
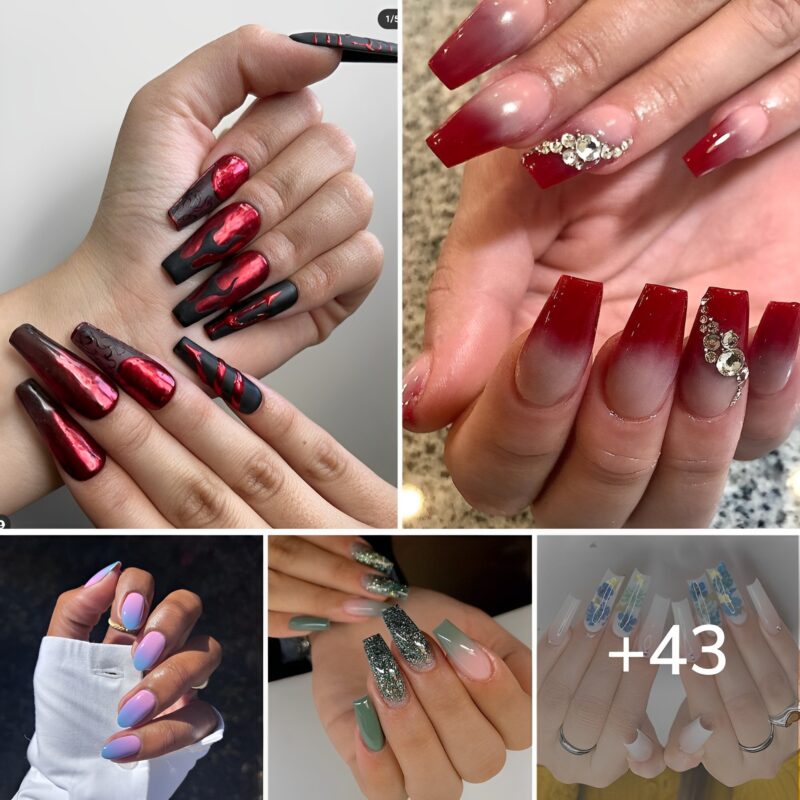
When it comes to nails, the possibilities are endless—and sometimes all you need is a little inspiration to unlock your next favorite look. From soft minimalism to bold, artistic details, these stunning nail ideas are made to spark your creativity and give your manicure a fresh new twist. Whether you’re...
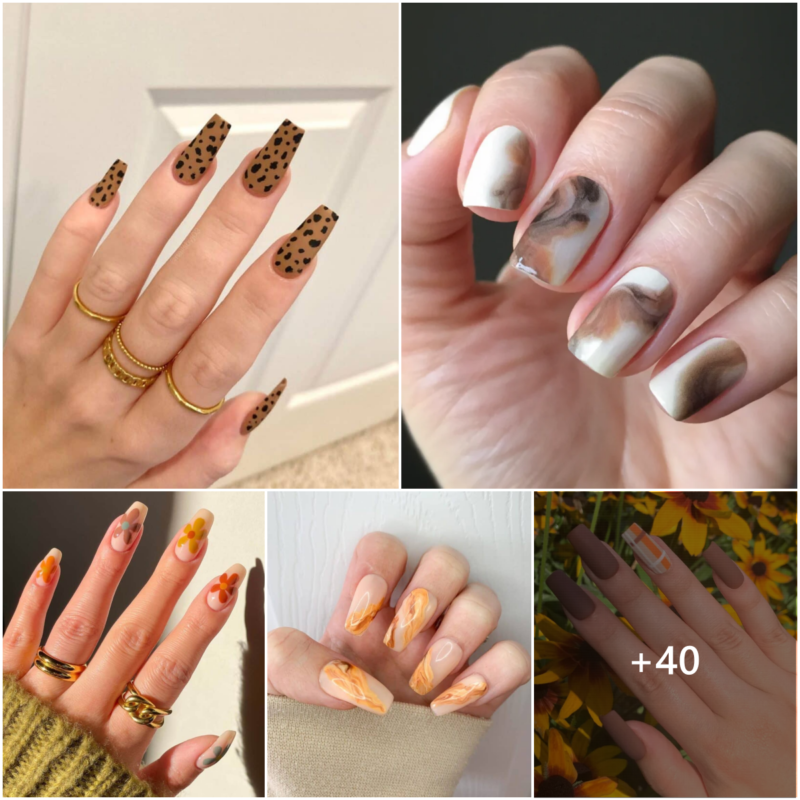
As the leaves change and the air turns crisp, our style and beauty routines often transition to mirror the enchanting atmosphere of fall. If you’re looking to update your manicure to reflect the season, here are some stunning fall nail designs and ideas that capture the essence of autumn: Burnt...
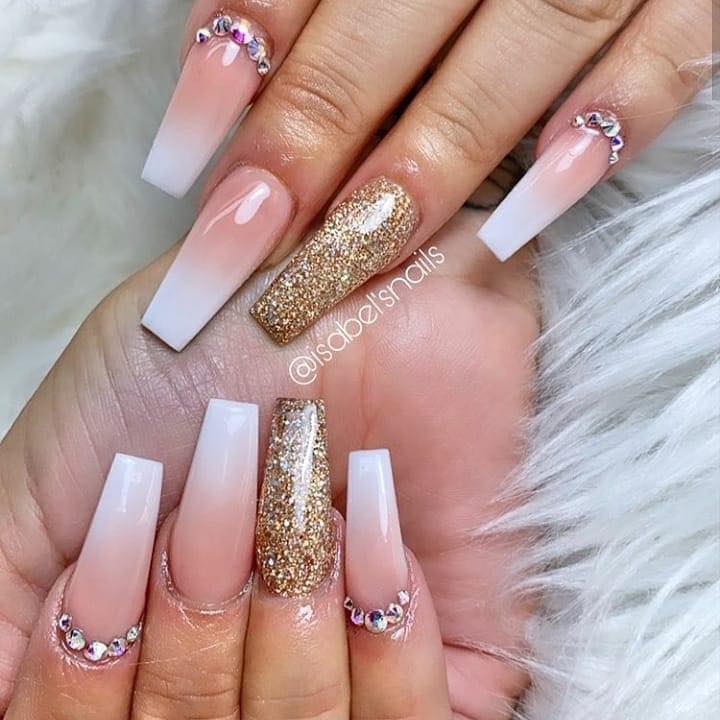
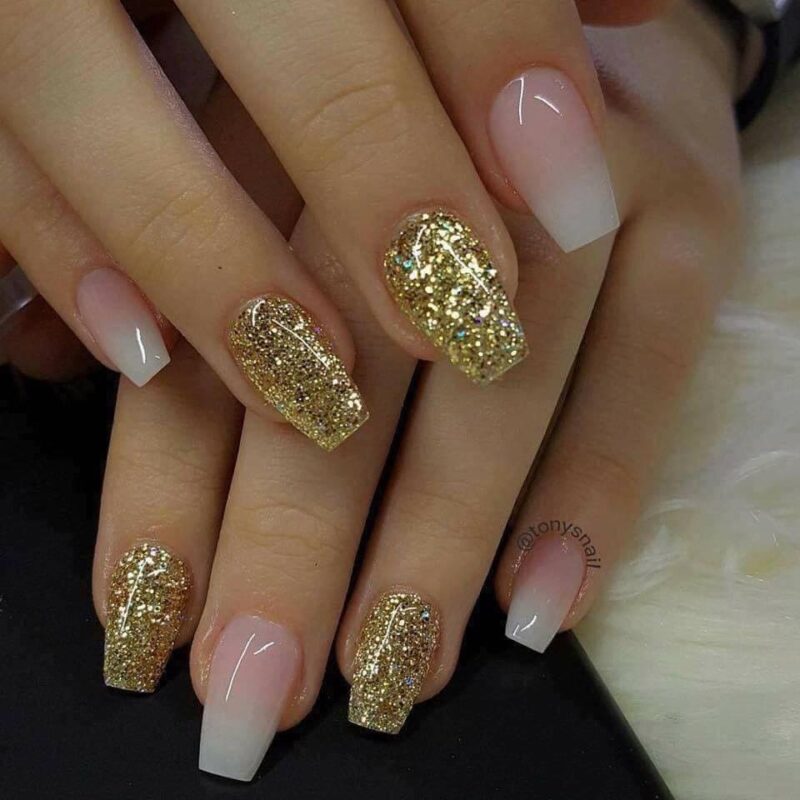
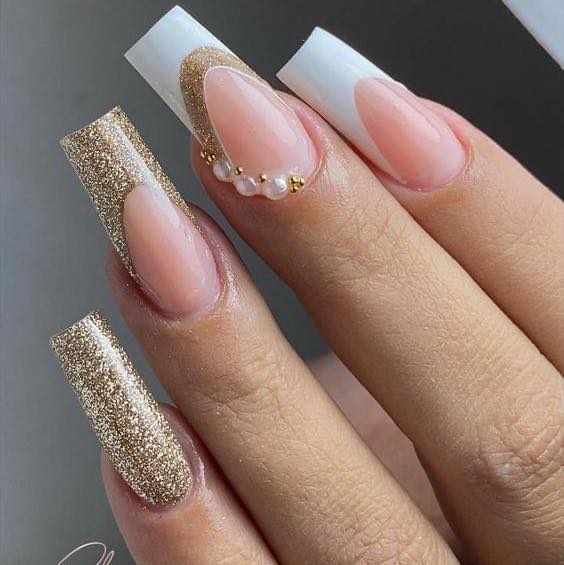
Ombre wedding nails are indeed a beautiful and trendy choice for brides looking to add a touch of sophistication and style to their bridal look. Whether you prefer a subtle and classic ombre effect or want to incorporate bold colors and rhinestones for a more glamorous look, there are plenty...
1. Classic Pink to White Ombre: This gradient offers a soft, romantic touch suitable for any occasion. 2. Sunset Ombre: Transition from a warm orange to a deep purple, capturing the beauty of a sunset on your nails. 3. Teal to Midnight Blue: Dive deep into oceanic colors with a...
We use cookies to ensure that we give you the best experience on our website. If you continue to use this site we will assume that you are happy with it.