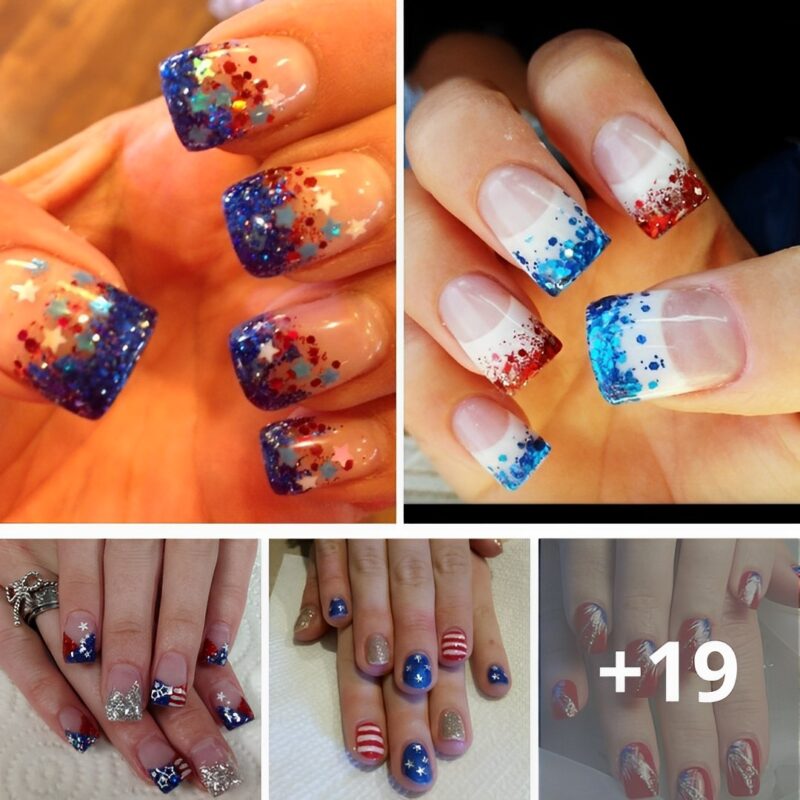
Memorial Day is just around the corner and we’re here to help you show your pride in style! Create a unique look with one of these top Memorial Day nail designs. From subtle patriotism to all-out stars and stripes, there’s something for everyone. Get inspired and make it your own!...
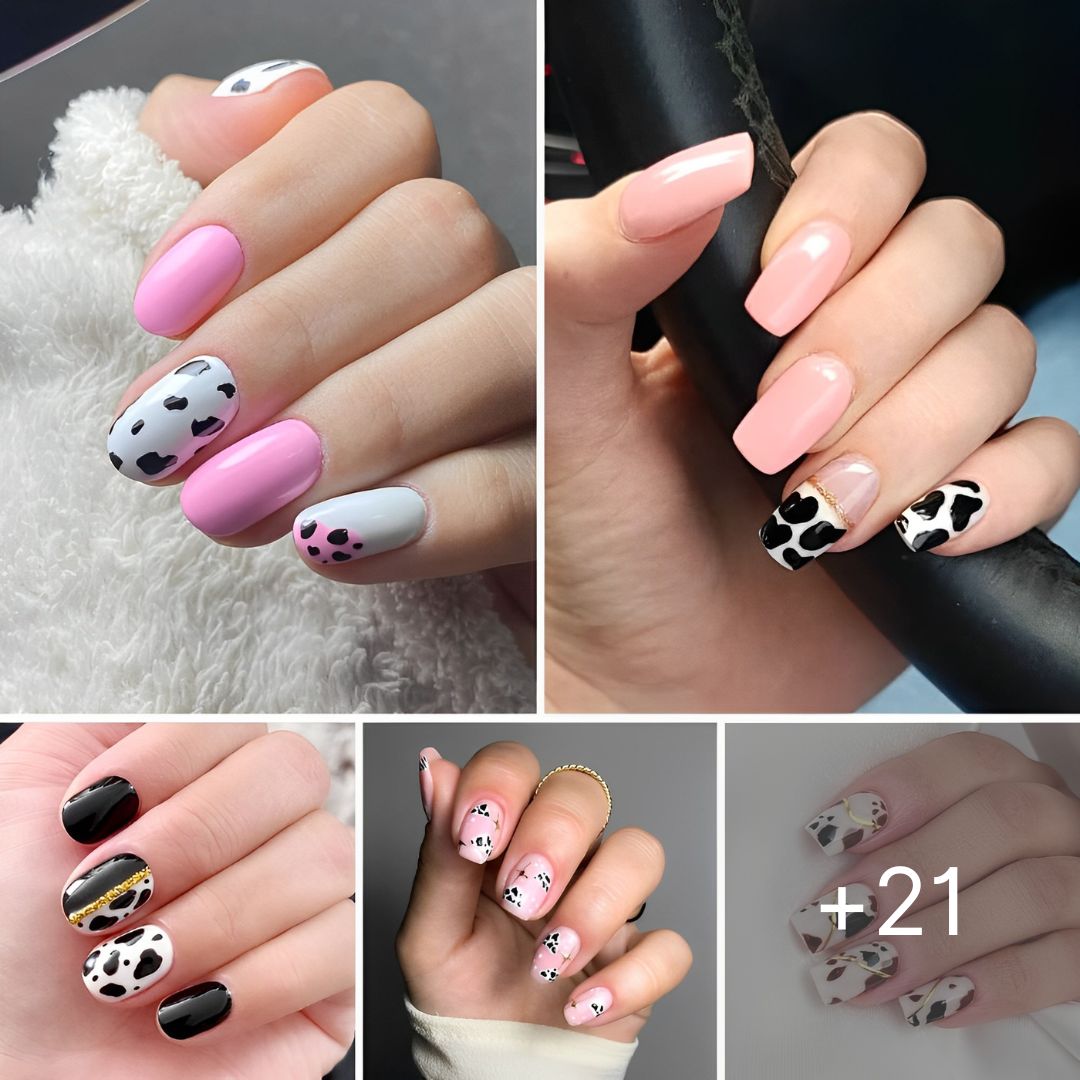
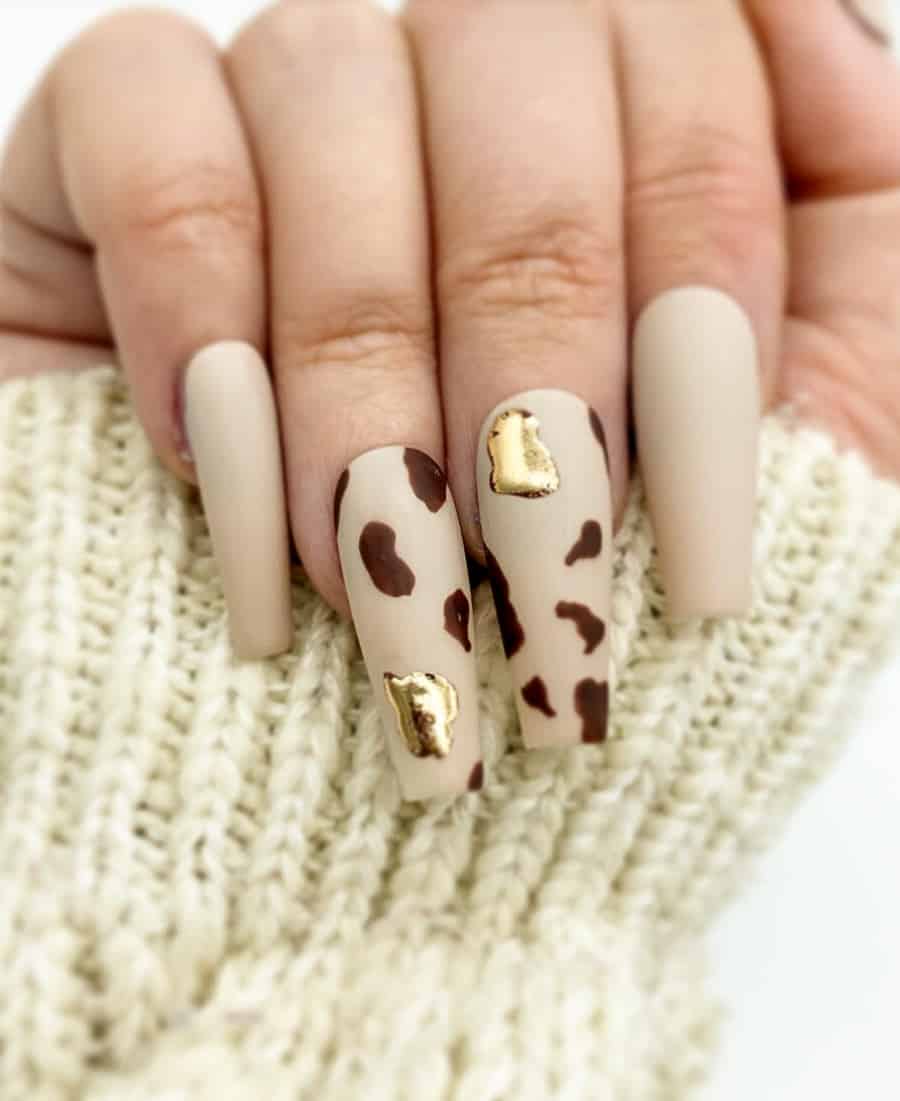
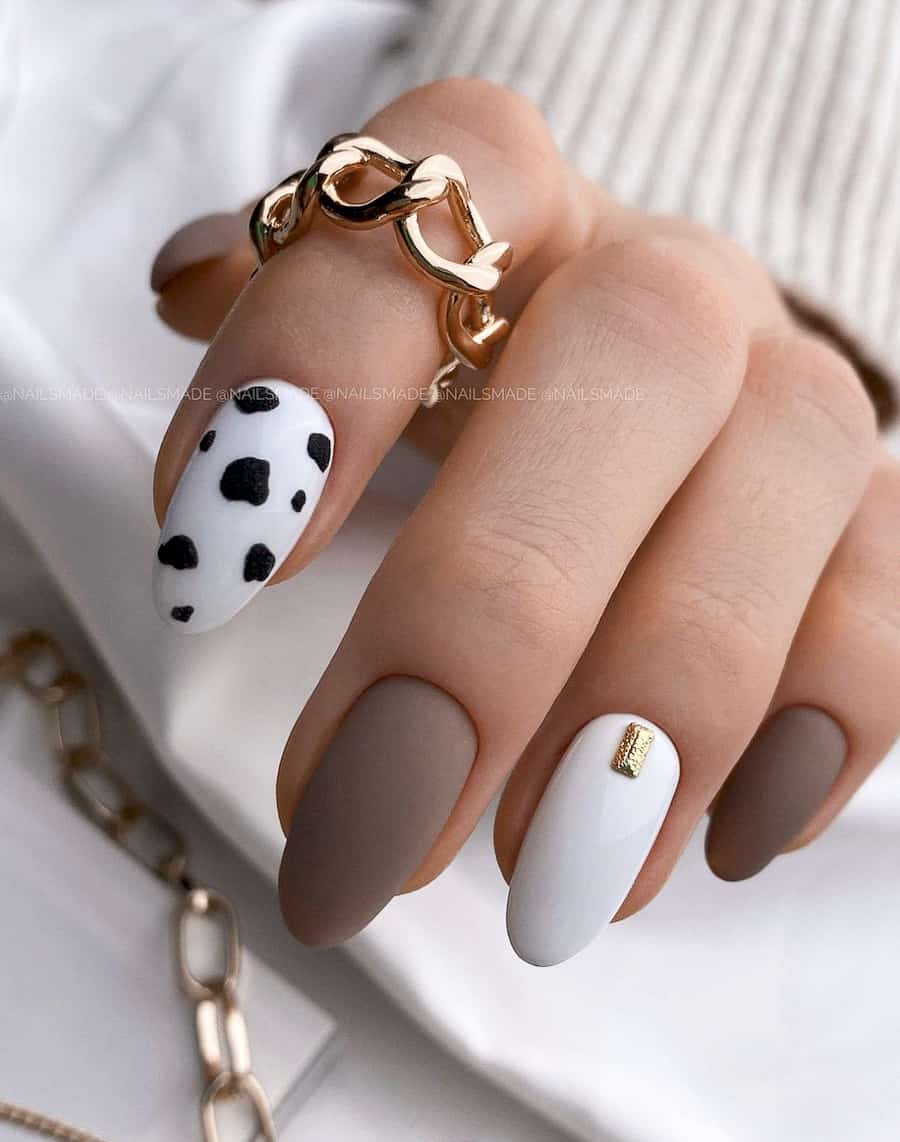
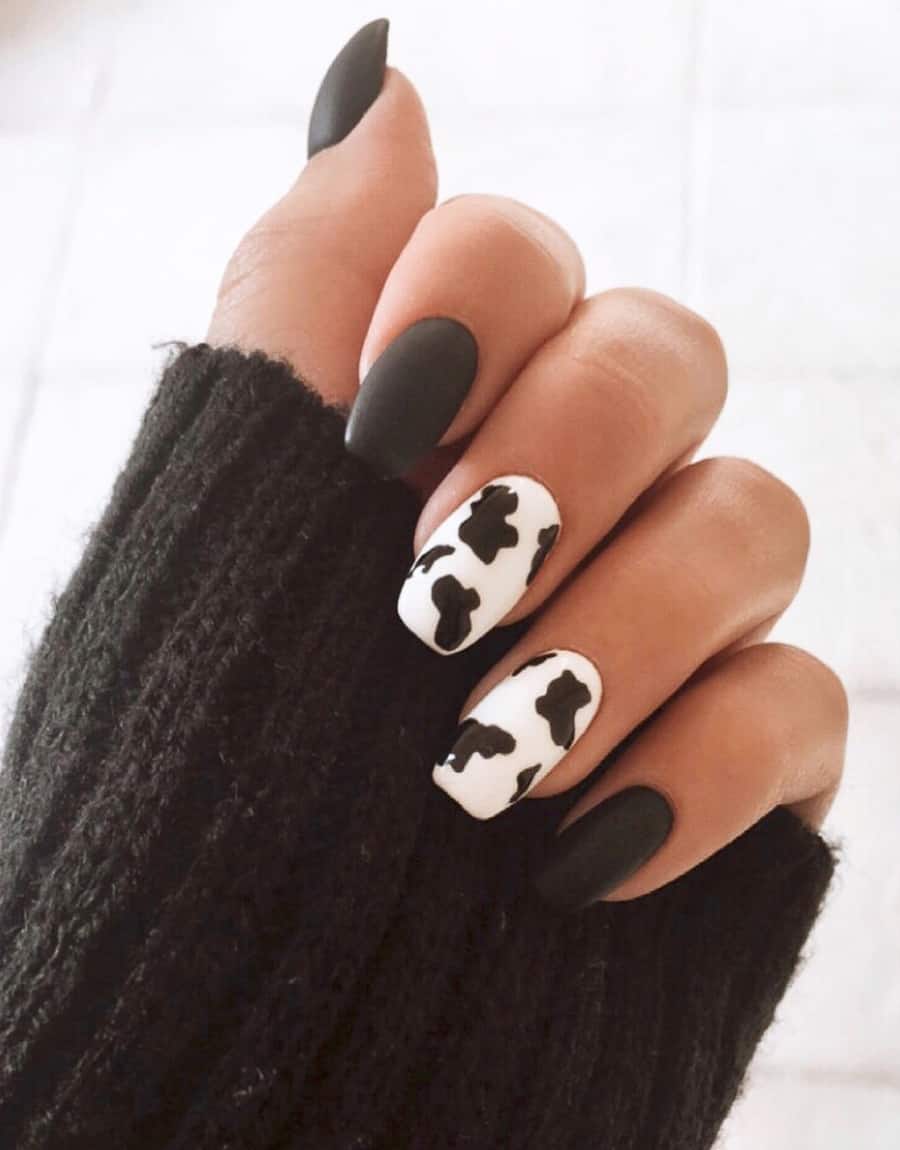
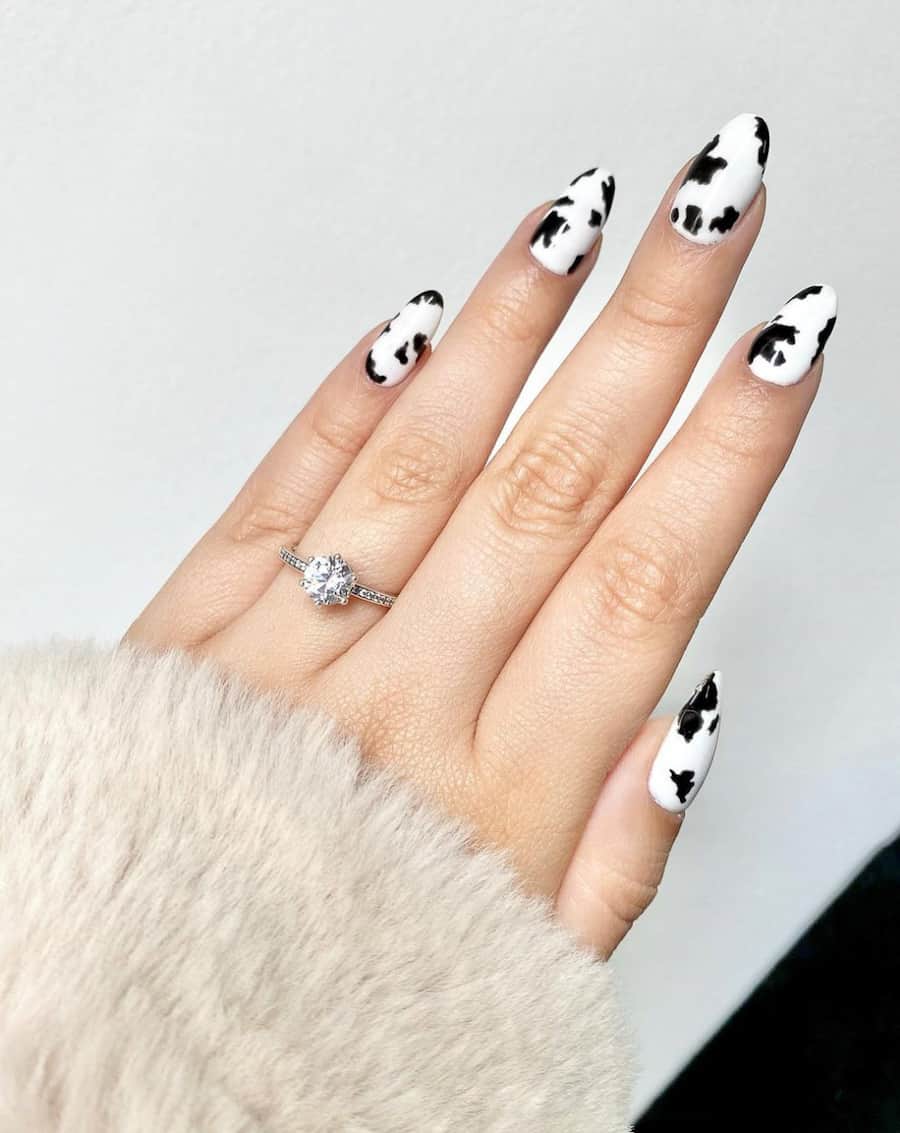
21+ Cow Print Nails That’ll Make You Love This Viral Trend
A+
A-
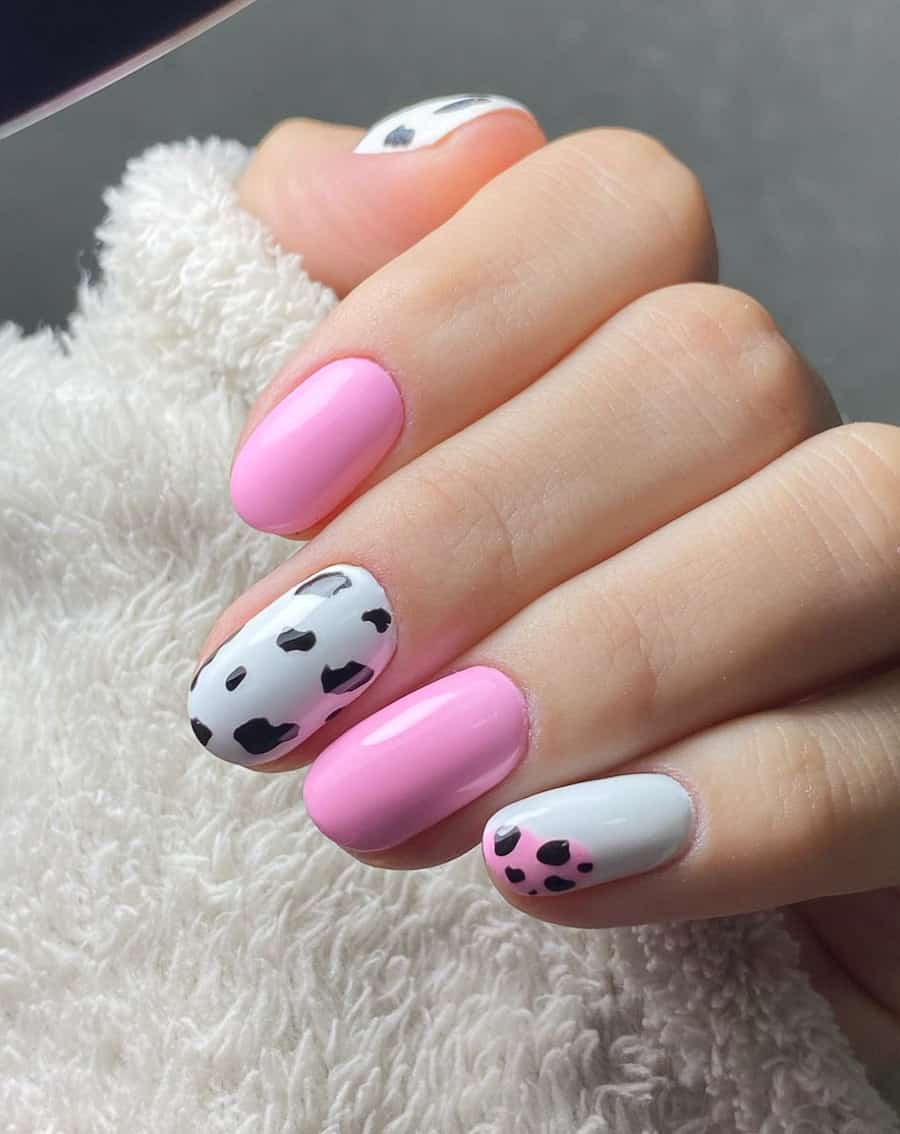
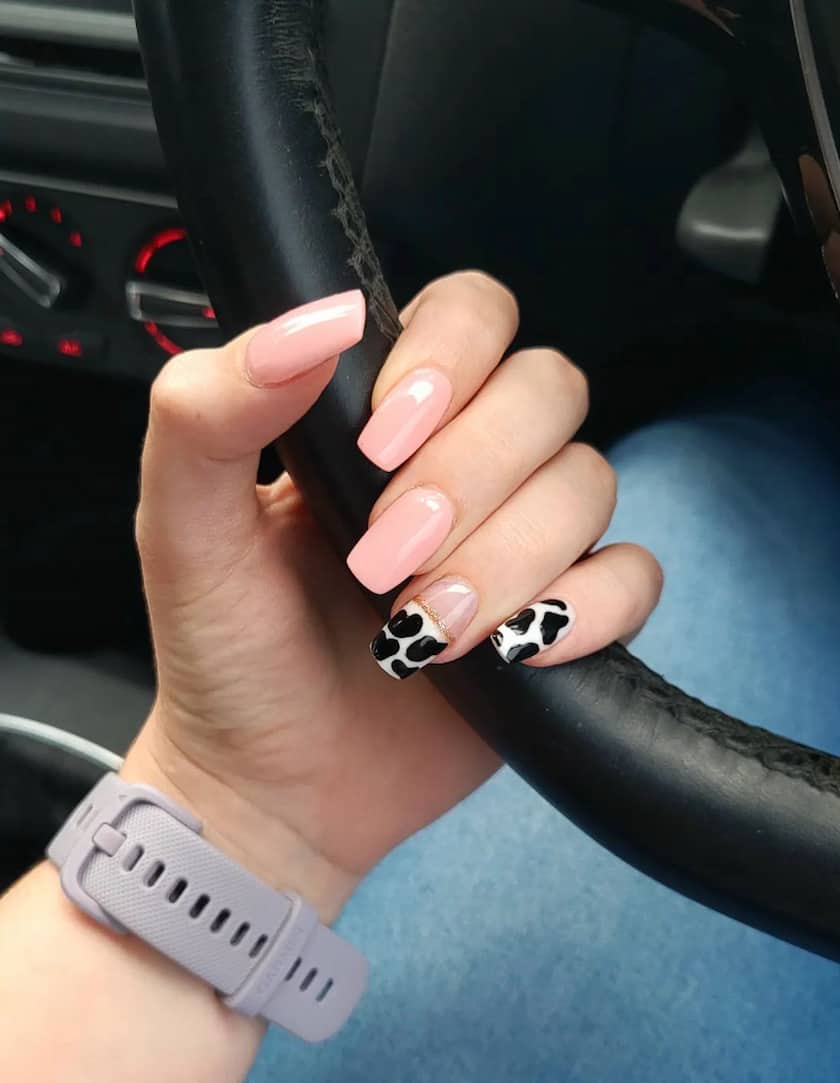
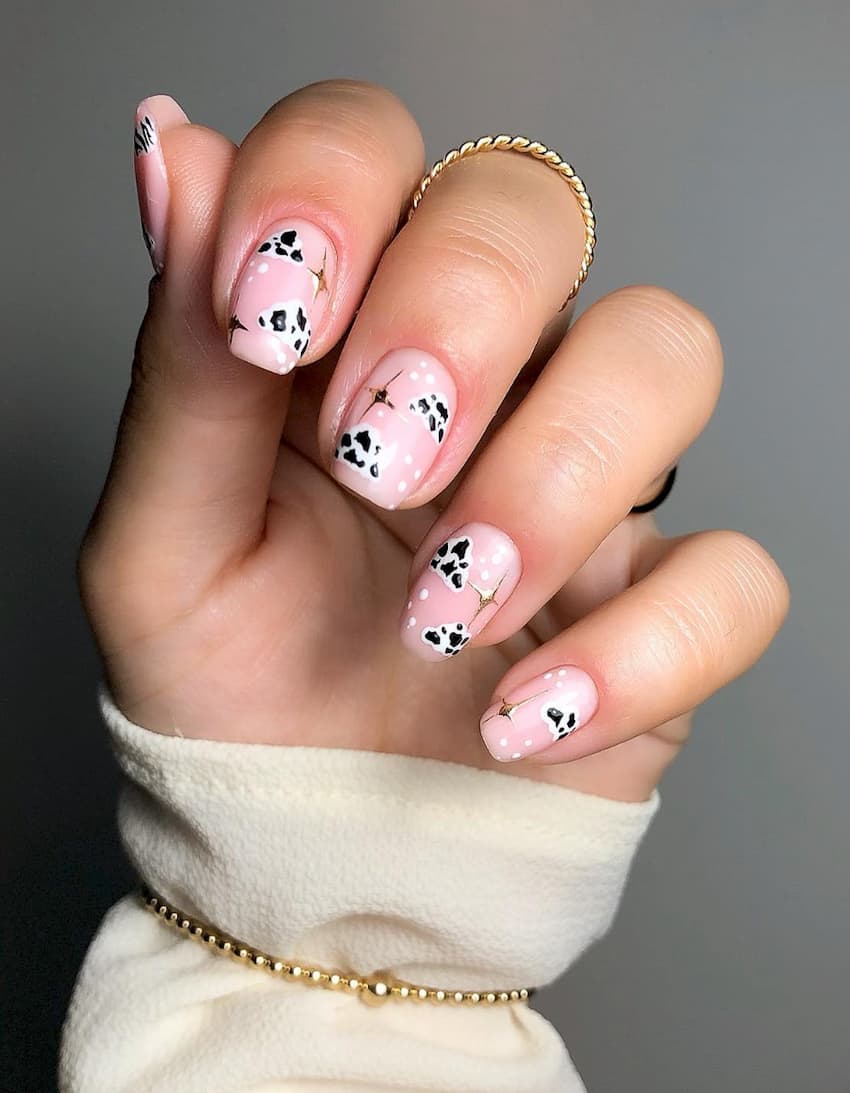
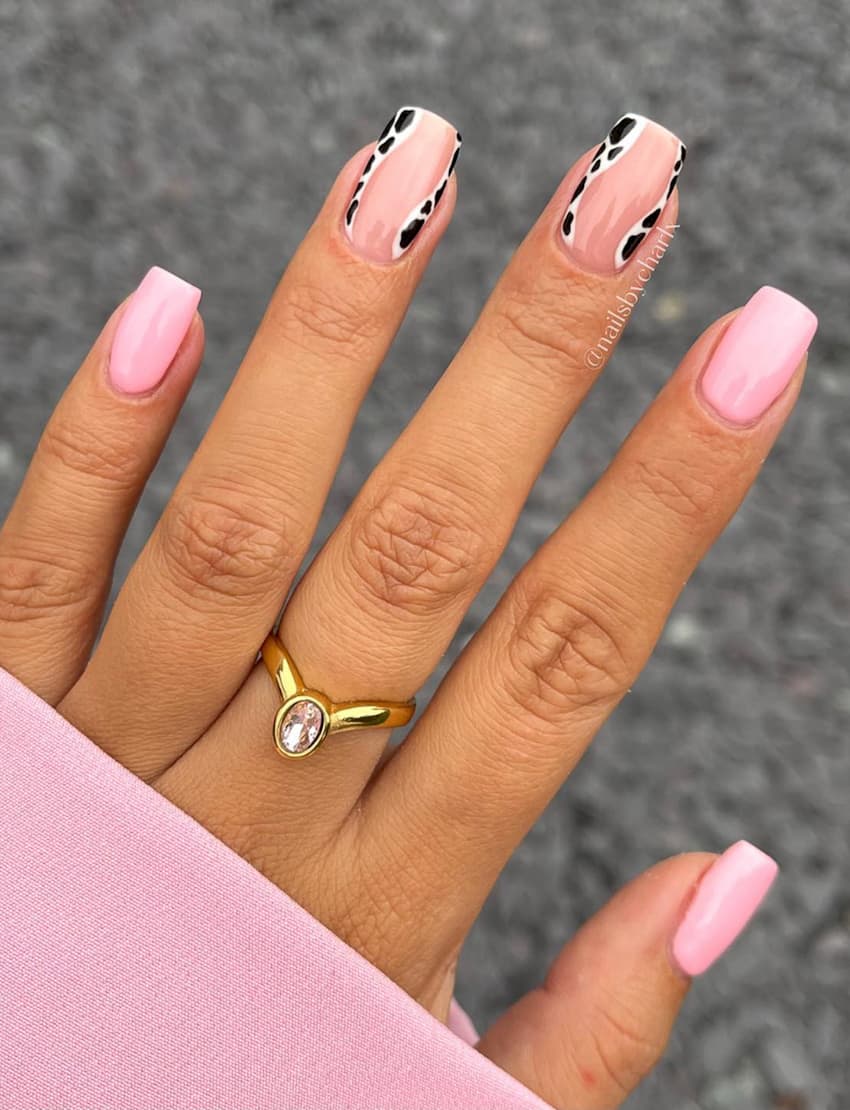
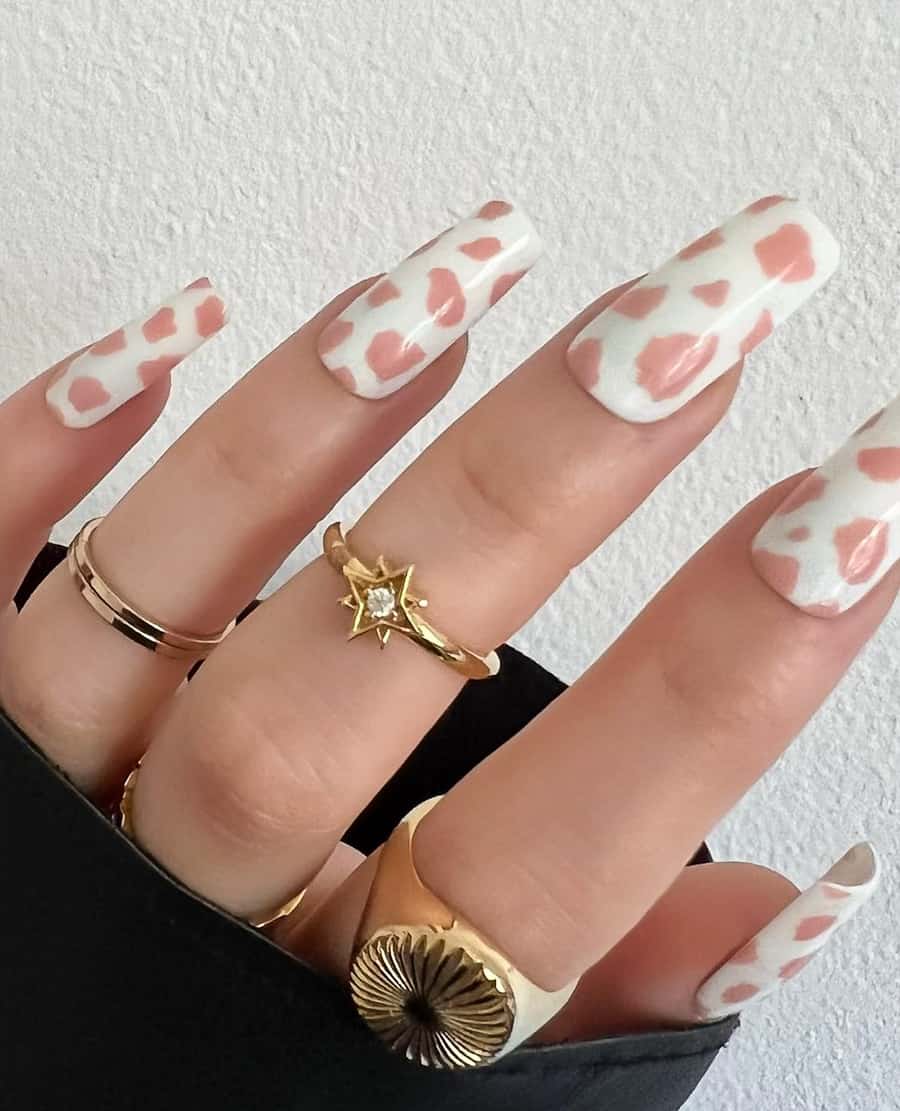
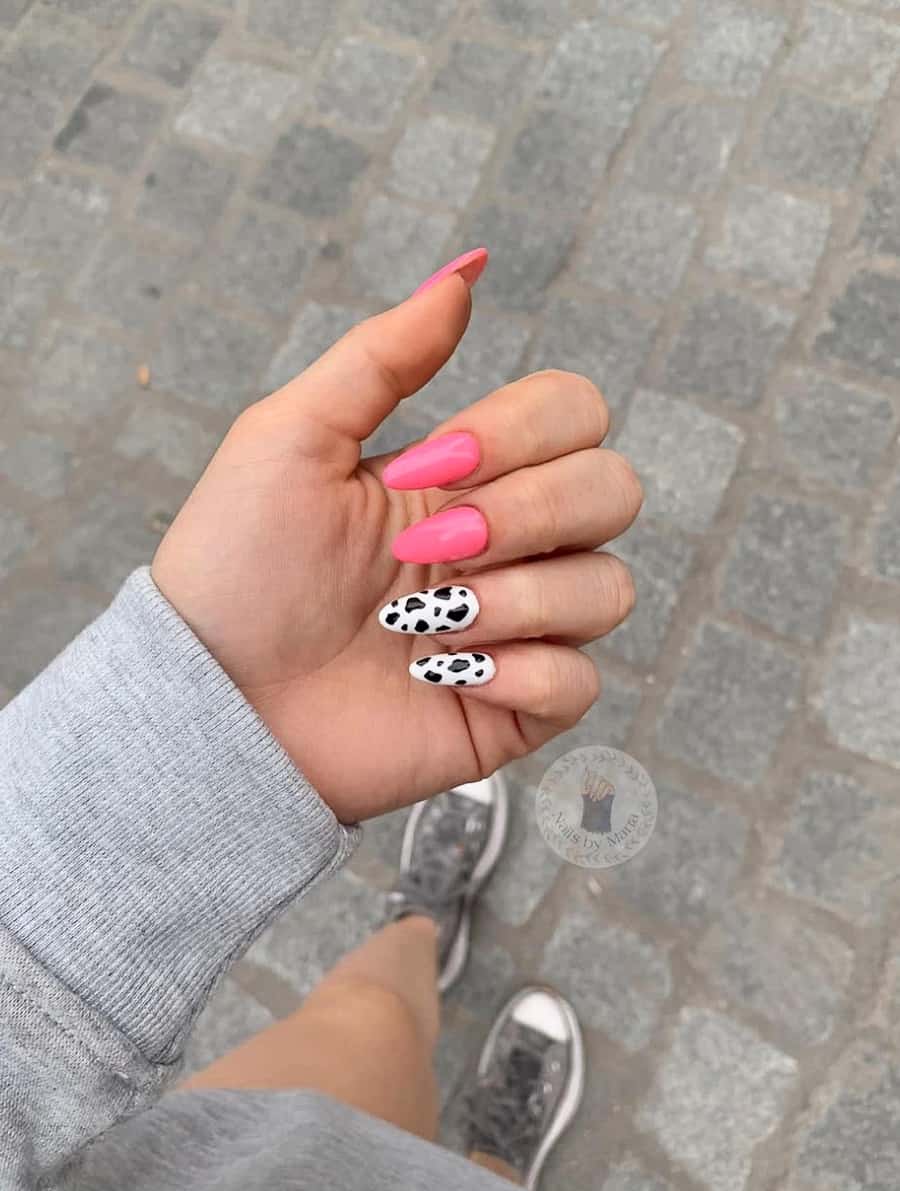
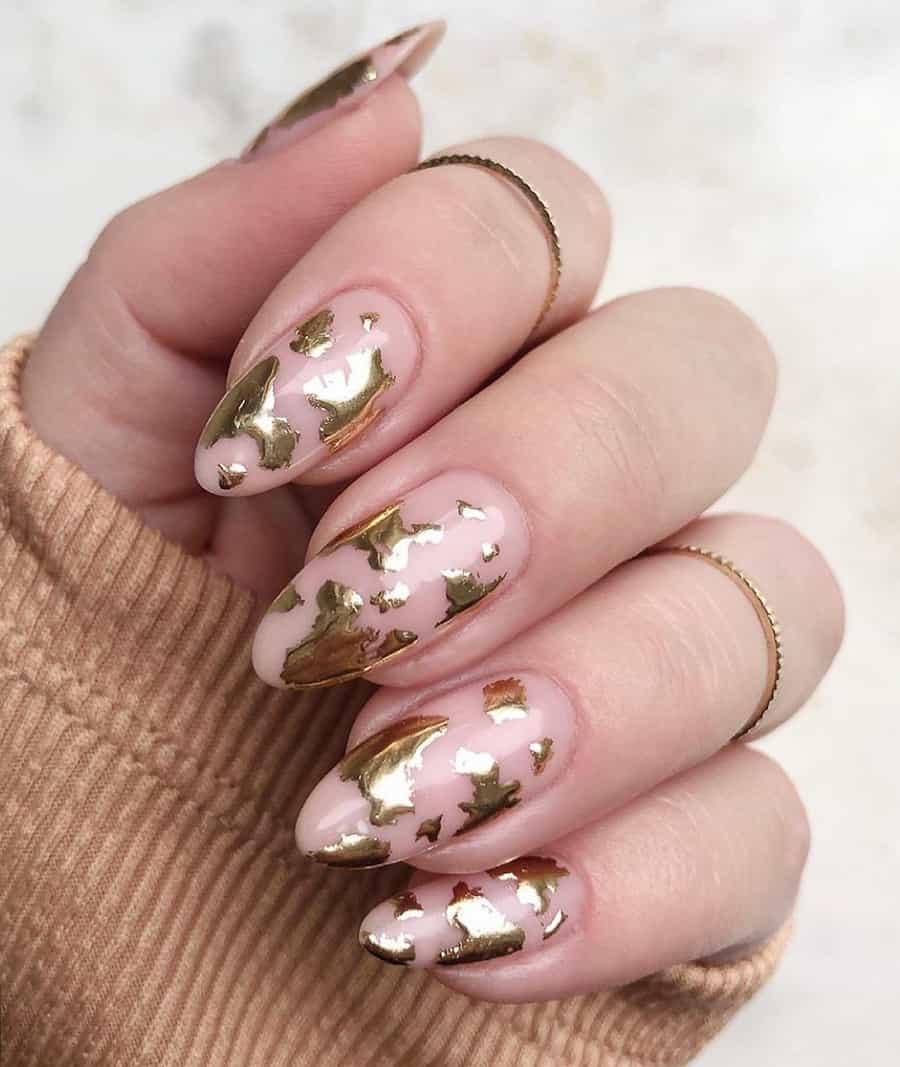
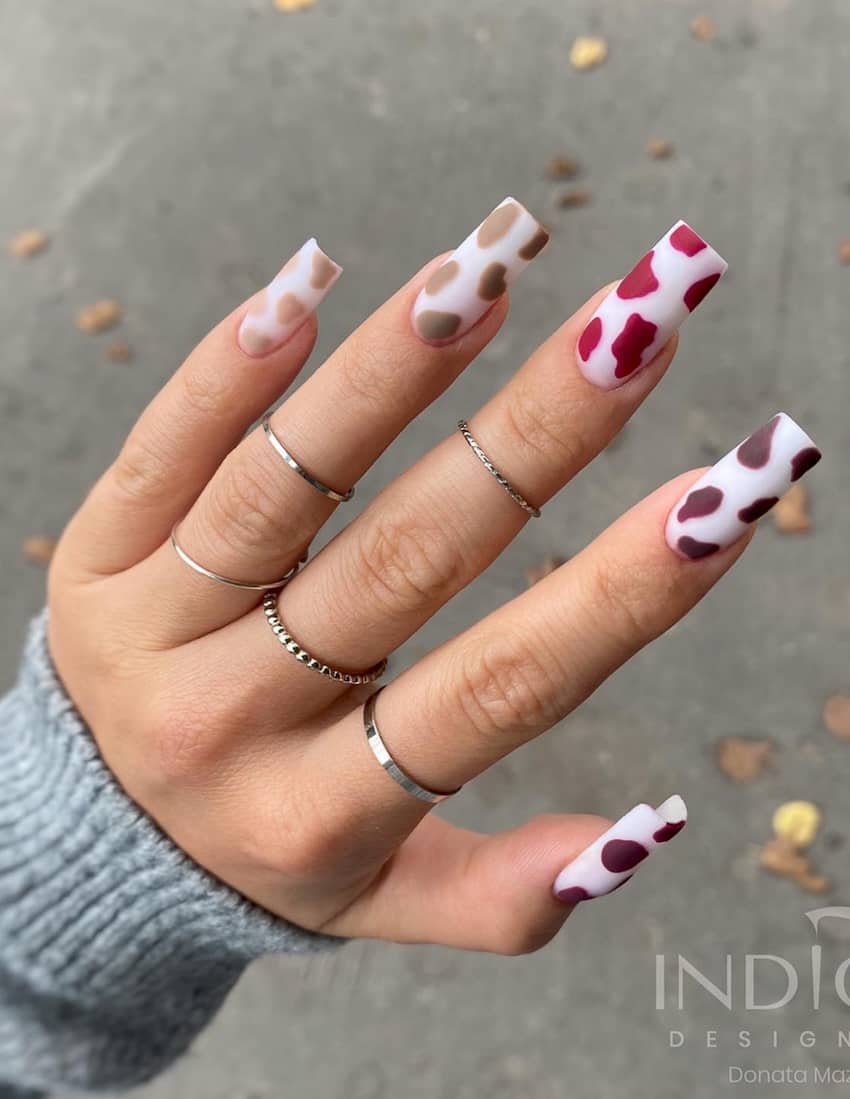
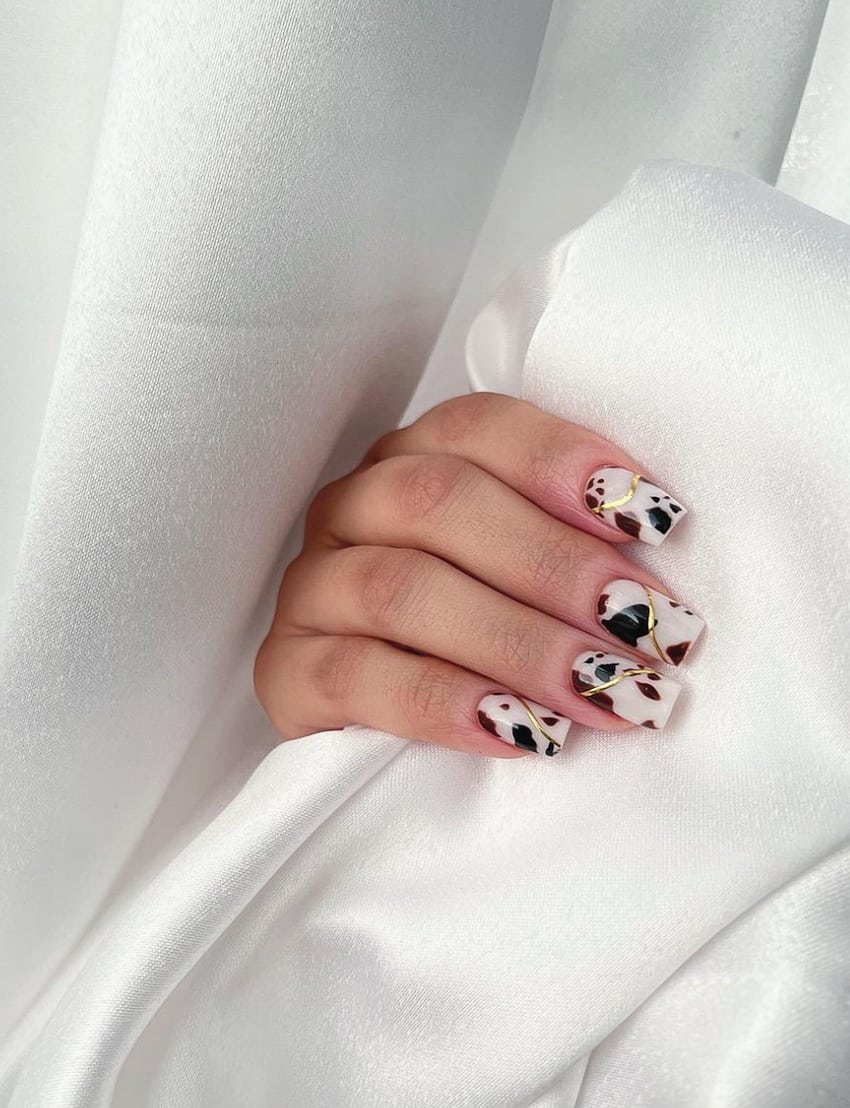
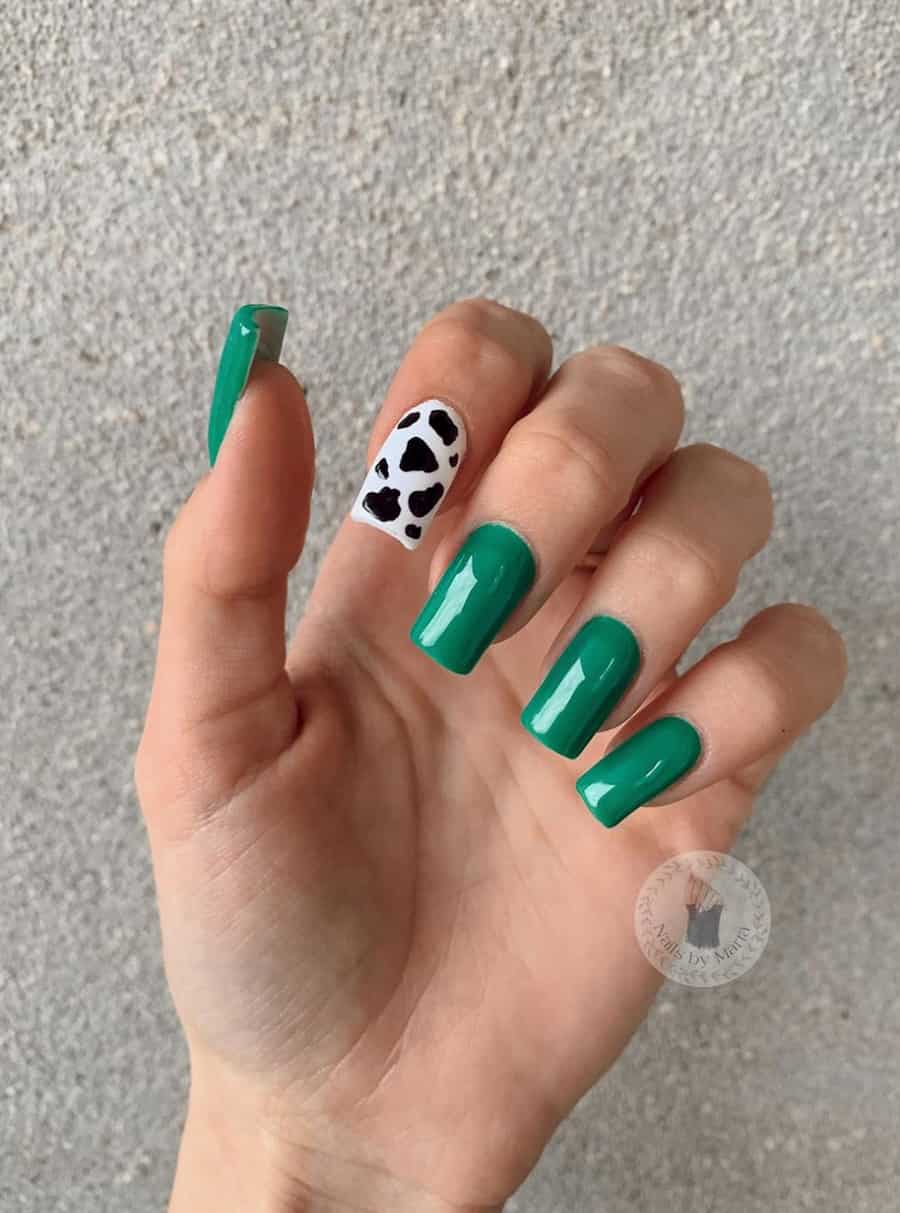
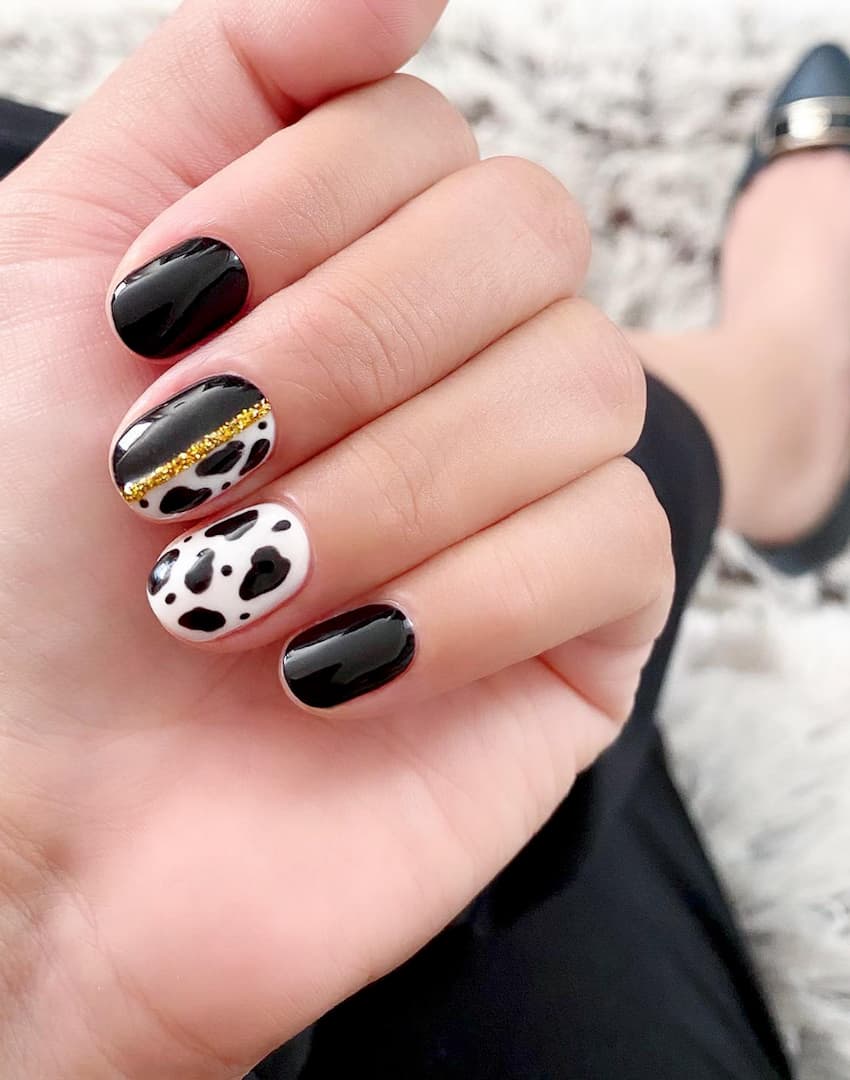
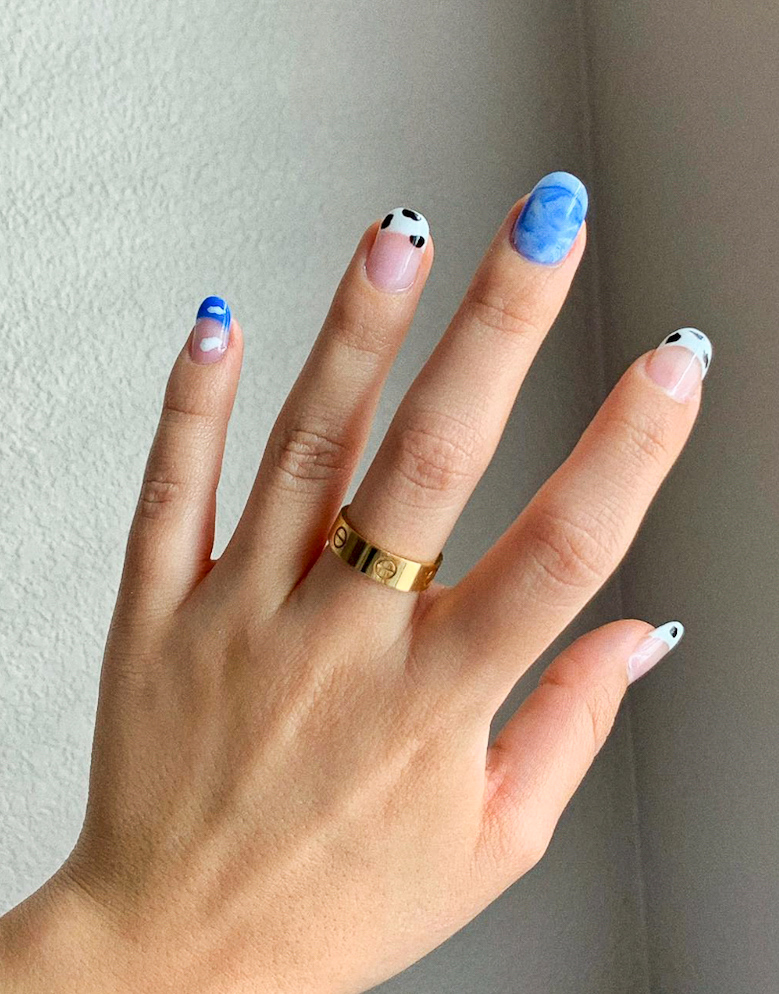
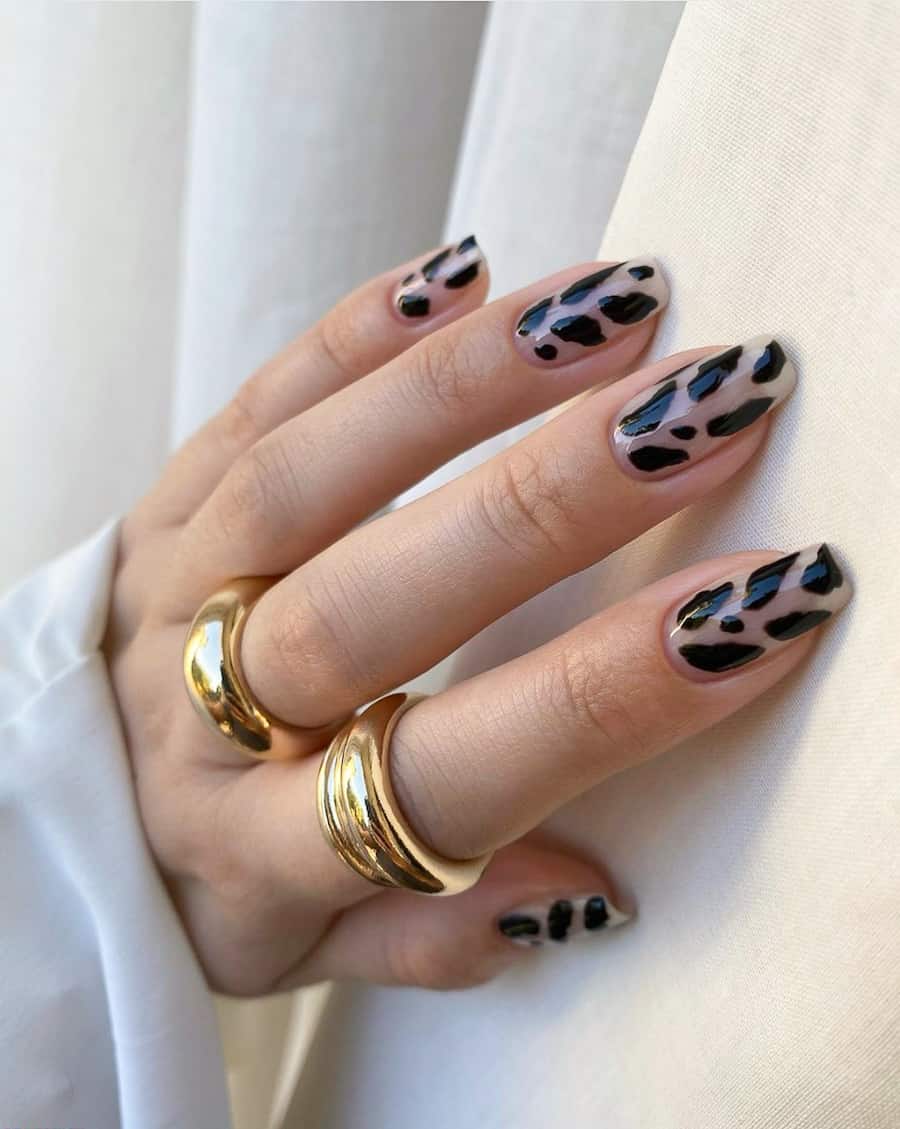
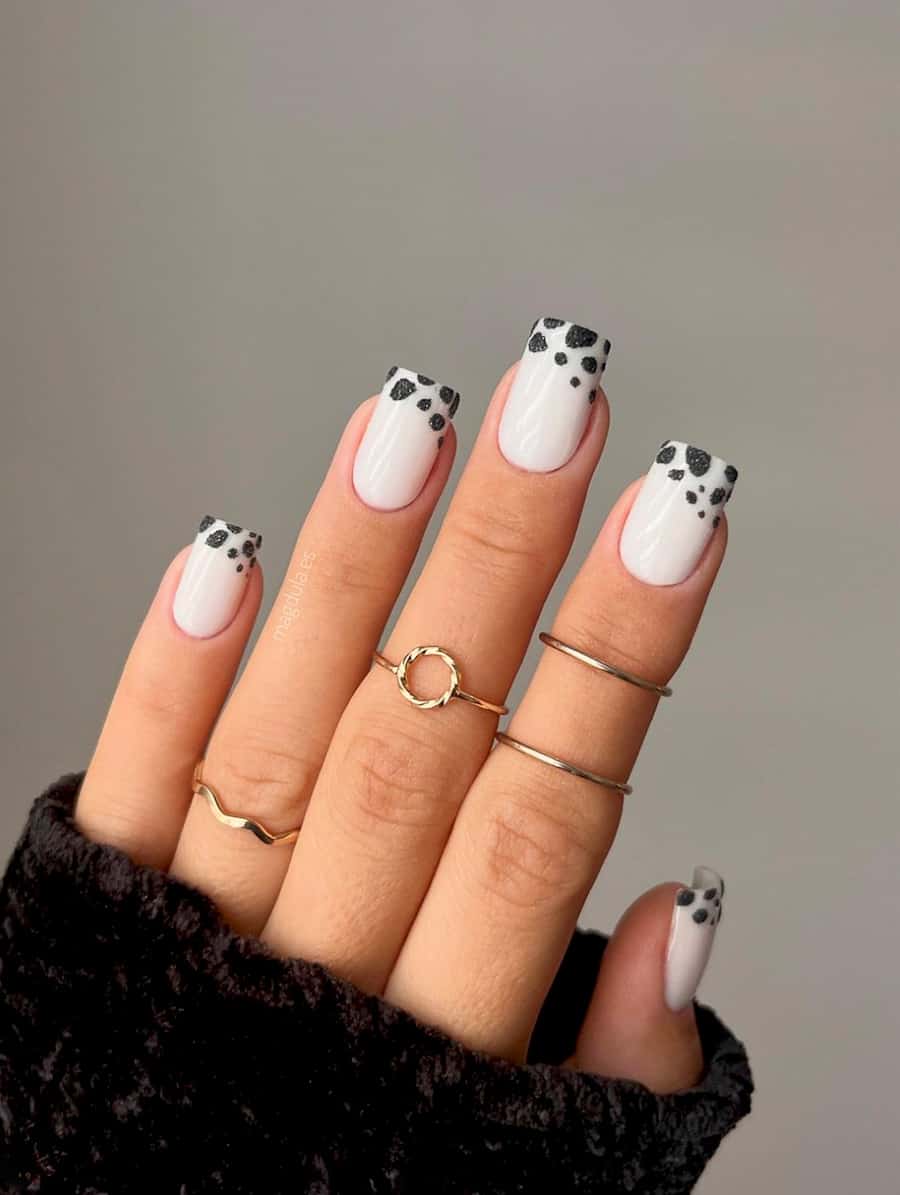
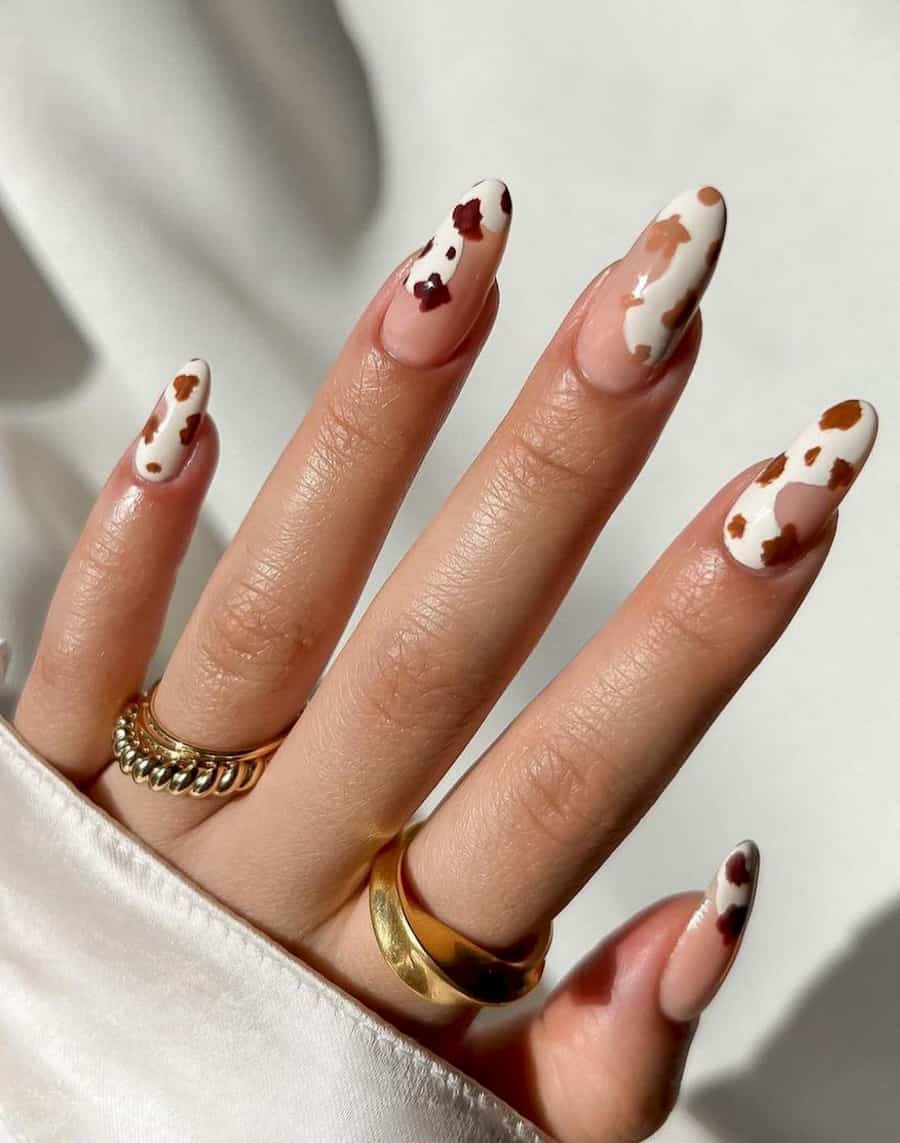
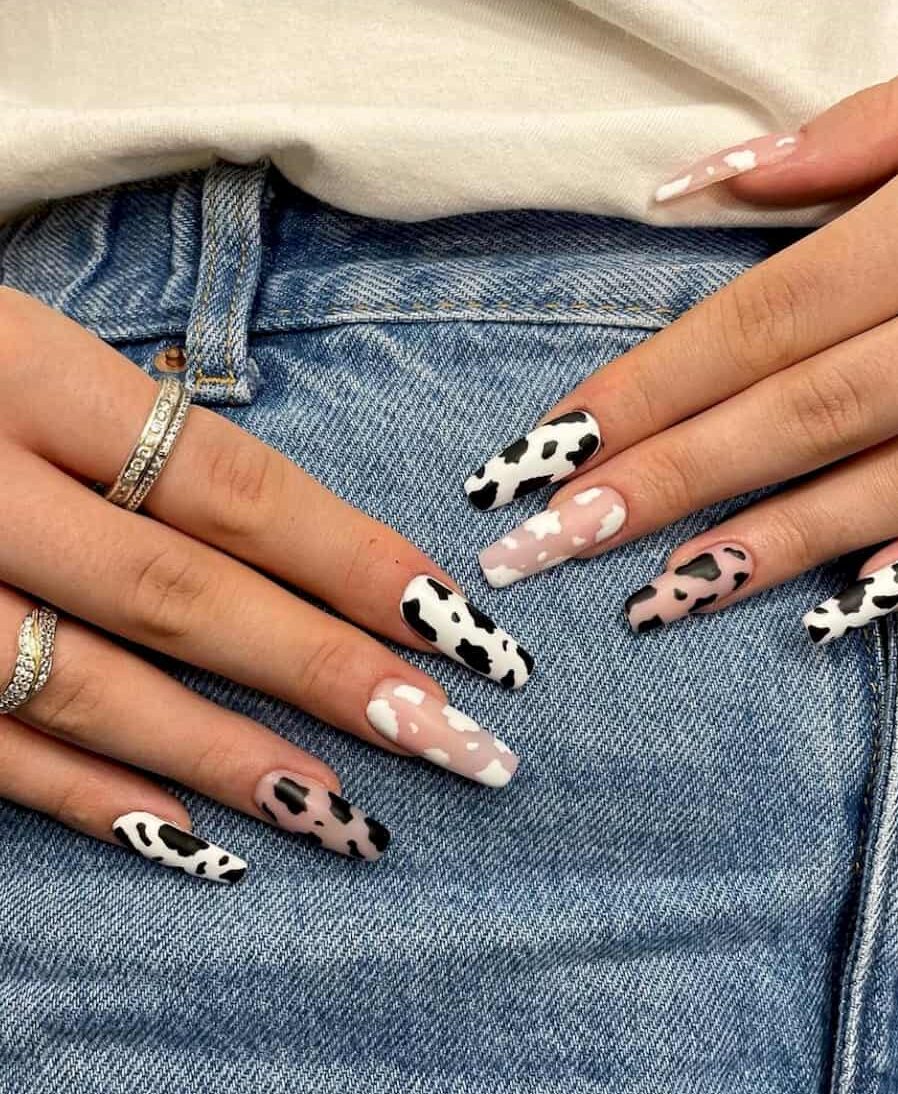
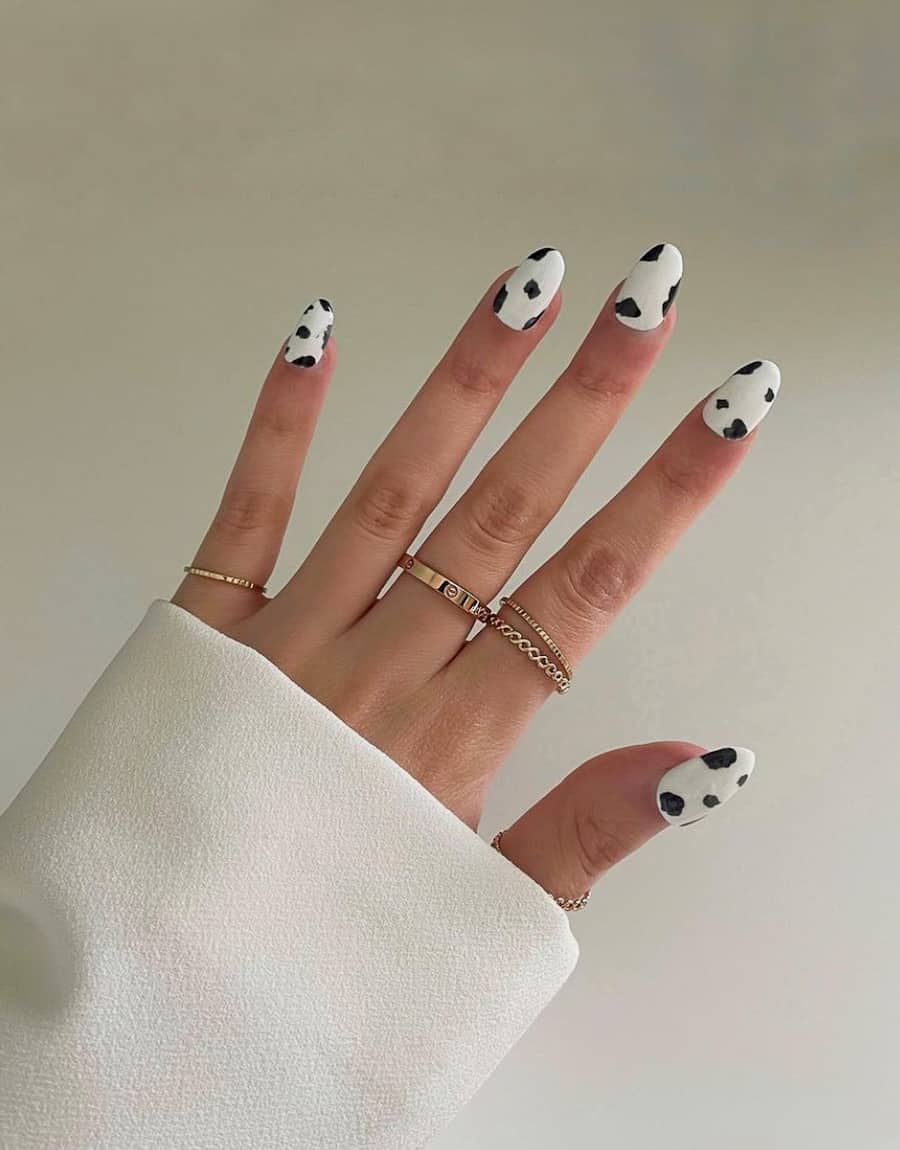
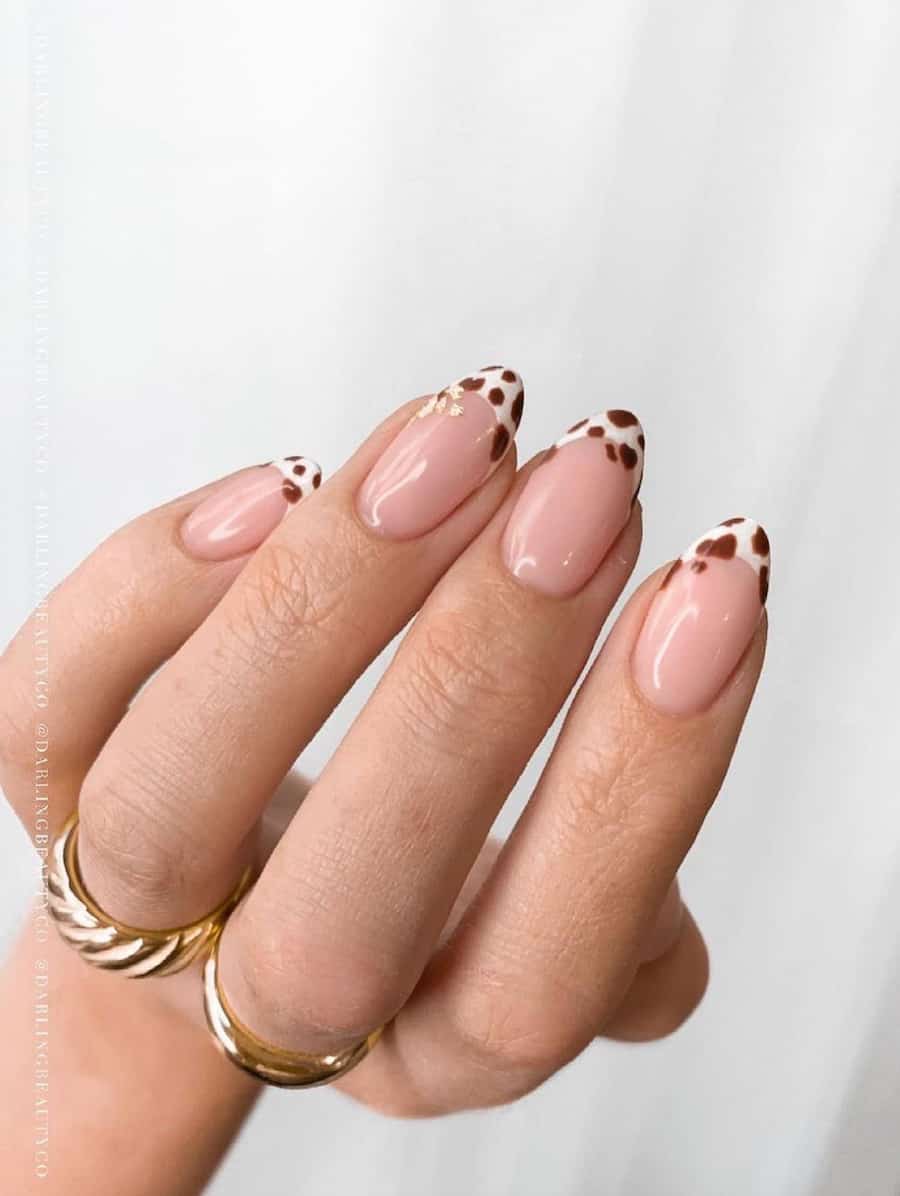
Cow print nails have become a trendy and eye-catching design, offering a fun and unique twist to your manicure. Here’s how you can achieve cow print nails that you’ll love:
What You’ll Need:
- Base Coat: Start with a clear base coat to protect your natural nails and create a smooth surface for your design.
- White Nail Polish: You’ll need white nail polish to create the cow print pattern. Opt for a nail polish with a fine brush or use a nail art pen for precision.
- Black Nail Polish: Black polish will be used to create the cow print spots. As with the white polish, you can use one with a fine brush or a nail art pen.
- Top Coat: Finish your design with a clear top coat to seal and protect your nail art.
- Small Brush or Dotting Tool: You can use a small nail art brush or a dotting tool to create the spots.
- Nail Polish Remover and Cleanup Brush: In case you make any mistakes, it’s handy to have some nail polish remover and a cleanup brush for precise corrections.
Steps to Create Cow Print Nails:
- Prepare Your Nails: Start with clean, trimmed nails and apply a clear base coat to protect your natural nails. Allow it to dry completely.
- Apply White Base: Once the base coat is dry, apply two coats of white nail polish to your nails. Ensure that each coat is fully dry before proceeding.
- Create Cow Print Spots: Using black nail polish, carefully create irregularly shaped spots on your nails. These spots should resemble the patterns found on a cow’s coat. You can create small and large spots, and they don’t need to be perfectly symmetrical. Allow the black spots to dry.
- Add Smaller Spots: For an authentic cow print look, you can add smaller black spots within some of the larger spots. This adds dimension to the design.
- Seal with Top Coat: Once your design is complete and the spots are dry, seal your cow print nails with a clear top coat. This will protect your nail art and give it a polished finish.
- Clean Up: If you’ve made any mistakes or the black polish has bled onto your cuticles, use a small brush dipped in nail polish remover for precise cleanup.
- Repeat on All Nails: Repeat these steps on all your nails to complete the cow print pattern.
Cow print nails offer a playful and trendy look that’s perfect for any season. You can also experiment with different nail shapes and background colors to create a unique and personalized design. Whether you want a subtle cow print or a bold and eye-catching look, this trend is sure to make you love your nails even more! 🐄💅✨
Comments
Related Posts
Choosing the perfect nail color can be a fun way to express your personality and enhance your overall look. For those with dark skin tones, certain shades can particularly stand out, complementing the rich undertones and bringing out the natural beauty of your complexion. Here are some nail colors that...
The New Year is the perfect time to embrace all things glittering and glamorous, and what better way to do so than with your nails? As we step into the New Year, let your nails reflect the excitement and joy of new beginnings with over 40 sparkling nail designs. From...
Doing gel nails at home can seem daunting at first, but with the right tools and a bit of practice, you can achieve a salon-quality manicure from the comfort of your own home. Here’s a comprehensive guide to help you get started: 1. Gather Your Supplies To create gel nails...
