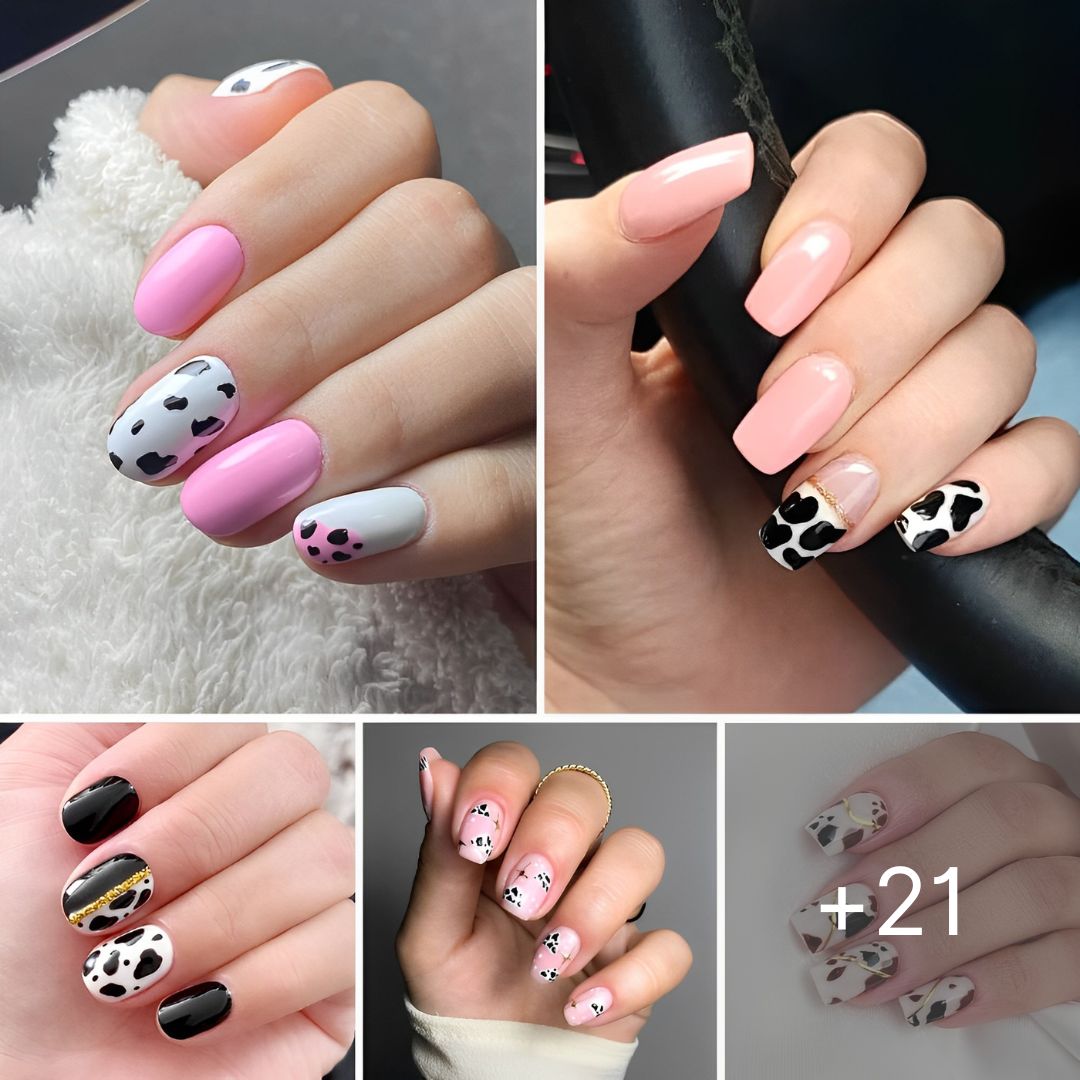
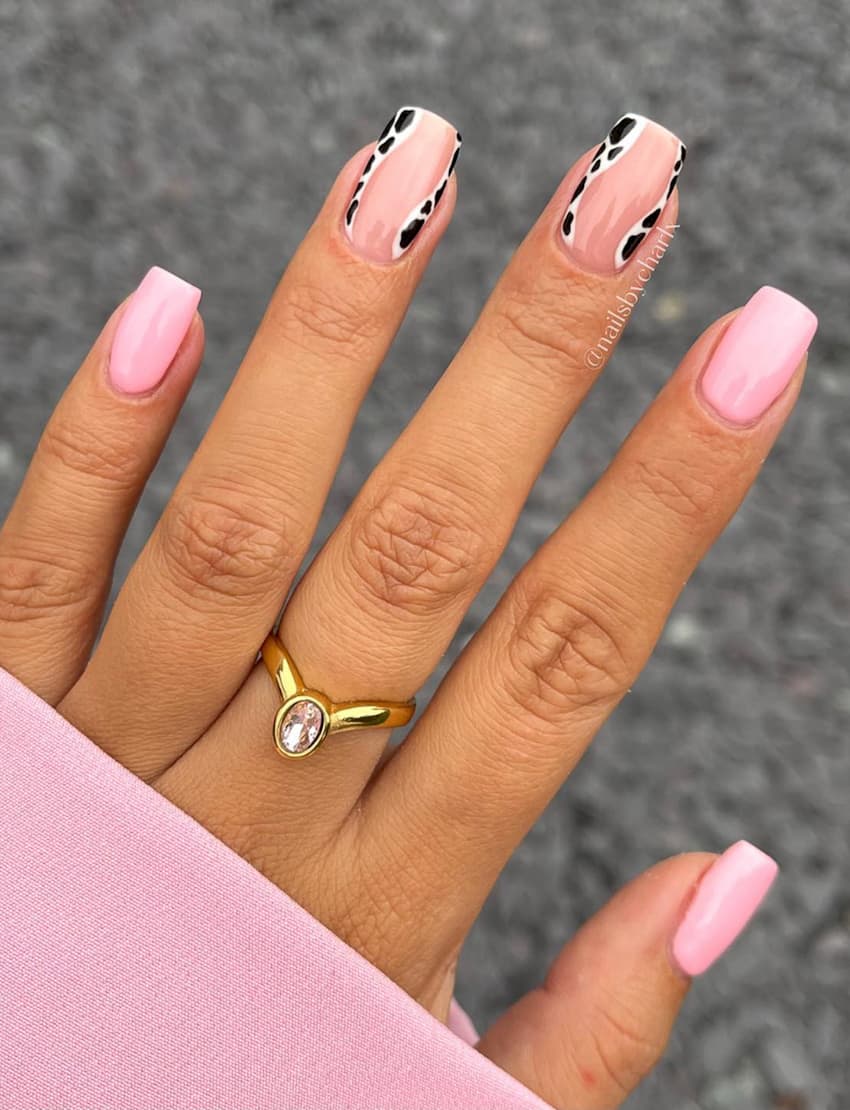
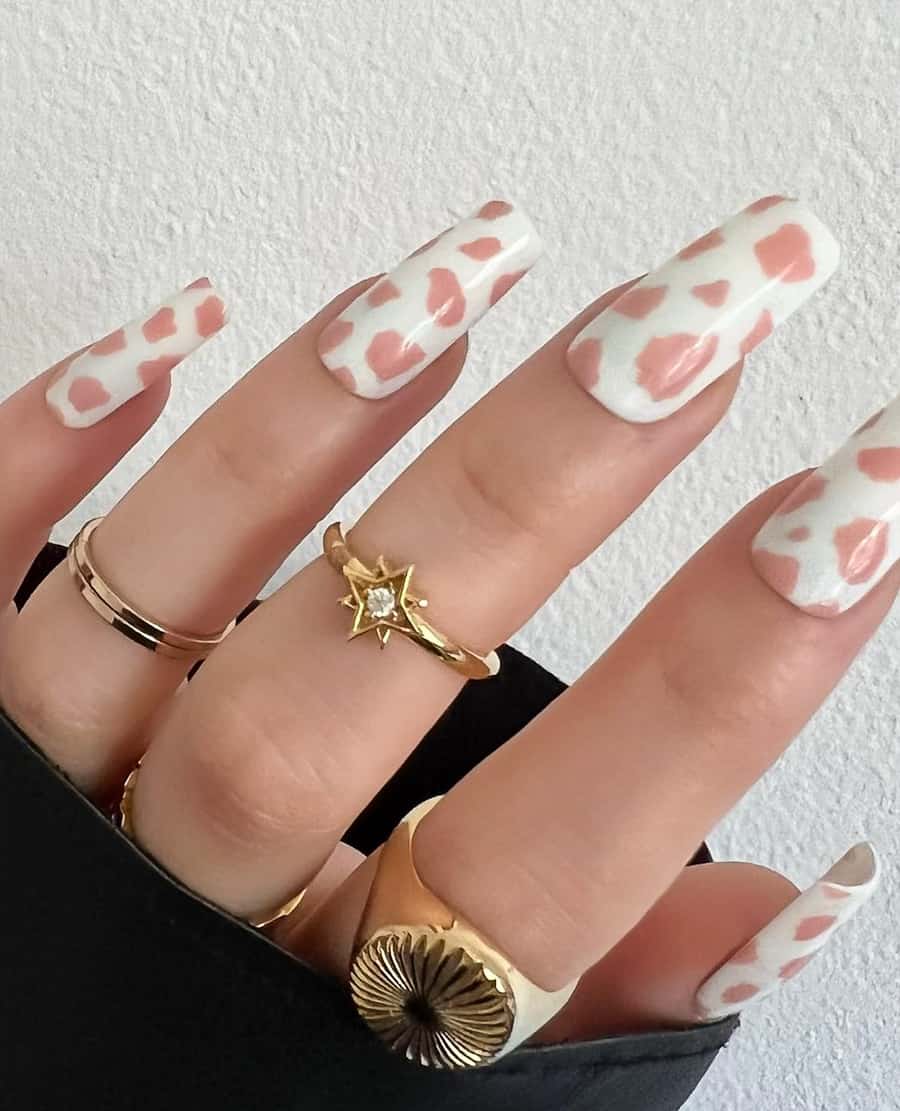
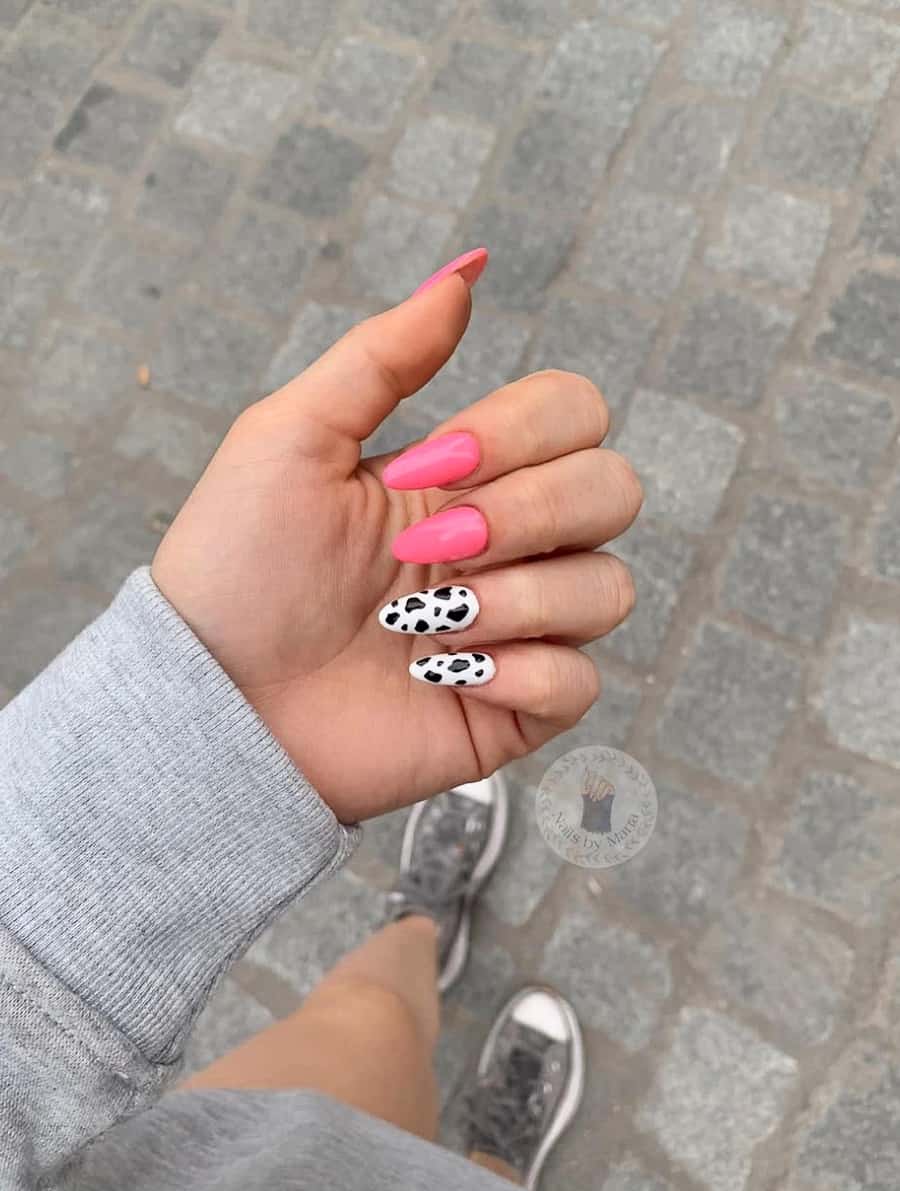
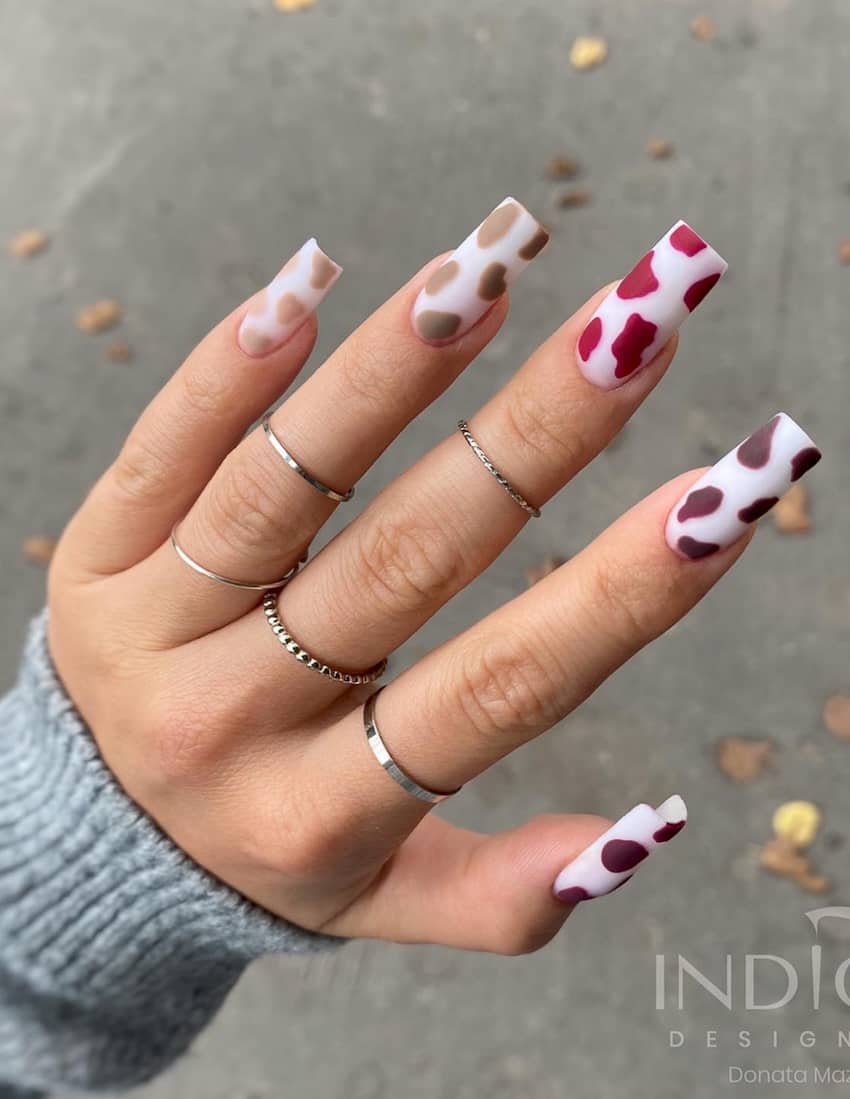
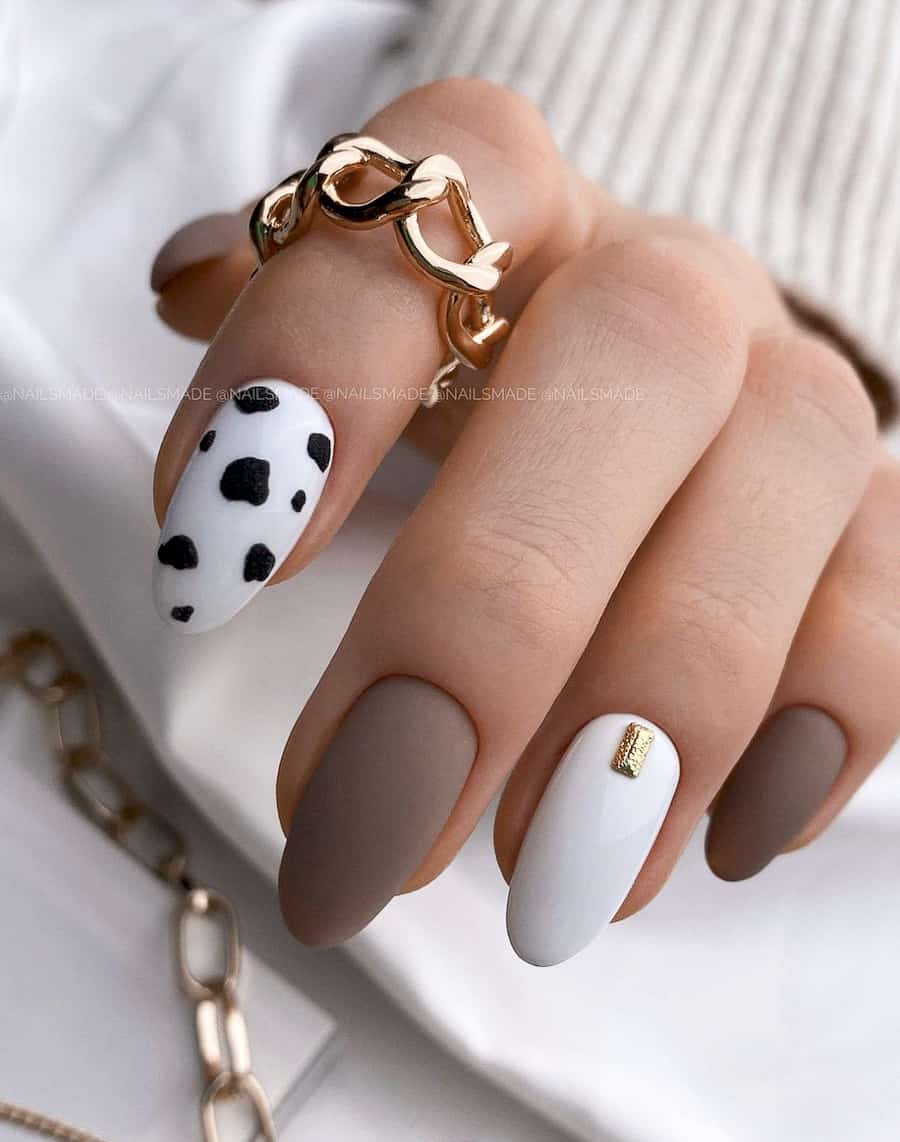
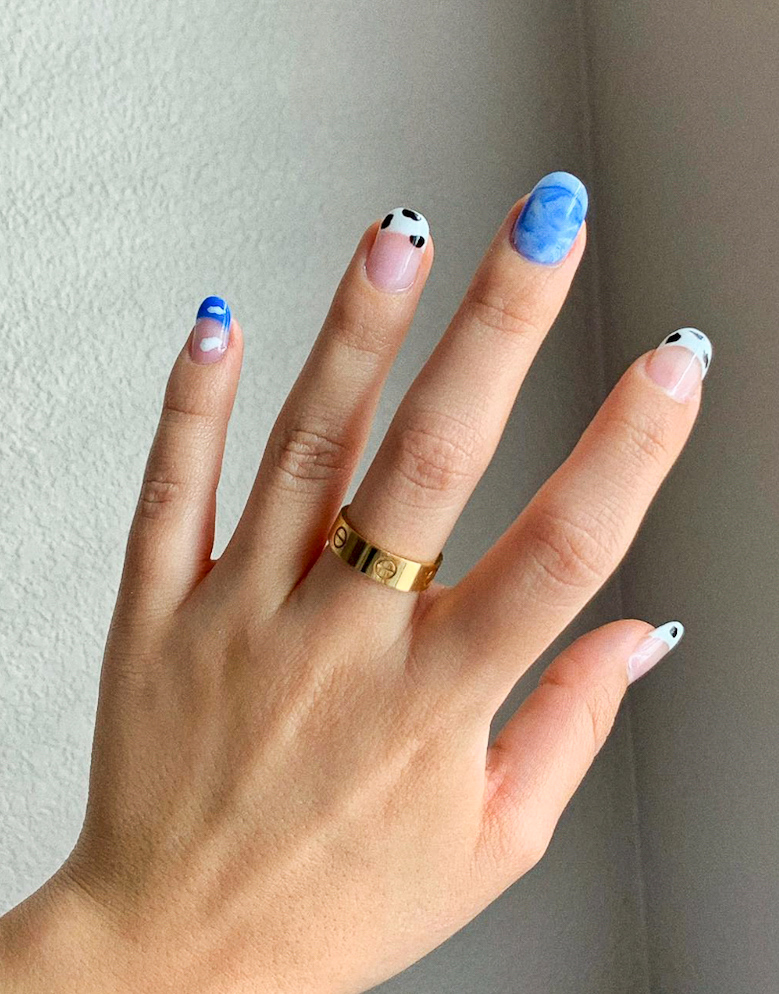
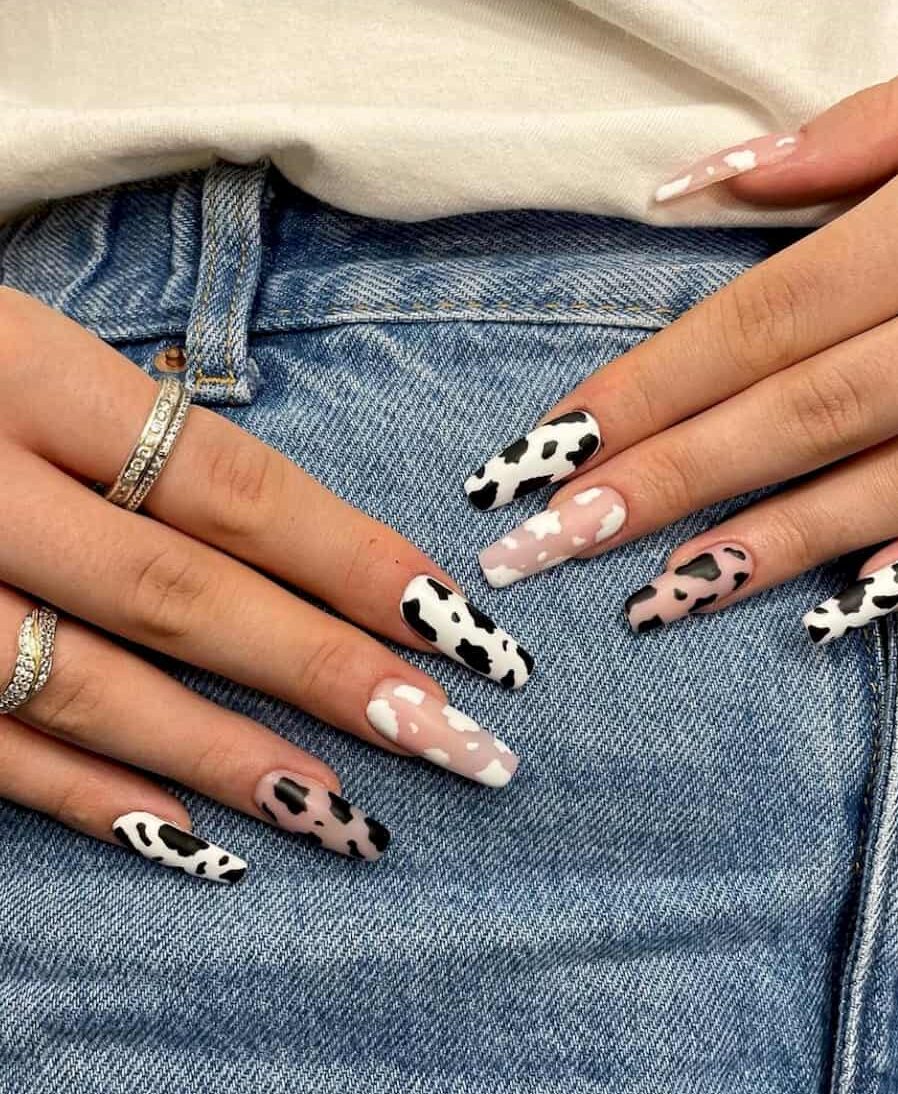
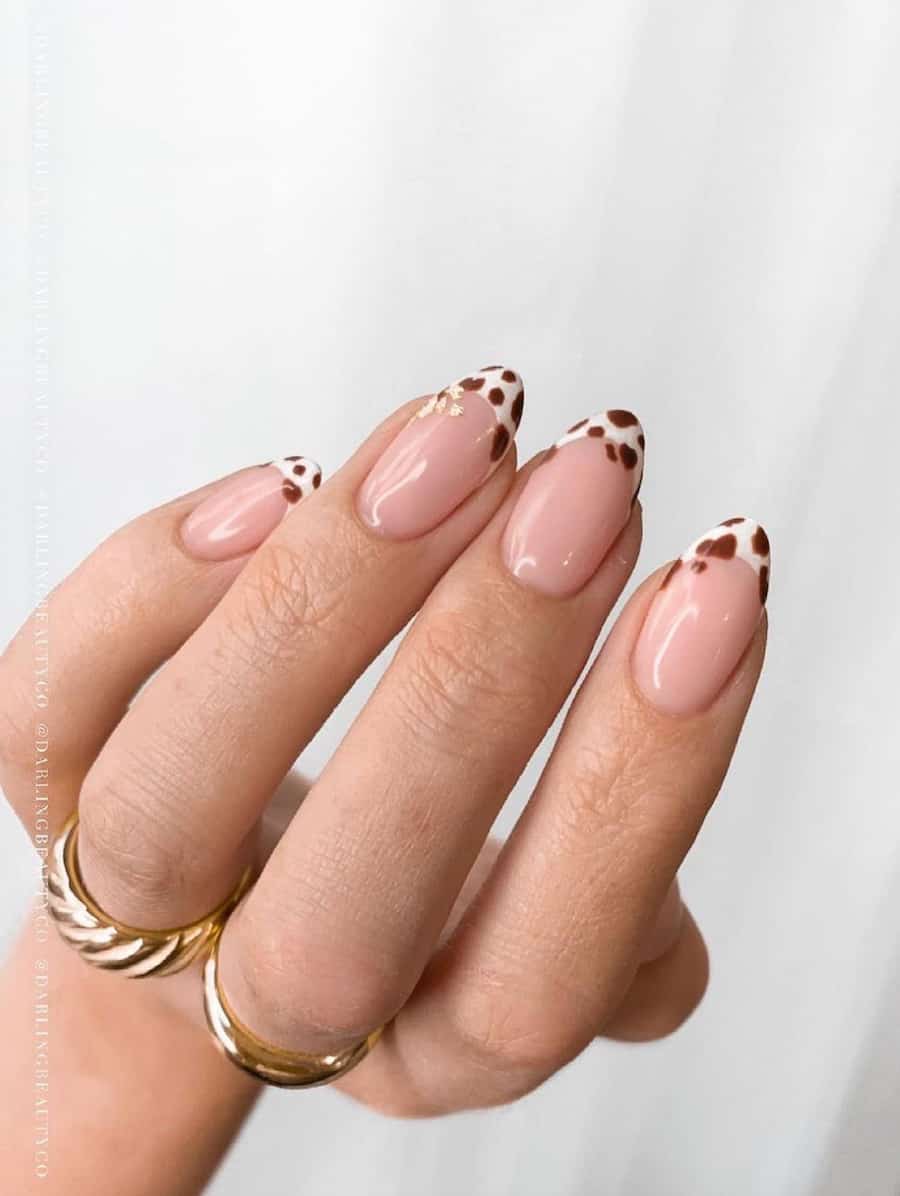
Cow print nails have become a trendy and eye-catching design, offering a fun and unique twist to your manicure. Here’s how you can achieve cow print nails that you’ll love:
What You’ll Need:
Base Coat: Start with a clear base coat to protect your natural nails and create a smooth surface for your design.
White Nail Polish: You’ll need white nail polish to create the cow print pattern. Opt for a nail polish with a fine brush or use a nail art pen for precision.
Black Nail Polish: Black polish will be used to create the cow print spots. As with the white polish, you can use one with a fine brush or a nail art pen.
Top Coat: Finish your design with a clear top coat to seal and protect your nail art.
Small Brush or Dotting Tool: You can use a small nail art brush or a dotting tool to create the spots.
Nail Polish Remover and Cleanup Brush: In case you make any mistakes, it’s handy to have some nail polish remover and a cleanup brush for precise corrections.
Steps to Create Cow Print Nails:
Prepare Your Nails: Start with clean, trimmed nails and apply a clear base coat to protect your natural nails. Allow it to dry completely.
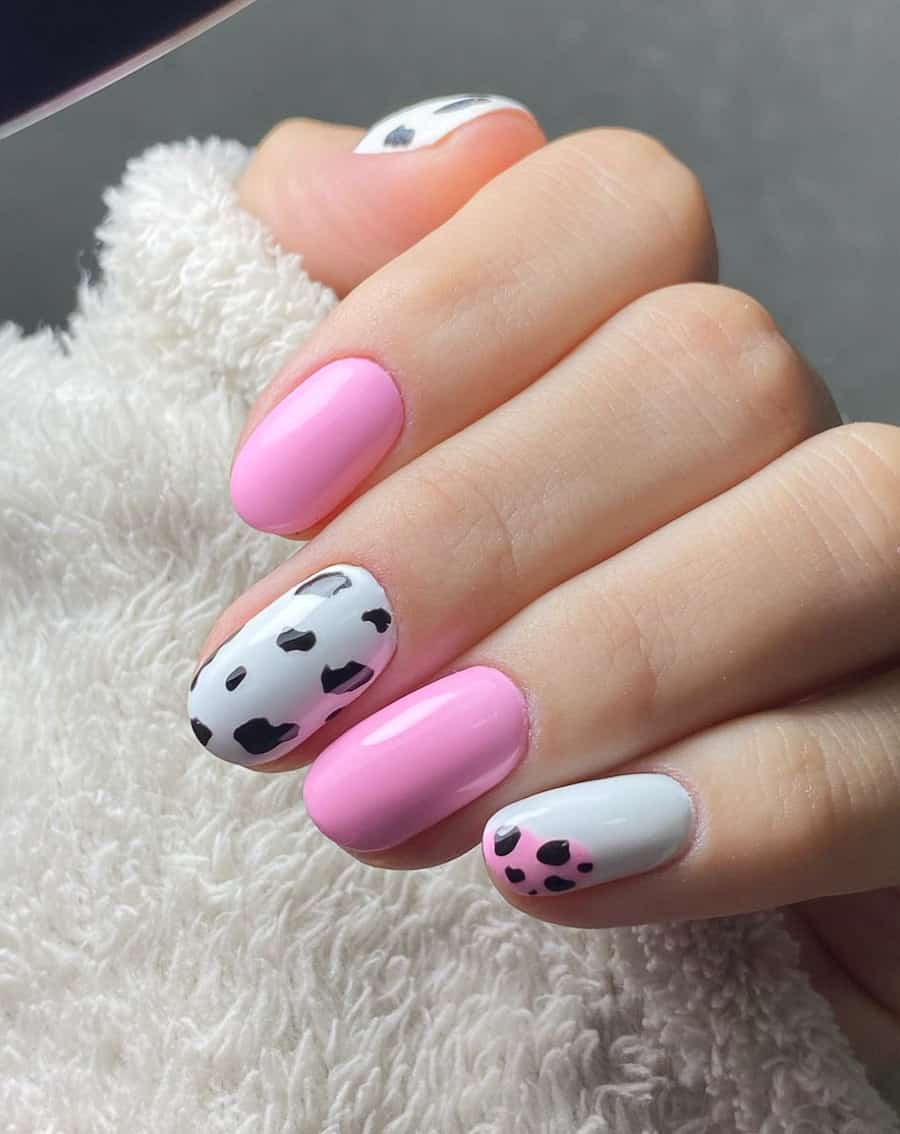
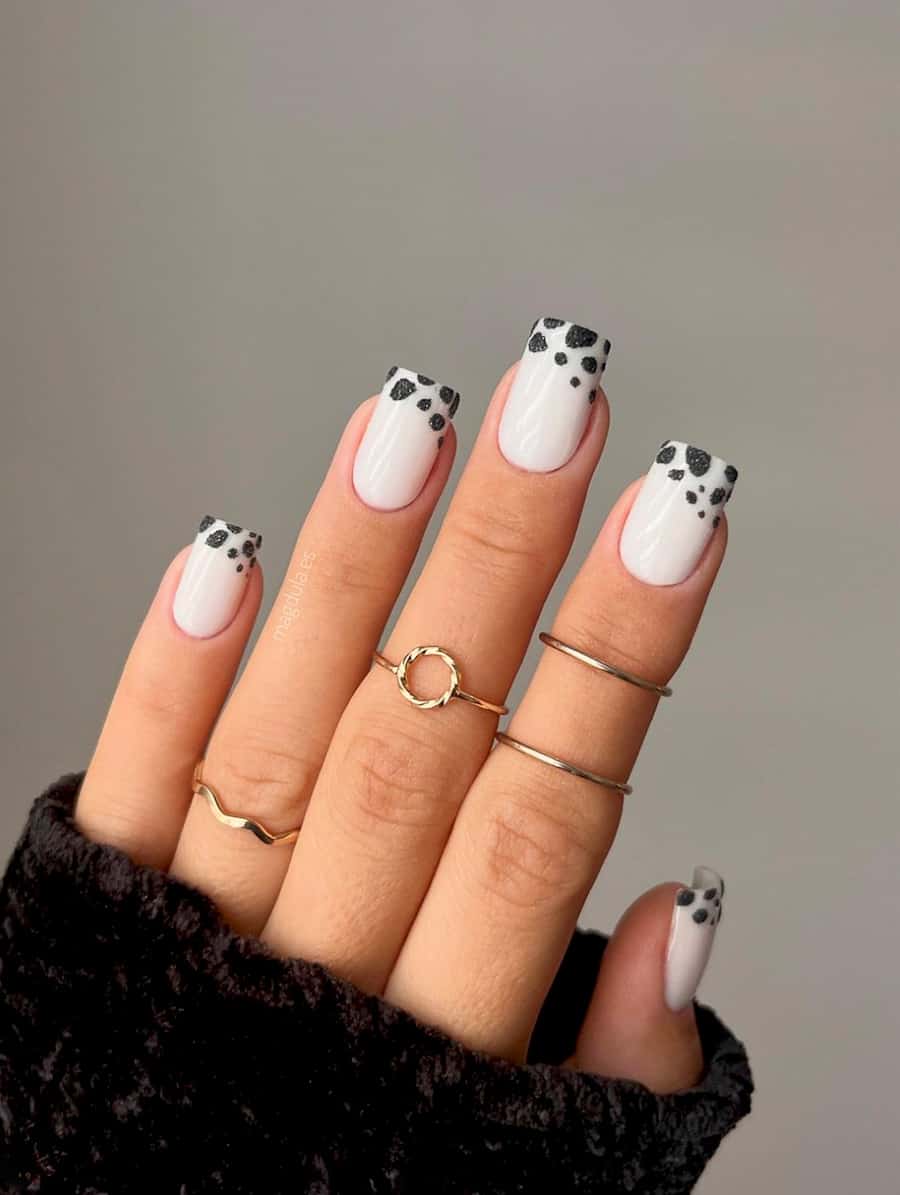
Apply White Base: Once the base coat is dry, apply two coats of white nail polish to your nails. Ensure that each coat is fully dry before proceeding.
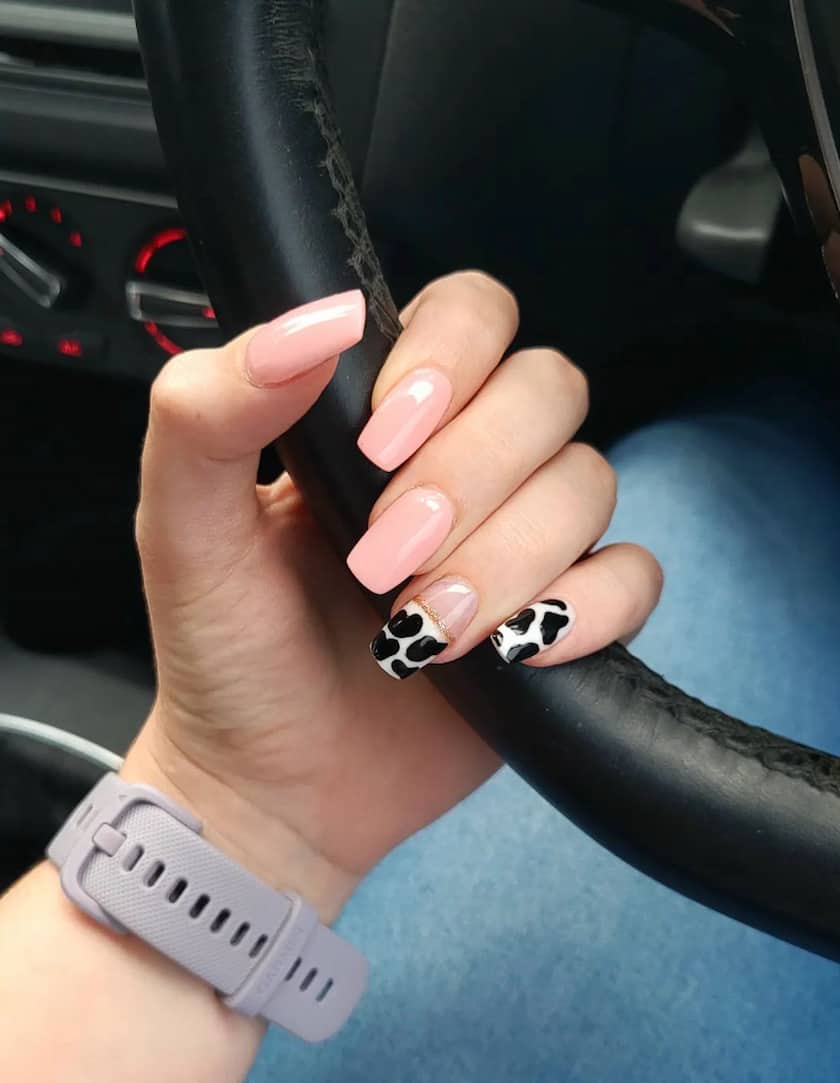
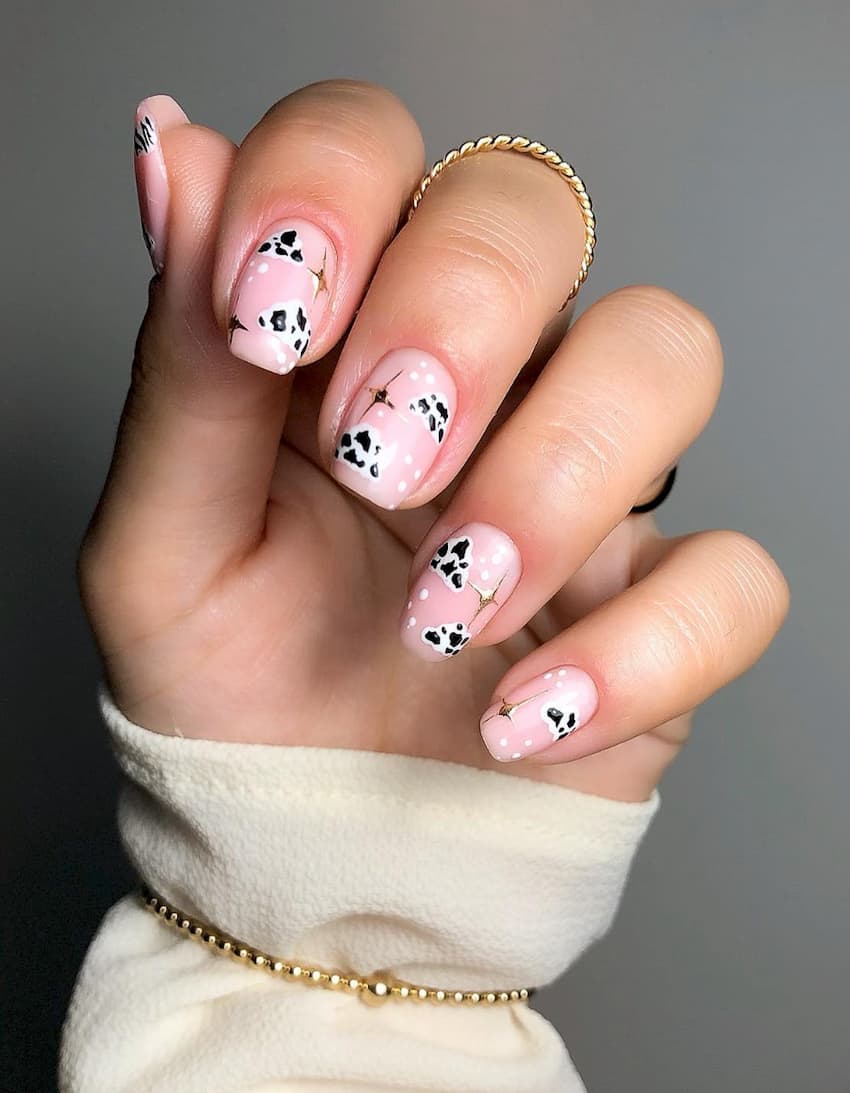
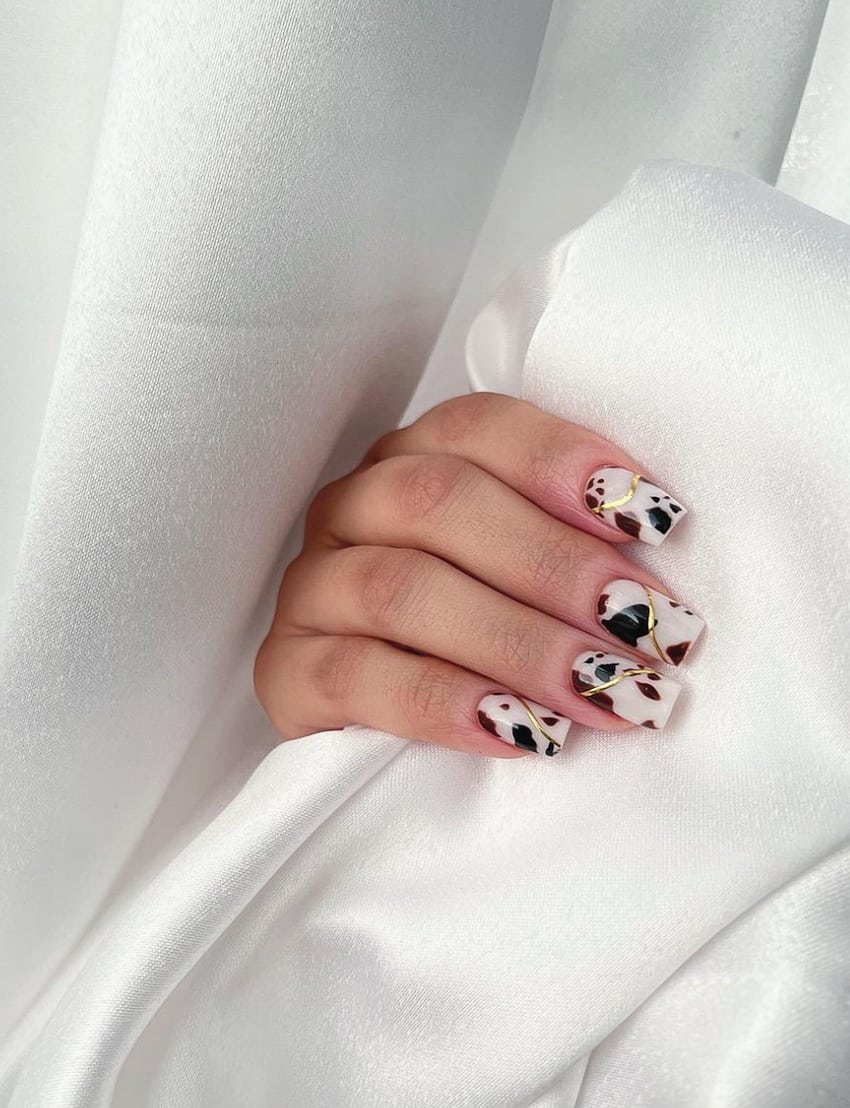
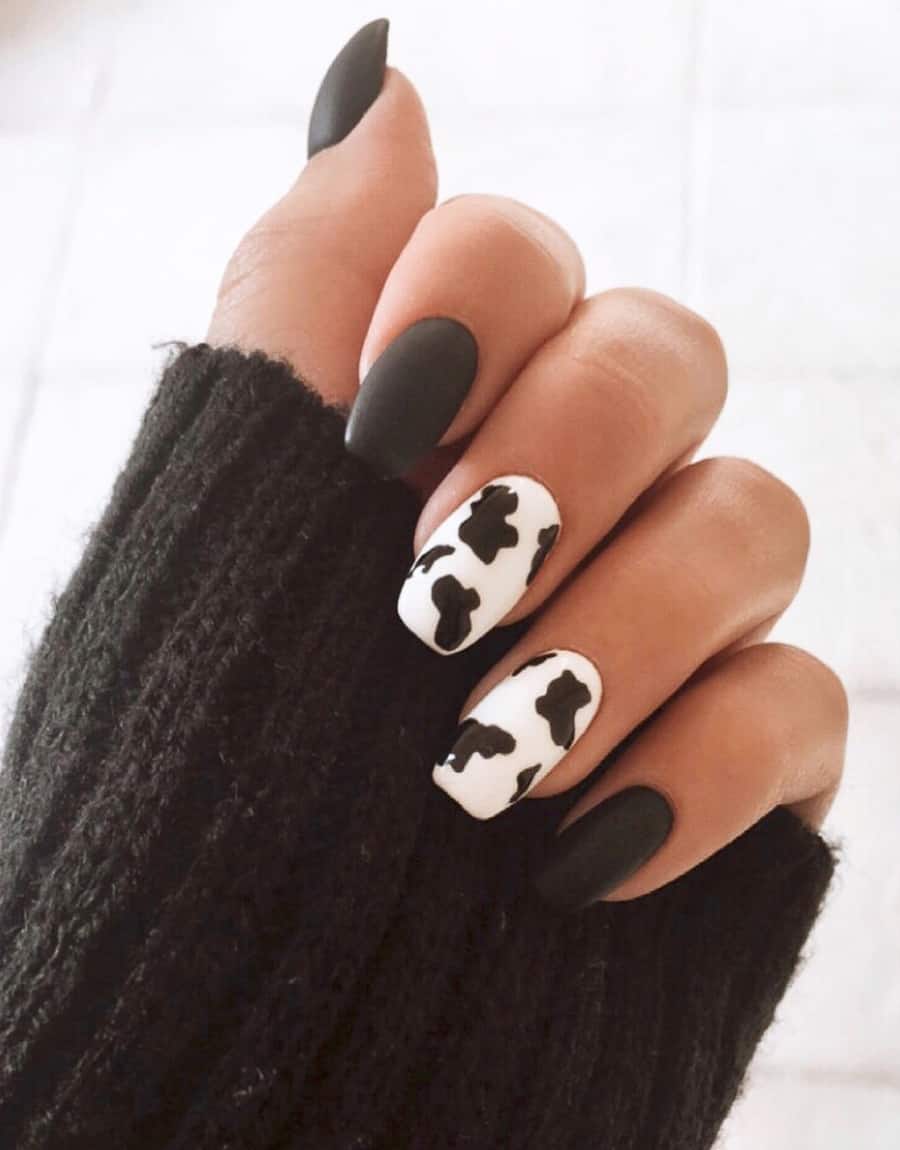
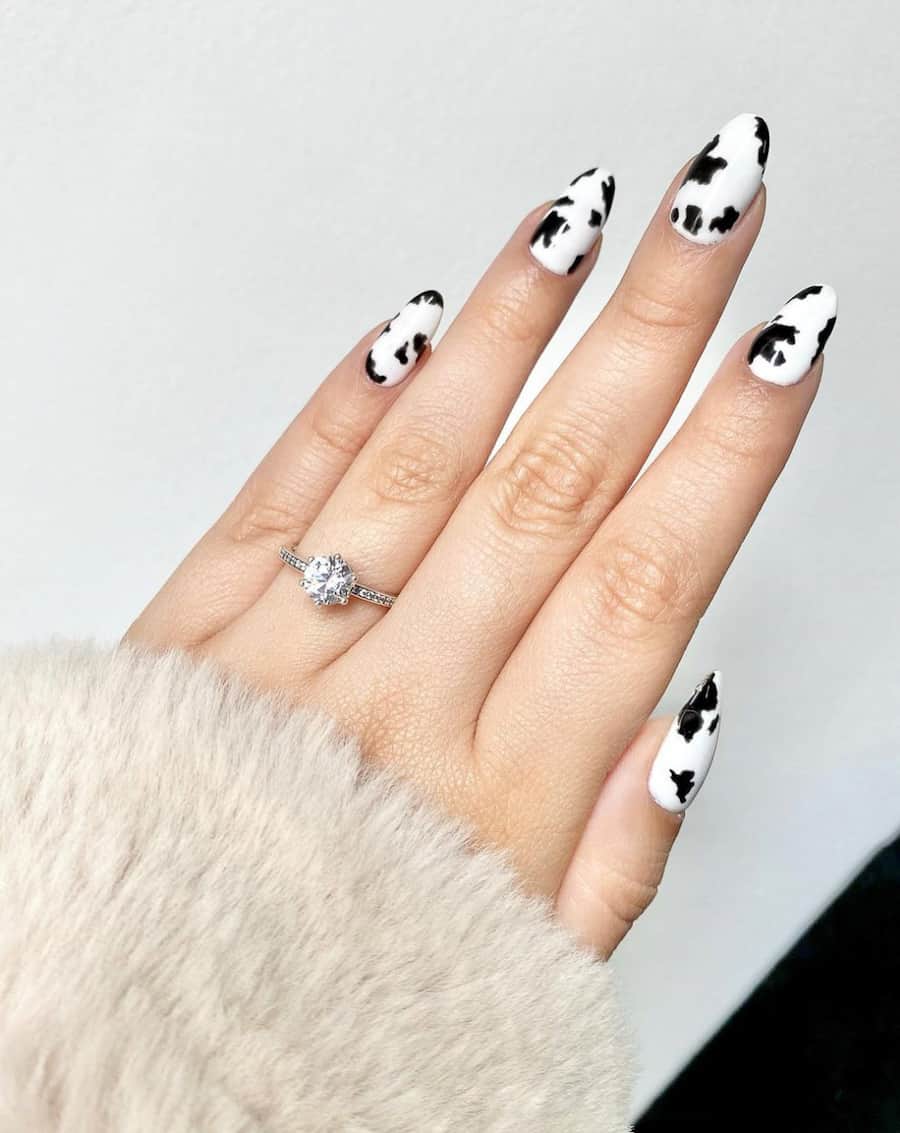
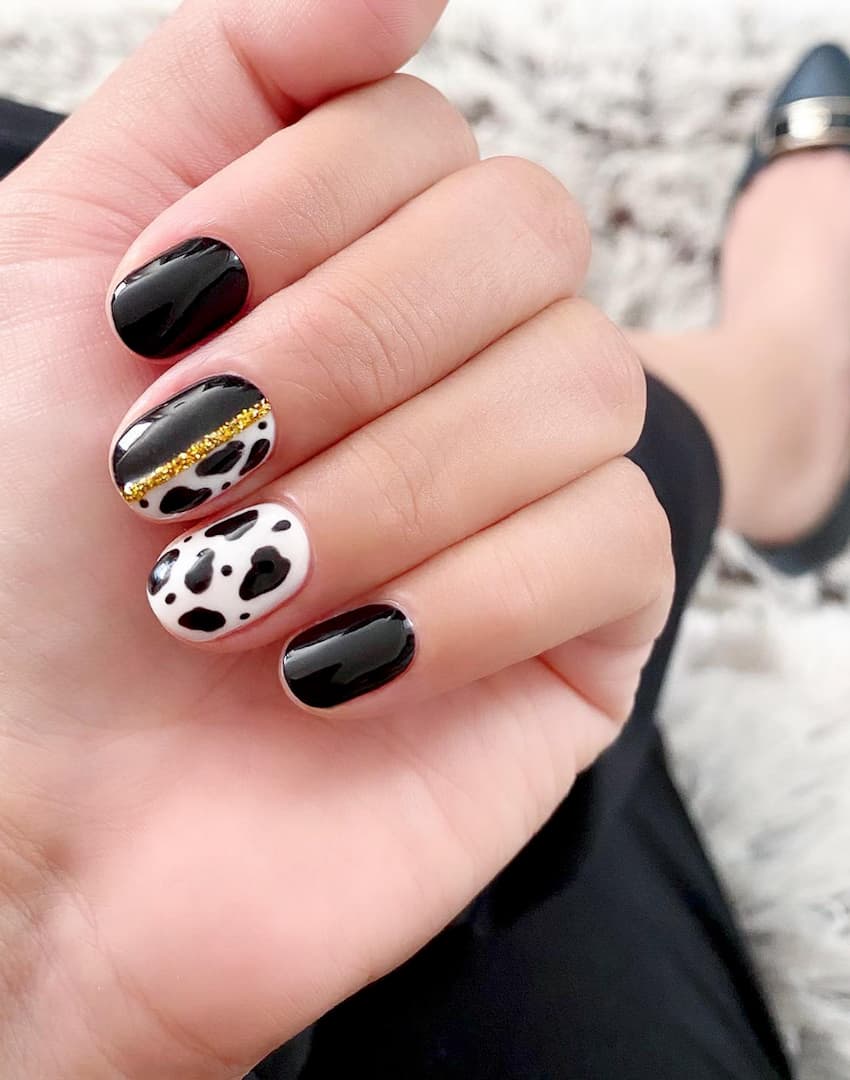
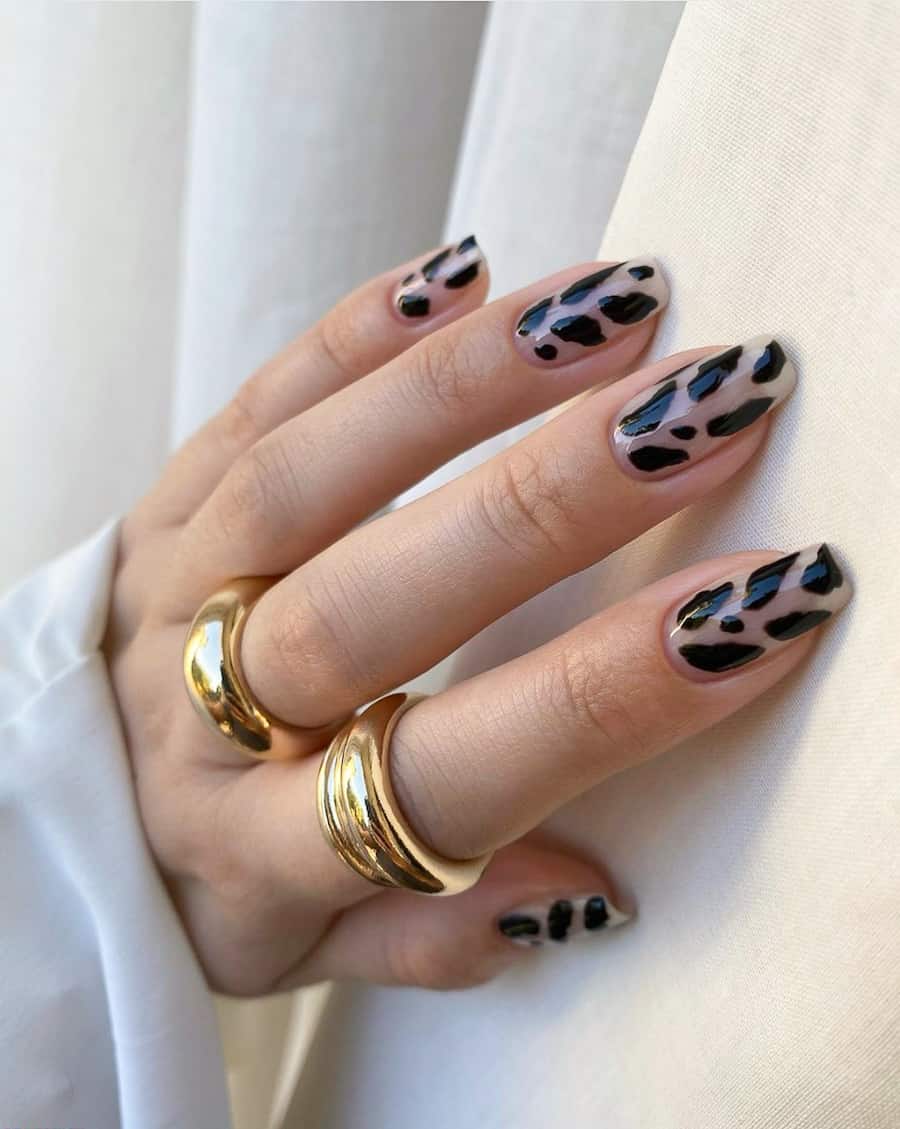
Create Cow Print Spots: Using black nail polish, carefully create irregularly shaped spots on your nails. These spots should resemble the patterns found on a cow’s coat. You can create small and large spots, and they don’t need to be perfectly symmetrical. Allow the black spots to dry.
Add Smaller Spots: For an authentic cow print look, you can add smaller black spots within some of the larger spots. This adds dimension to the design.
Seal with Top Coat: Once your design is complete and the spots are dry, seal your cow print nails with a clear top coat. This will protect your nail art and give it a polished finish.
Clean Up: If you’ve made any mistakes or the black polish has bled onto your cuticles, use a small brush dipped in nail polish remover for precise cleanup.
Repeat on All Nails: Repeat these steps on all your nails to complete the cow print pattern.
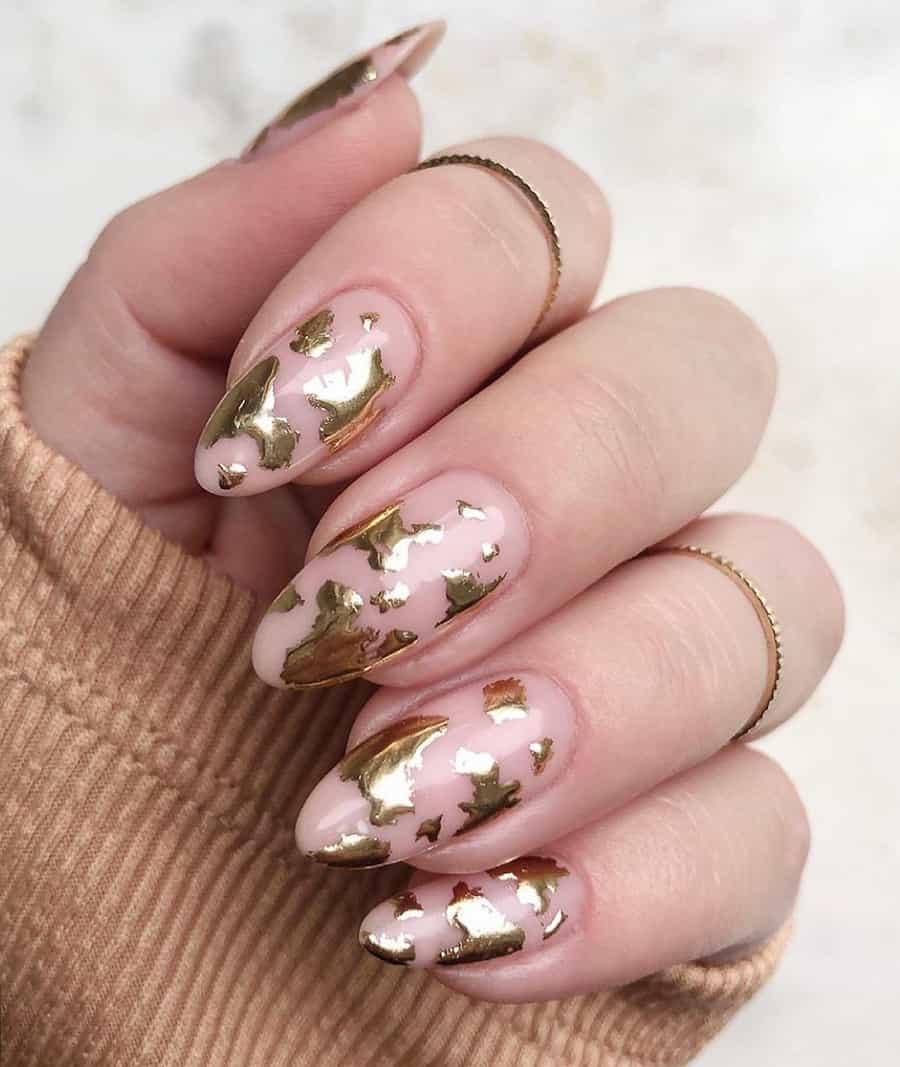
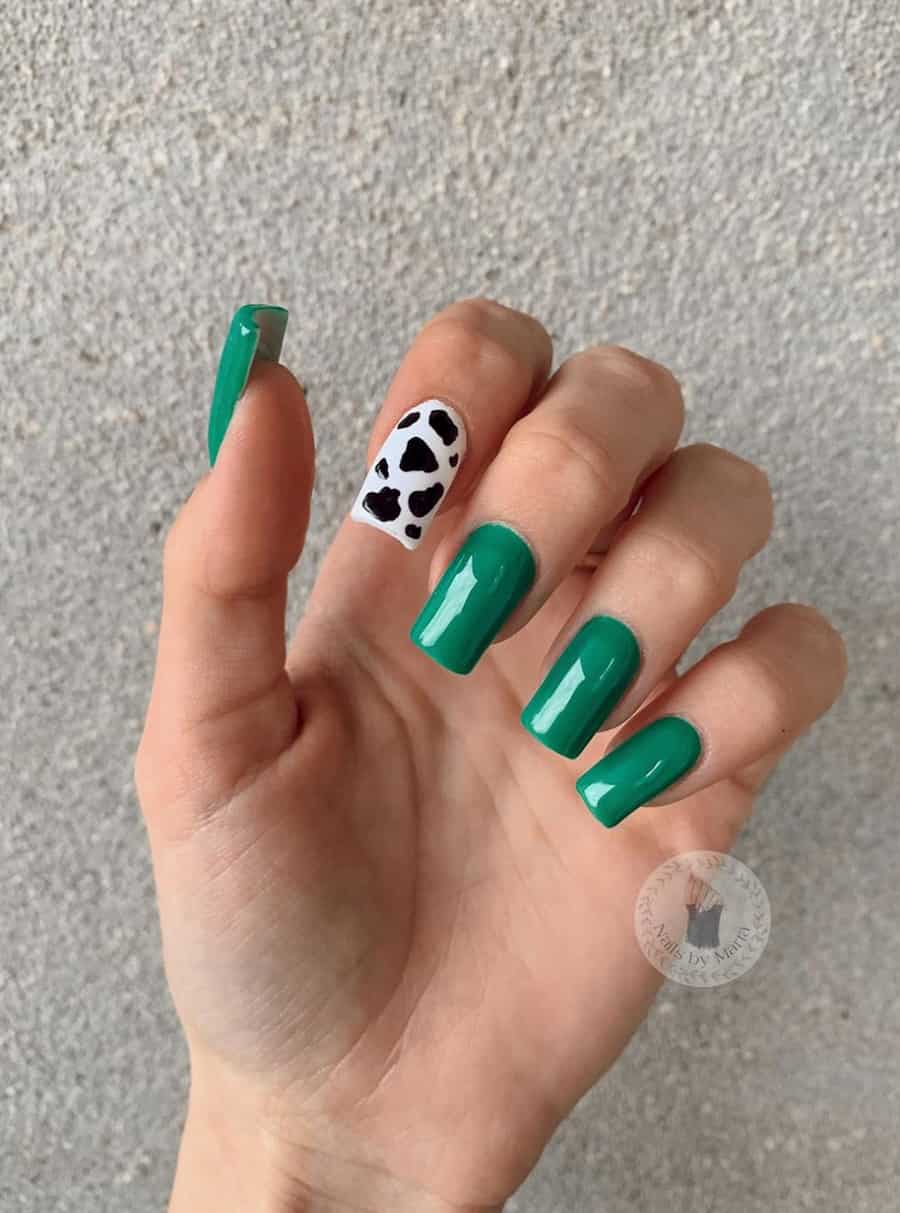
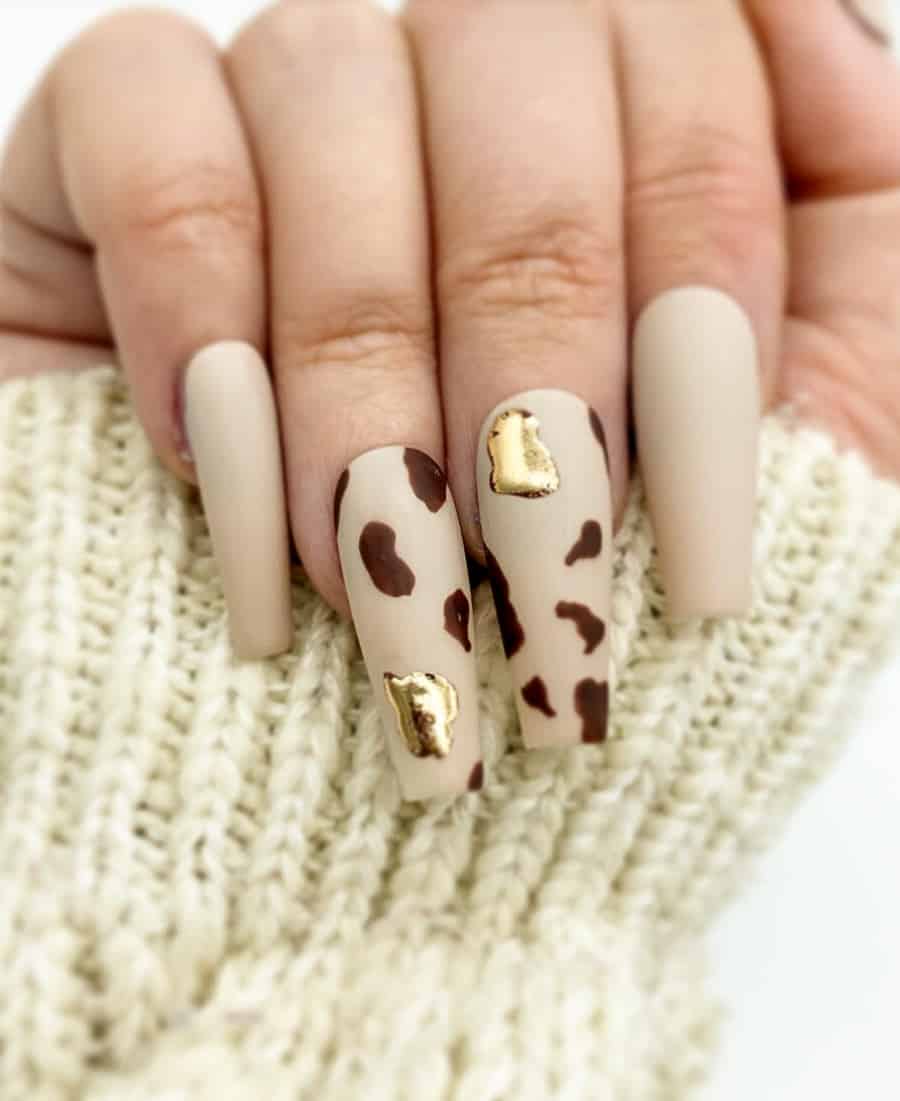
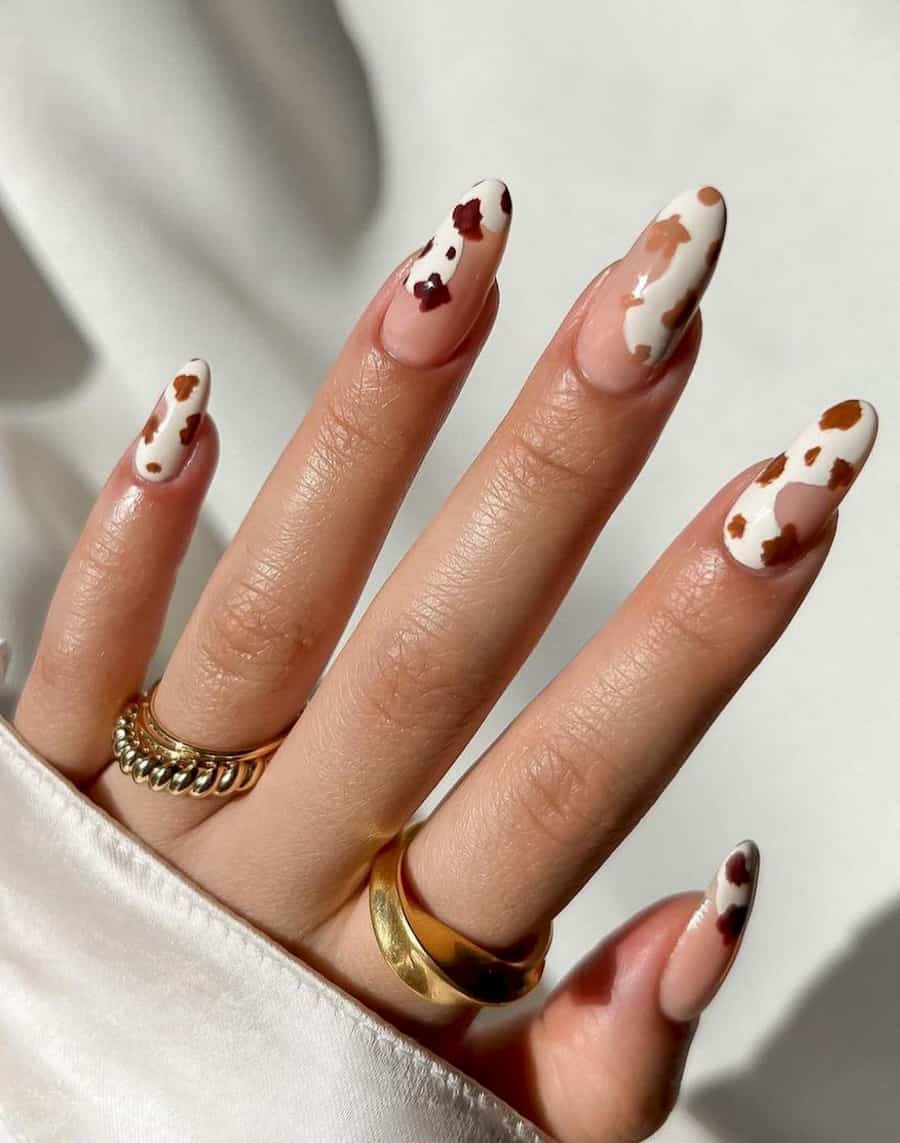
Cow print nails offer a playful and trendy look that’s perfect for any season. You can also experiment with different nail shapes and background colors to create a unique and personalized design. Whether you want a subtle cow print or a bold and eye-catching look, this trend is sure to make you love your nails even more! 🐄💅✨
Congratulations on your upcoming graduation in 2023! Your graduation is a significant milestone, and it’s natural to want every detail to be perfect, including your nails. Here are some gorgeous graduation nail ideas that you’ll love: Classic French Manicure: A timeless choice that’s elegant and suits any outfit. For a...
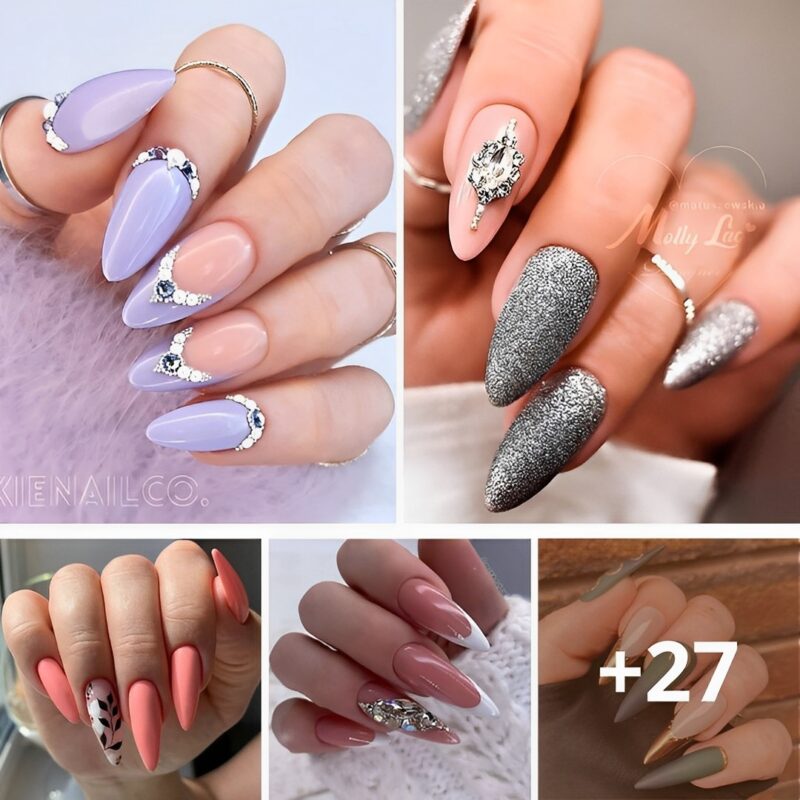
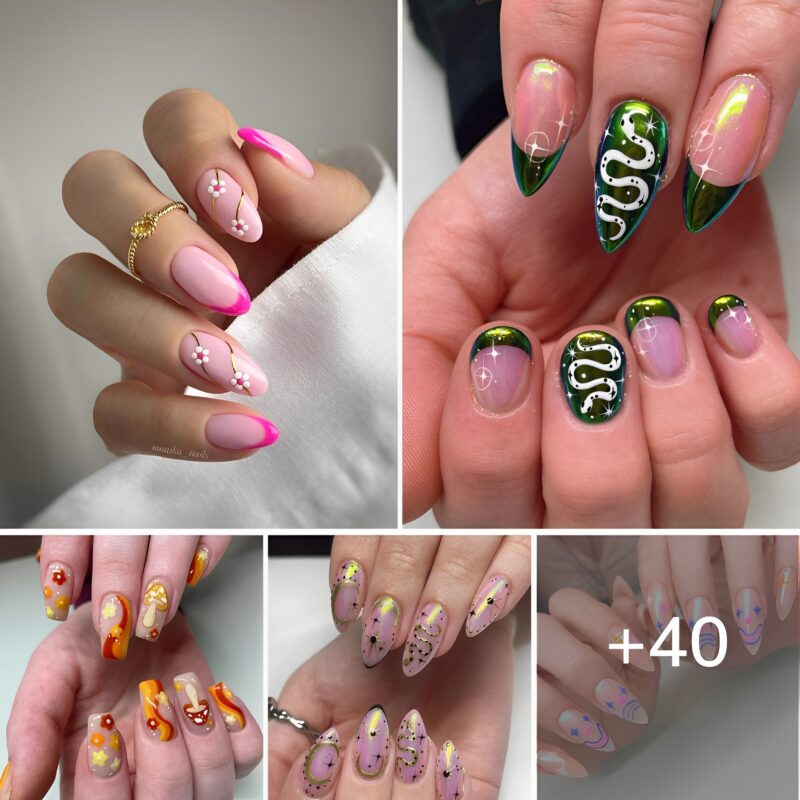
Almond-shaped nails are a stylish and popular choice, offering a perfect canvas for various nail designs. Their unique shape, which is wider at the base and tapers to a rounded point, adds a touch of elegance to the hands. Here are some chic and trendy almond nail designs to consider...
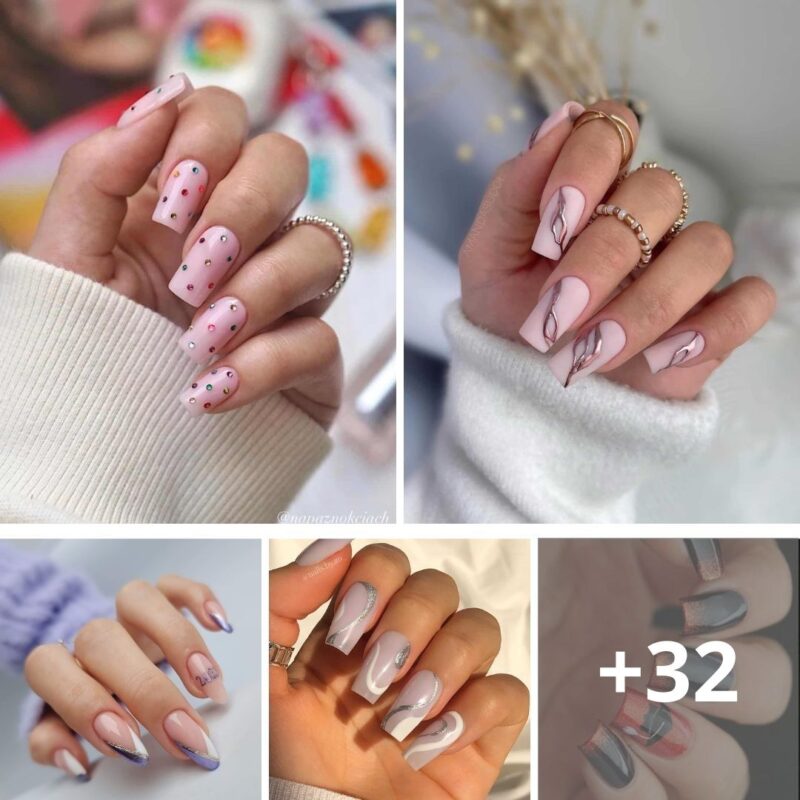
As you rightly pointed out, nails are more than just a canvas; they’re an expression of one’s personality and current mood. As the year unfolds, some specific trends and patterns have emerged, capturing the spirit of 2023. Dive in and discover the most enticing designs and colors for every season:...
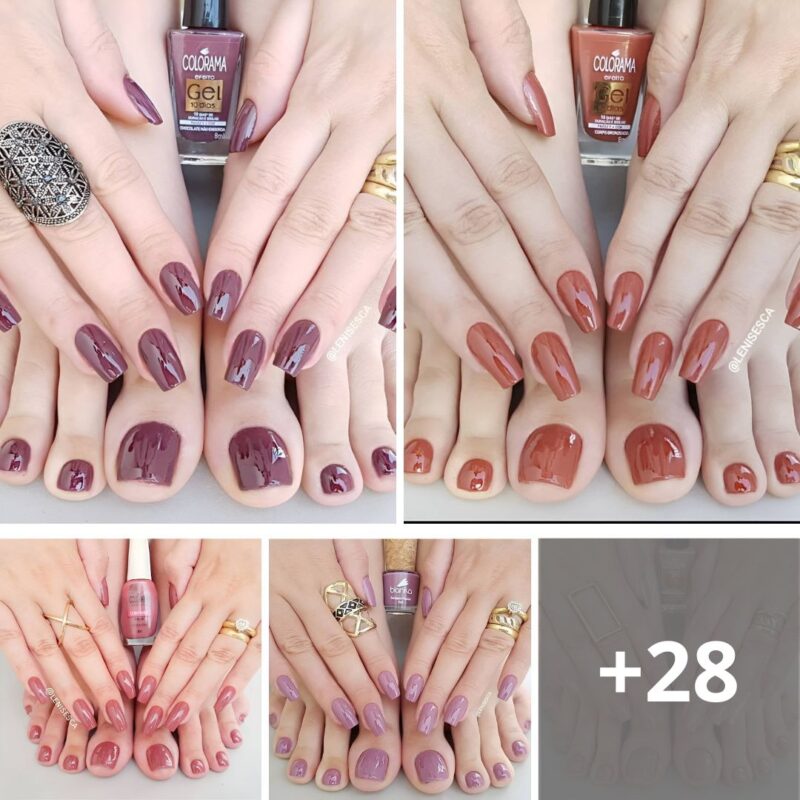
Matching nail and toenail designs are a fun way to add a coordinated and polished look to your summer style. Whether you’re lounging by the pool, hitting the beach, or just enjoying the warm weather, here are some matching nail and toenail designs that are perfect for copying this summer:...
We use cookies to ensure that we give you the best experience on our website. If you continue to use this site we will assume that you are happy with it.