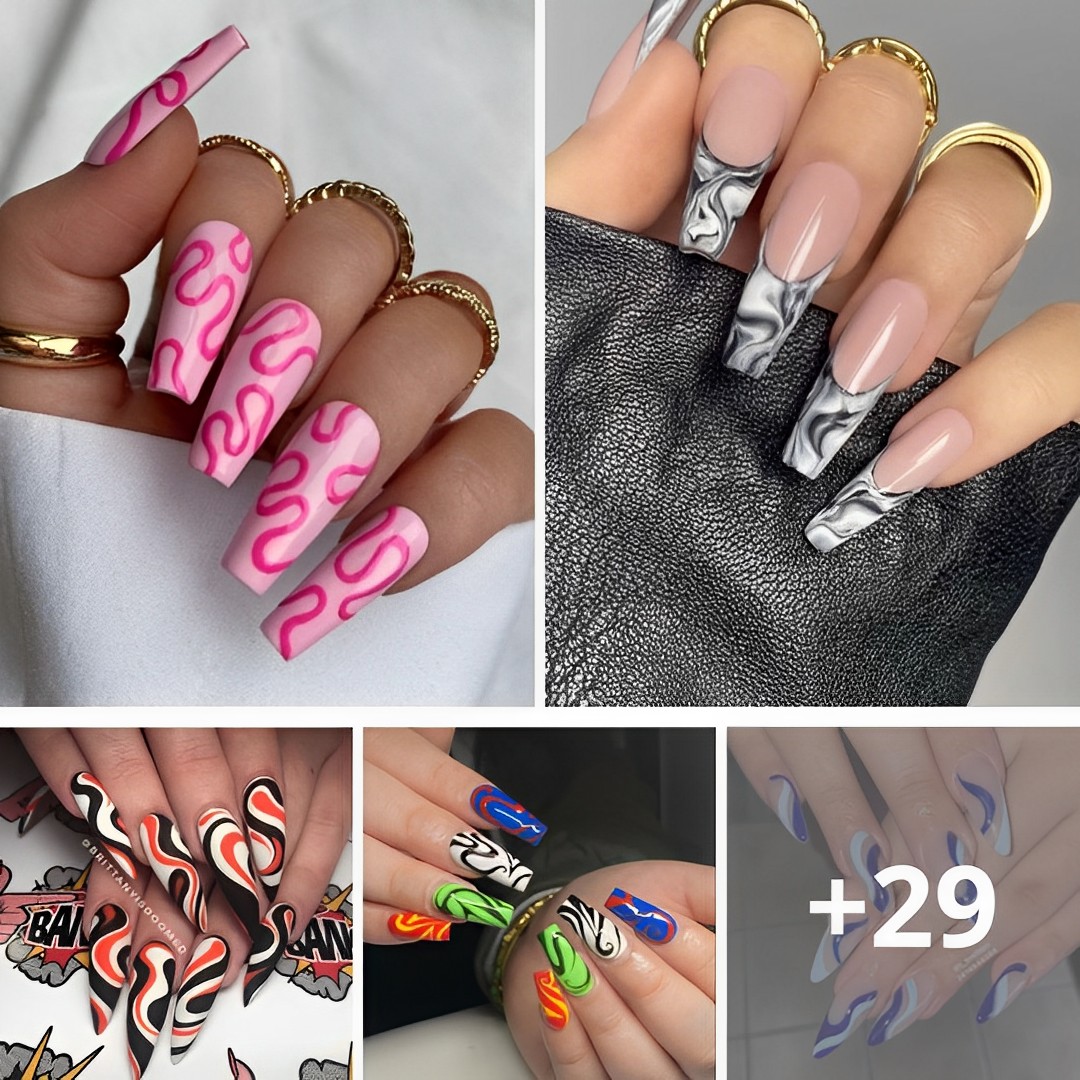
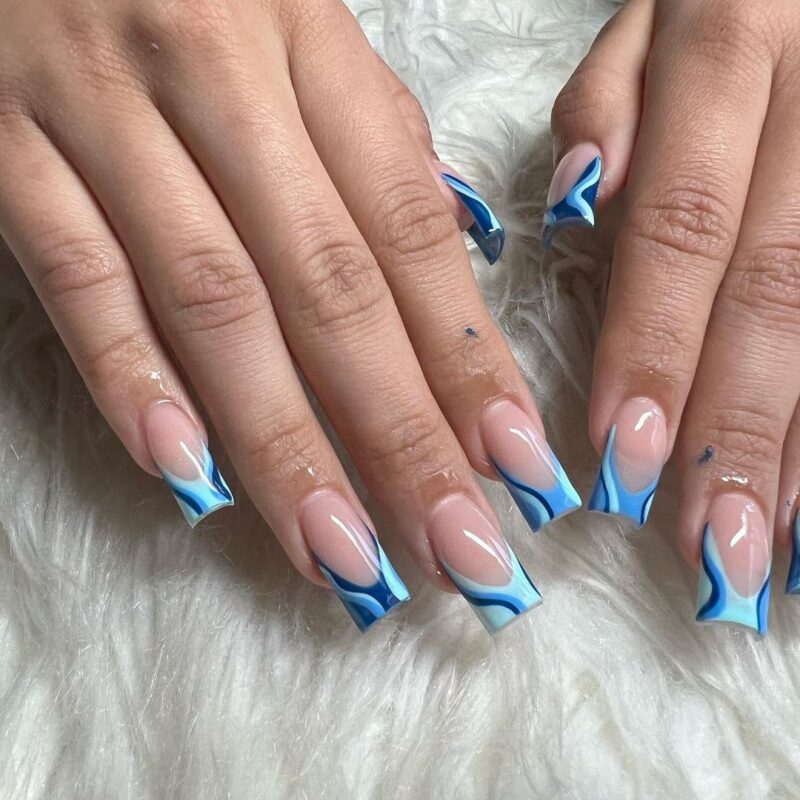
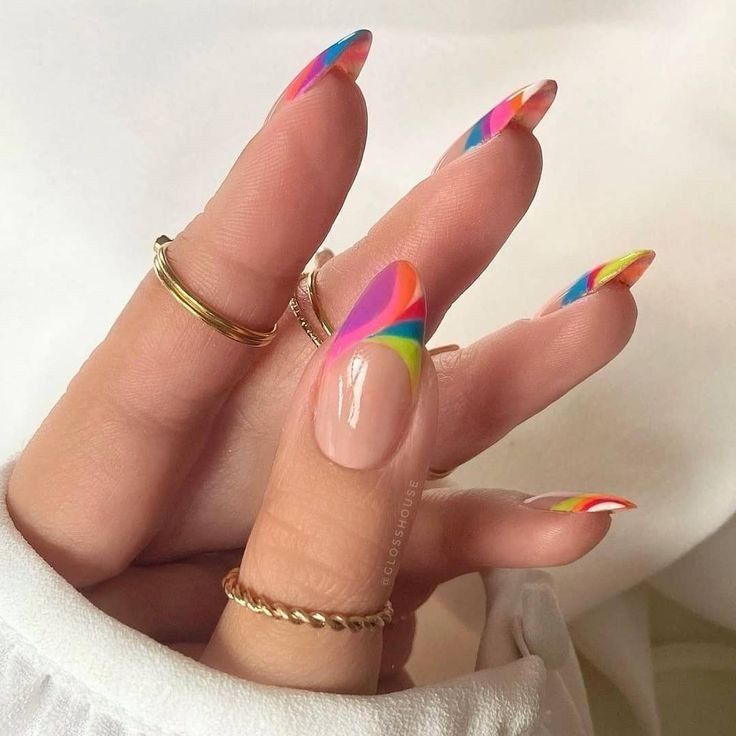
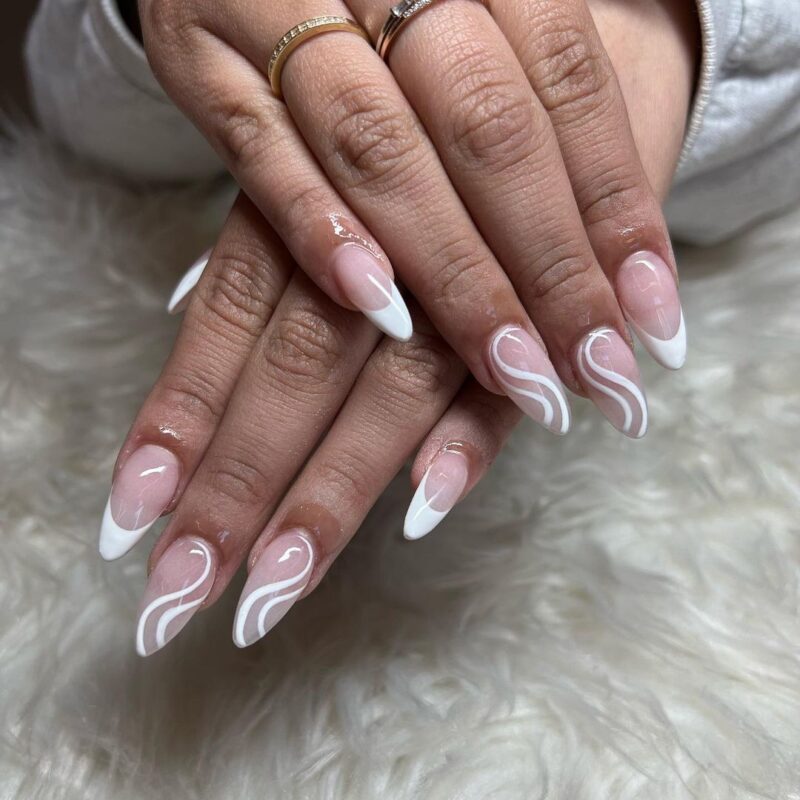
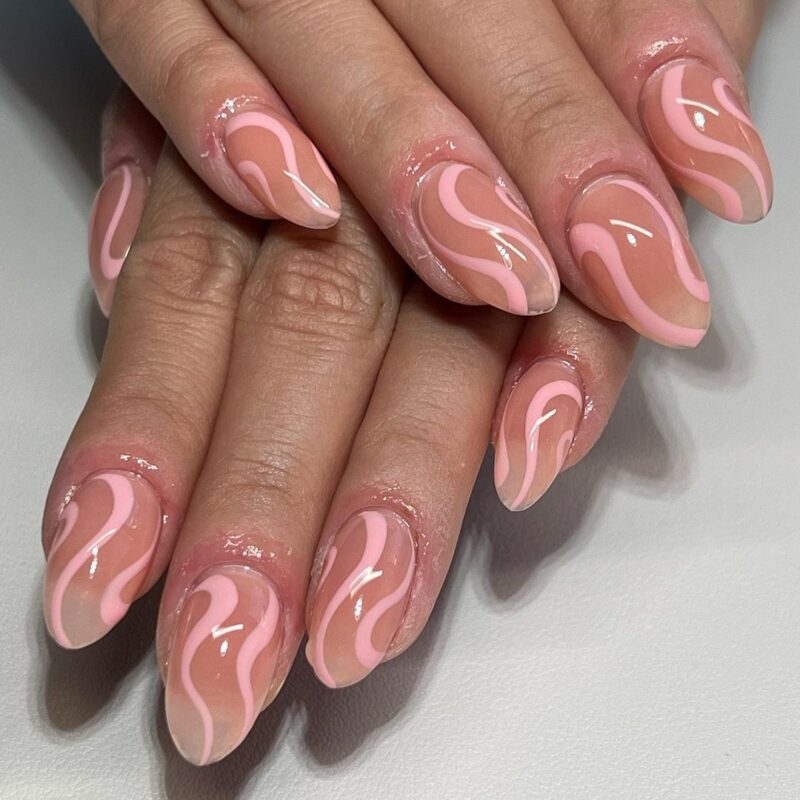
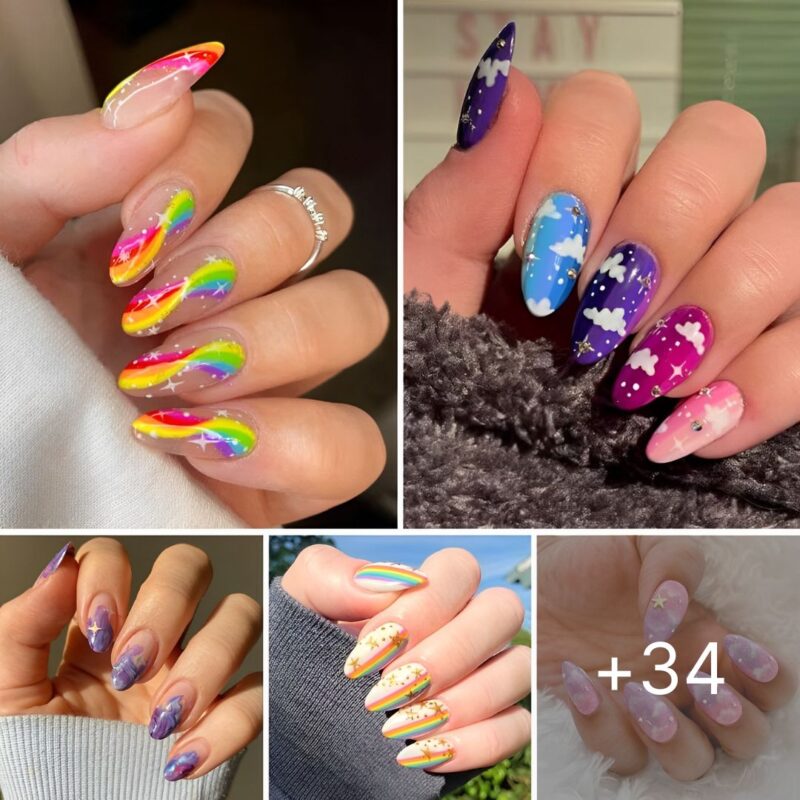
Dreamy Twirl Nails can evoke thoughts of whimsical swirls, pastel hues, and ethereal vibes. If you’re looking to create a dreamy, twirling nail design, here are some inspirations and steps to guide you:
Inspirations:
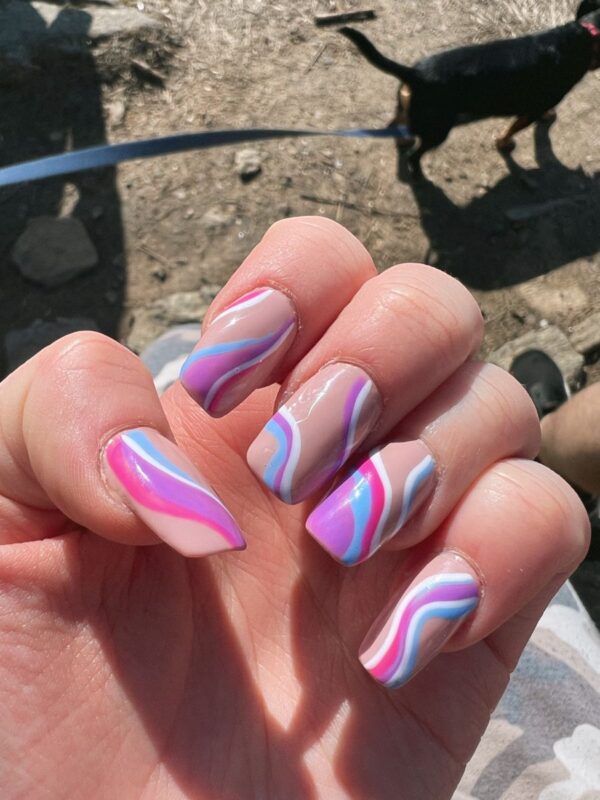
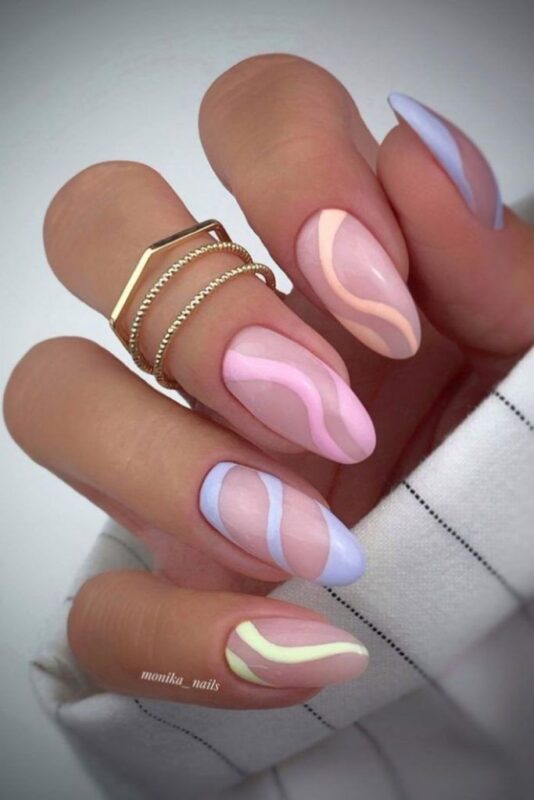
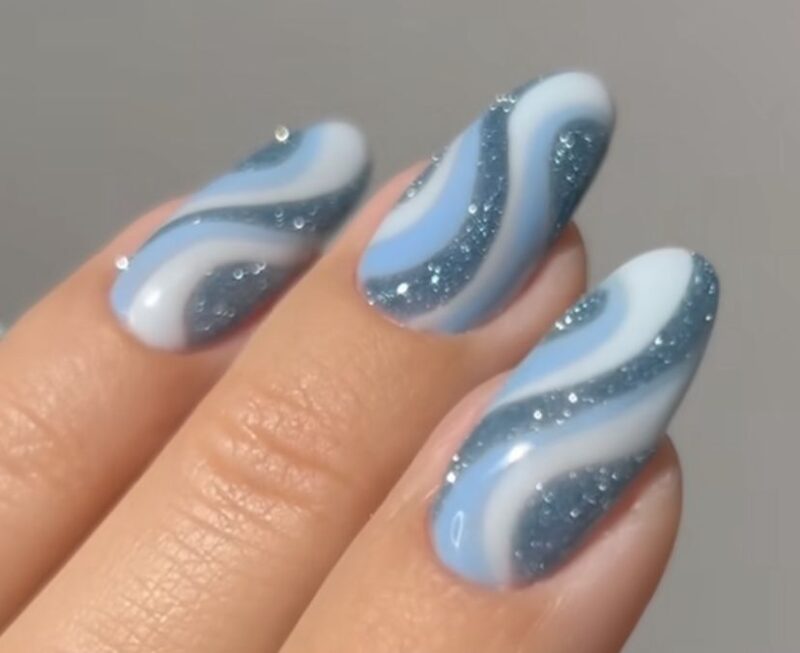
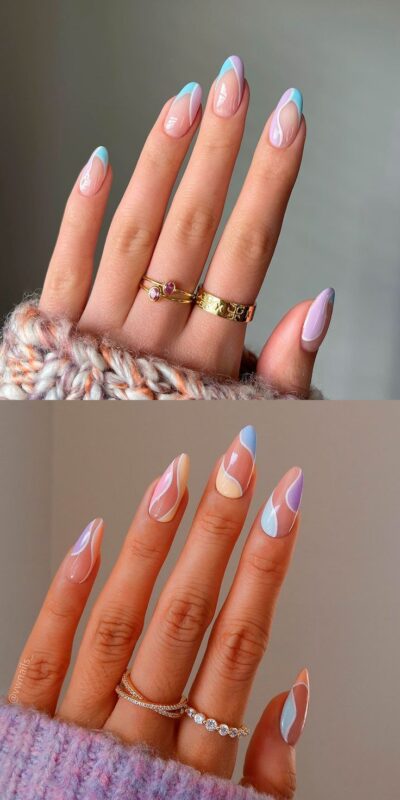
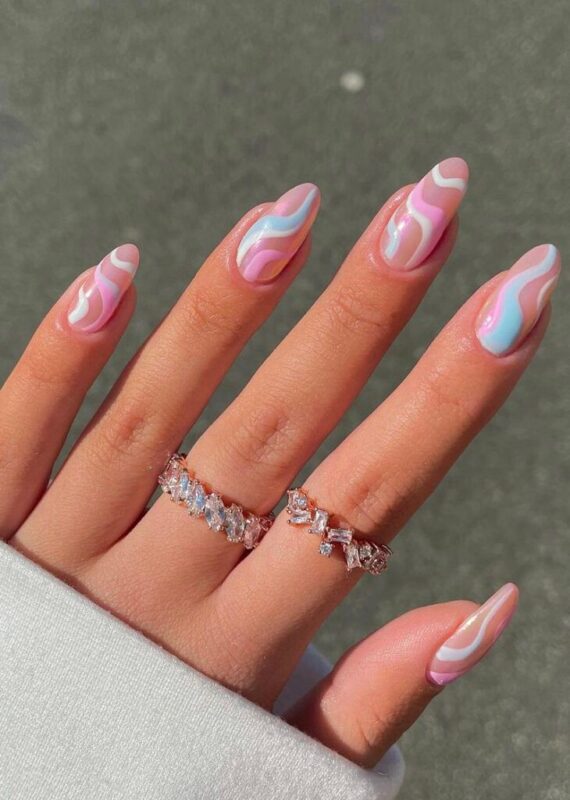
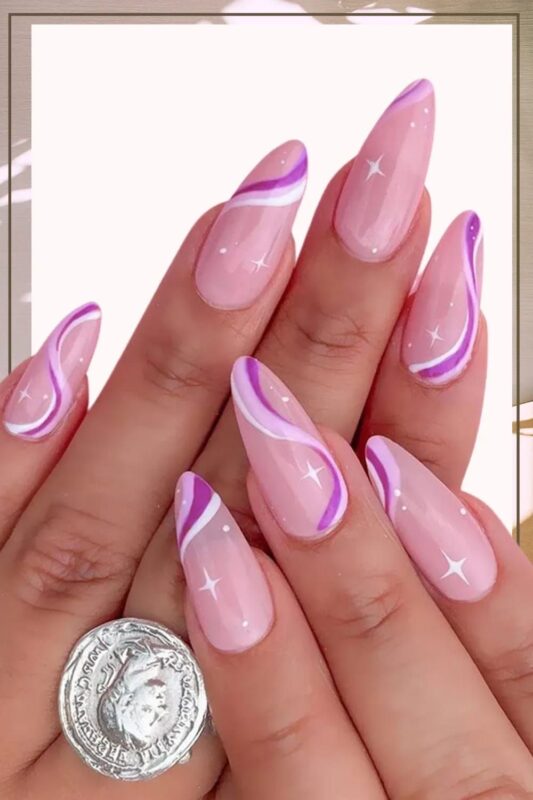
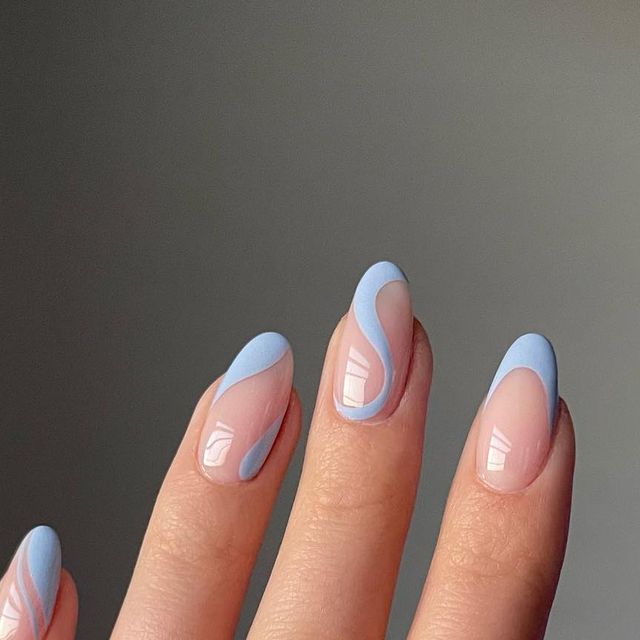
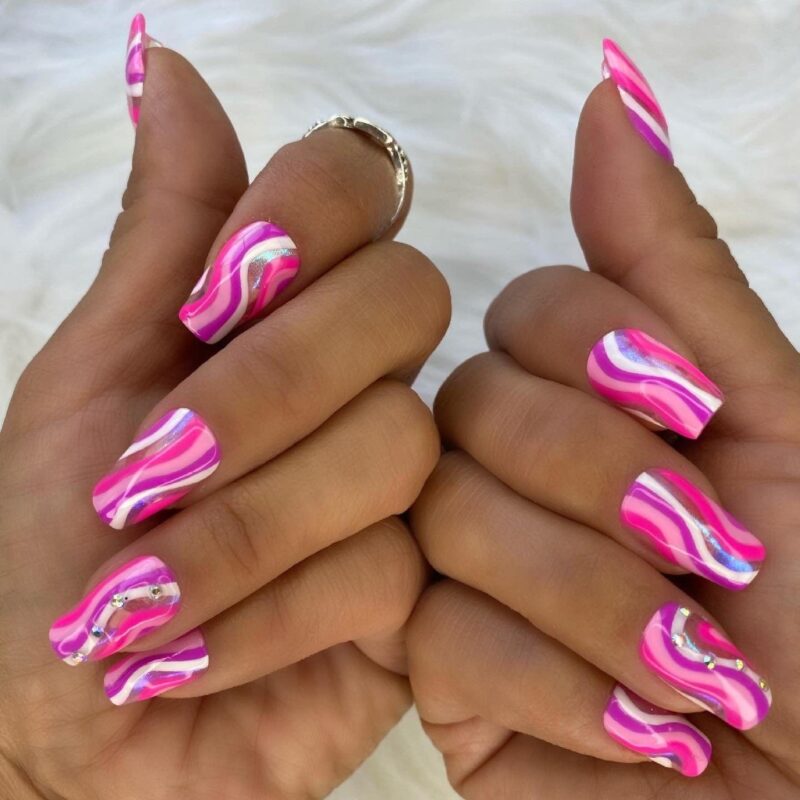
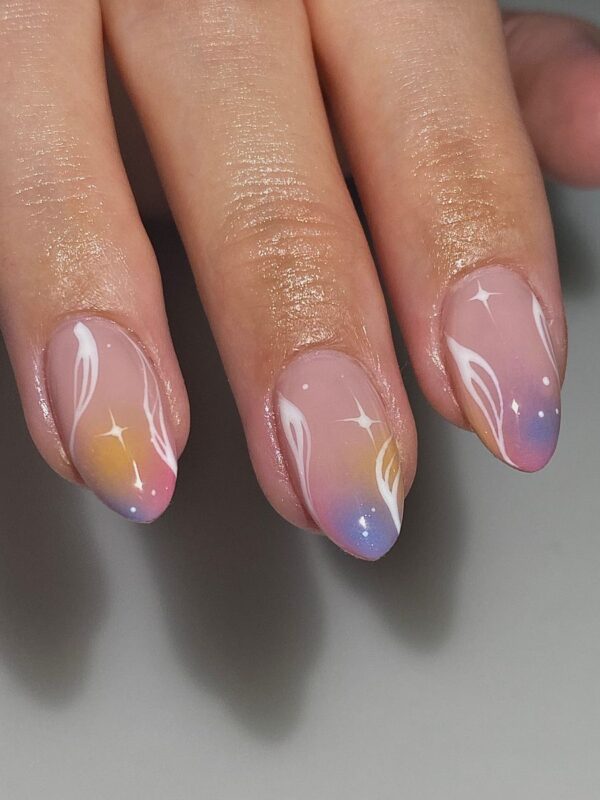
Pastel Galaxy: Think of soft purples, blues, pinks, and whites blended together in a dreamy galaxy pattern.
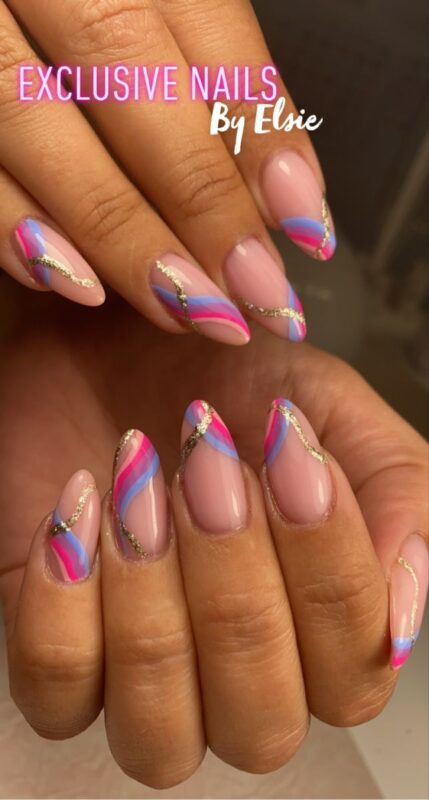
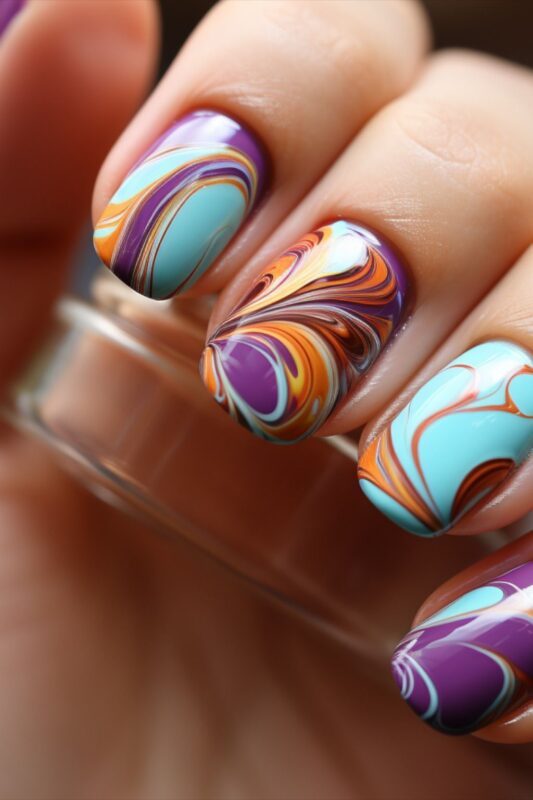
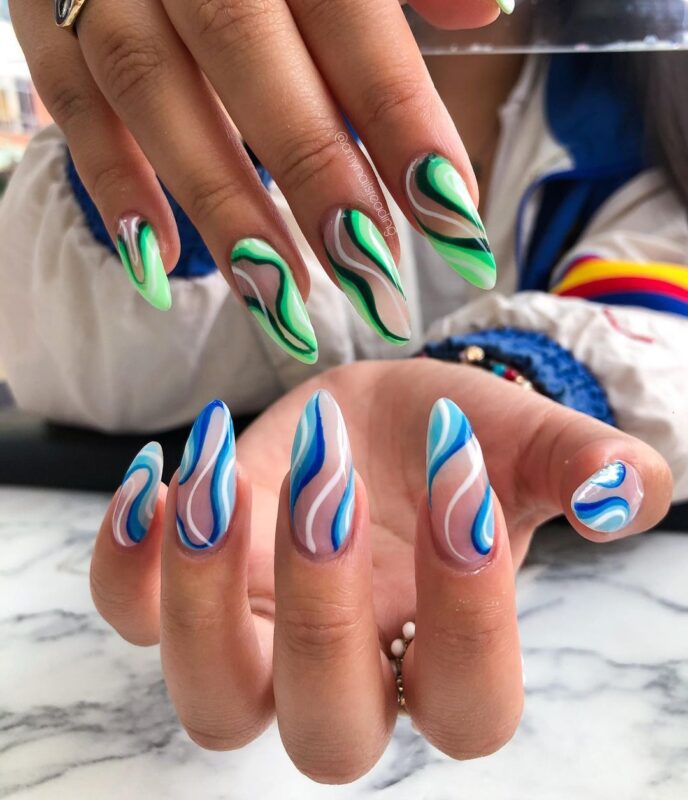
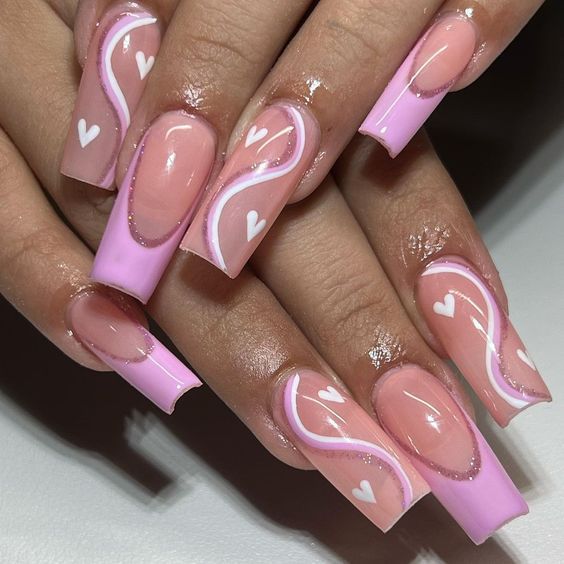
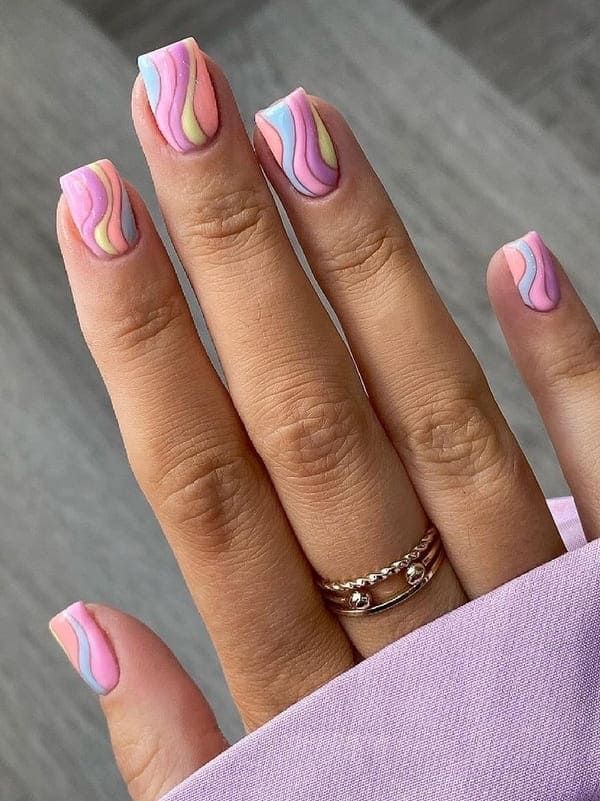
Watercolor Whirls: Soft, blended strokes of watercolor-like nail polish.
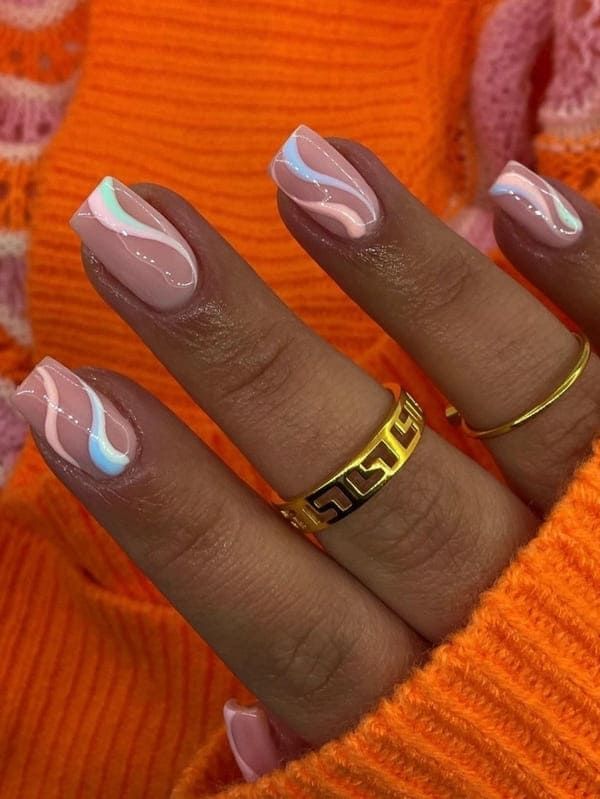
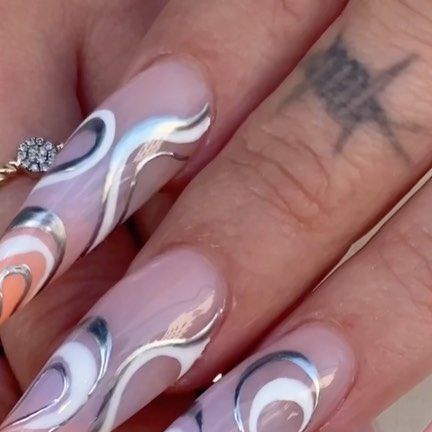
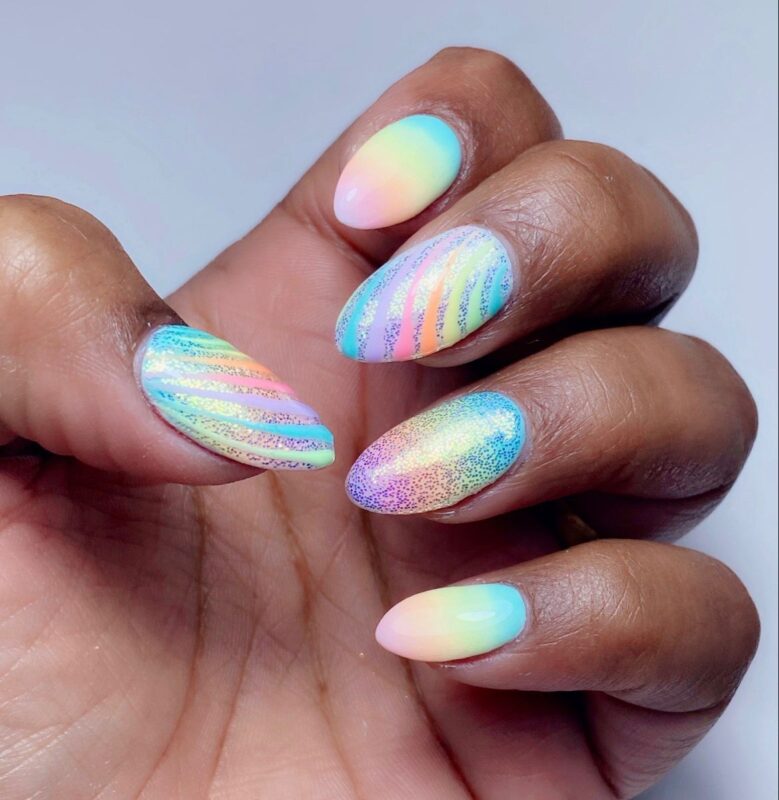
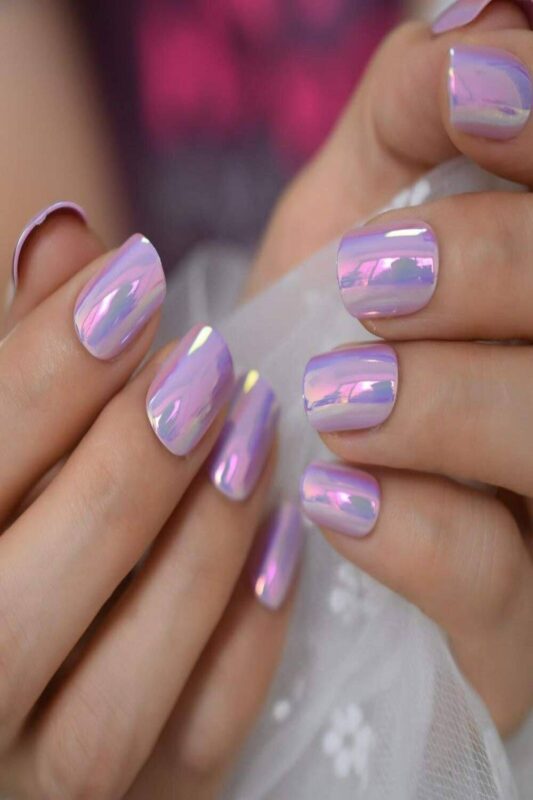
Holographic Swirls: Holographic nail polish swirled into a creamy pastel base.
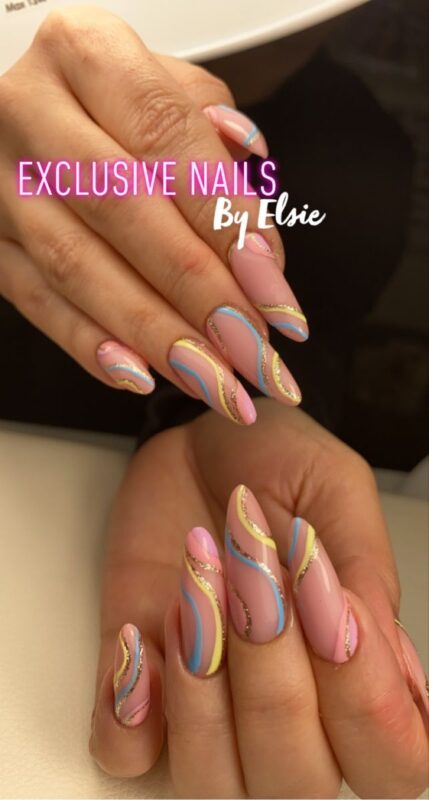
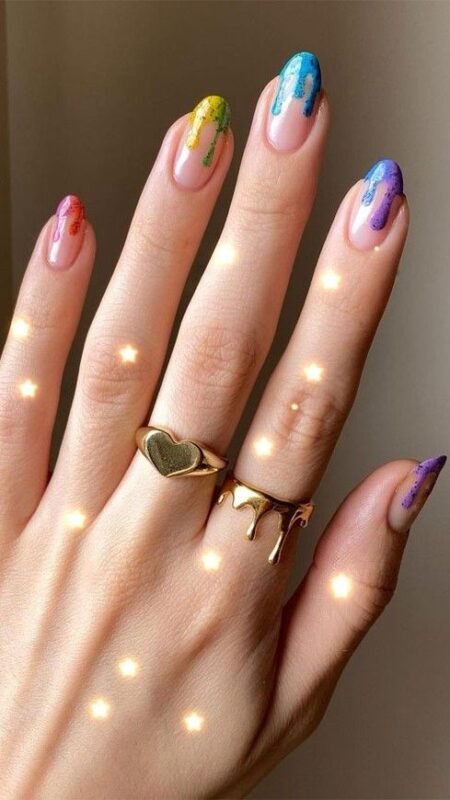
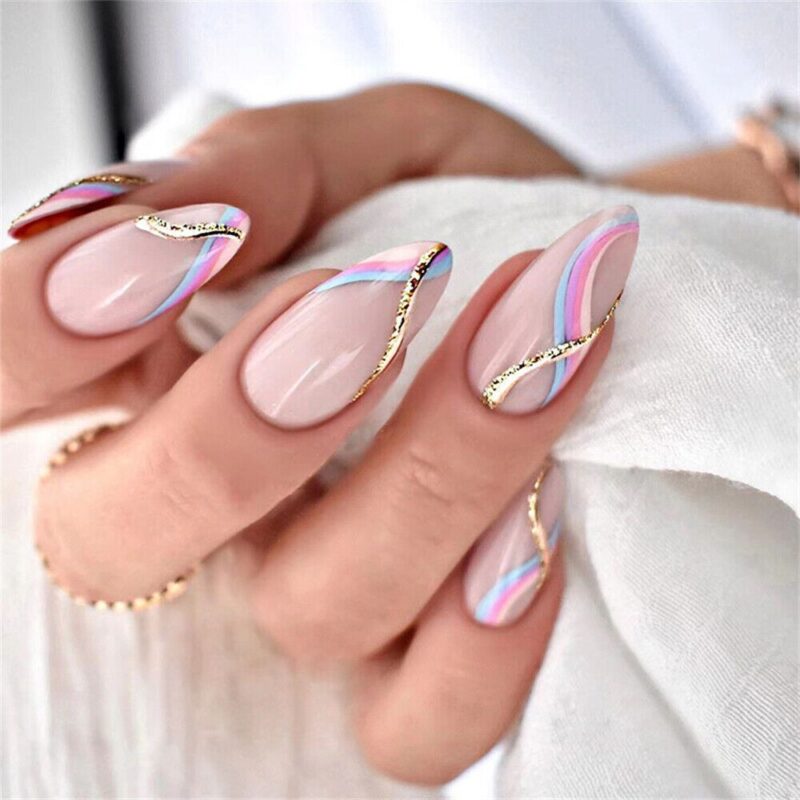
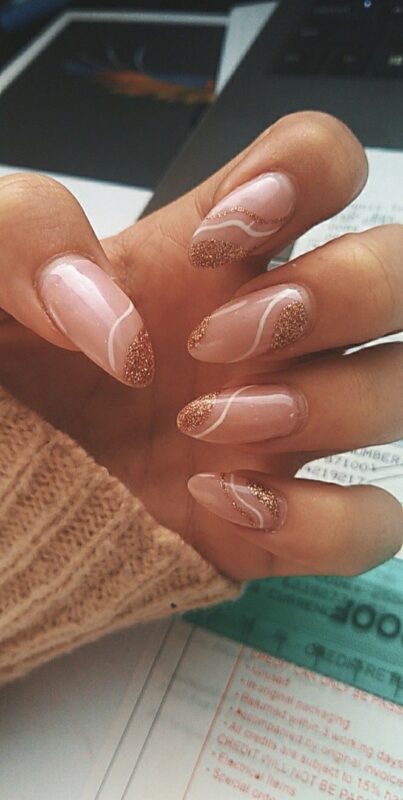
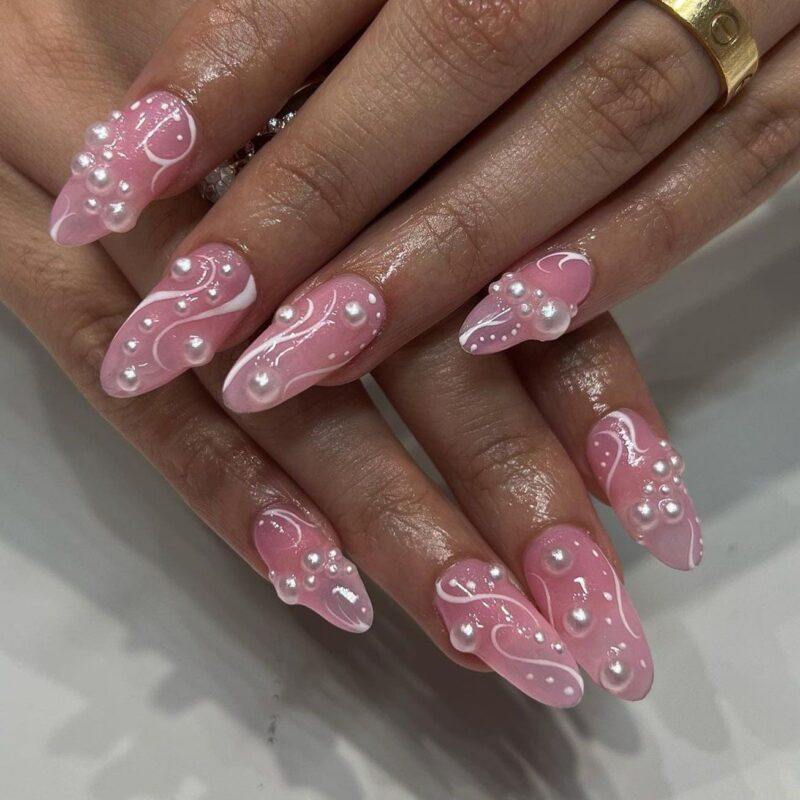
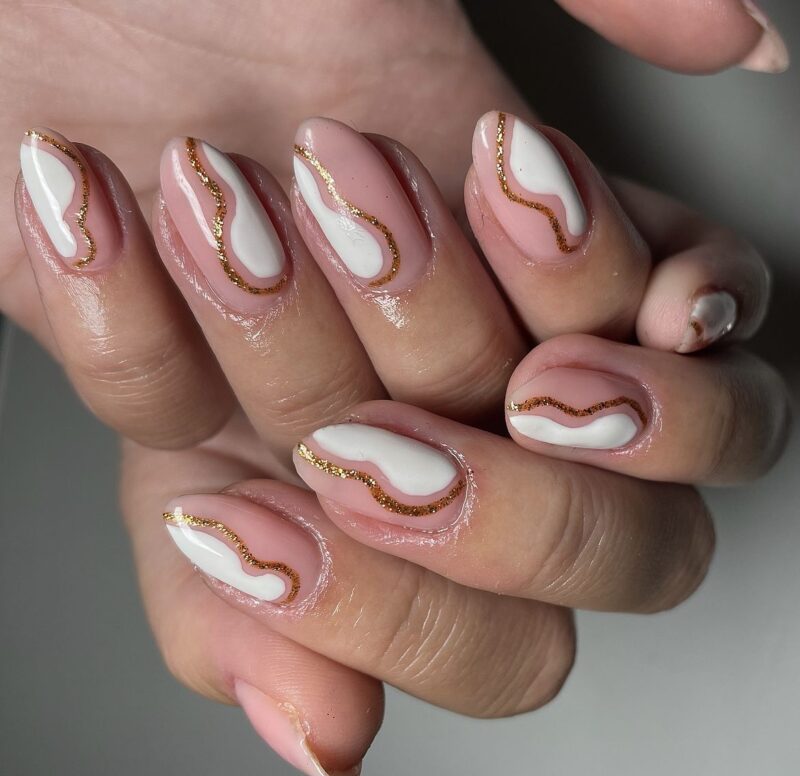
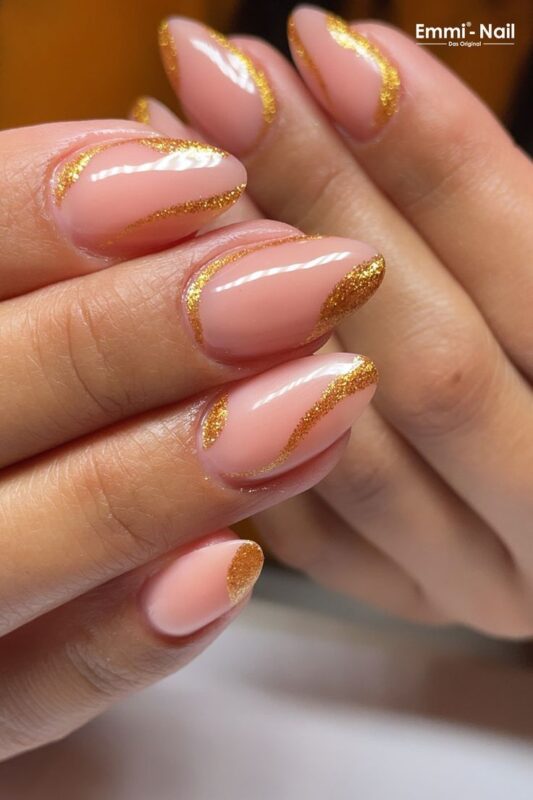
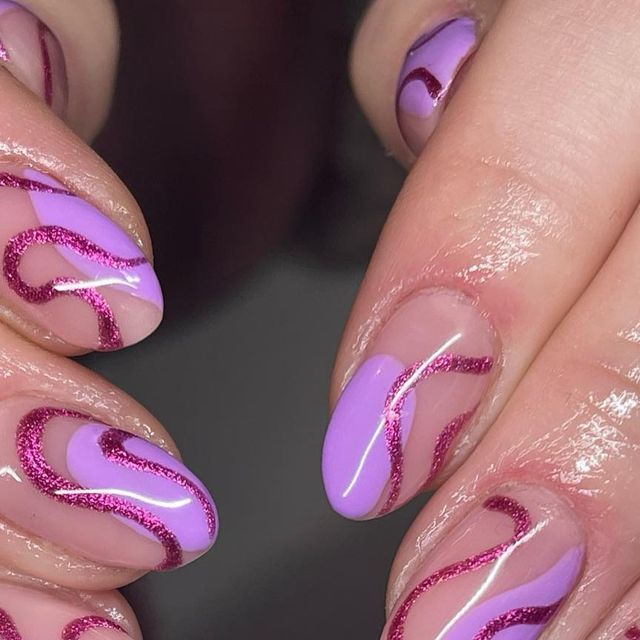
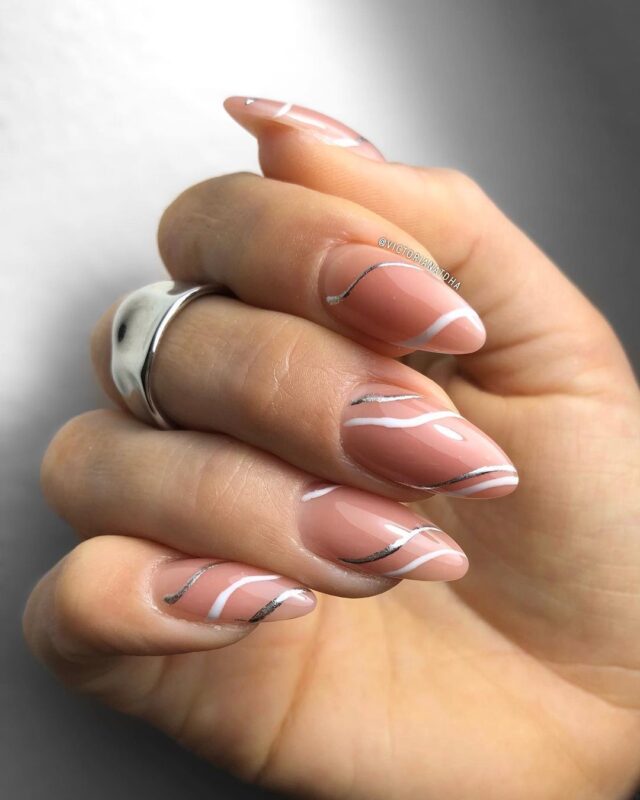
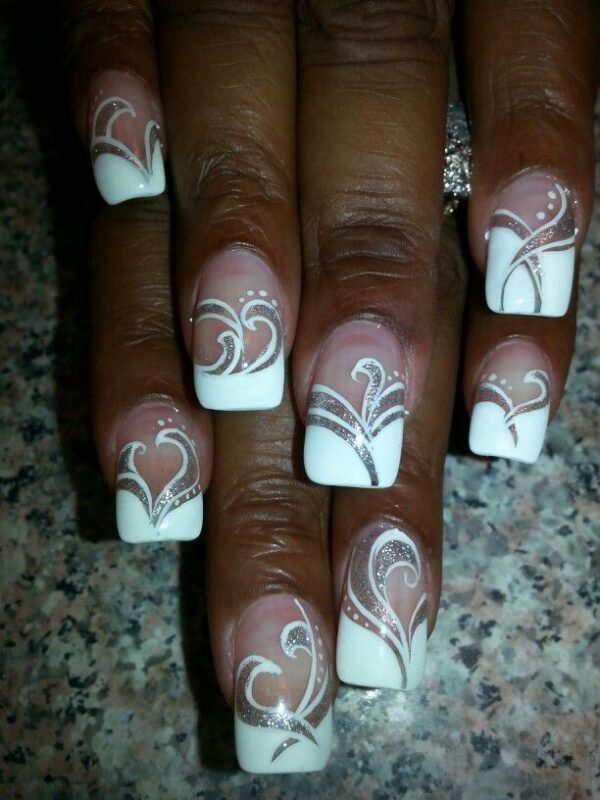
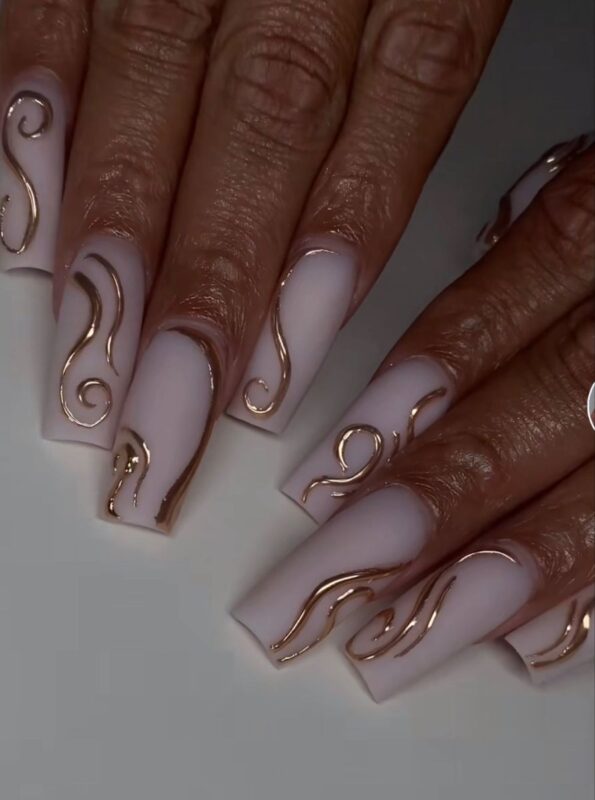
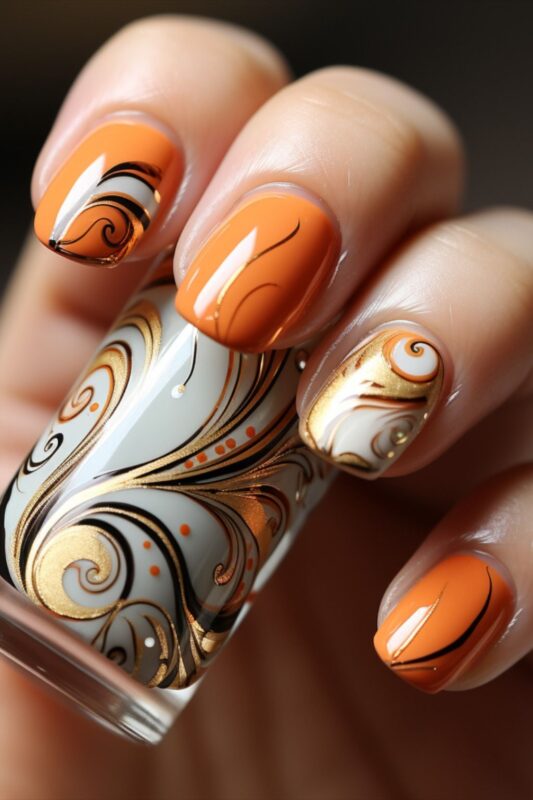
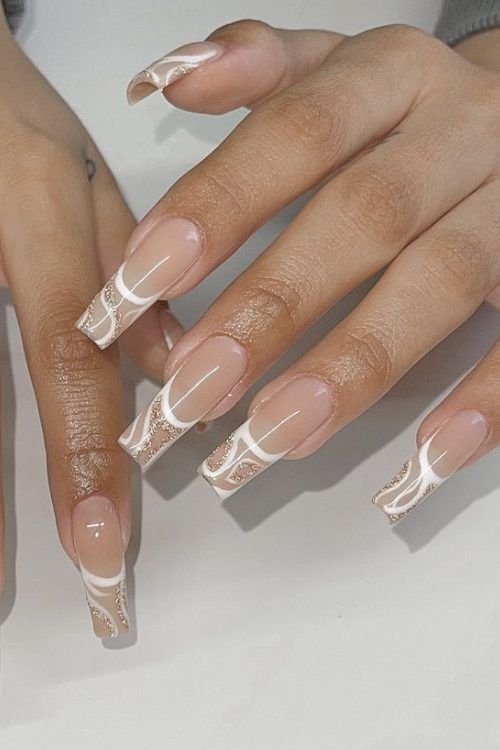
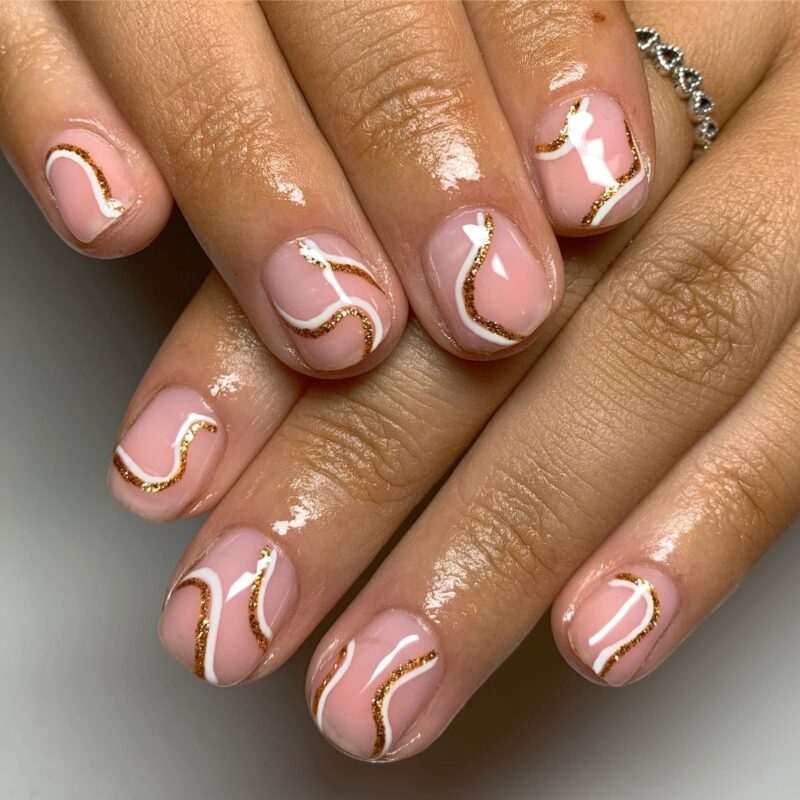
Golden Spirals: Soft pastel base with delicate gold twirls on top.
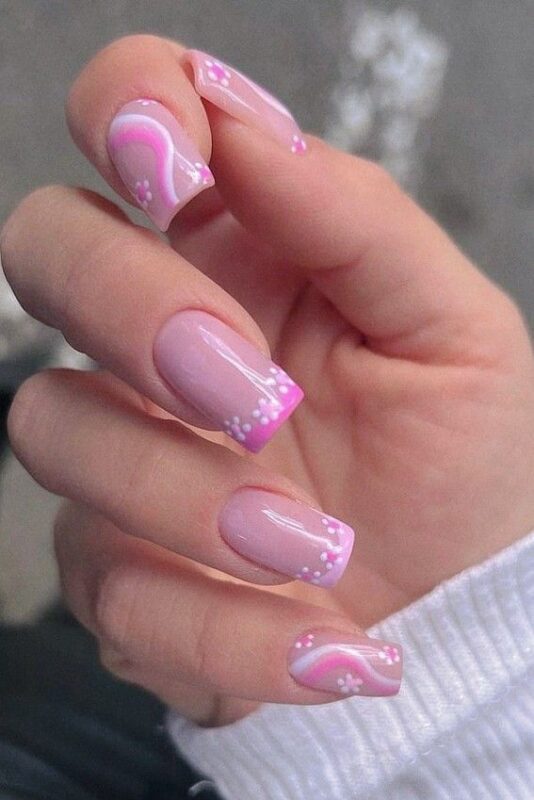
Cloud Dance: Fluffy white clouds against a pastel blue or pink backdrop.
Ethereal Shimmer: Translucent nails with iridescent shimmer and delicate swirl patterns.
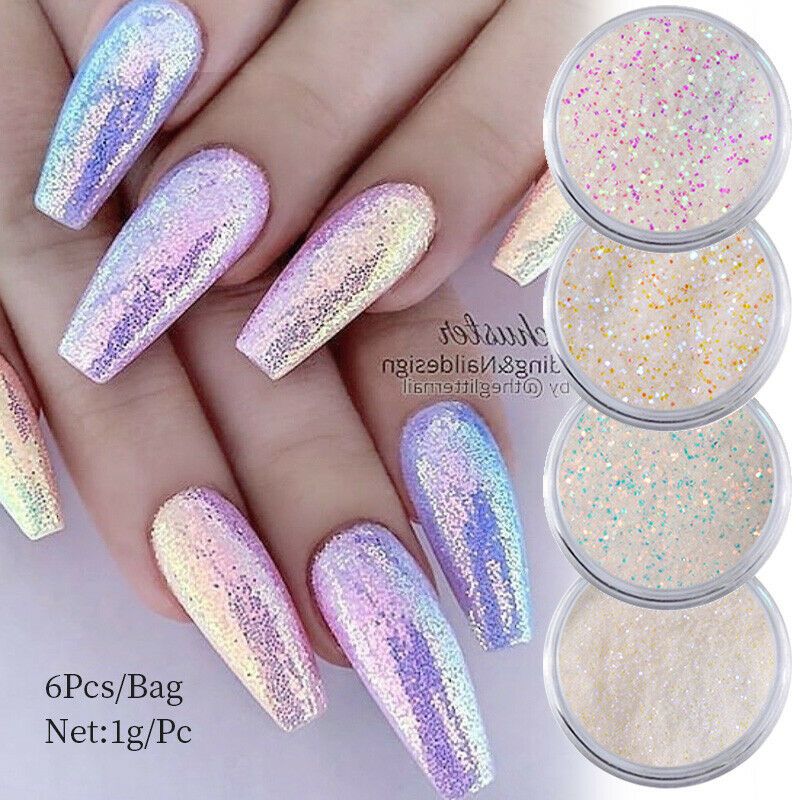
Fairy Dust Twirl: Soft glitter gradients swirling from the base to the tip of the nail.
Steps to Create Dreamy Twirl Nails:
Preparation:
Start with clean, shaped nails. File your nails to your preferred shape and push back your cuticles.
Apply a base coat to protect your nails and provide a smooth canvas.
Base Color:
Choose a light pastel shade or a soft, neutral color for the base. This will set the dreamy tone. Apply two thin coats, allowing each to dry.
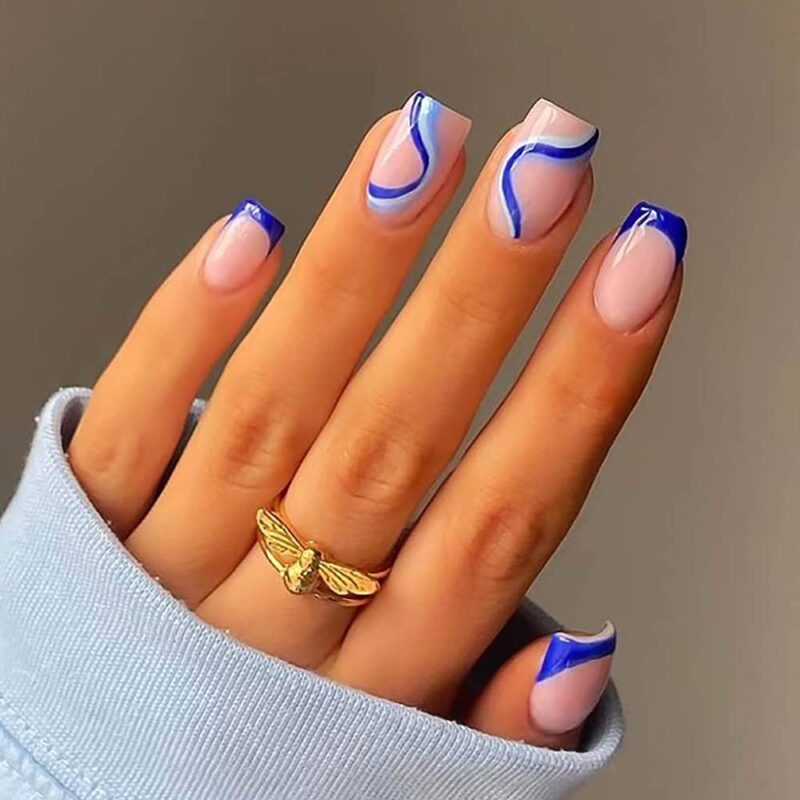
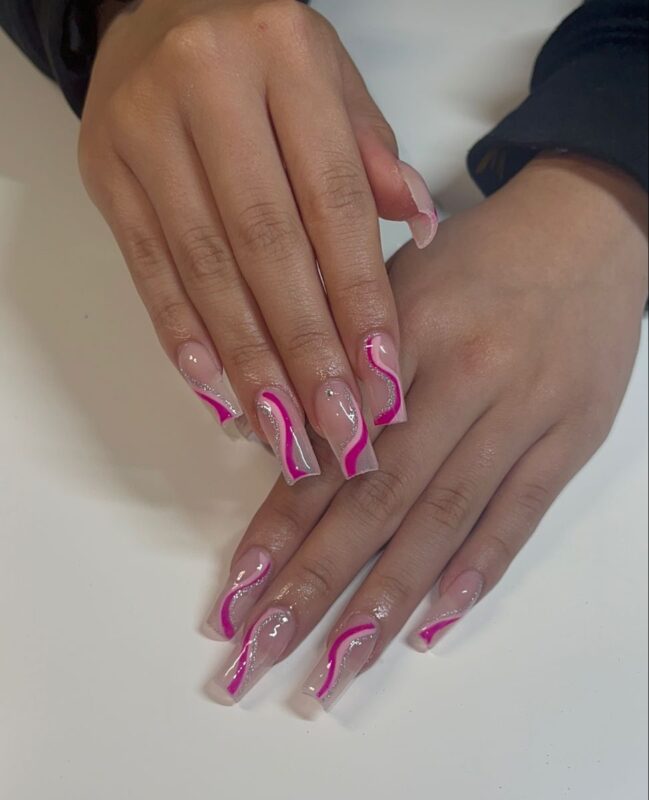
Swirling Technique:
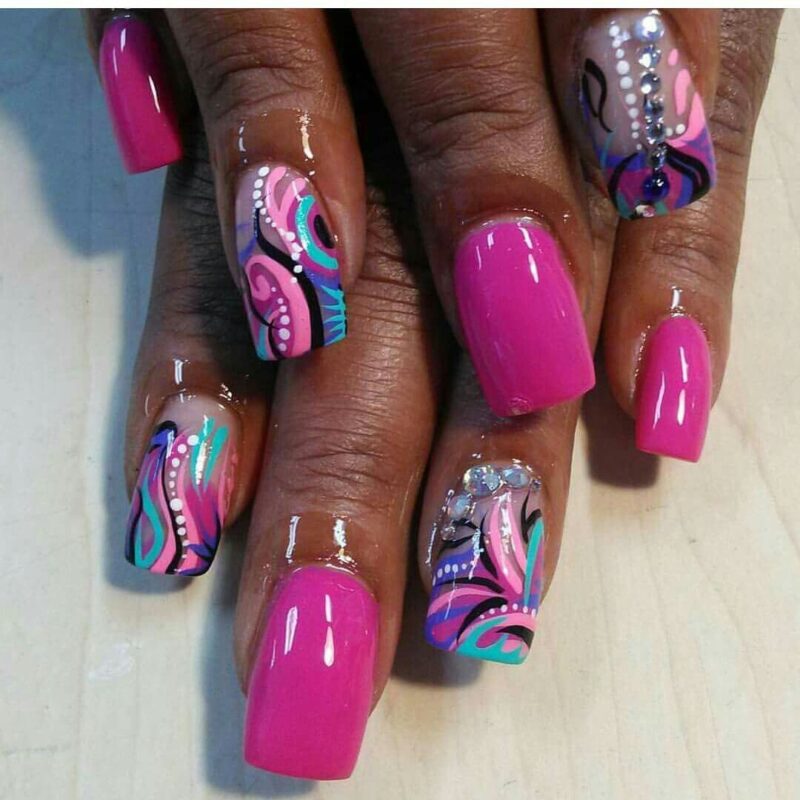
Take two or more complementary colors (think pastels or iridescent shades).
Drop a bit of each polish onto a palette or aluminum foil.
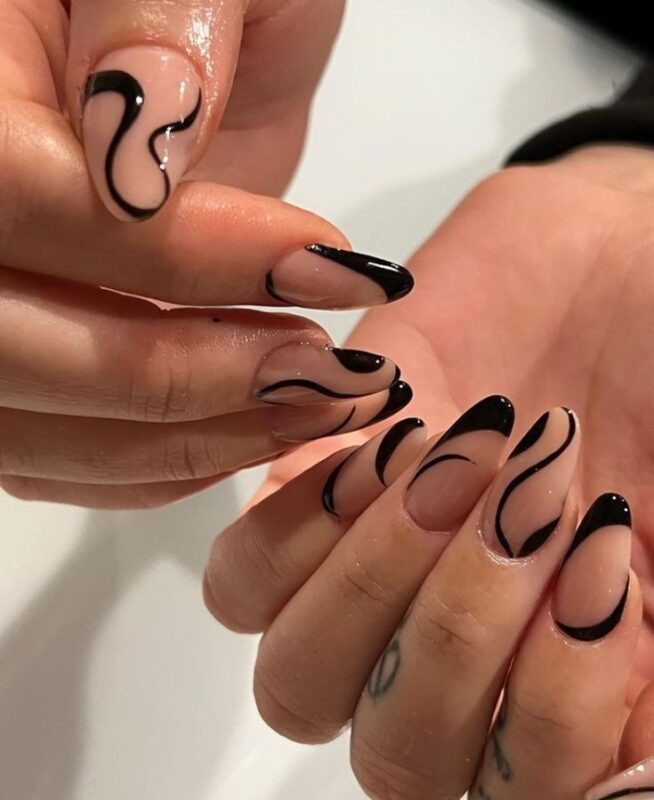
Use a thin nail art brush or toothpick to swirl the colors together, then apply them to the nail in a twirling pattern. Don’t over mix; you want to see the individual colors.
Gradient Swirl (Alternative technique):
After applying your base color and letting it dry, take a makeup sponge and apply small dots of your chosen colors in a row.
Dab the sponge onto the nail repeatedly, moving slightly up or down with each dab to create a gradient effect.
Using a thin brush, swirl the colors while they are still wet.
Add Accents:
Consider adding delicate gold or silver twirls with a metallic nail art pen.
If you want some sparkle, lightly dust glitter over the wet polish.
Finishing Touches:
Once your design is dry, seal in your artwork with a clear top coat. This will provide shine and protect your nails from chipping.
Clean Up:
Use a clean brush dipped in nail polish remover to clean up any polish that may have gotten onto your skin.
The key to achieving the dreamy twirl nails is to keep the patterns soft and the colors muted or pastel. It’s about creating an ethereal, whimsical vibe, so let your imagination wander and have fun with the process!
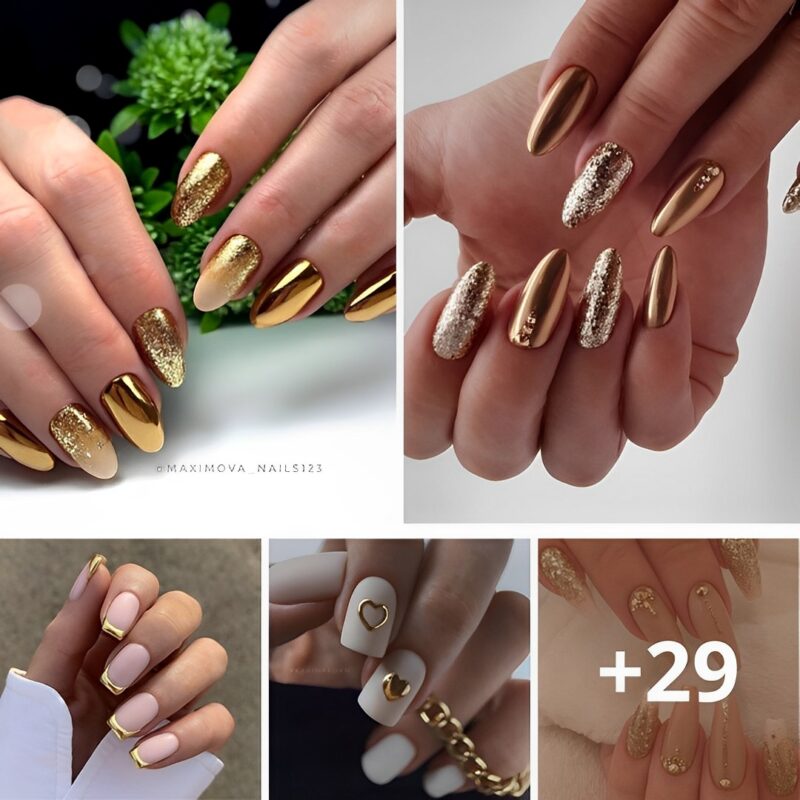
Whether you’re looking for something that can make you shine bright like a diamond at your next party or just want to experiment with the metallic color, this list has your back. Keep scrolling to see 30 stunning gold nail ideas to make you a beauty queen. Don’t forget to...
ou solely have to search for right into a vibrant evening sky to appreciate your insignificance and interior peace on the similar time, that are two ideas which have historically been related to the image of a star. Given their majesty and impossibility, it’s comprehensible that individuals have at all...
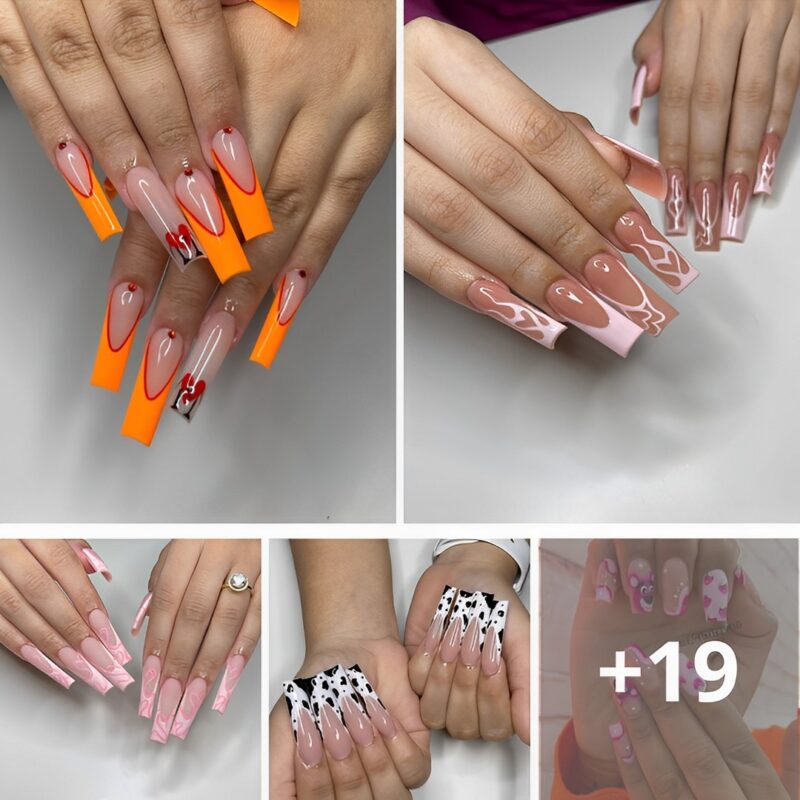
In this blog post, we will explore different classy nail art ideas to help you find inspiration for your next manicure. Whether you prefer a simple and understated design or something more intricate and detailed, there are plenty of options available to suit your style. Post navigation See more: 50+...
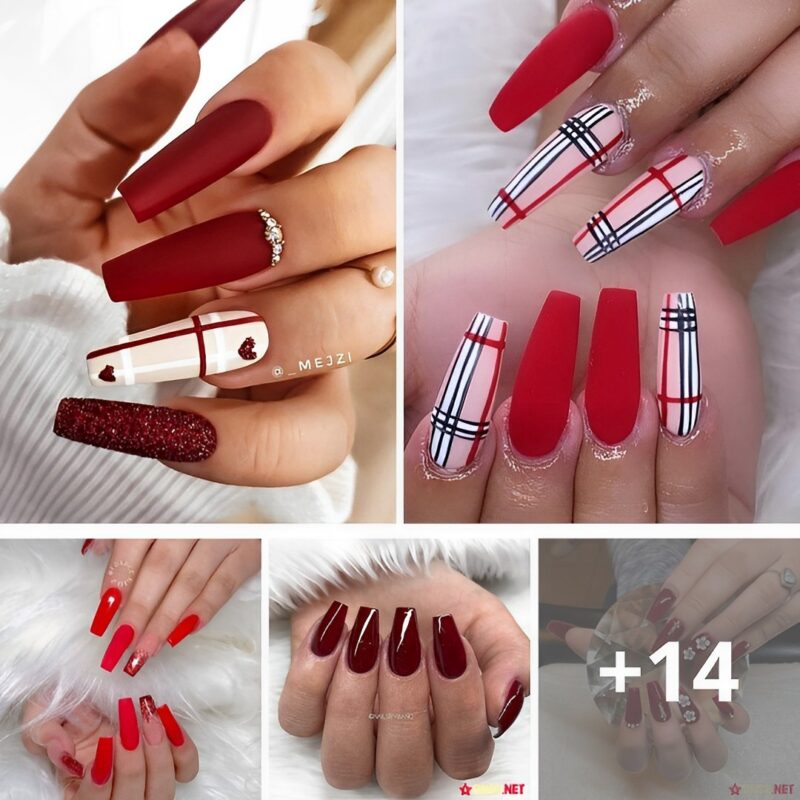
Red coffin nails are one of the most popular nail art trends right now. They are eye-catching, stylish and can be dressed up or down depending on the occasion. But with so many different ways to rock red coffin nails, it can be hard to know where to start. This...
We use cookies to ensure that we give you the best experience on our website. If you continue to use this site we will assume that you are happy with it.