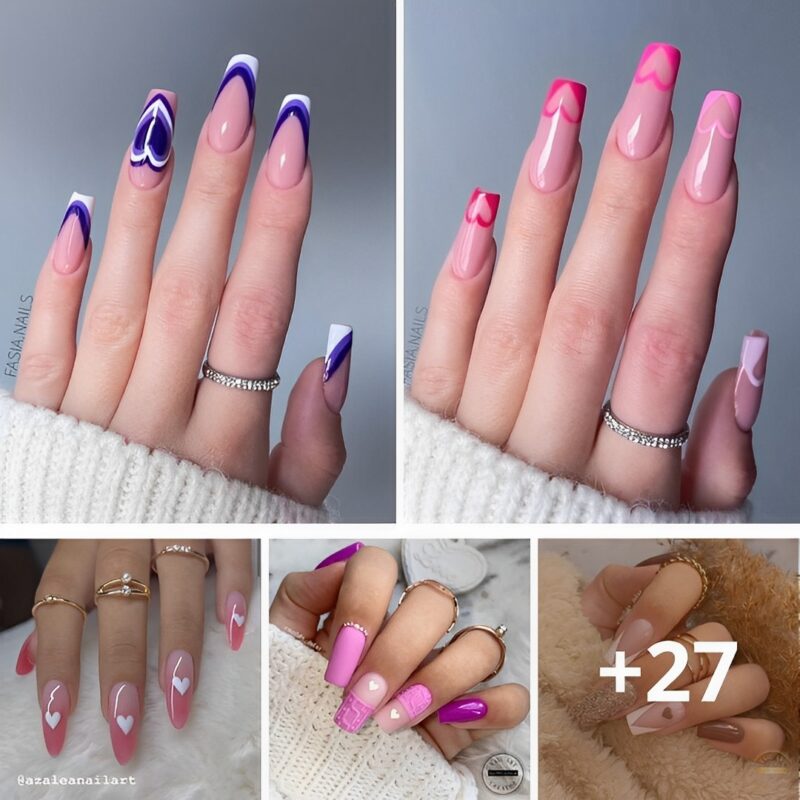
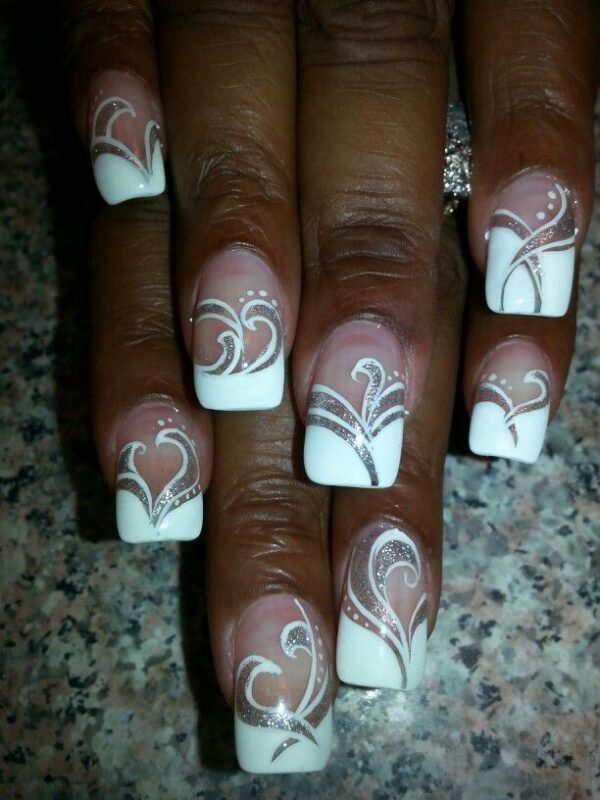
Finding the right words to convey your love can be tricky; instead, let a love heart nail design speak for you. This Valentine’s Day, take your mani to the next level by trying any of these beautiful love heart nails! Love hearts make your nails more intricate and more fashionable,...
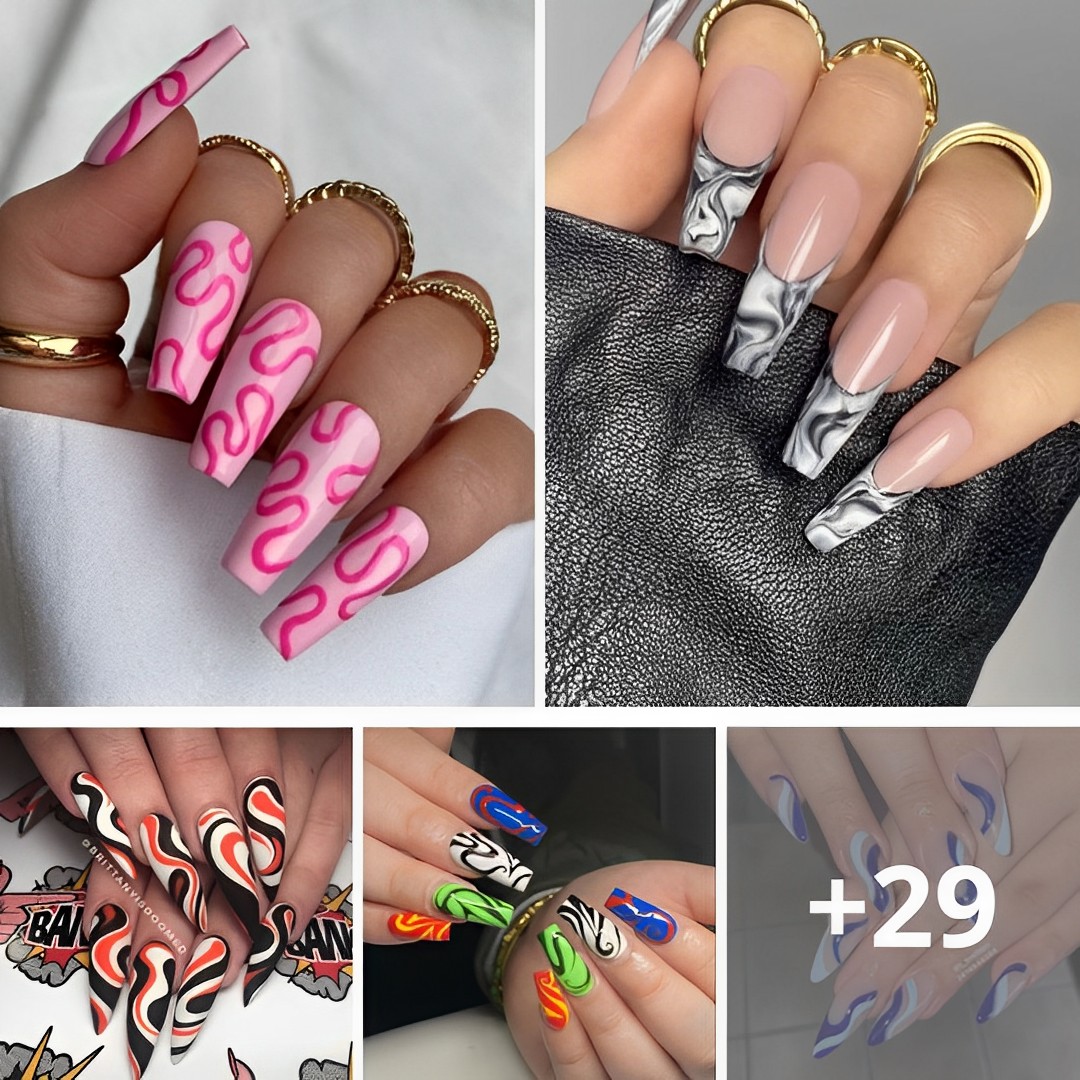
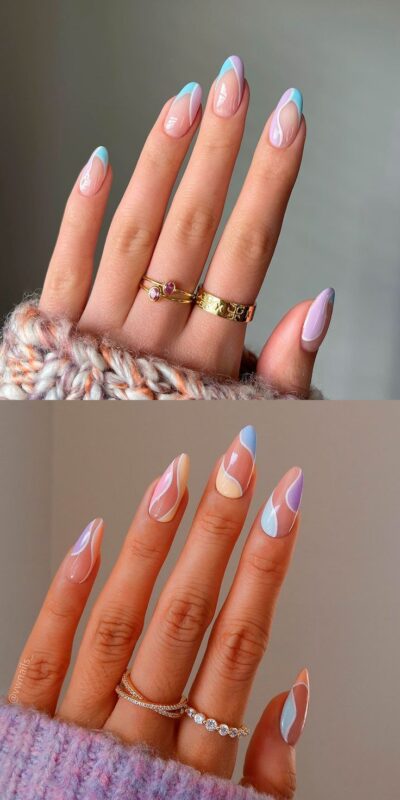
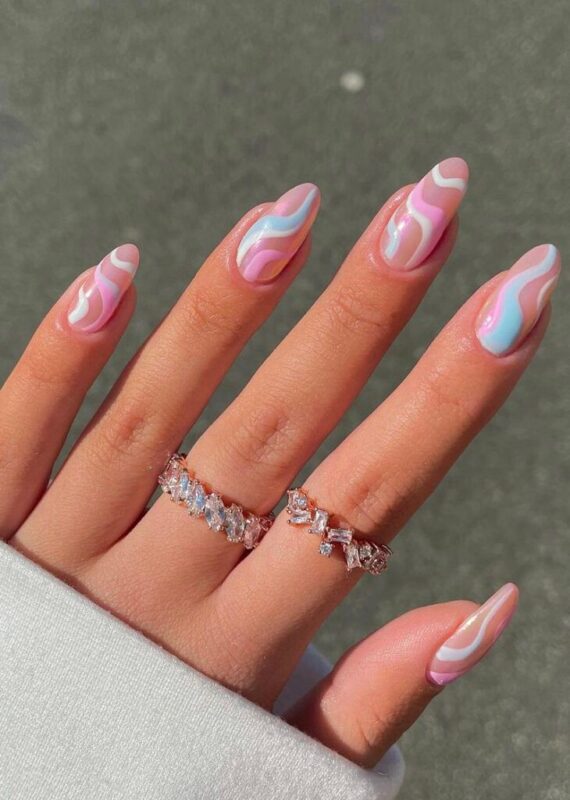
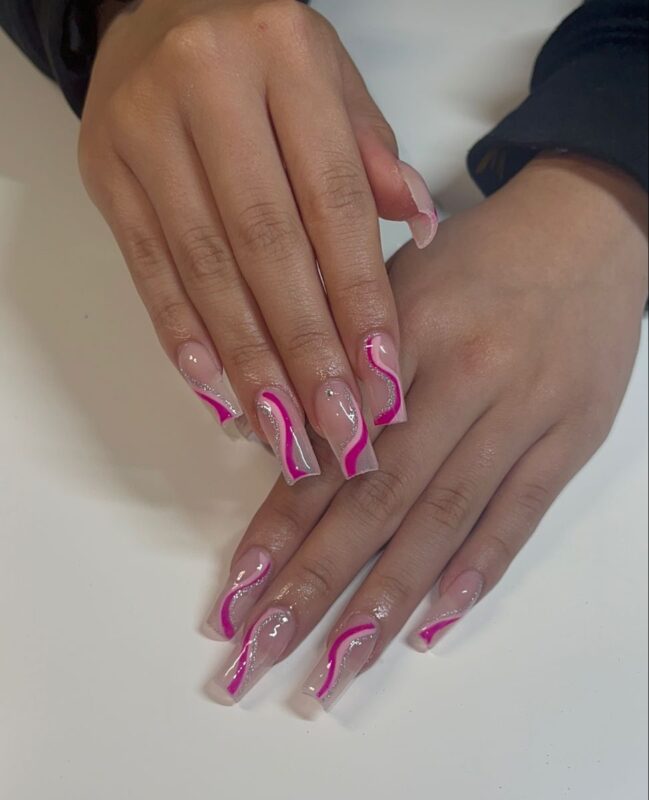
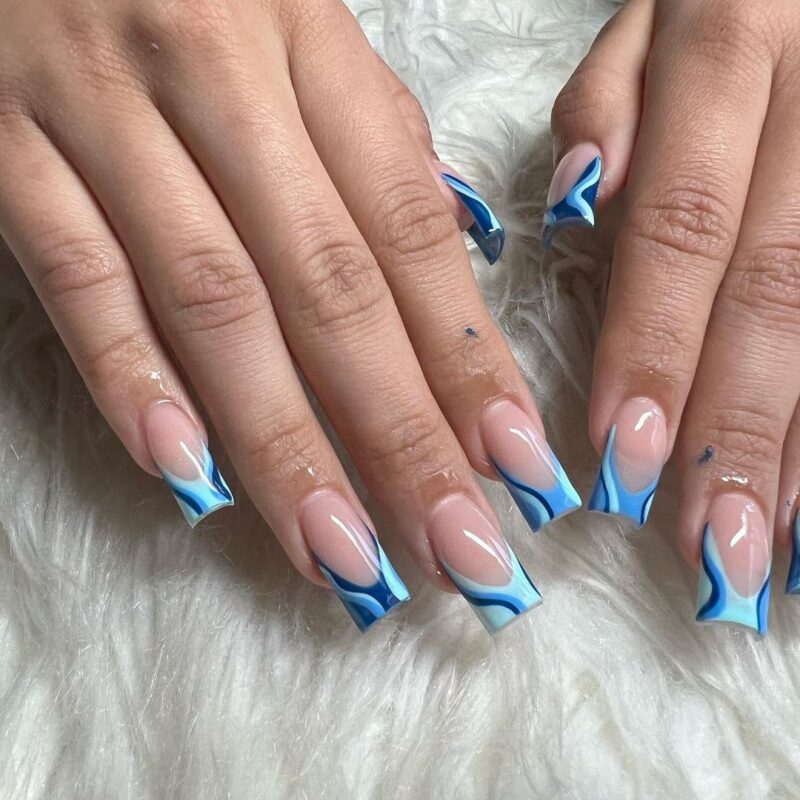
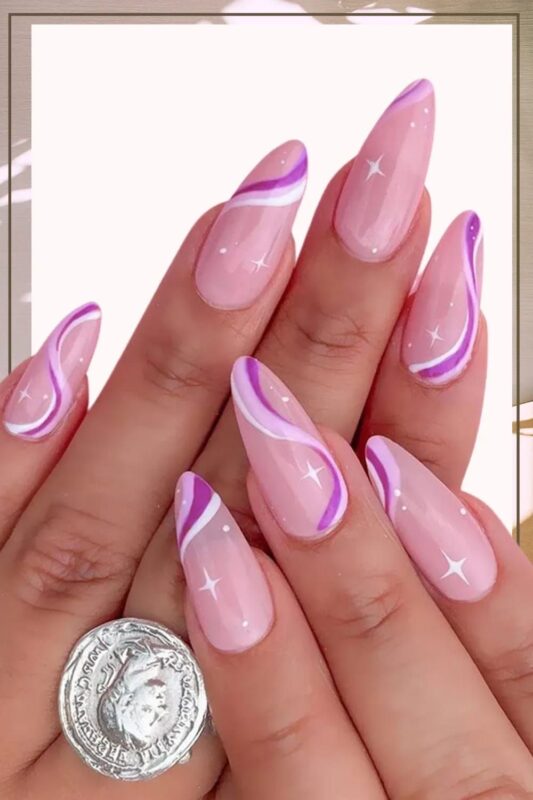
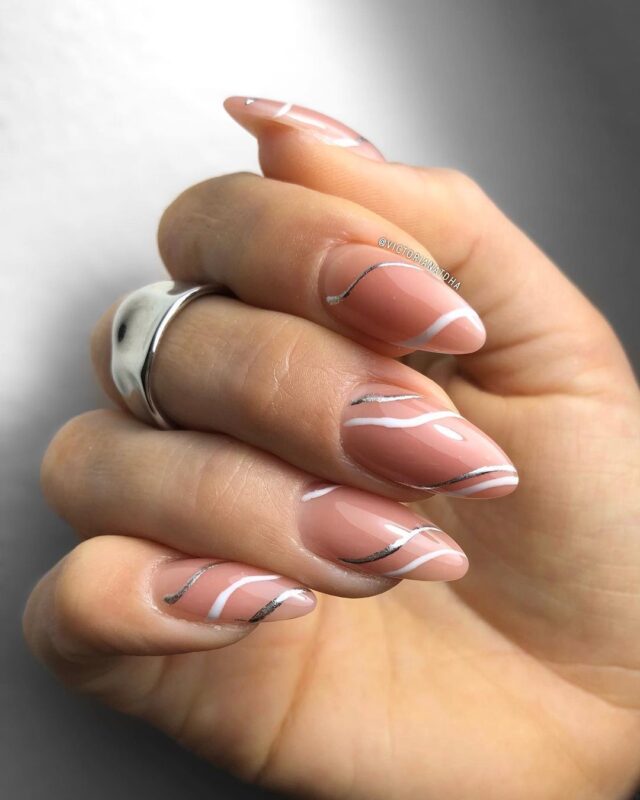
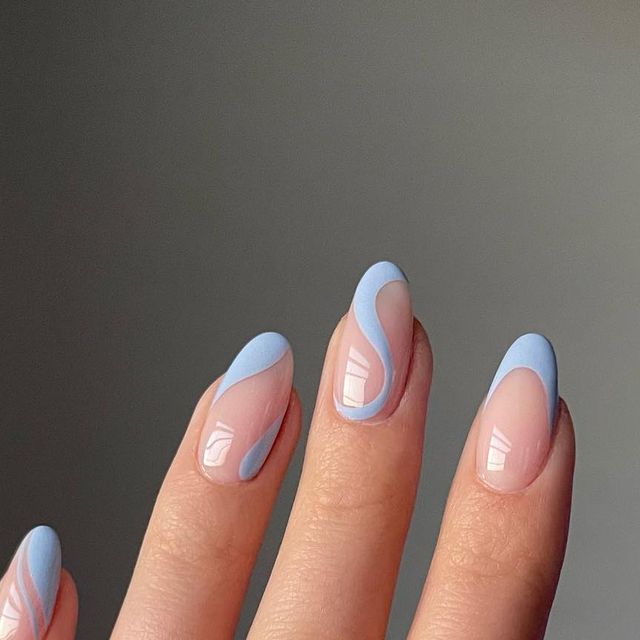
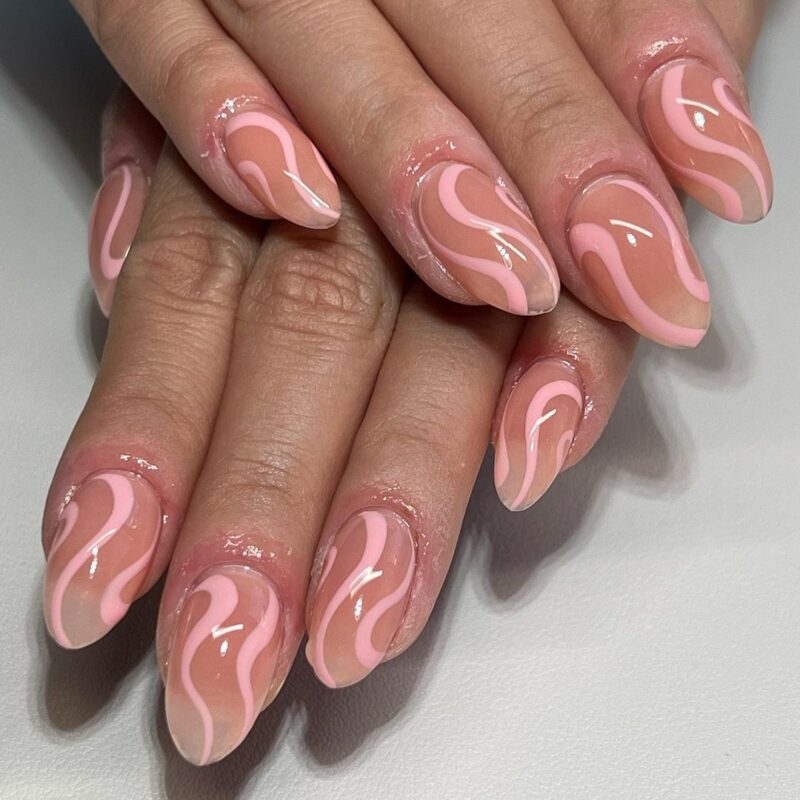
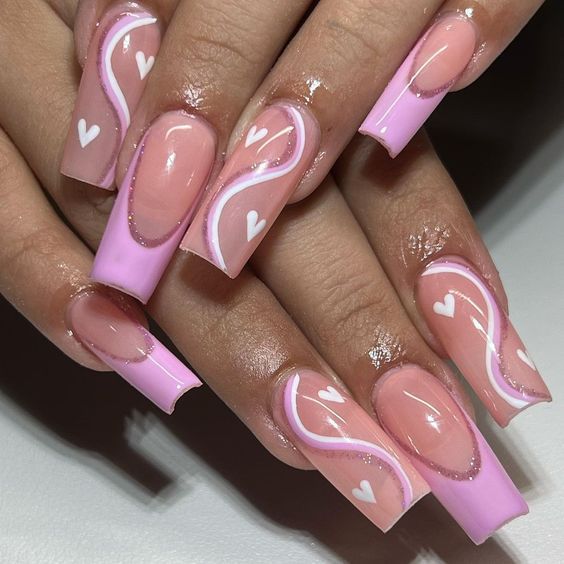
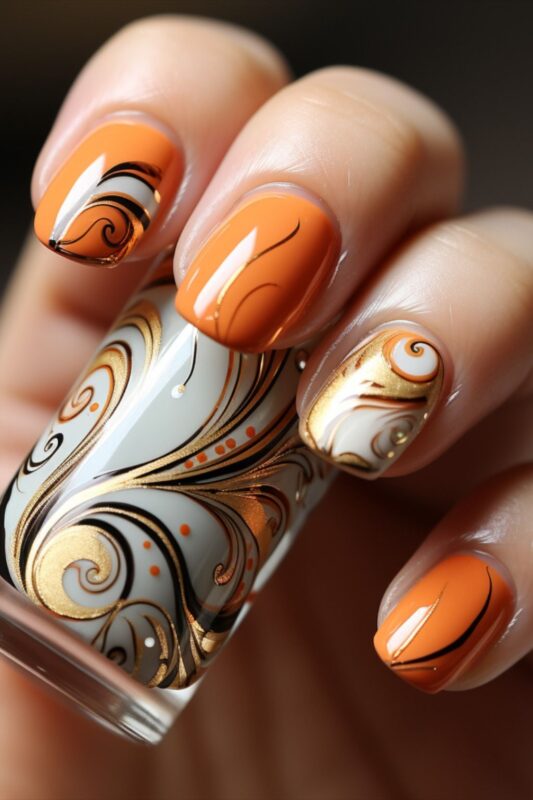
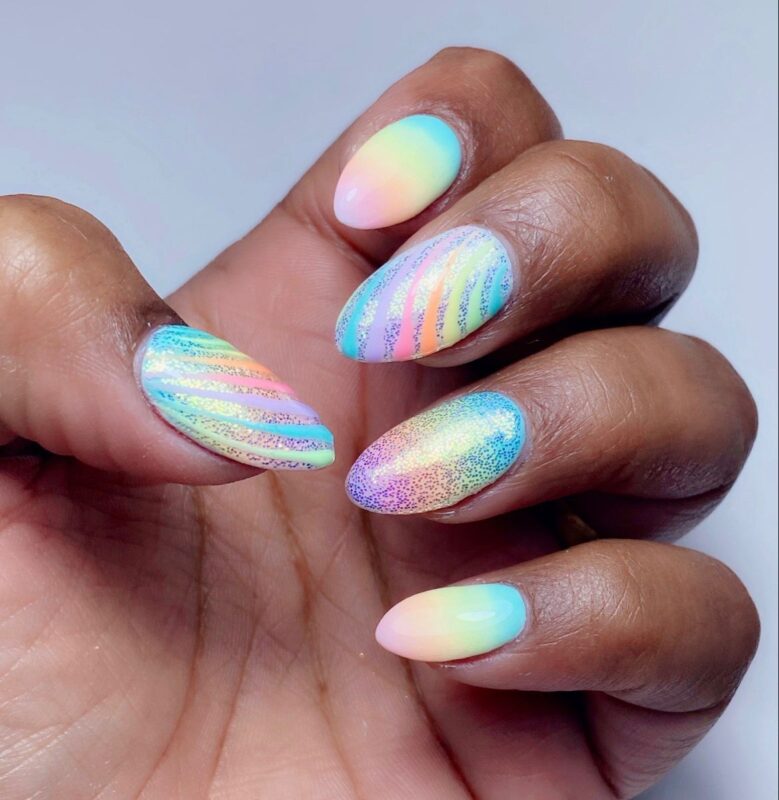
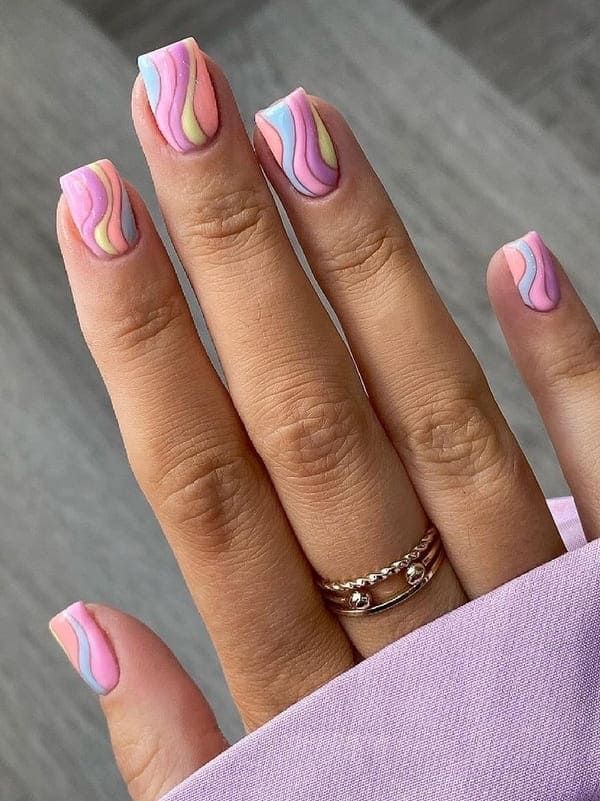
Dreamy Twirl Nails: 51+ Enthralling Patterns That Will Ignite Your Imagination.
A+
A-
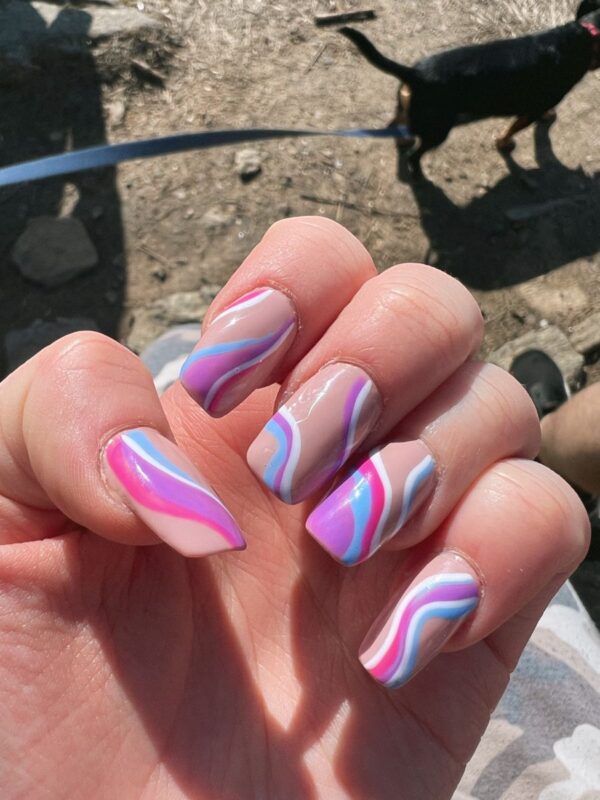
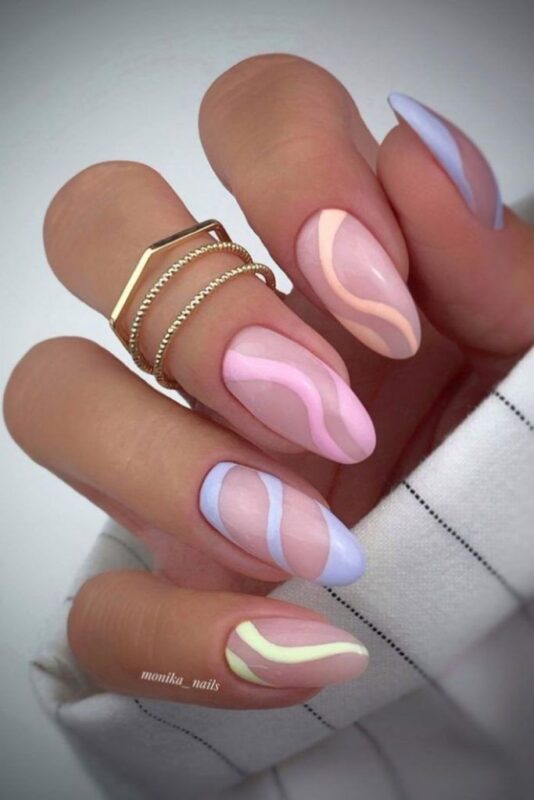
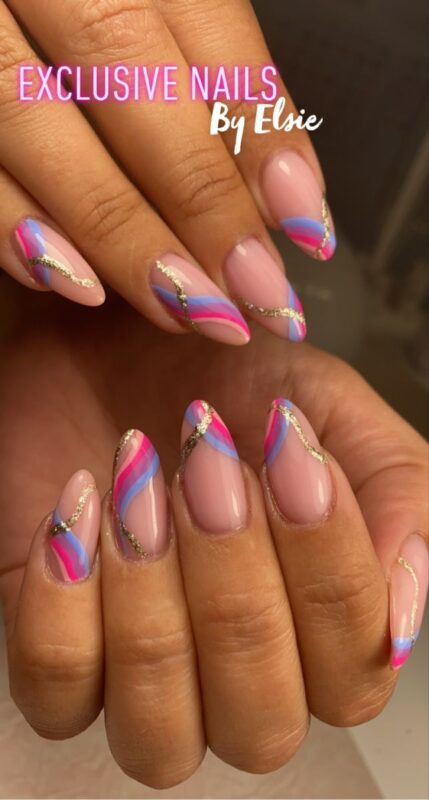
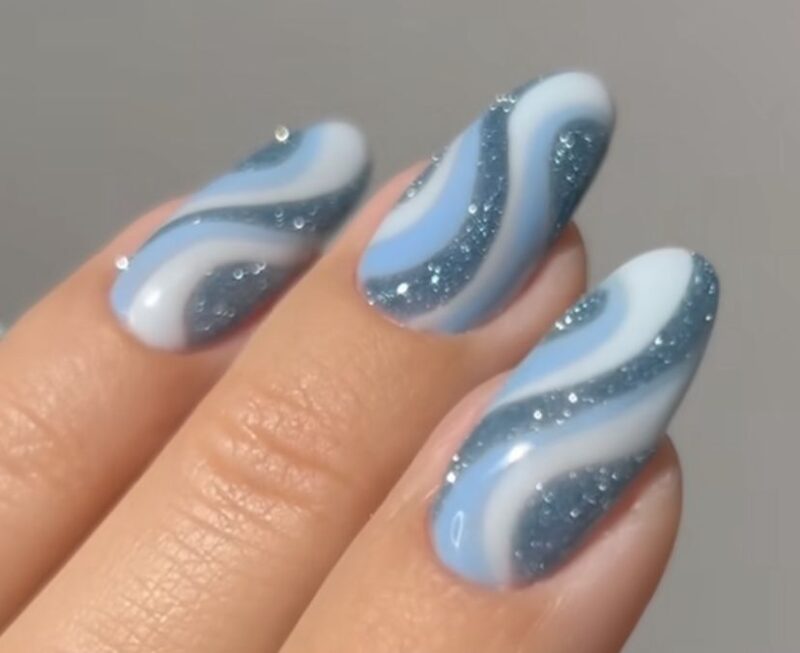
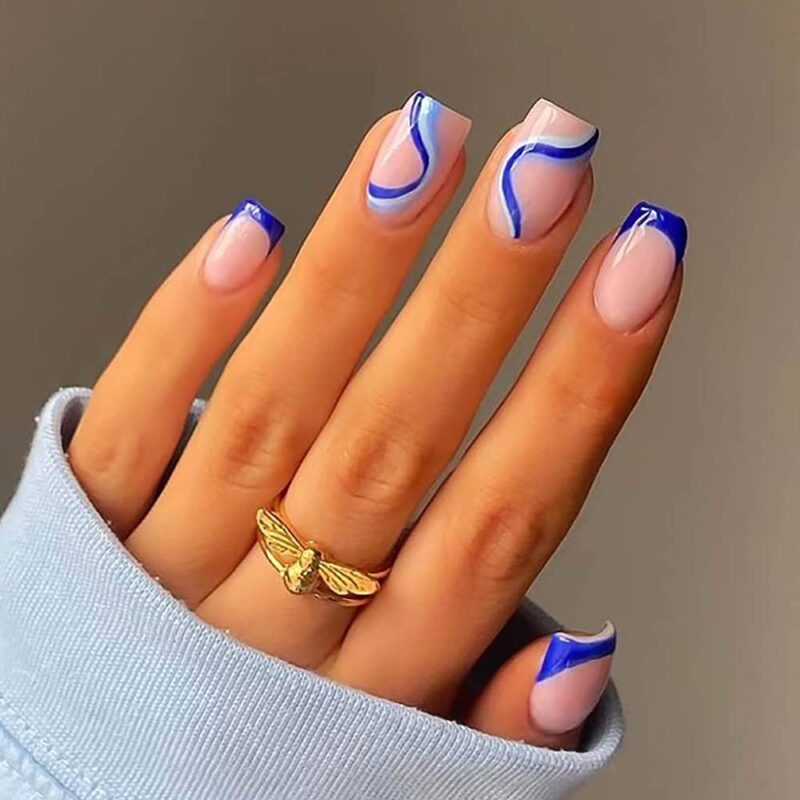
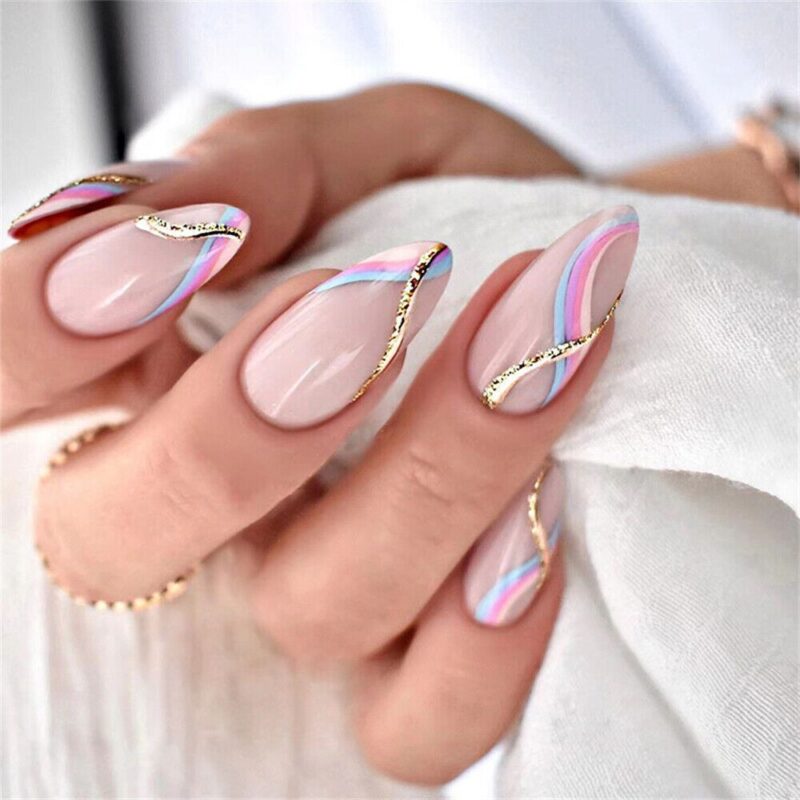
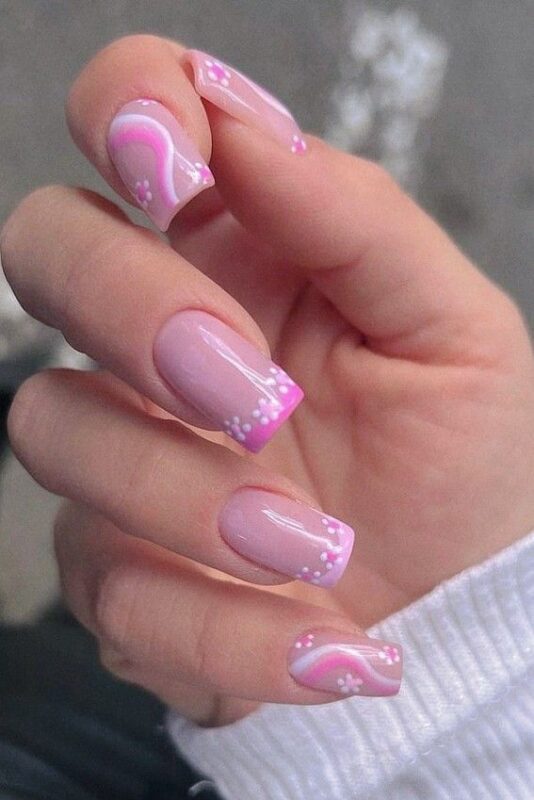
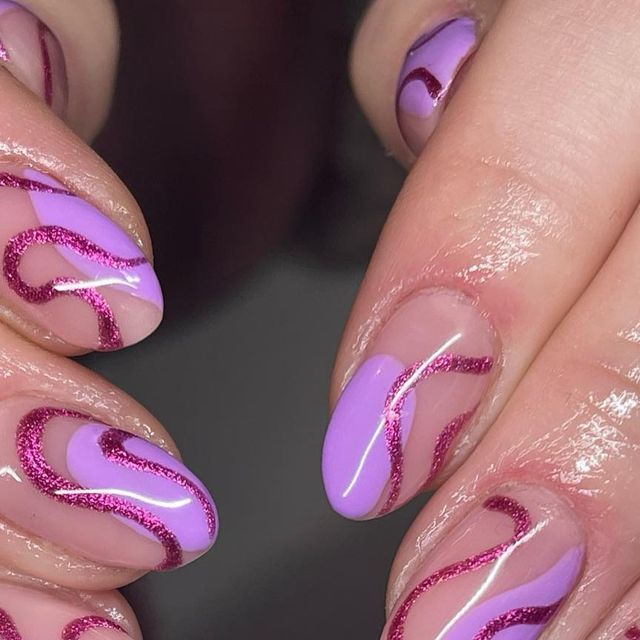
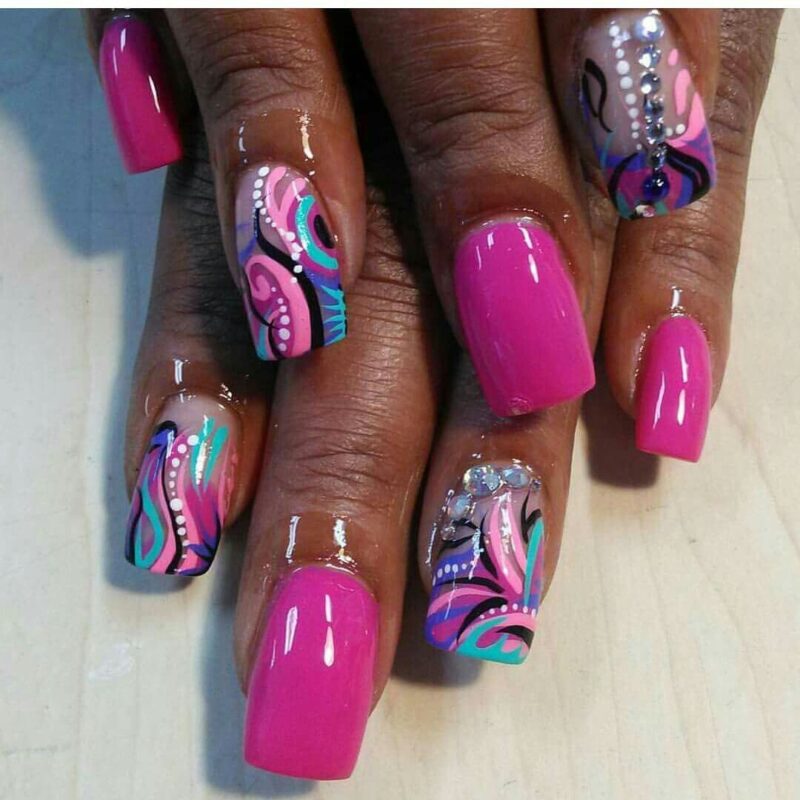
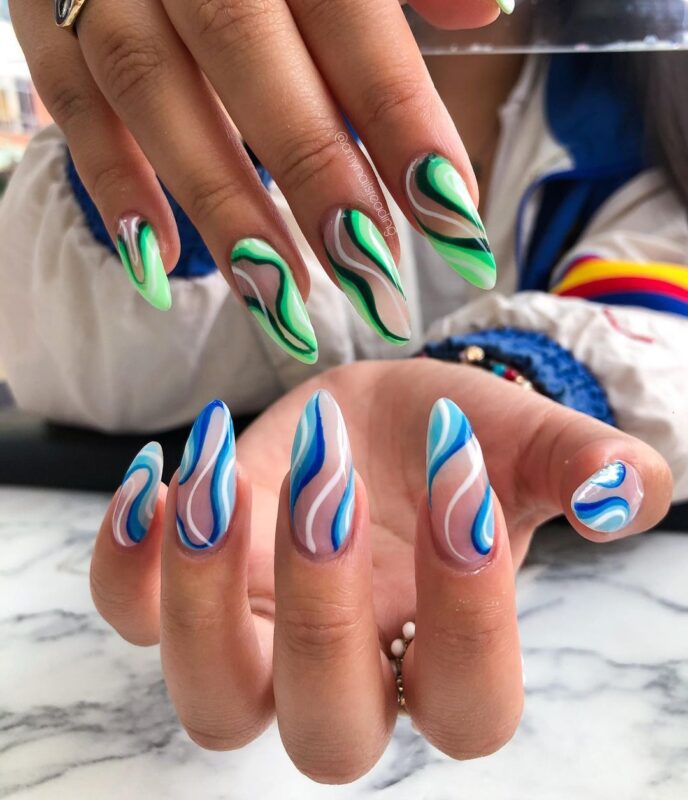
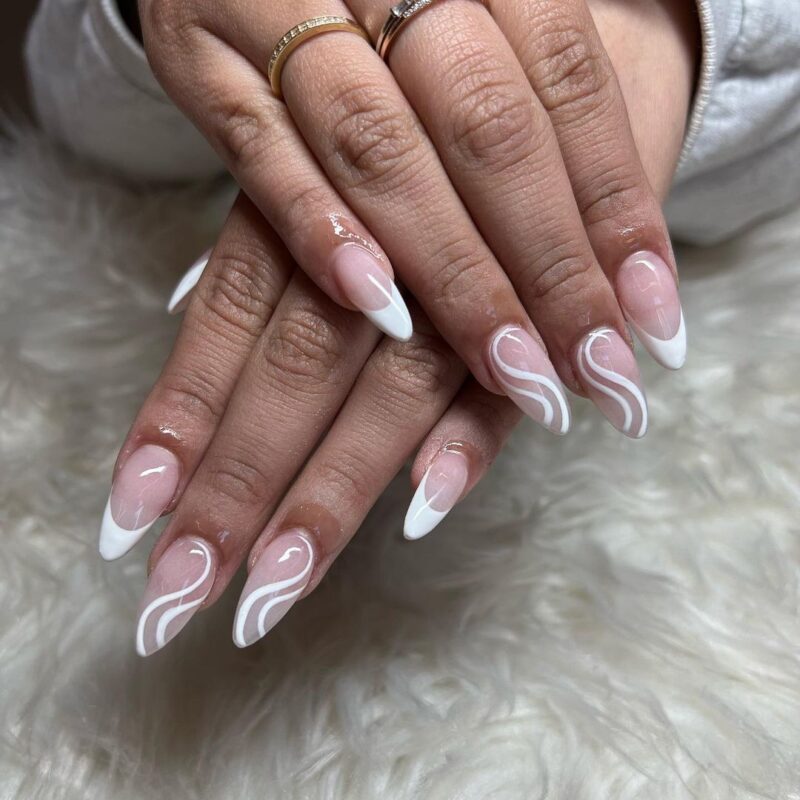
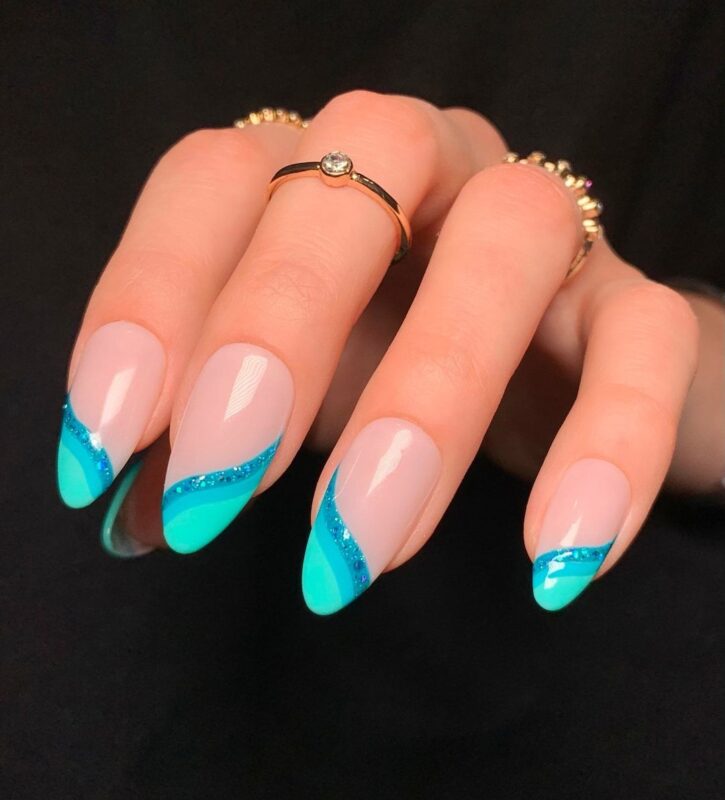
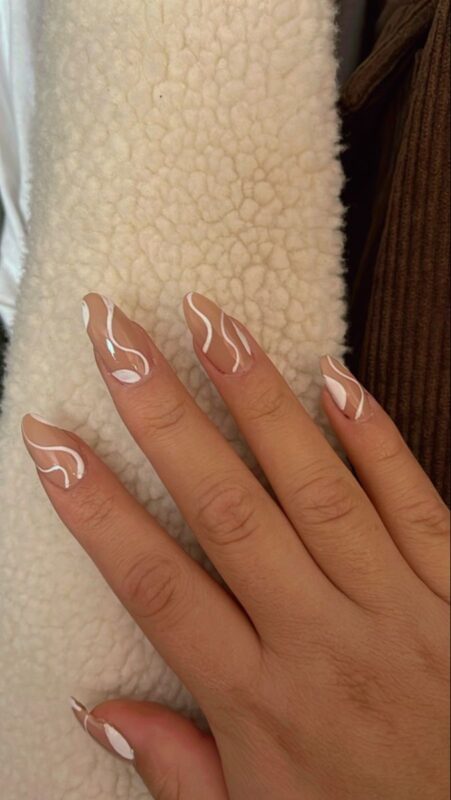
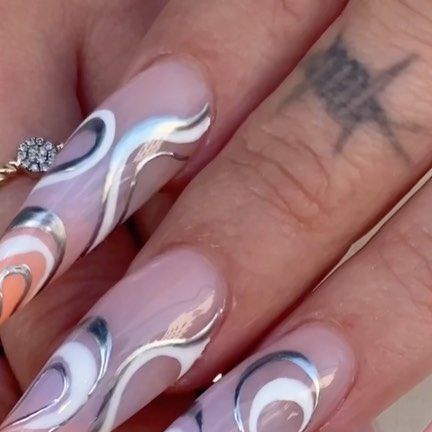
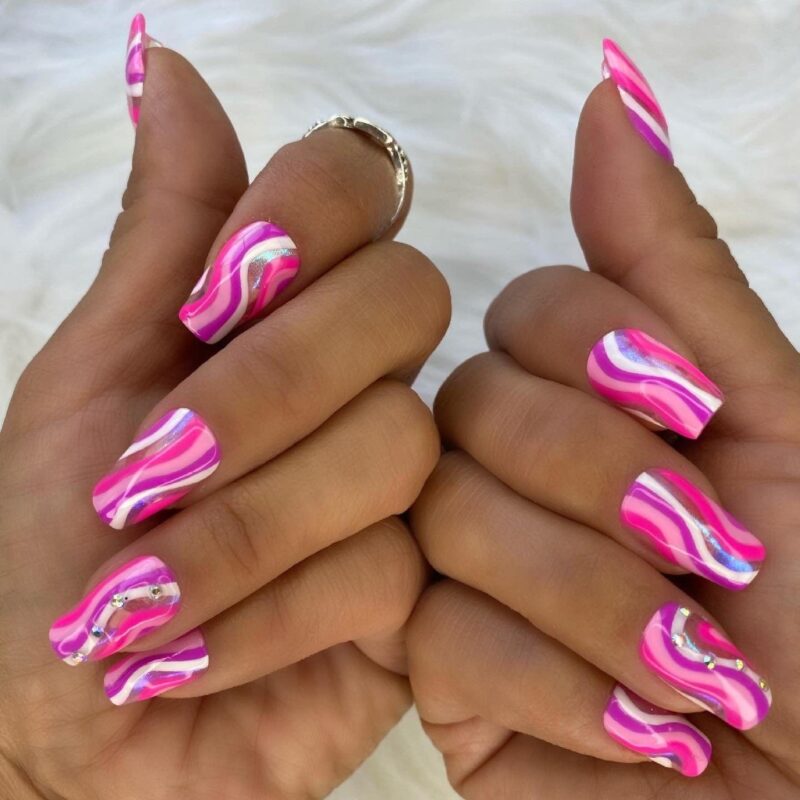
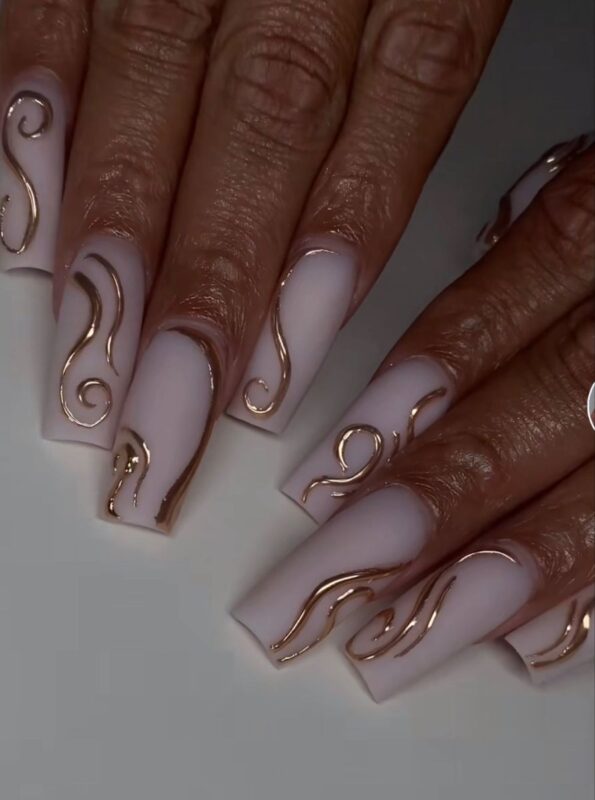
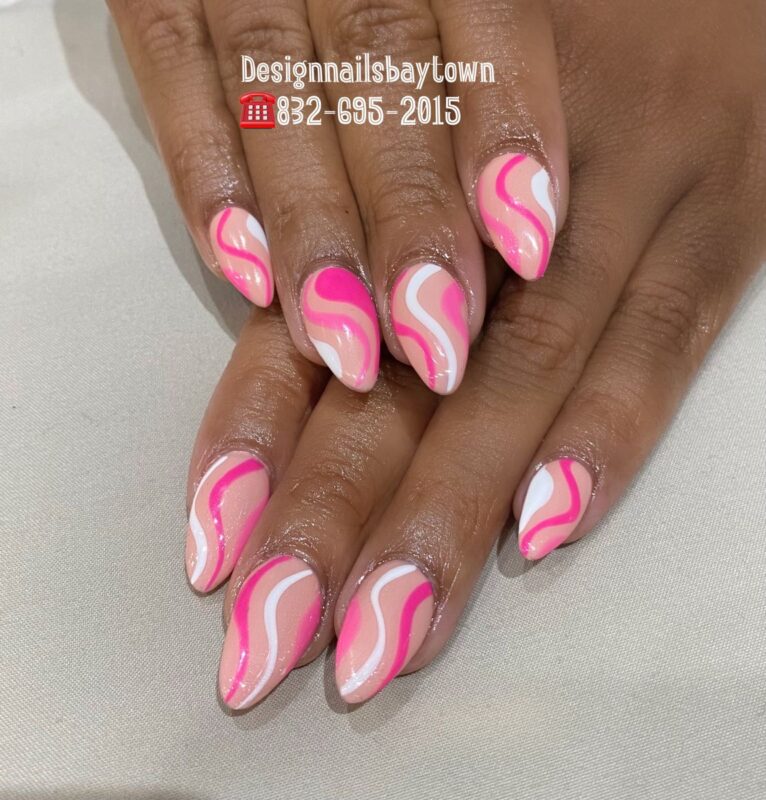
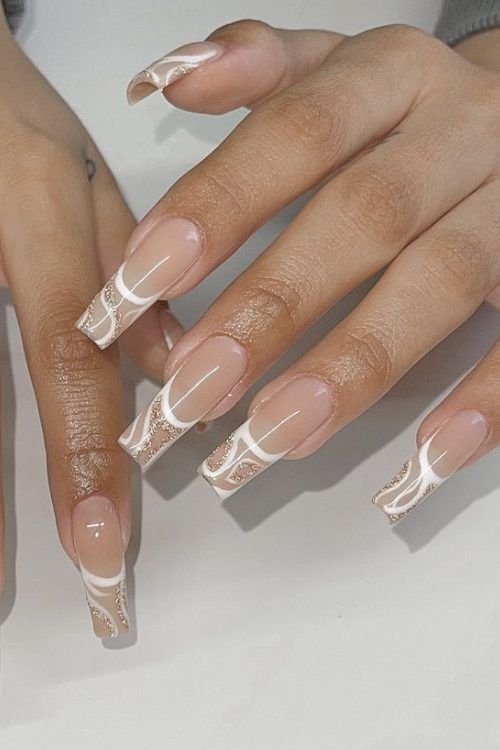
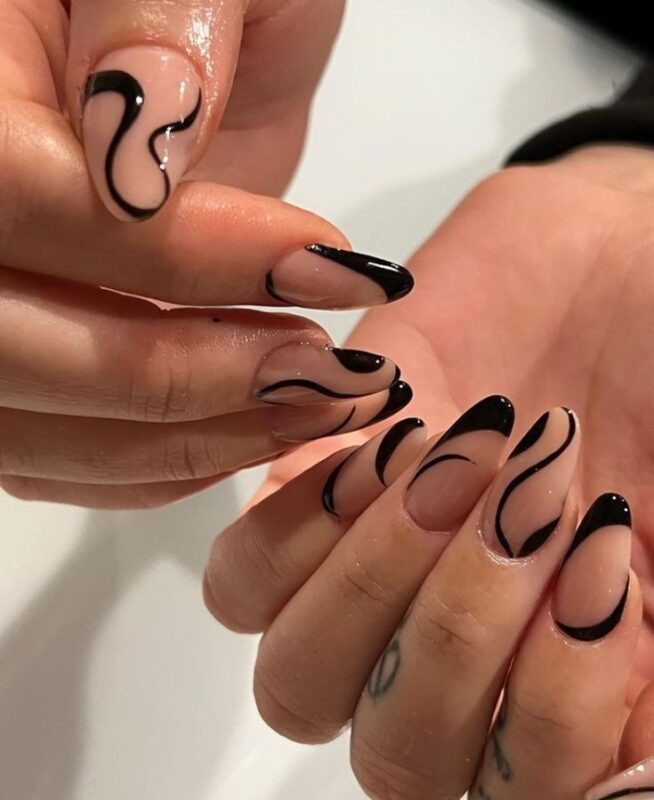
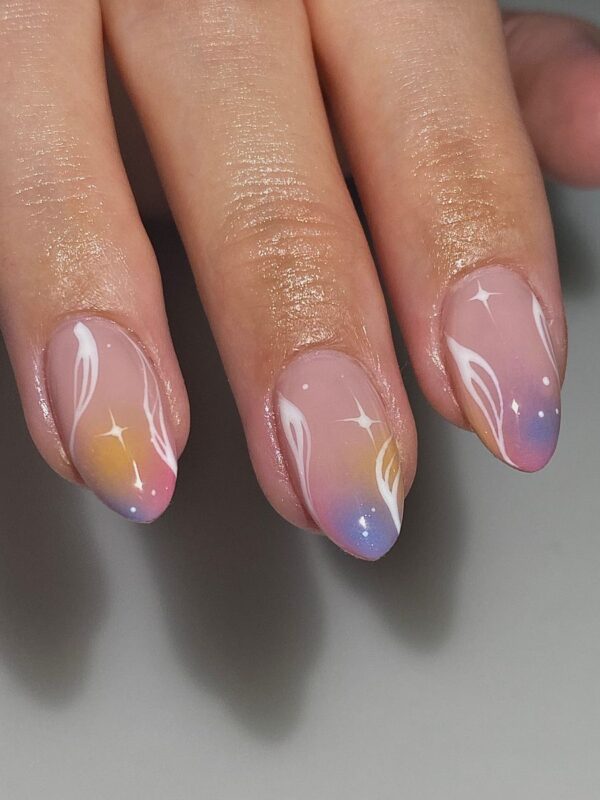
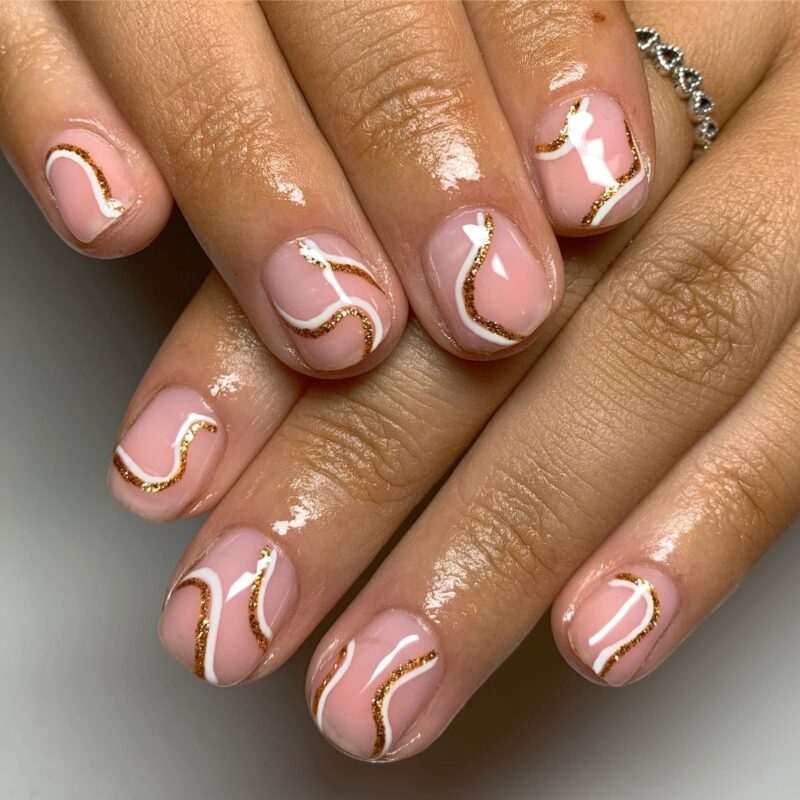
Dreamy Twirl Nails can evoke thoughts of whimsical swirls, pastel hues, and ethereal vibes. If you’re looking to create a dreamy, twirling nail design, here are some inspirations and steps to guide you:
Inspirations:
- Pastel Galaxy: Think of soft purples, blues, pinks, and whites blended together in a dreamy galaxy pattern.
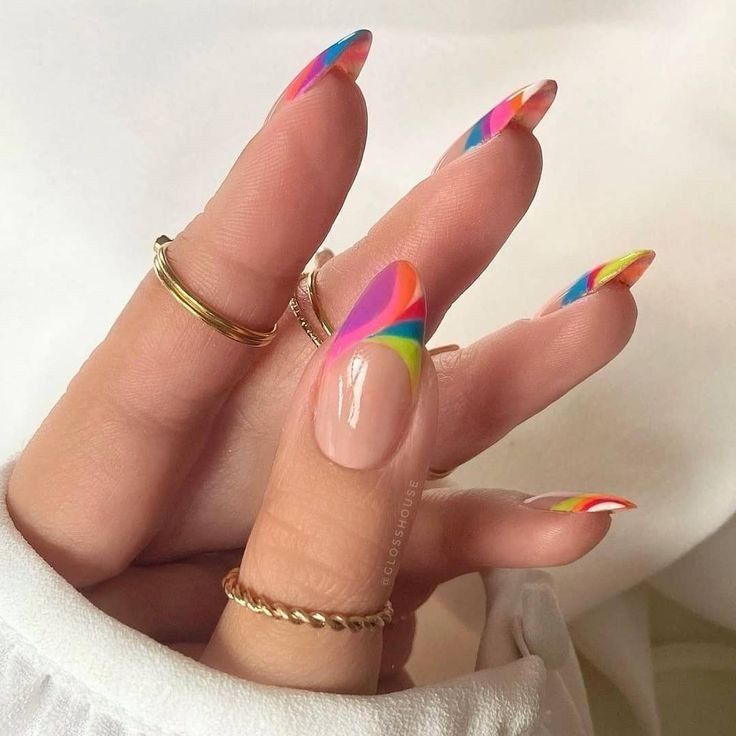
- Watercolor Whirls: Soft, blended strokes of watercolor-like nail polish.
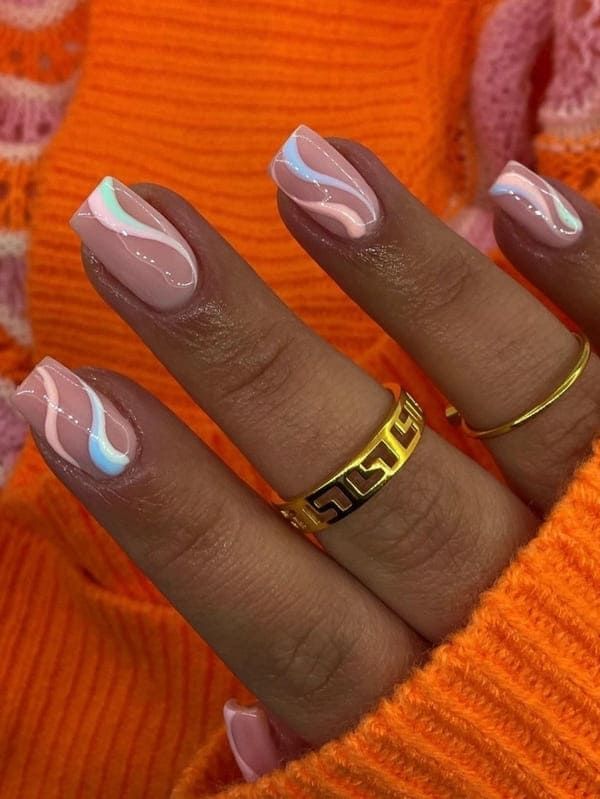
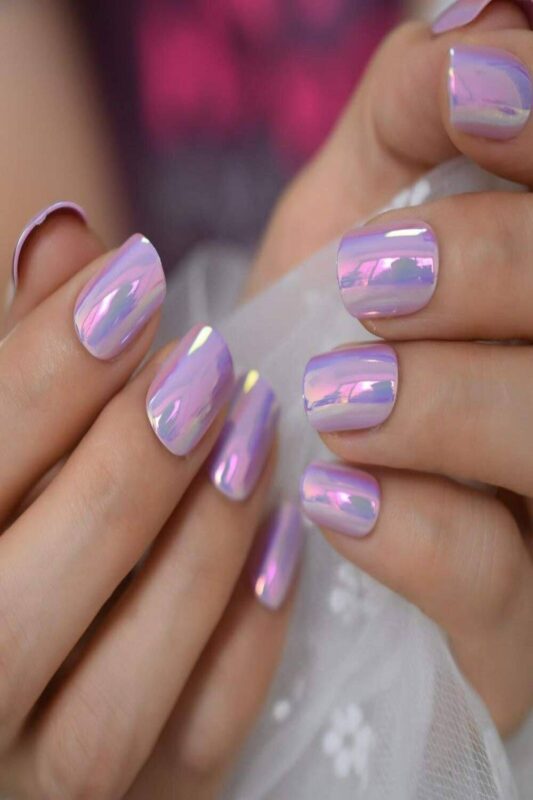
- Holographic Swirls: Holographic nail polish swirled into a creamy pastel base.
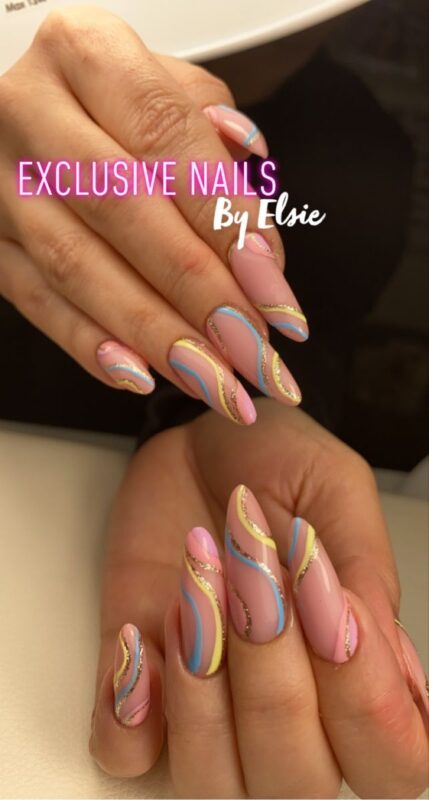
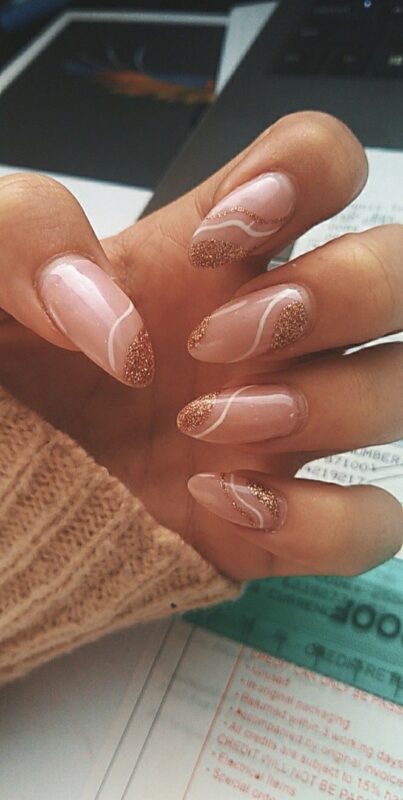
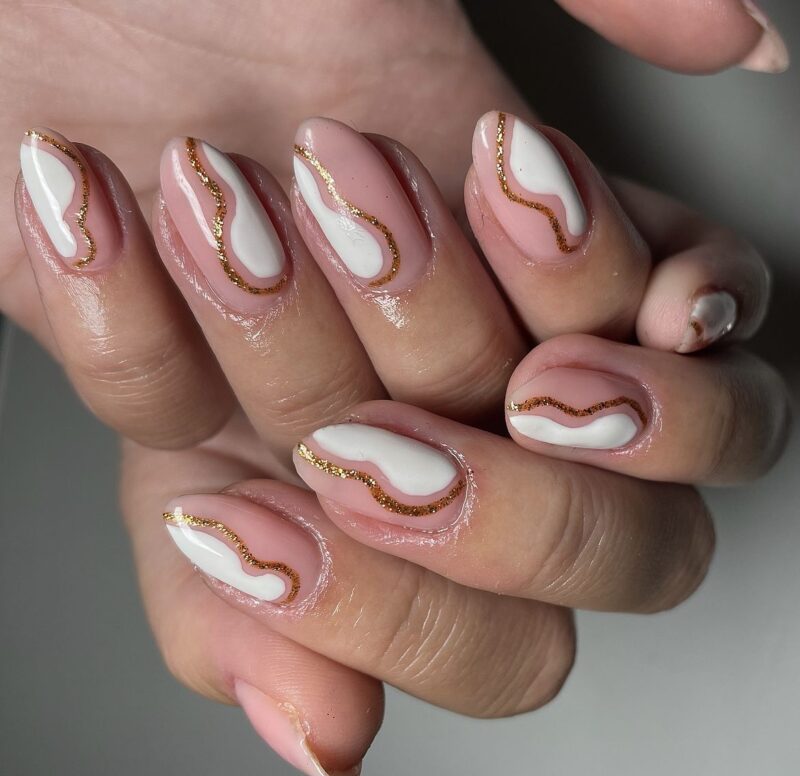
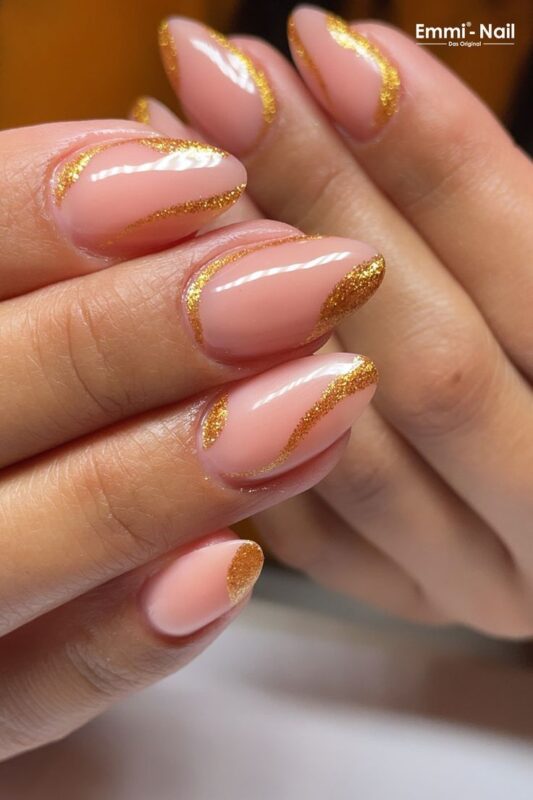
- Golden Spirals: Soft pastel base with delicate gold twirls on top.
- Cloud Dance: Fluffy white clouds against a pastel blue or pink backdrop.
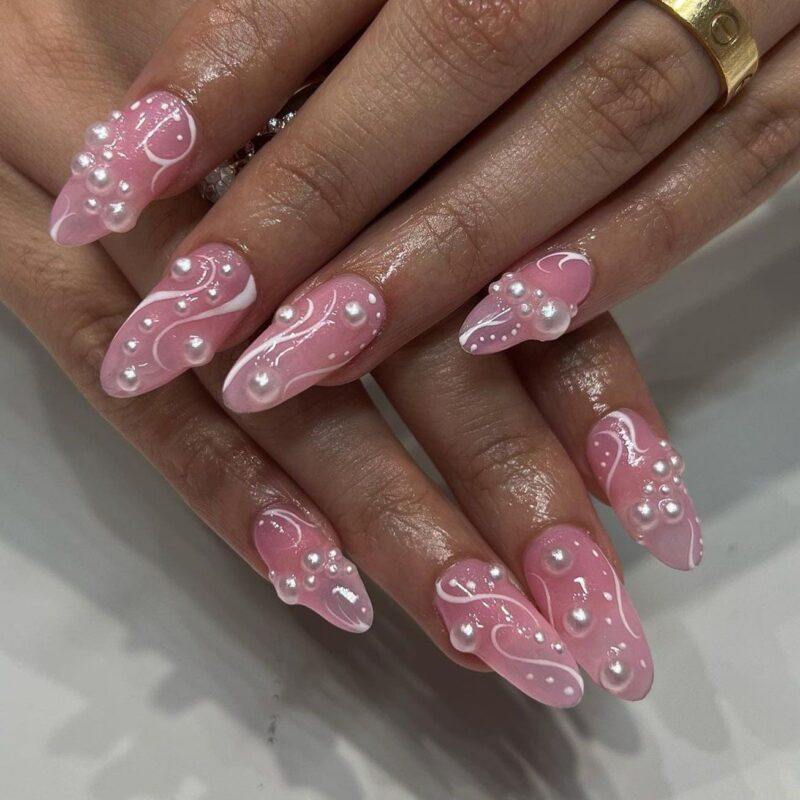
- Ethereal Shimmer: Translucent nails with iridescent shimmer and delicate swirl patterns.
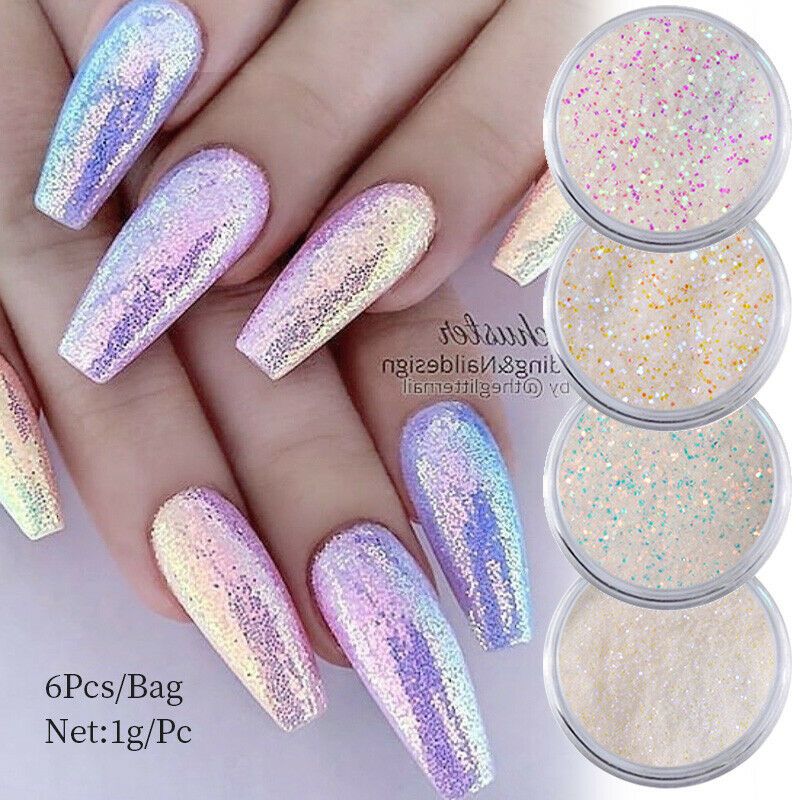
- Fairy Dust Twirl: Soft glitter gradients swirling from the base to the tip of the nail.
Steps to Create Dreamy Twirl Nails:
- Preparation:
- Start with clean, shaped nails. File your nails to your preferred shape and push back your cuticles.
- Apply a base coat to protect your nails and provide a smooth canvas.
- Base Color:
- Choose a light pastel shade or a soft, neutral color for the base. This will set the dreamy tone. Apply two thin coats, allowing each to dry.
- Swirling Technique:
- Take two or more complementary colors (think pastels or iridescent shades).
- Drop a bit of each polish onto a palette or aluminum foil.
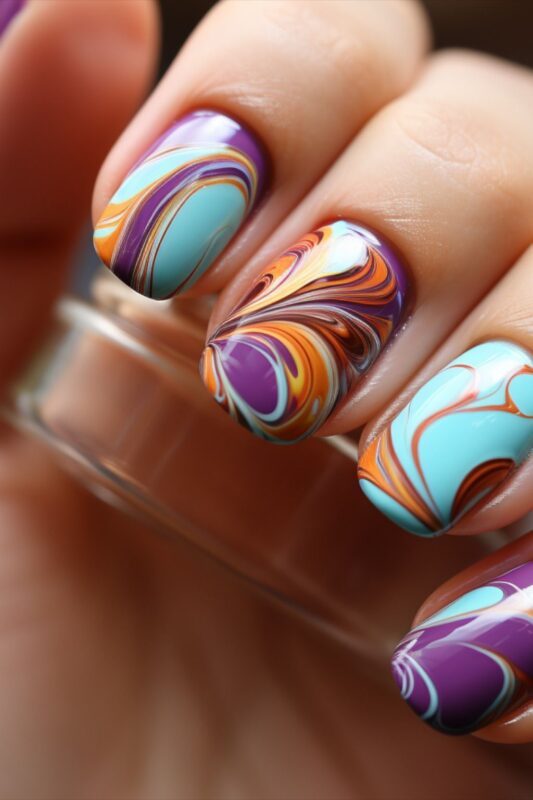
- Use a thin nail art brush or toothpick to swirl the colors together, then apply them to the nail in a twirling pattern. Don’t over mix; you want to see the individual colors.
- Gradient Swirl (Alternative technique):
- After applying your base color and letting it dry, take a makeup sponge and apply small dots of your chosen colors in a row.
- Dab the sponge onto the nail repeatedly, moving slightly up or down with each dab to create a gradient effect.
- Using a thin brush, swirl the colors while they are still wet.
- Add Accents:
- Consider adding delicate gold or silver twirls with a metallic nail art pen.
- If you want some sparkle, lightly dust glitter over the wet polish.
- Finishing Touches:
- Once your design is dry, seal in your artwork with a clear top coat. This will provide shine and protect your nails from chipping.
- Clean Up:
- Use a clean brush dipped in nail polish remover to clean up any polish that may have gotten onto your skin.
The key to achieving the dreamy twirl nails is to keep the patterns soft and the colors muted or pastel. It’s about creating an ethereal, whimsical vibe, so let your imagination wander and have fun with the process!

Comments
Related Posts
Nails are more than just a canvas for color; they’re an extension of our personal style, a finishing touch to our look, and in recent years, they’ve become a platform for artistic expression. Today, nail art is no longer just about choosing a color but about bringing a vision to...
Ombre wedding nails offer a beautiful, gradient effect that adds a touch of sophistication and modern style to your bridal look. Perfect for brides looking for something beyond the traditional French manicure, these designs blend colors seamlessly for a subtle yet striking effect. Here are five ombre wedding nail design...
Captivating the Essence of Summer As we step into 2023, the fashion world is embracing playful and vibrant nail art trends, with Cute Flamingo Nails emerging as a frontrunner. Perfect for those who love to add a touch of whimsy to their style, these nails capture the essence of summer...
