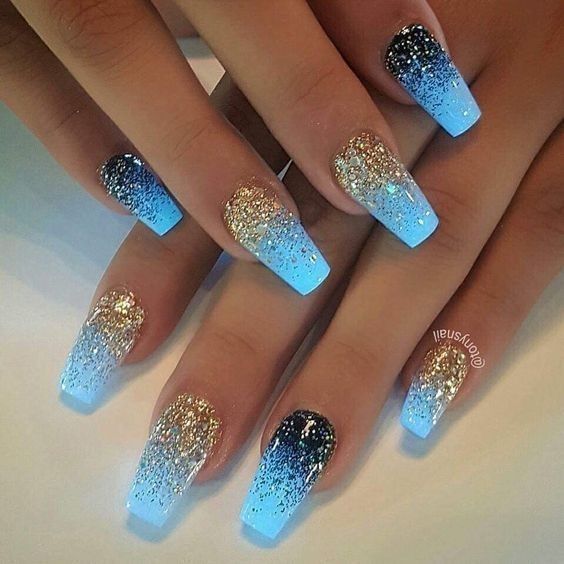
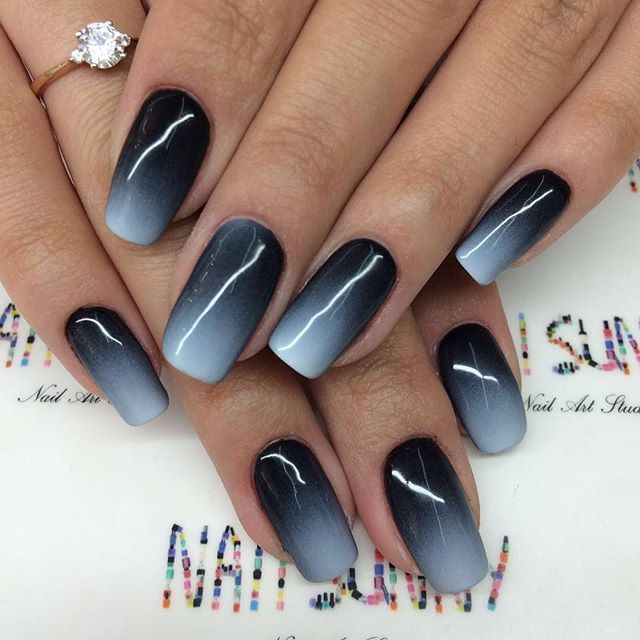
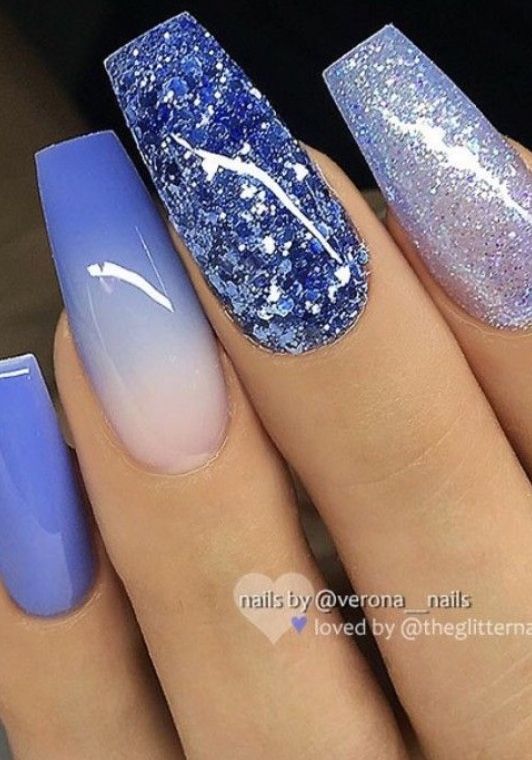
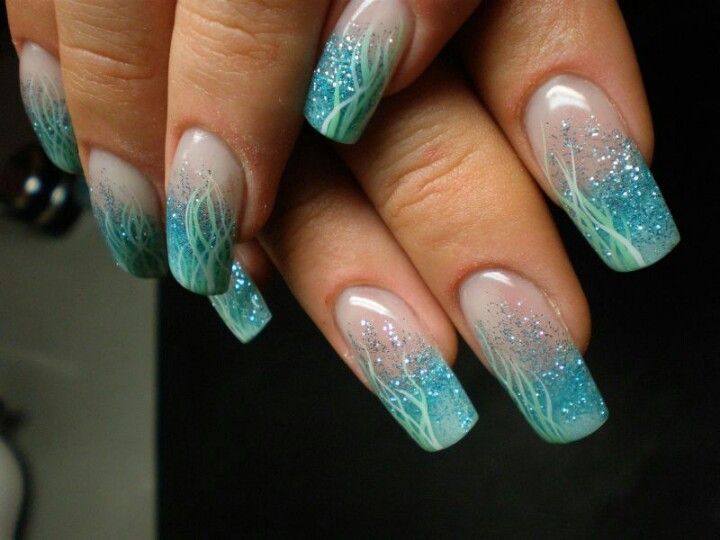
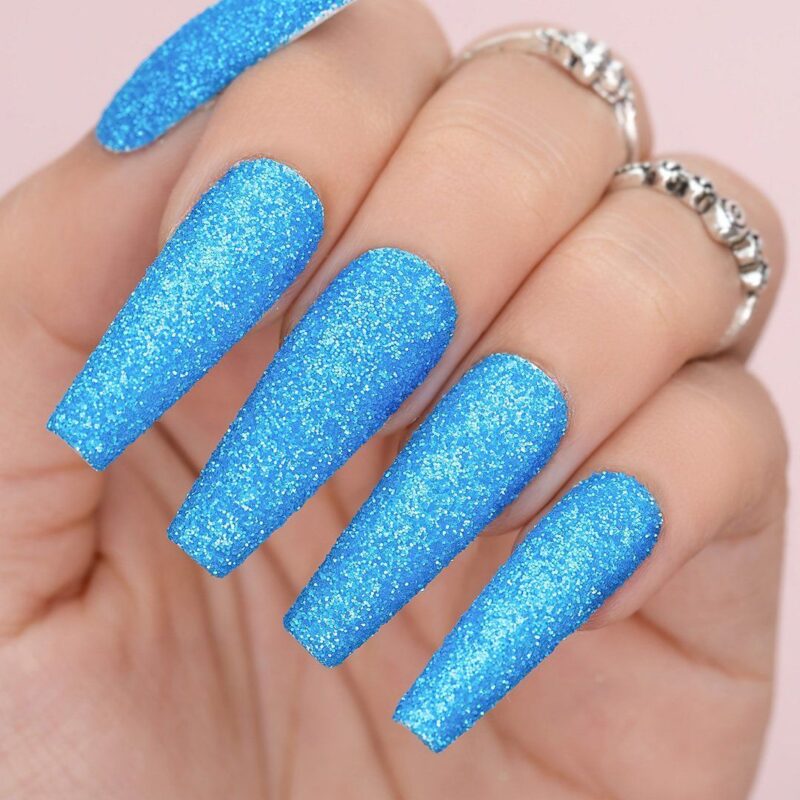
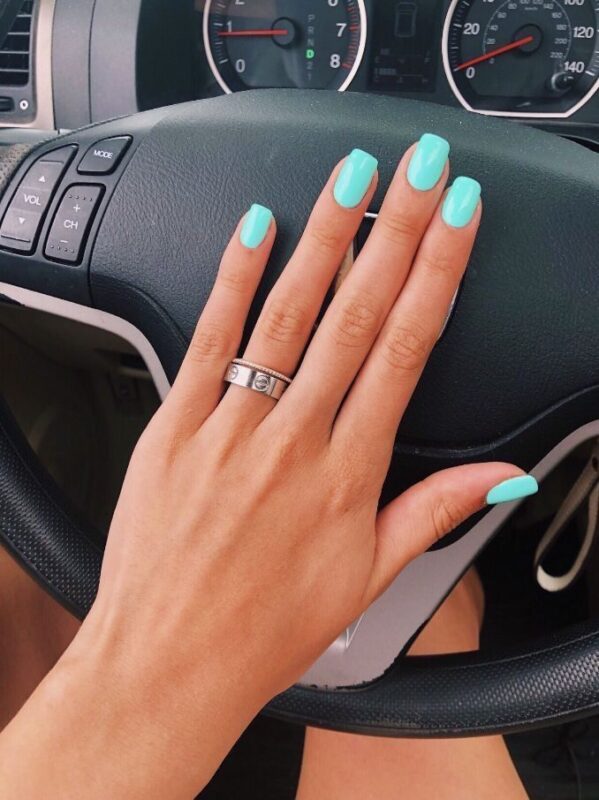
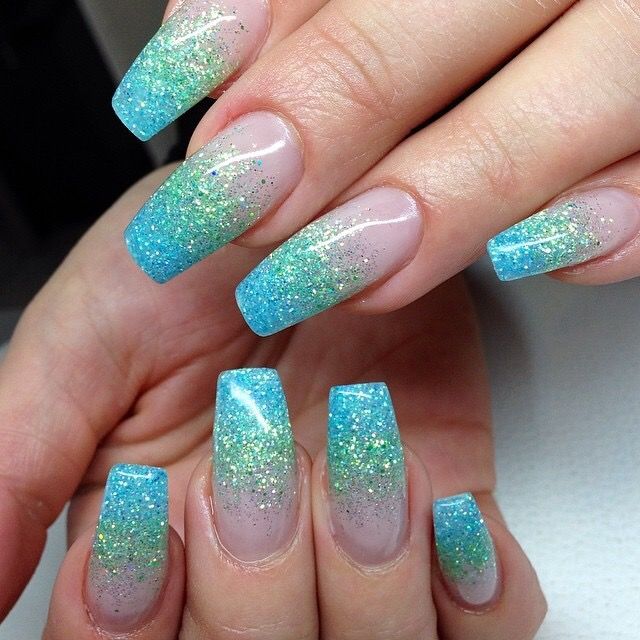
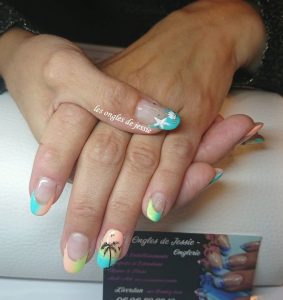
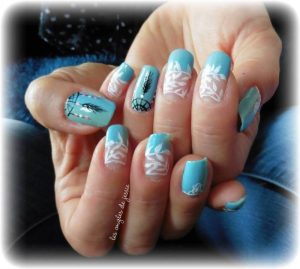
In the vast world of beauty and fashion, nails have emerged as the unsung heroes. They may be small canvases, but they hold immense potential to make a statement, to convey an emotion, and to become a reflection of one’s personality. Modern nail designs are not just about a splash...
How to Create Gradient Glitter Nails with a Gradient Nail Art Tutorial.
A+
A-
Creating gradient glitter nails is a fun and eye-catching nail art technique. It allows you to blend two or more glitter colors seamlessly for a stunning effect. Here’s a step-by-step tutorial on how to create gradient glitter nails:
Materials You’ll Need:
- Base coat
- Two or more glitter nail polish colors (of your choice)
- Makeup sponge
- Liquid latex or nail tape (optional, for easy cleanup)
- Nail polish remover and a cleanup brush (for any mistakes)
- Top coat
Step-by-Step Instructions:
- Prepare Your Nails:
- Start with clean, dry nails. Make sure your nails are free of any old polish or oils.
- Apply a clear base coat to protect your natural nails and help the polish adhere better. Let it dry.
- Apply Liquid Latex or Nail Tape (Optional):
- To make cleanup easier, you can apply liquid latex or nail tape around your nails. This will prevent excess glitter polish from sticking to your skin. Let it dry completely.
- Choose Your Glitter Colors:
- Select two or more glitter nail polish colors that you want to use for your gradient. Choose colors that complement each other or create an interesting contrast.
- Prepare a Makeup Sponge:
- Cut a small piece from the makeup sponge, ensuring it’s large enough to cover your entire nail. The sponge will be used to create the gradient effect.
- Apply the Glitter Polish:
- Starting with the first glitter color, apply a generous amount of polish onto the edge of the makeup sponge where you want the gradient to start. Be sure to overlap the colors slightly.
- Dab the Sponge:
- Gently dab the sponge onto your nail. Make sure the polish-covered edge of the sponge is touching your nail.
- Press the sponge onto your nail in a patting motion, moving it up and down slightly to blend the colors. Continue until you achieve the desired gradient effect.
- Repeat with Other Colors:
- If you’re using more than one glitter color, repeat steps 5 and 6 with the other colors. Overlap the colors to create a seamless transition.
- Build Up the Gradient:
- You may need to apply additional layers of polish and dab with the sponge to intensify the gradient and cover your entire nail. Let each layer dry slightly before adding more.
- Remove Liquid Latex or Nail Tape (If Used):
- If you applied liquid latex or nail tape, carefully peel it off to reveal clean skin around your nails.
- Cleanup:
- Use a small brush dipped in nail polish remover to clean up any excess glitter polish around your nails.
- Apply Top Coat:
- Once you’re satisfied with your gradient, apply a clear top coat to seal and protect your design. The top coat will also give your nails a glossy finish.
- Let Your Nails Dry:
- Allow your nails to dry completely before using your hands.
Now you have beautiful gradient glitter nails! This technique allows you to experiment with various color combinations and create a dazzling effect that’s perfect for special occasions or everyday glamour.


Comments
Related Posts
Mermaid nails indeed provide a delightful and whimsical design that is reminiscent of the enchanting world under the sea. The trend’s popularity has soared in recent years, allowing individuals to express their creativity and sense of style through their nail art. The captivating scale-like patterns, shimmering shades, and various color...
As the summer season rolls in, we eagerly anticipate the joys of swimming in pools and oceans during our vacations. Our suitcases are brimming with essentials like sunscreens, towels, and sunglasses. But amidst these preparations, it’s crucial not to overlook one key aspect of our summer vacation wardrobe: our nails....
In the world of nail art, sometimes less is more. Minimalist nail designs have gained popularity for their clean lines, understated elegance, and the ability to complement rather than overpower an outfit. These designs often feature simple geometric shapes, classic French tips, subtle curves, and gentle swirls. However, the beauty...

