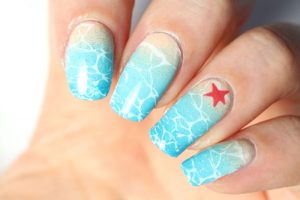
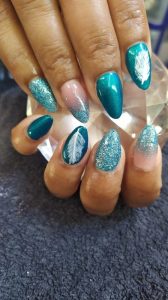
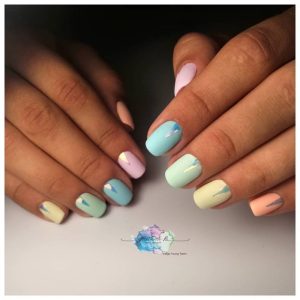
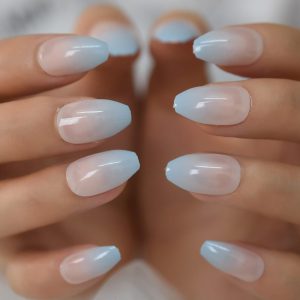
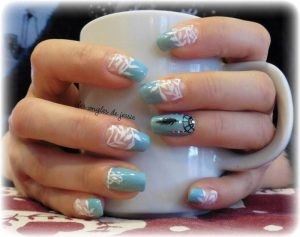
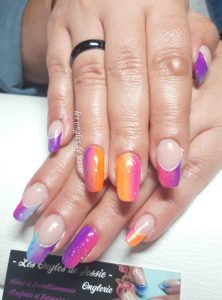
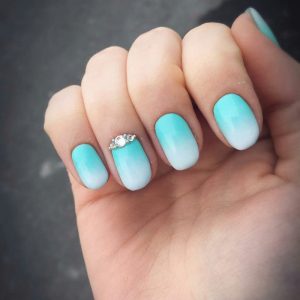
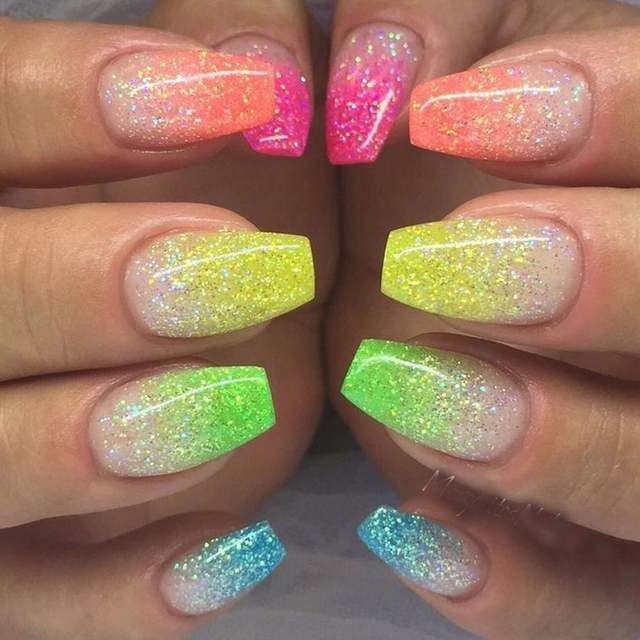
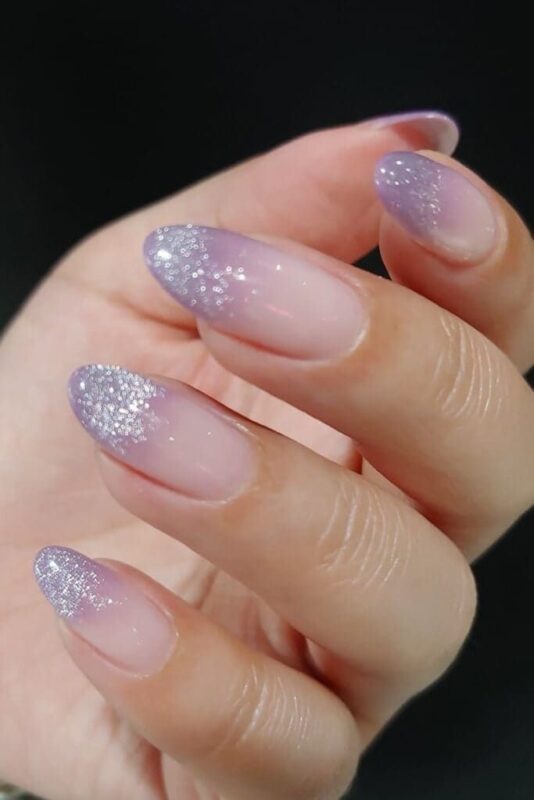
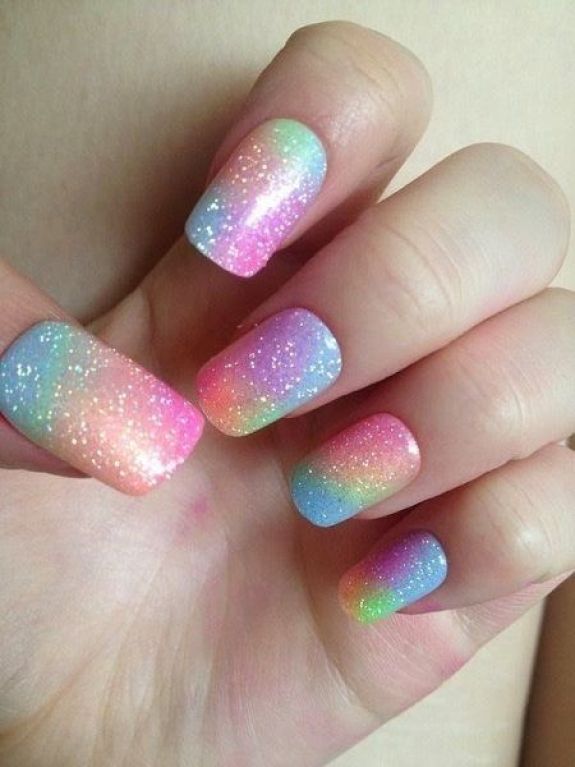
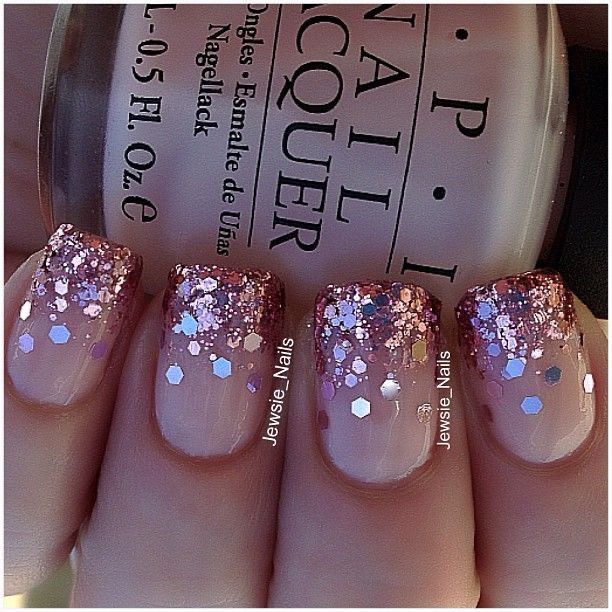
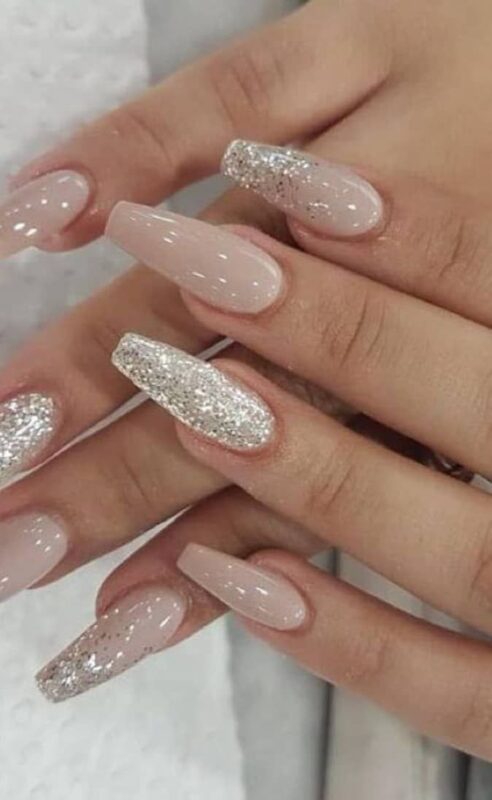
Creating gradient glitter nails is a fun and stylish way to add some sparkle to your manicure. This gradient nail art technique involves blending different glitter colors or sizes to create a smooth transition effect. Here’s a step-by-step tutorial on how to achieve this glamorous look:
Materials Needed
Base coat
Your choice of nail polish colors (2 or more for the gradient)
Glitter nail polish (preferably in different sizes or colors)
Makeup sponge
Top coat
Nail polish remover
Small brush or cotton swabs for cleanup
Steps to Create Gradient Glitter Nails
Prepare Your Nails: Start by applying a base coat to protect your nails and create a smooth canvas for the polish.
Apply the Base Color: Choose a base color that complements your glitter. Apply it to your nails and let it dry completely.
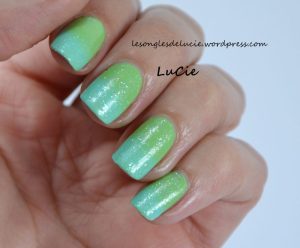
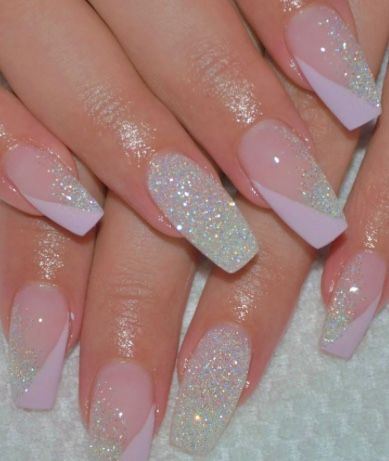
Prepare the Gradient on a Sponge: On a flat surface, apply strips of your chosen glitter polishes side by side on the sponge. Overlap the colors slightly where they meet to help with the blending.
Dab the Sponge onto Your Nails: Gently dab the sponge onto your nails, pressing the glitter onto the nail surface. You might need to reapply the glitter to the sponge and repeat the process a few times to achieve the desired opacity and blend.
Clean Up: Use a small brush or cotton swab dipped in nail polish remover to clean up any glitter or polish around your nail beds.
Apply a Top Coat: Once you’re satisfied with the gradient effect, let the glitter dry for a bit, then apply a top coat. The top coat seals in the glitter, smooths out the texture, and adds a glossy finish.
Let It Dry: Give your nails ample time to dry to avoid smudging your beautiful new gradient glitter manicure.
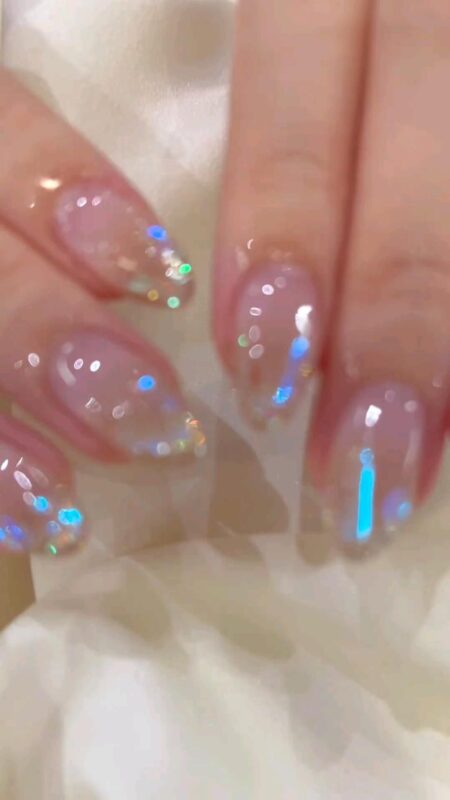
Choice of Glitter: Using different sizes or colors of glitter can add depth to the gradient.
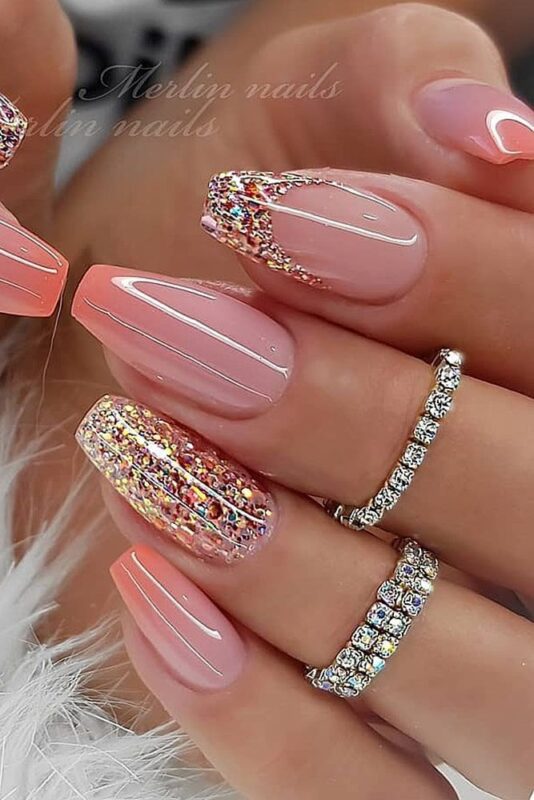
Layering: For a more intense gradient, apply multiple layers, letting each layer dry a bit before applying the next.
Sponge Type: A dense makeup sponge usually works best for this technique as it doesn’t absorb too much polish.
Work Fast: Nail polish dries quickly on sponges, so work swiftly to get the best gradient effect.
Conclusion
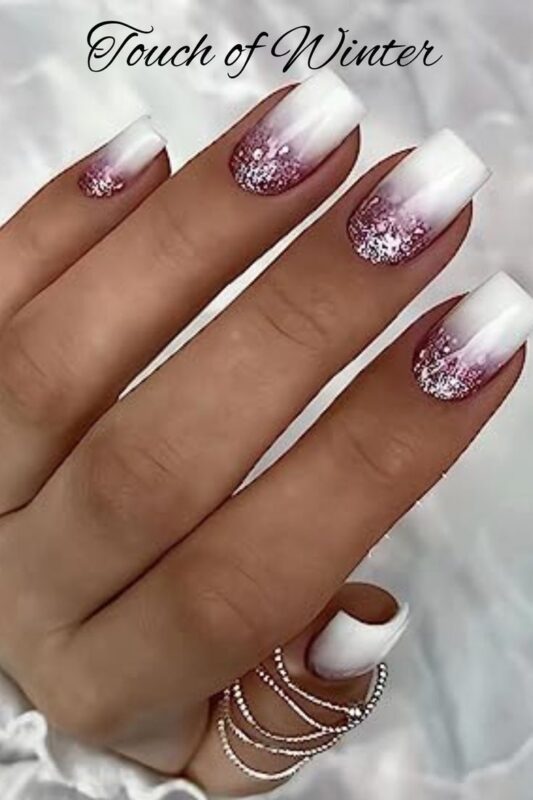
Gradient glitter nails are a fun and eye-catching choice for a special occasion or just to spice up your daily look. With a little practice, you can achieve a salon-quality gradient effect at home. Experiment with different colors and types of glitter to find the perfect combination for your style!
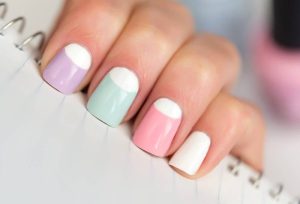
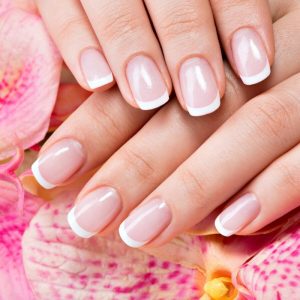
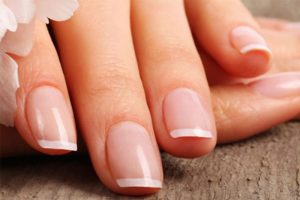
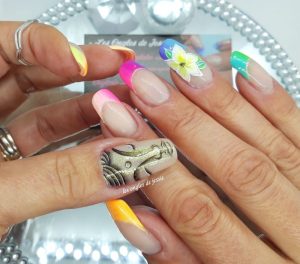
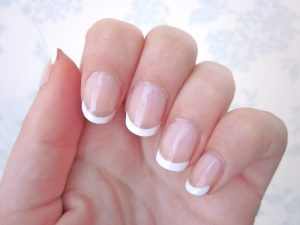
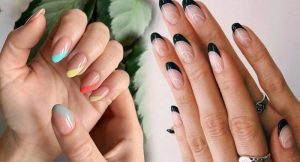
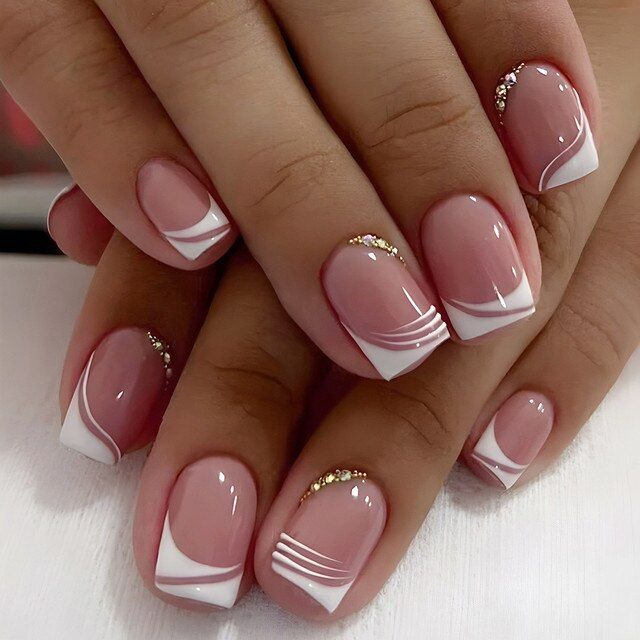
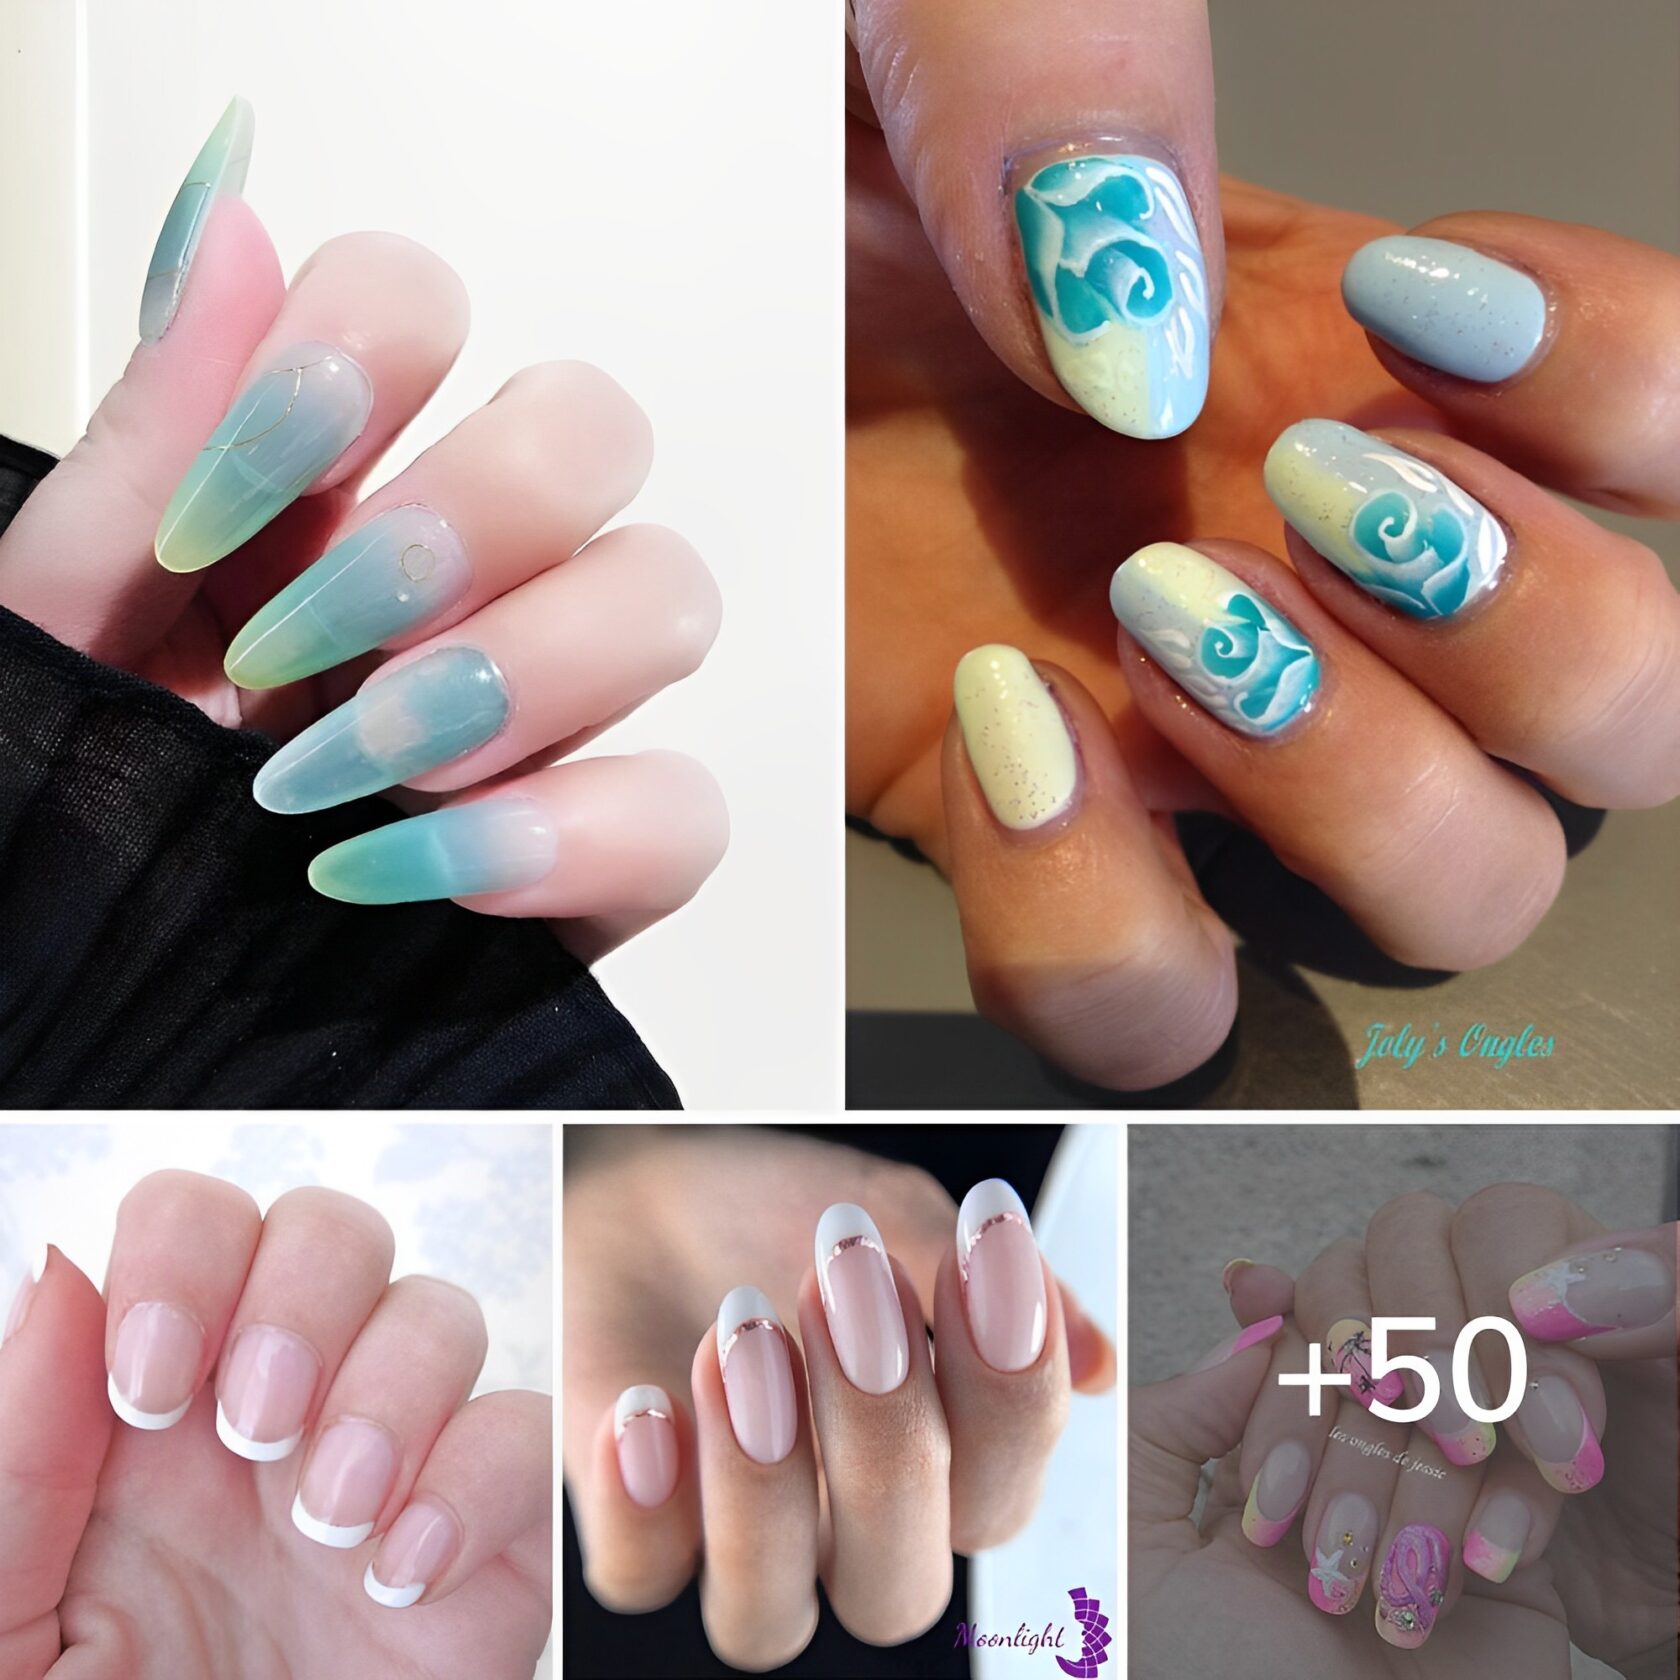
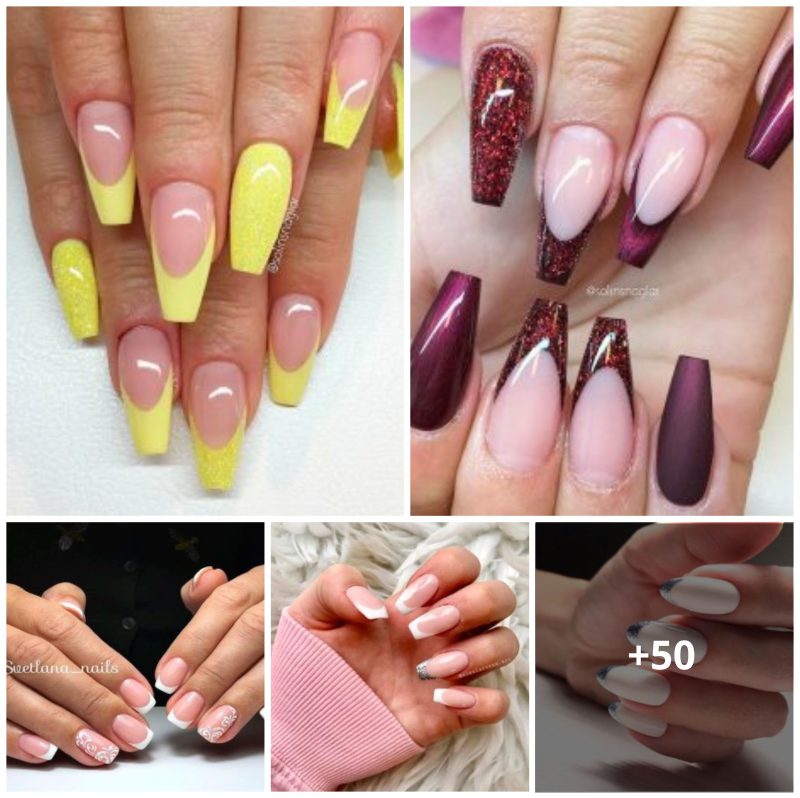
If you’re looking to refresh the classic French manicure, there are plenty of modern ideas that add a fun twist to this timeless style. Here are some creative options to break away from the traditional white-tipped look: Colored Tips: Swap the classic white tips for bold, vibrant colors. Shades like...
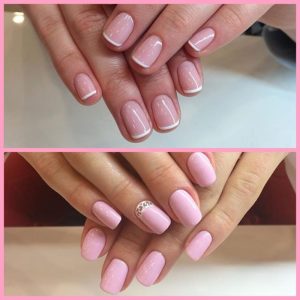
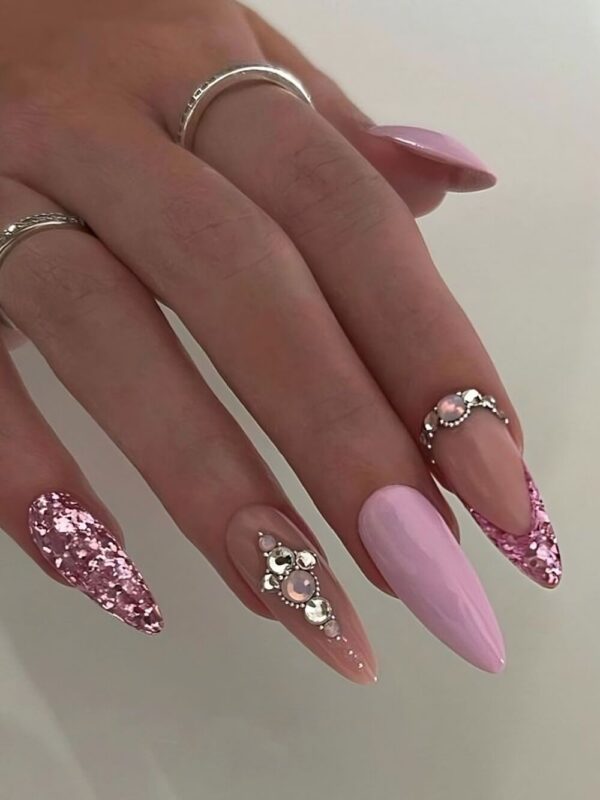
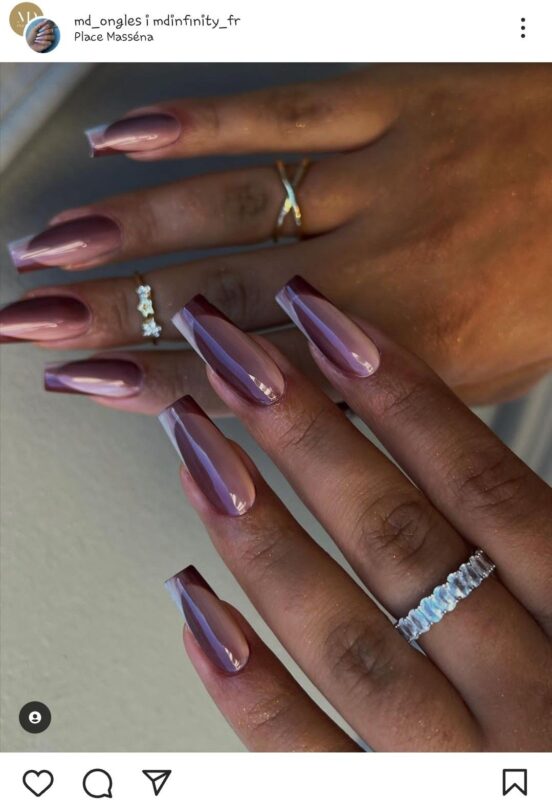
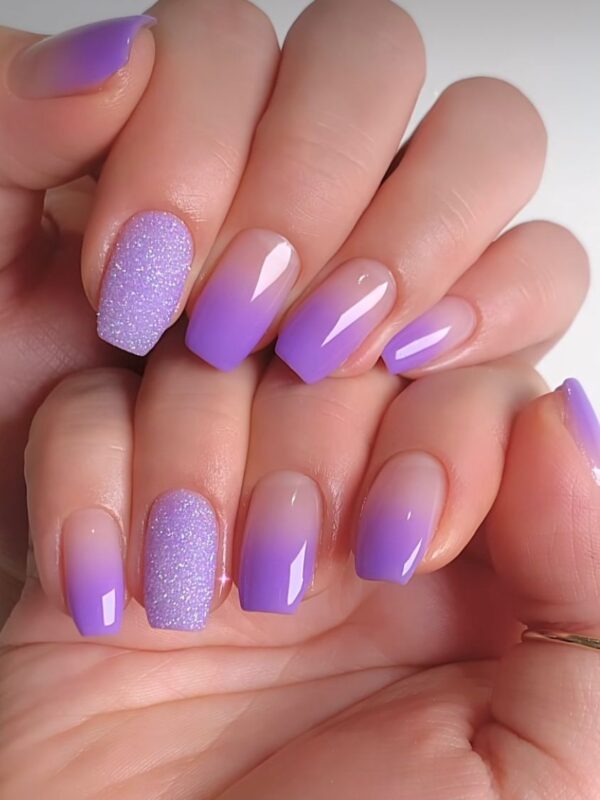
Mauve nails exude a unique blend of elegance, femininity, and youthfulness, making them a perfect choice for anyone looking to add a sophisticated yet trendy touch to their look. This versatile hue can range from a soft, pale lilac to a deeper, duskier purple, providing a fantastic spectrum of shades...
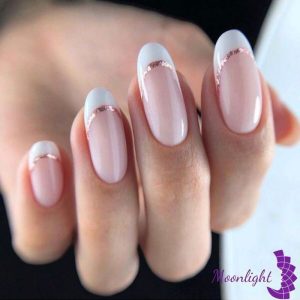
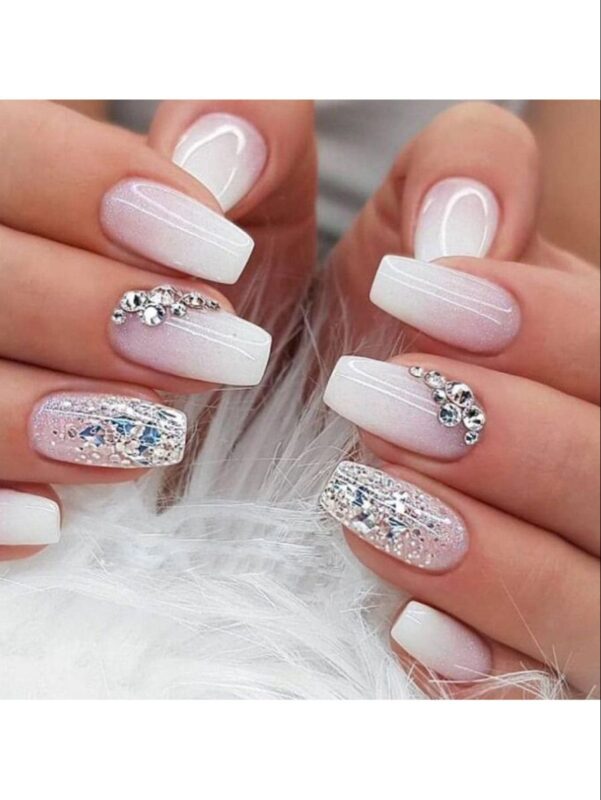
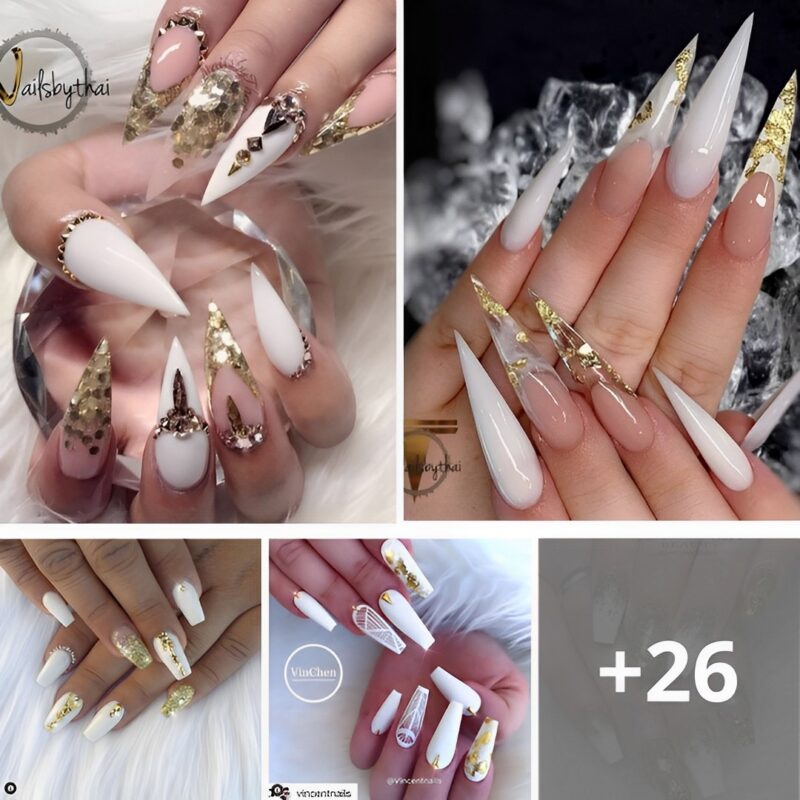
White and gold nails are the perfect duo for a sophisticated, clean, and luxurious manicure. Whether you’re dressing up for a wedding, a party, or just love a polished look, these glamorous white and gold accent nails add instant elegance with minimal effort. The crisp brightness of white paired with...
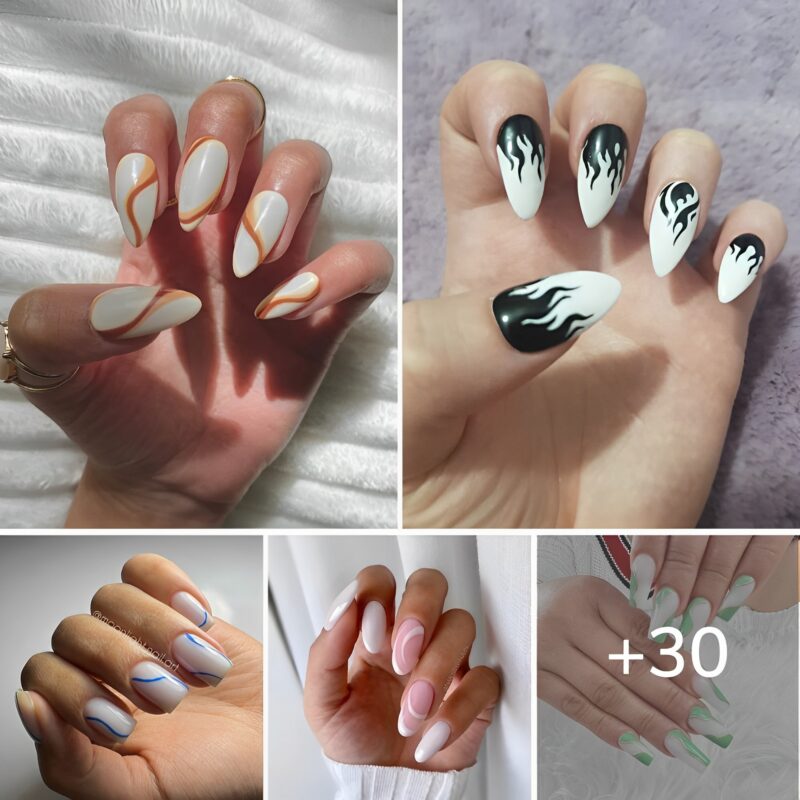
White nail designs are timeless, elegant, and versatile, making them a popular choice for all seasons and occasions. In 2023, white nails continue to be on-trend, with various design ideas to add a modern twist to this classic color. Here are some fresh and stylish ideas for white nail designs...
We use cookies to ensure that we give you the best experience on our website. If you continue to use this site we will assume that you are happy with it.