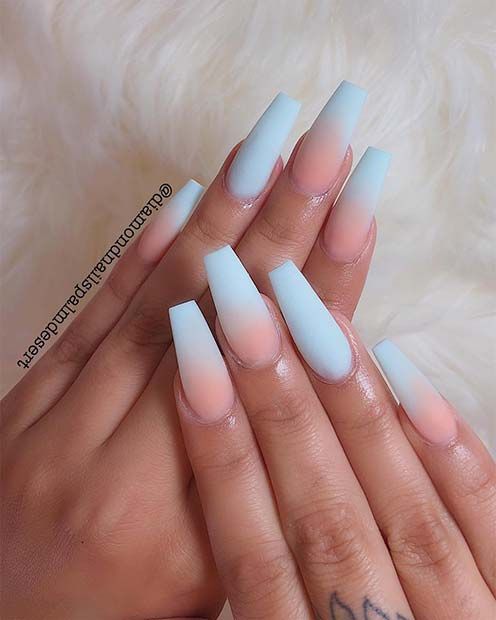
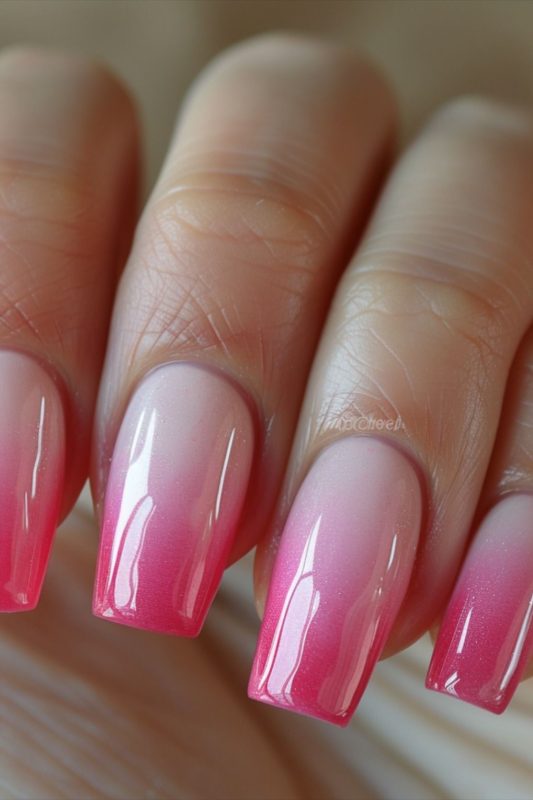
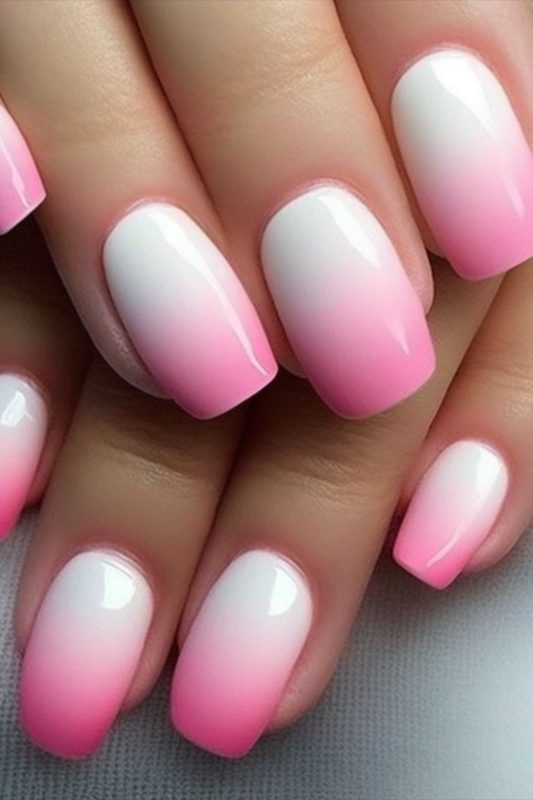
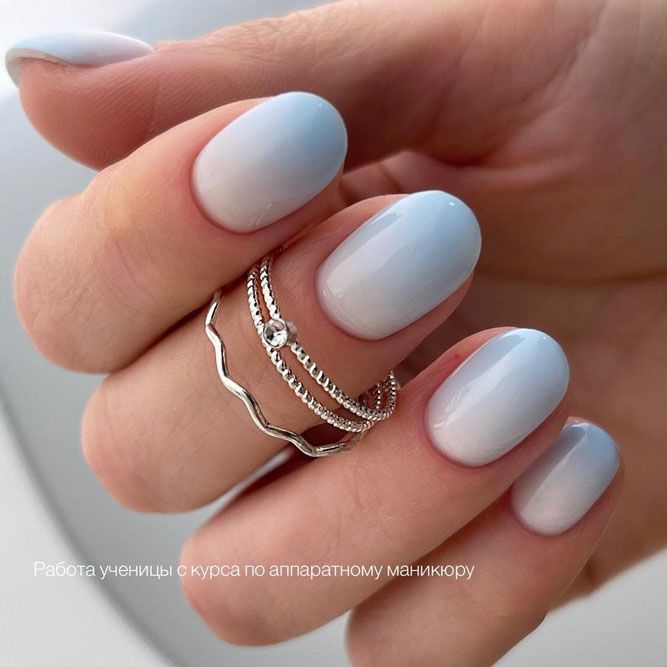
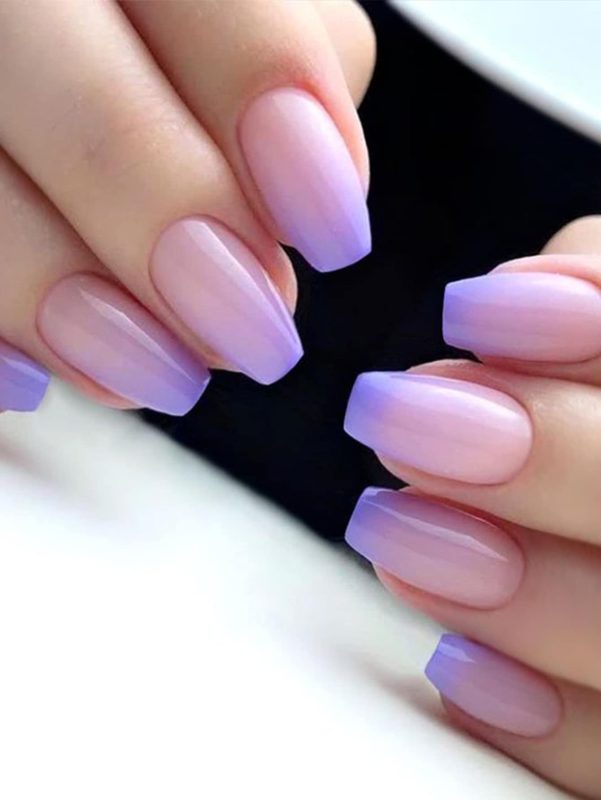
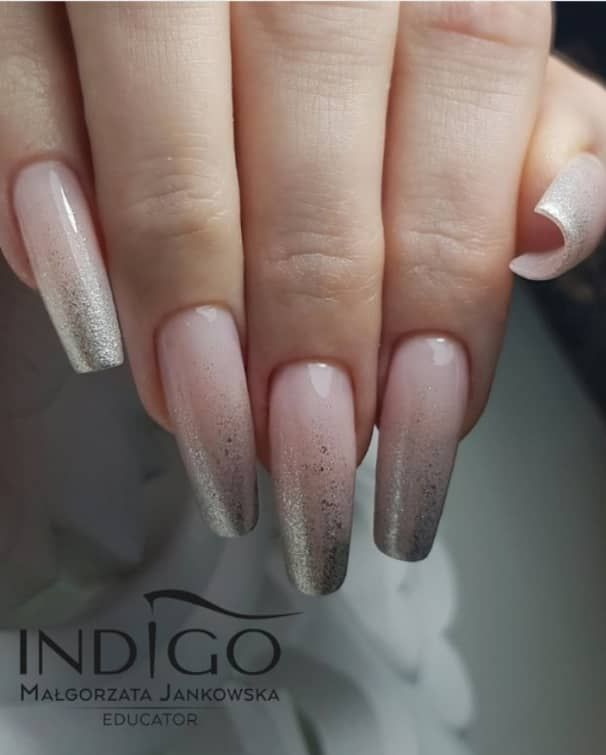
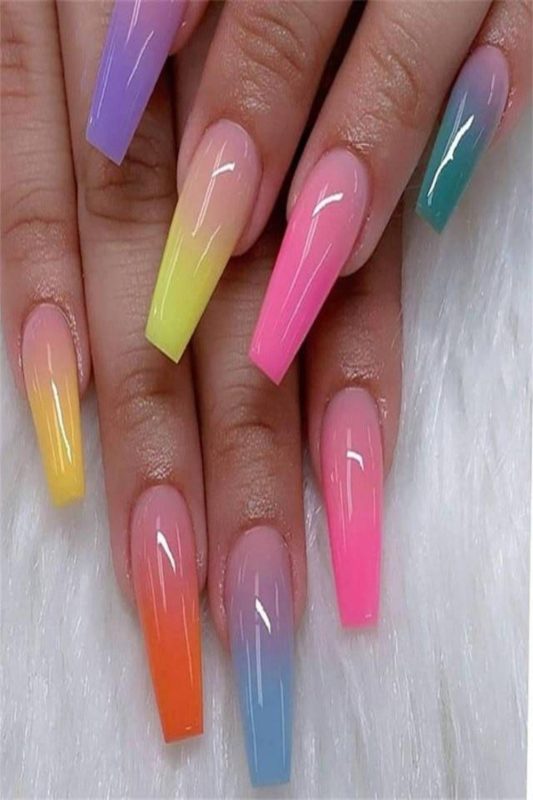
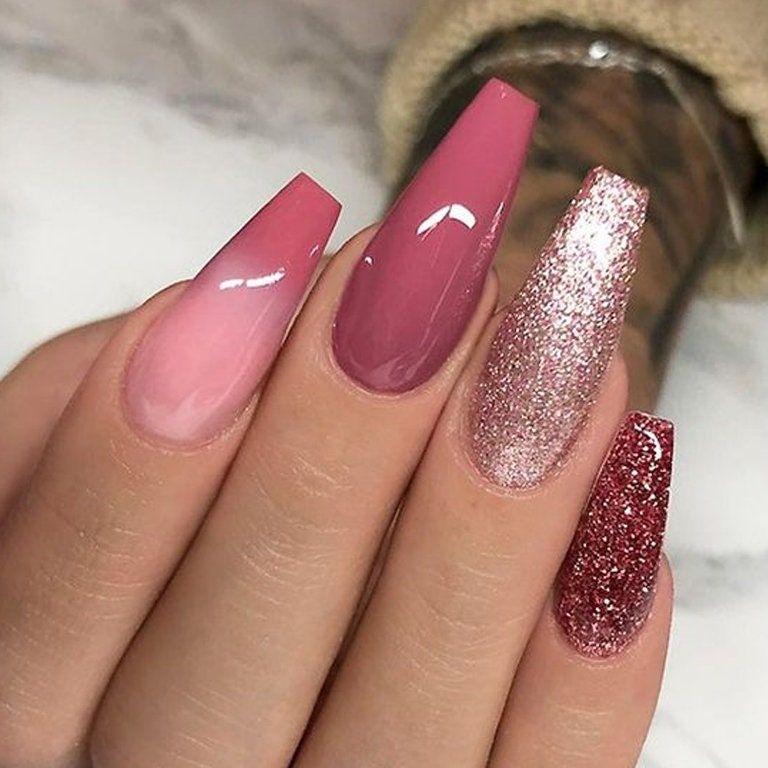
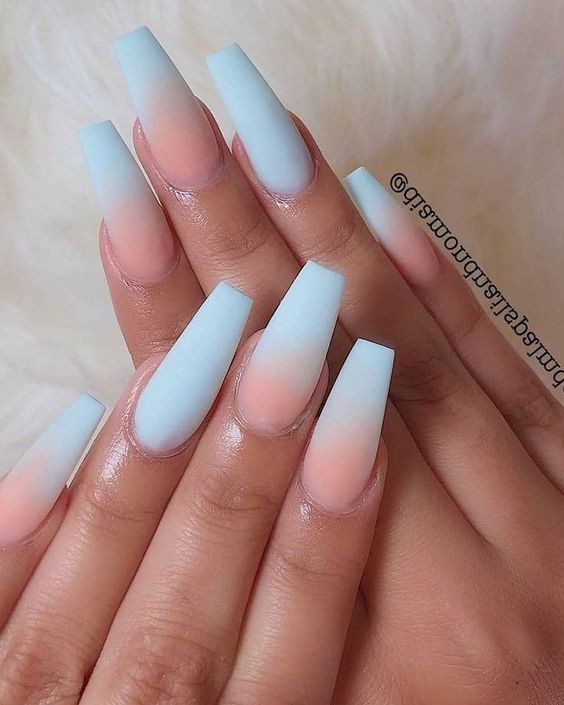
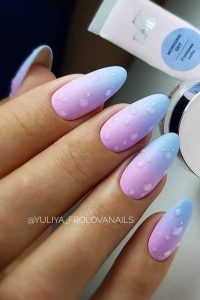
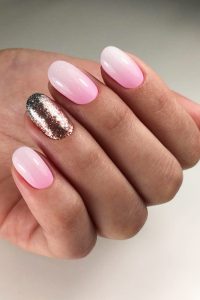
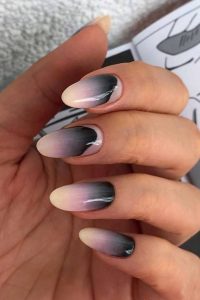
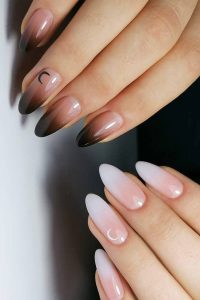
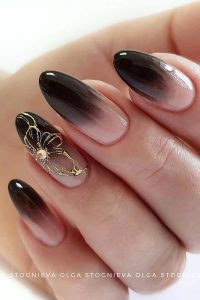
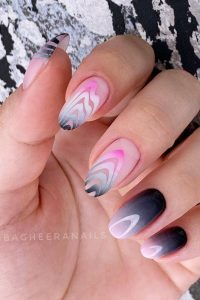
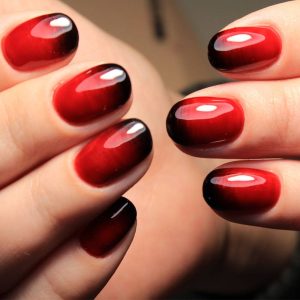
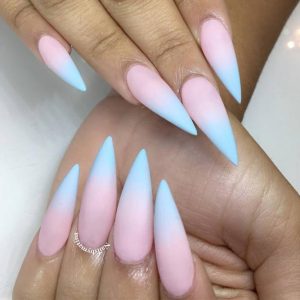
Ombre nails are a stunning and versatile choice for anyone looking to add some flair to their manicure with a gradient effect. This technique involves blending two or more colors seamlessly on each nail, creating a beautiful transition from one shade to another. Here’s a simple tutorial on how to achieve attractive ombre nail designs, along with some concept ideas to inspire your next manicure.
Materials Needed:
At least two nail polish colors (for the ombre effect)
A small makeup sponge
A top coat
Liquid latex or tape (for easy cleanup around the nails)
A small brush or cotton swab (for cleanup)
Nail polish remover
Step-by-Step Tutorial:
1. Preparation:
Start with clean, filed nails. Apply a base coat to protect your nails and provide a surface that will help the polish adhere better.
If you’re using liquid latex, apply it around your nails to protect your skin from getting polish on it. Alternatively, you can use tape to cover the skin around your nails.
2. Base Color:
Apply a light color from your chosen ombre combination as the base color and let it dry completely. The lightest color usually works best as the base.
3. Prepare the Sponge:
Take your makeup sponge and apply the colors you want to use for the ombre side by side, slightly overlapping them on the sponge. If you’re using two colors, apply them directly next to each other; for more than two colors, continue the pattern on the sponge.
4. Dabbing the Sponge:
Dab the sponge gently onto your nail, moving it slightly up and down and side to side to blend the colors together on the nail. Don’t press too hard, or you might remove the polish from the nail.
Reapply the polish to the sponge as needed and repeat the process until you’re satisfied with the gradient effect.
Once the polish is slightly dry, carefully remove the liquid latex or tape from around your nails.
Use a small brush or cotton swab dipped in nail polish remover to clean up any polish that got onto your skin.
6. Top Coat:
Apply a top coat to seal in the design, smooth out the texture, and add a glossy finish. Wait for it to dry completely.
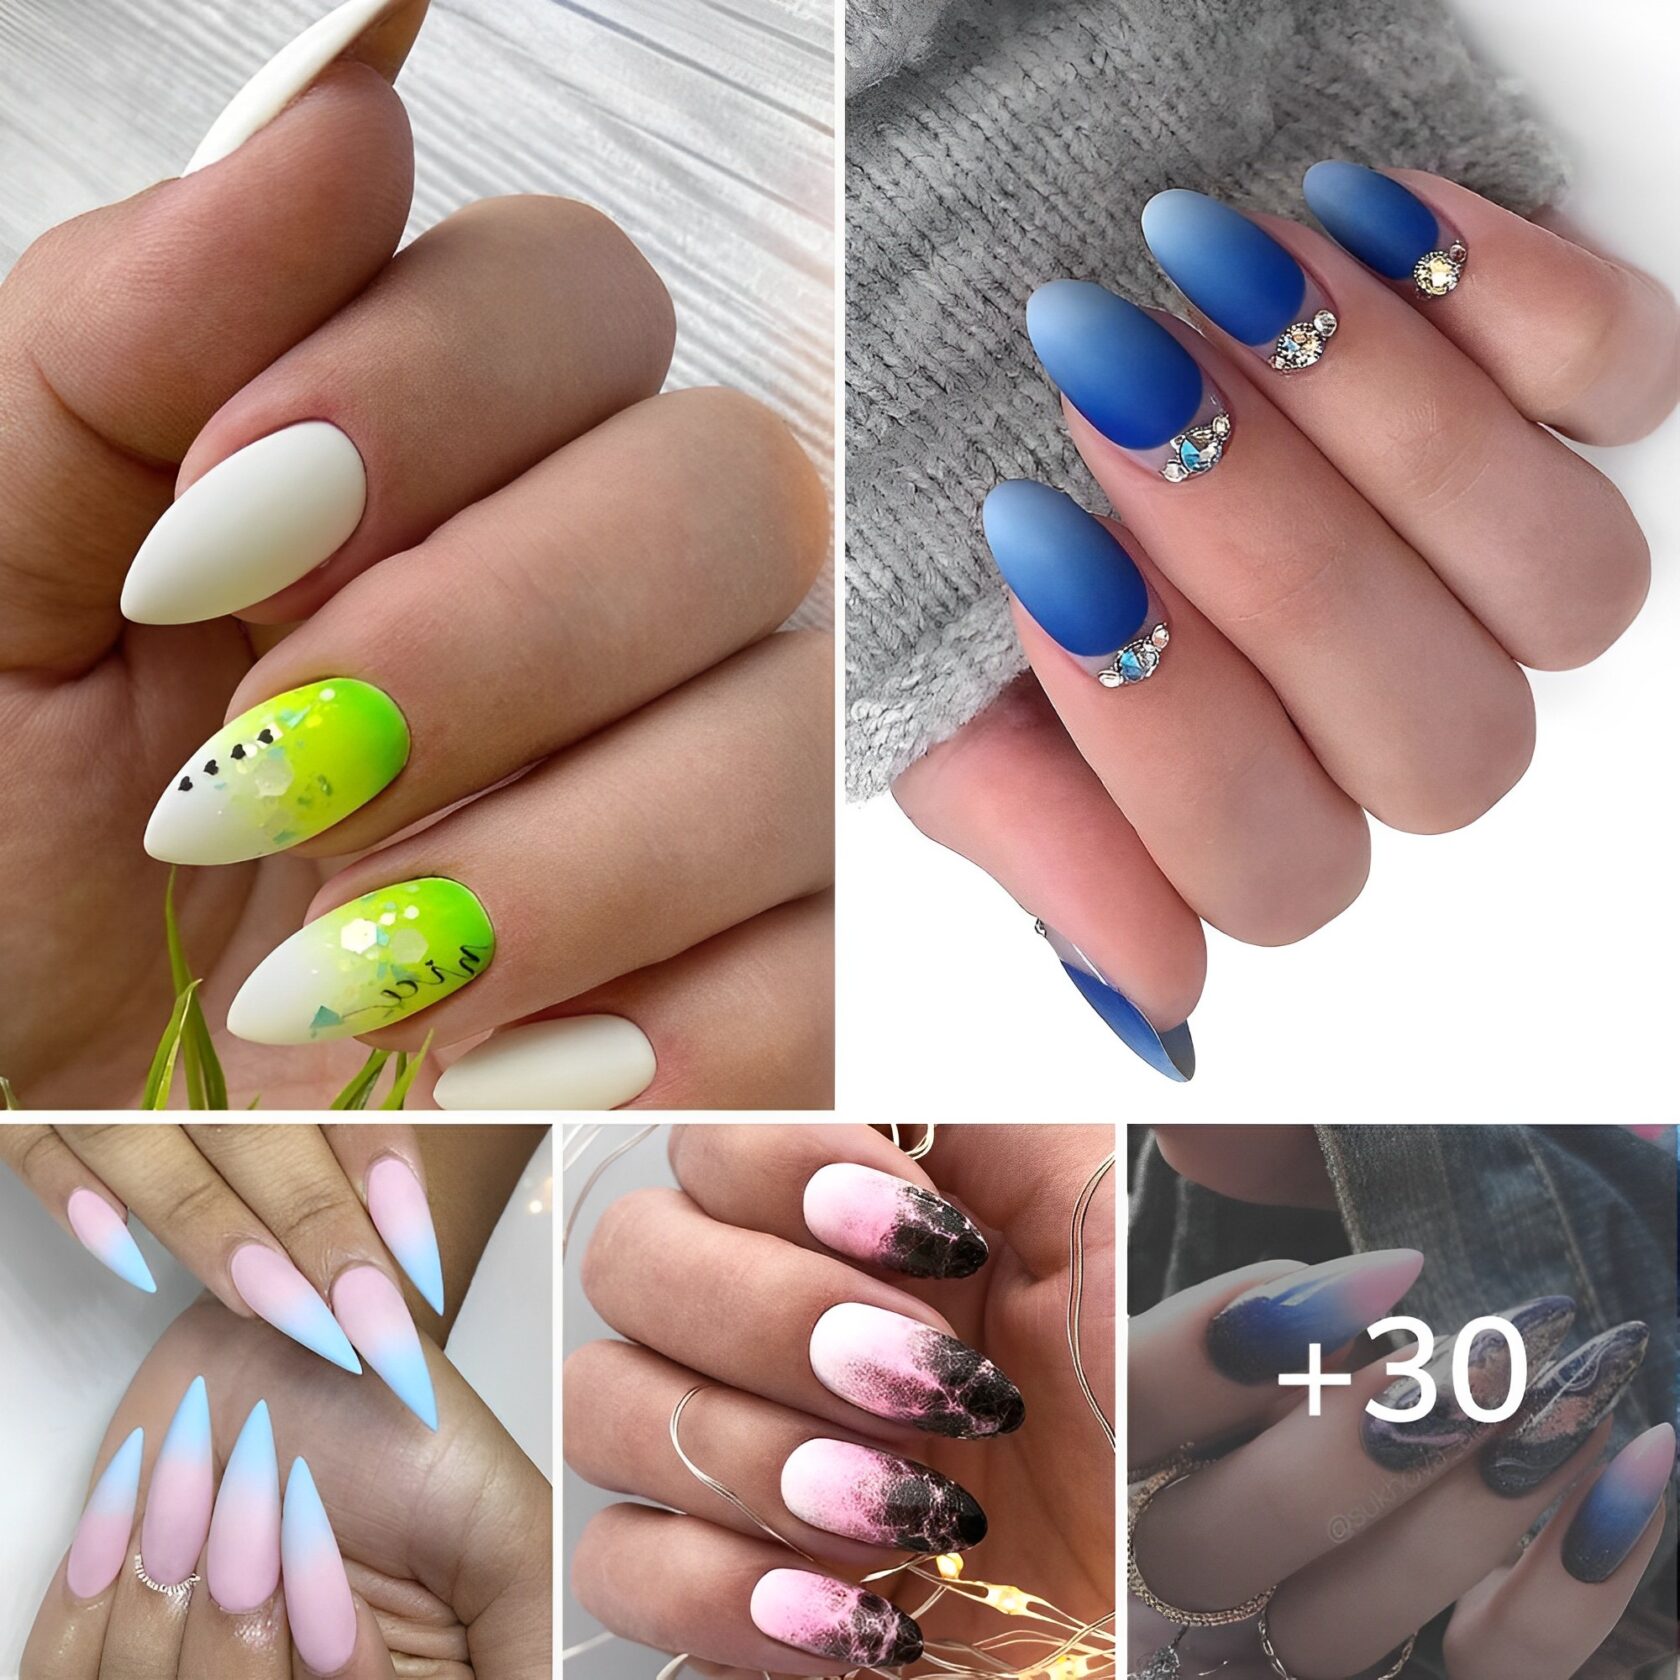
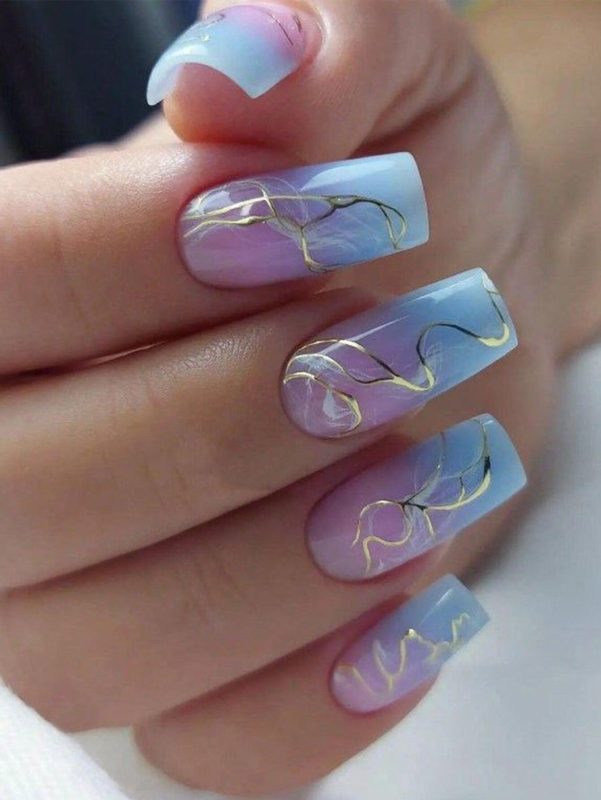
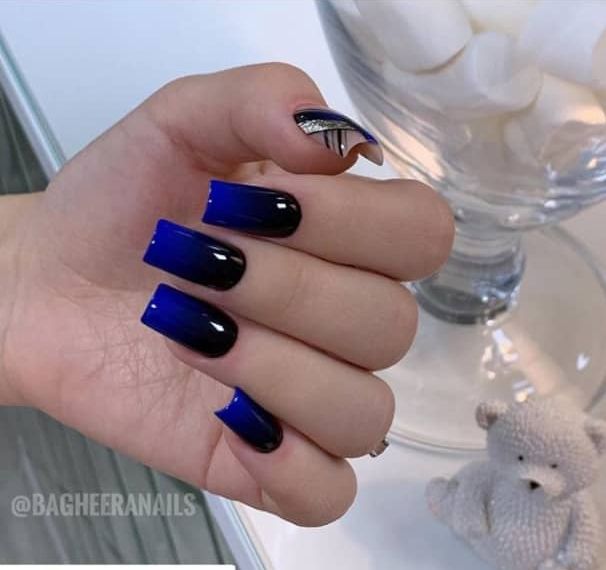
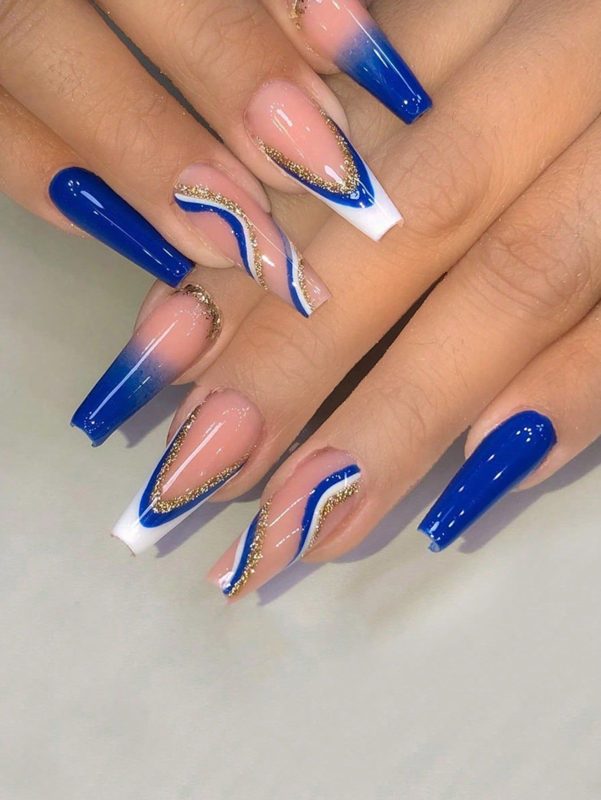
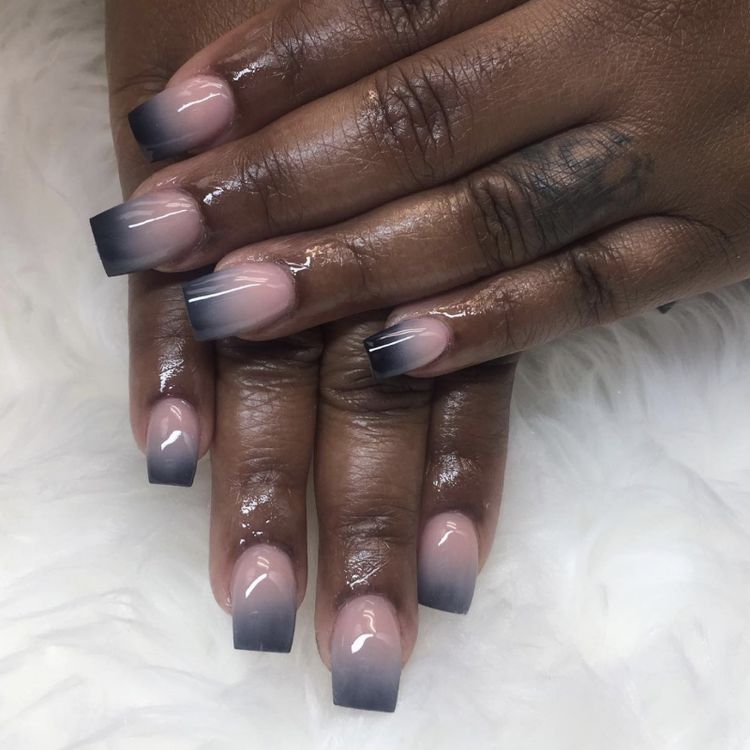
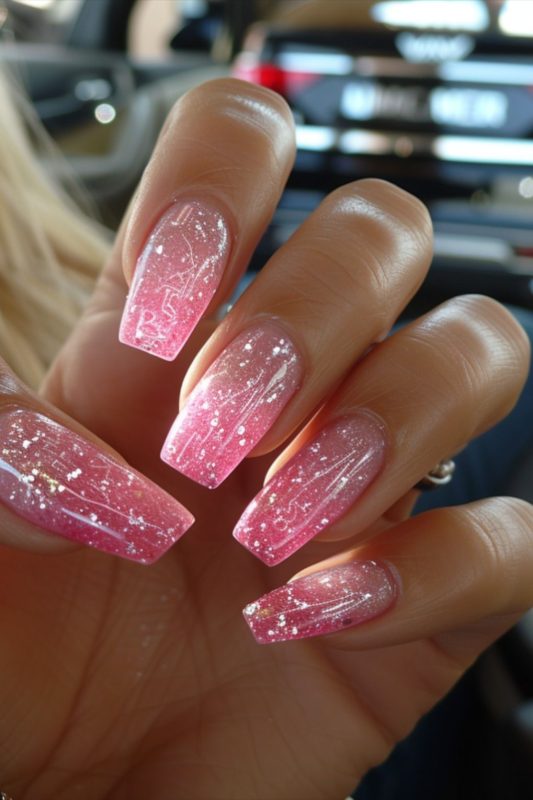
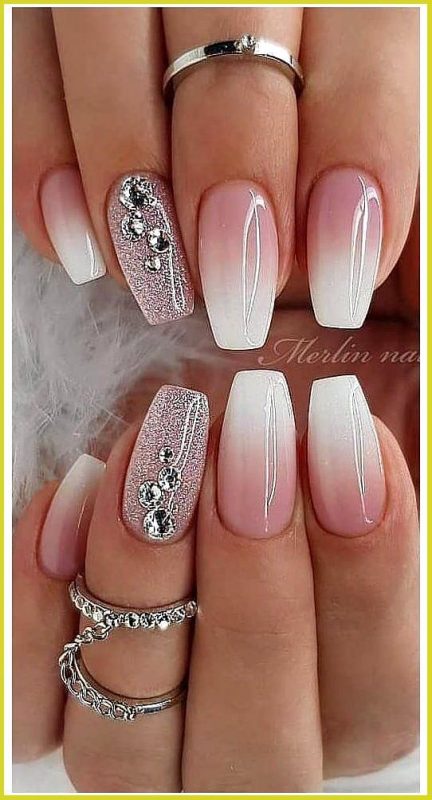
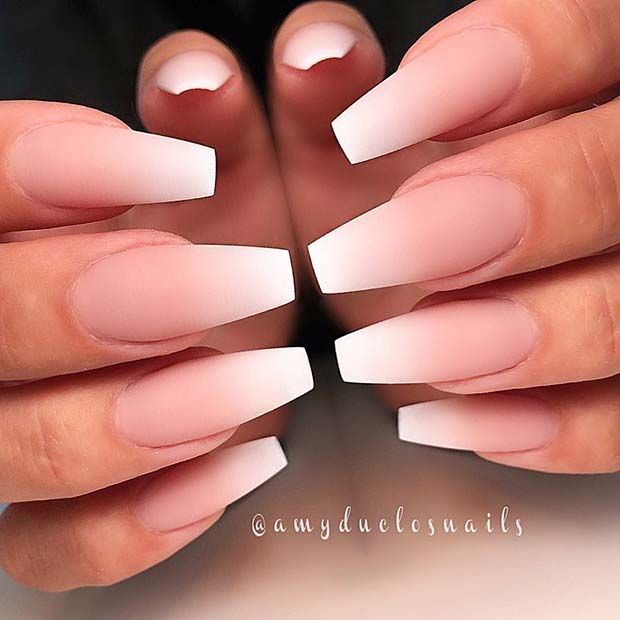
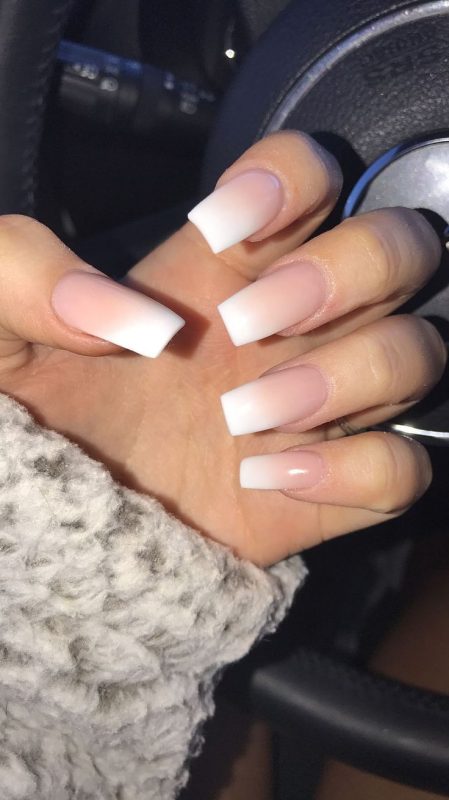
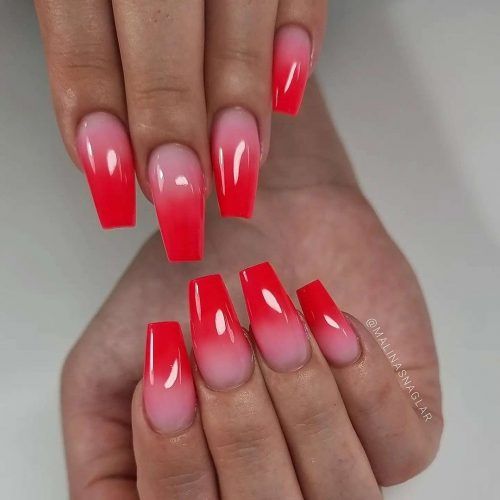
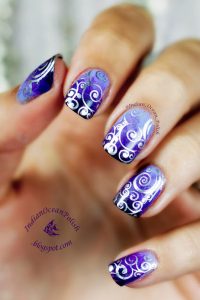
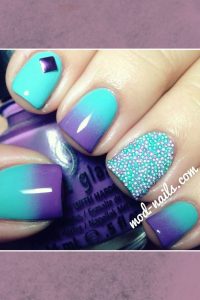
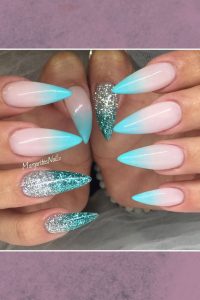
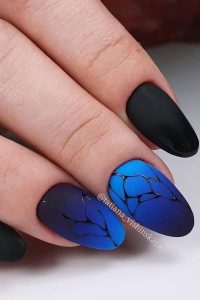
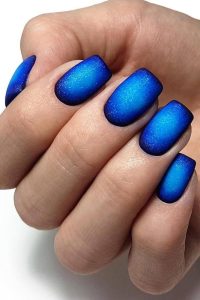
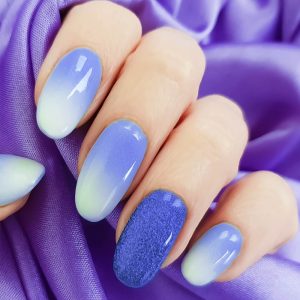
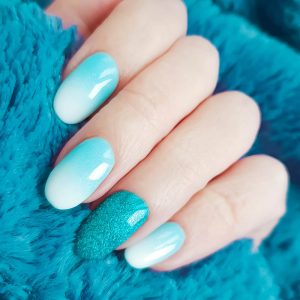
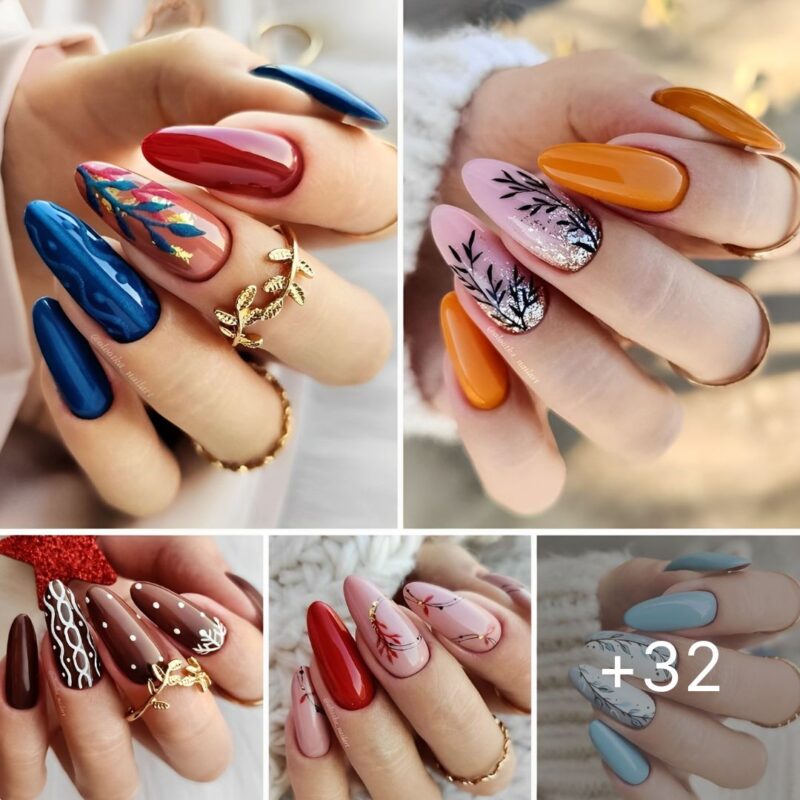
Ombre Nail Design Concepts:
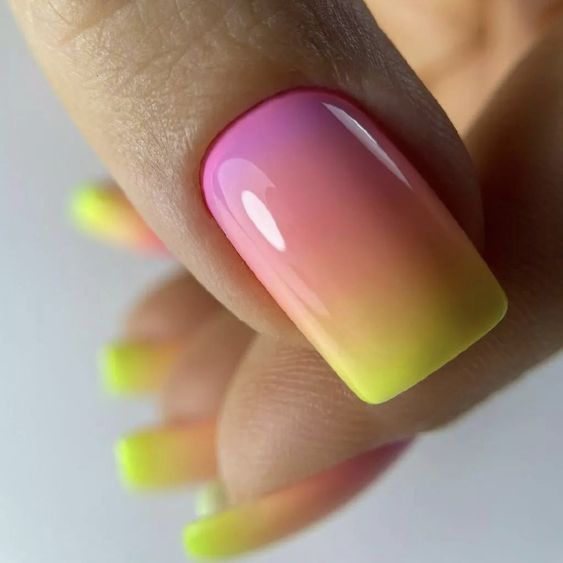
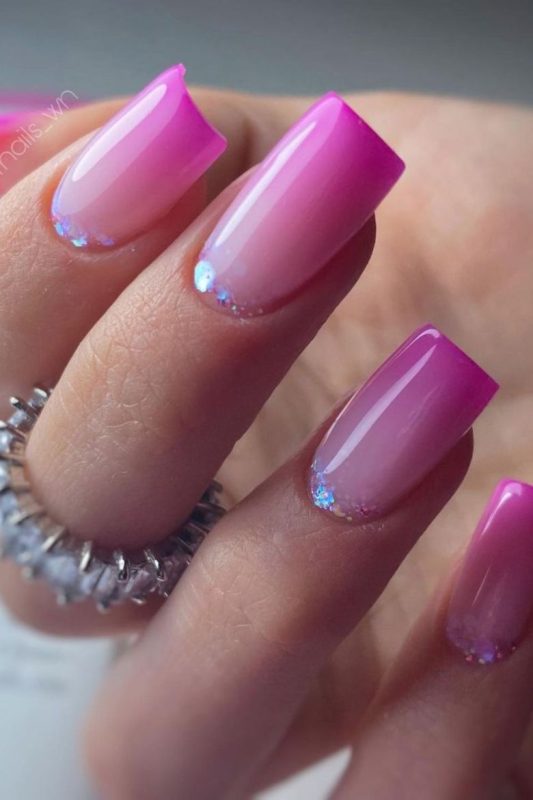
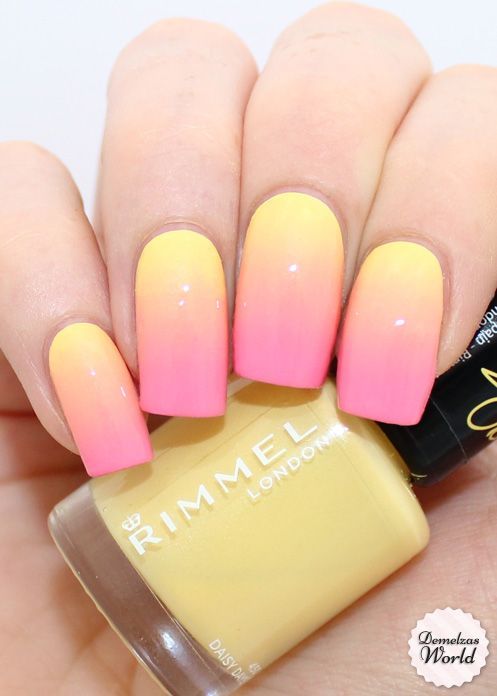
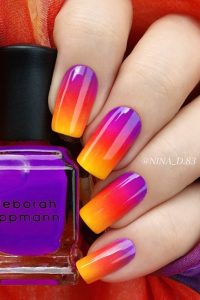
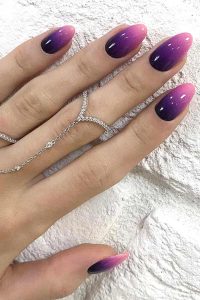
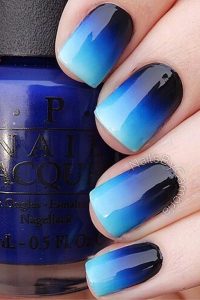
Sunset Ombre: Mimic the beautiful colors of a sunset by blending oranges, pinks, and purples.
Beach-Inspired Ombre: Use sandy beige and ocean blue for a beachy vibe, perfect for summer.
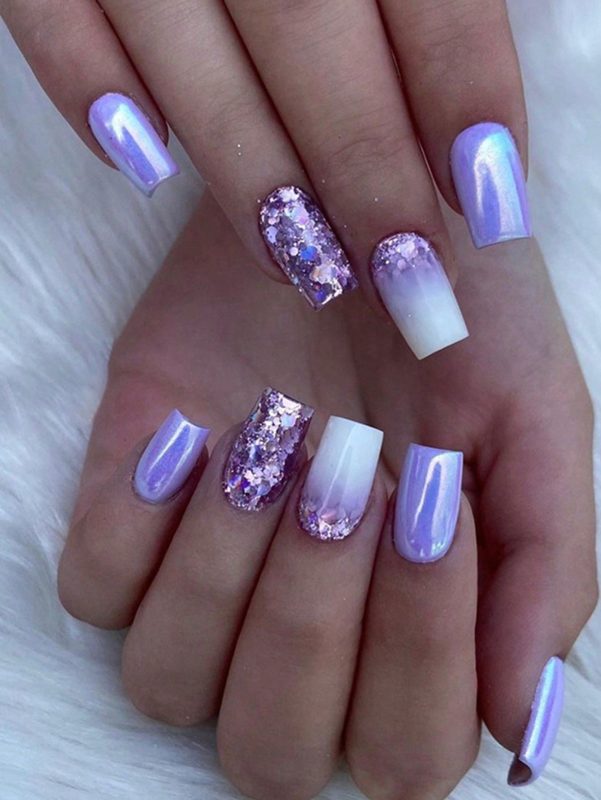
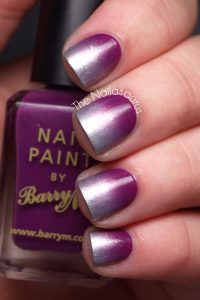
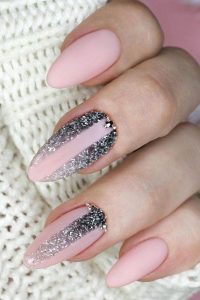
Metallic Ombre: Combine a matte base color with a metallic shade for a chic, glamorous look.
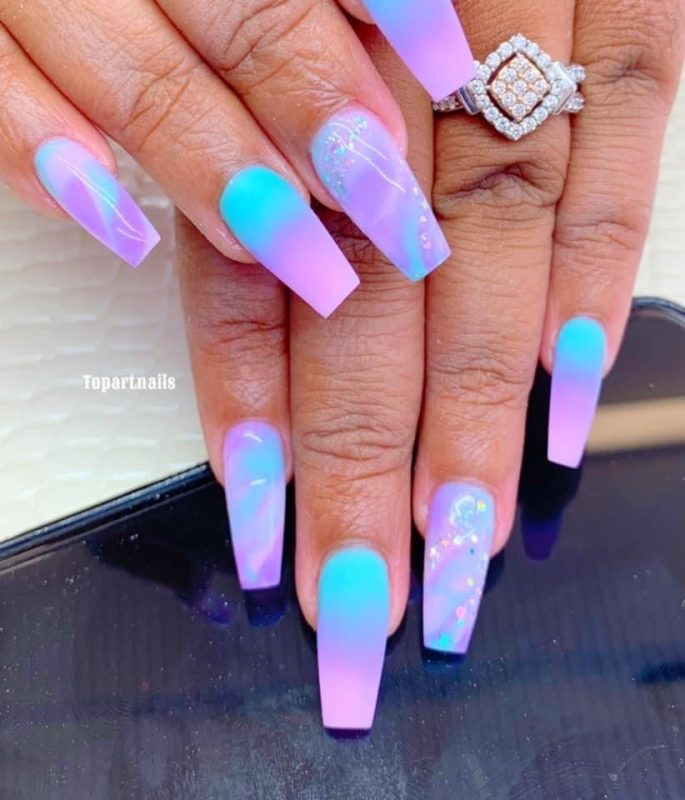
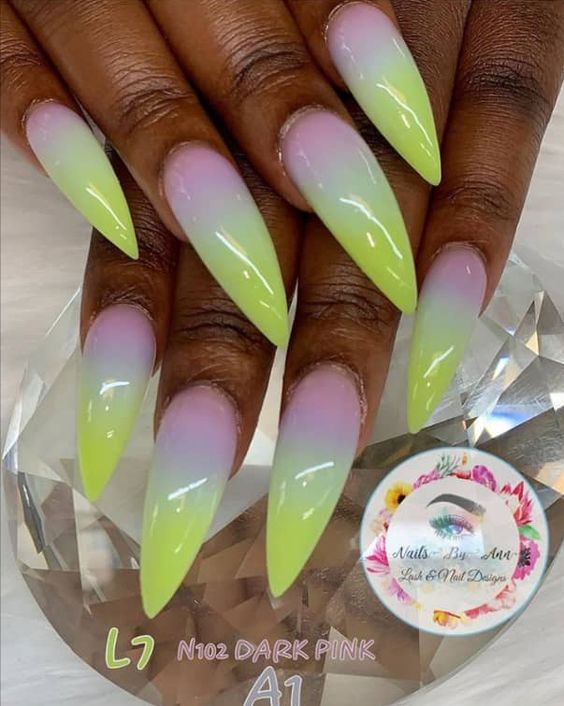
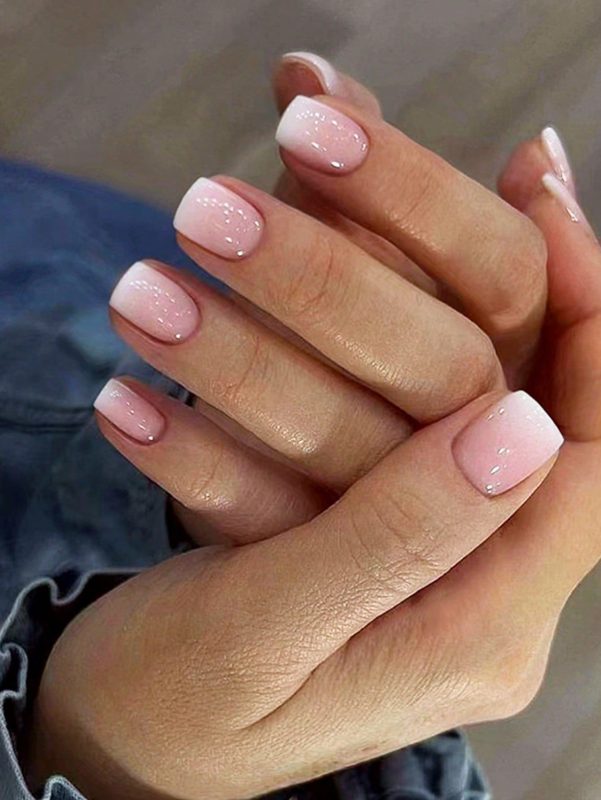
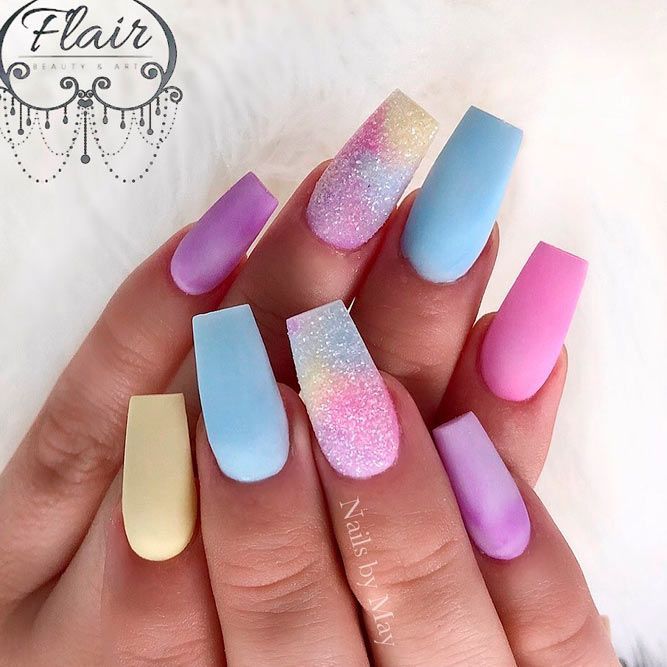
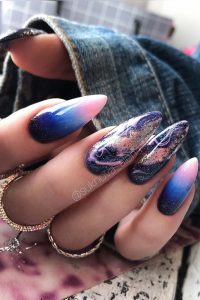
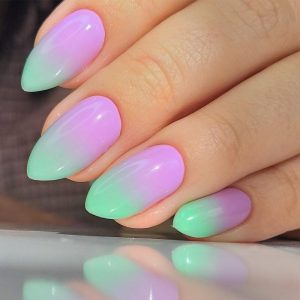
Pastel Rainbow Ombre: For a softer look, blend multiple pastel shades across your nails, creating a rainbow effect.
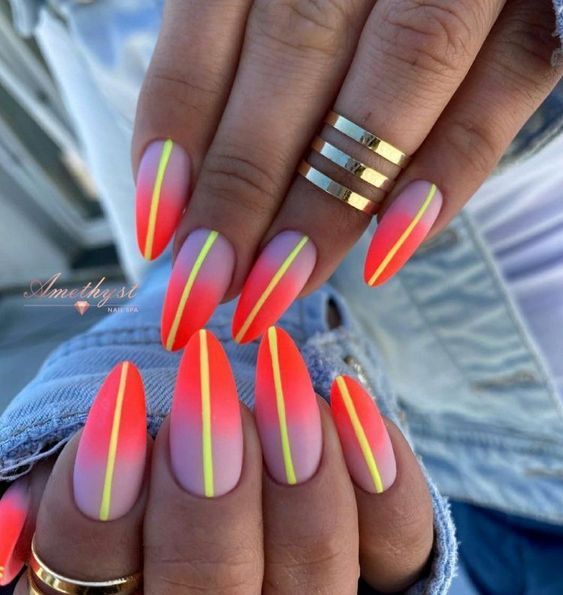
Neon Ombre: Stand out with a bold and bright ombre using neon colors against a neutral base.
Ombre nails are a fun way to experiment with different colors and create a manicure that’s both eye-catching and stylish. With a bit of practice, you can achieve salon-quality ombre nails right at home.
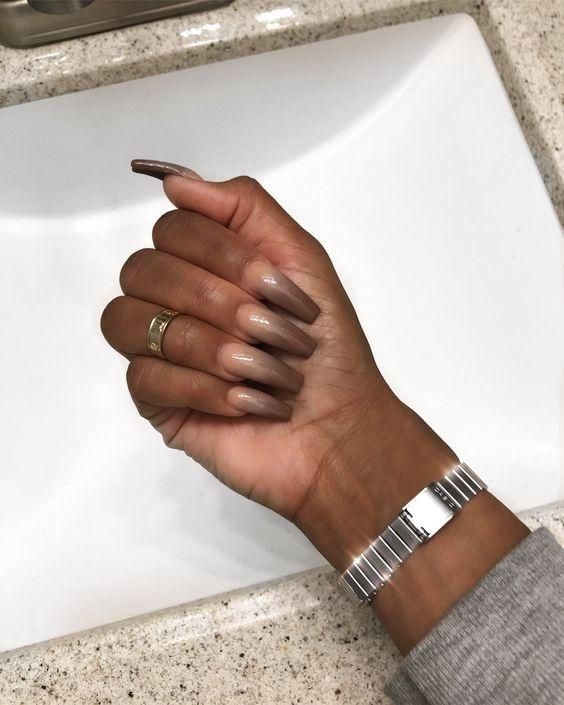
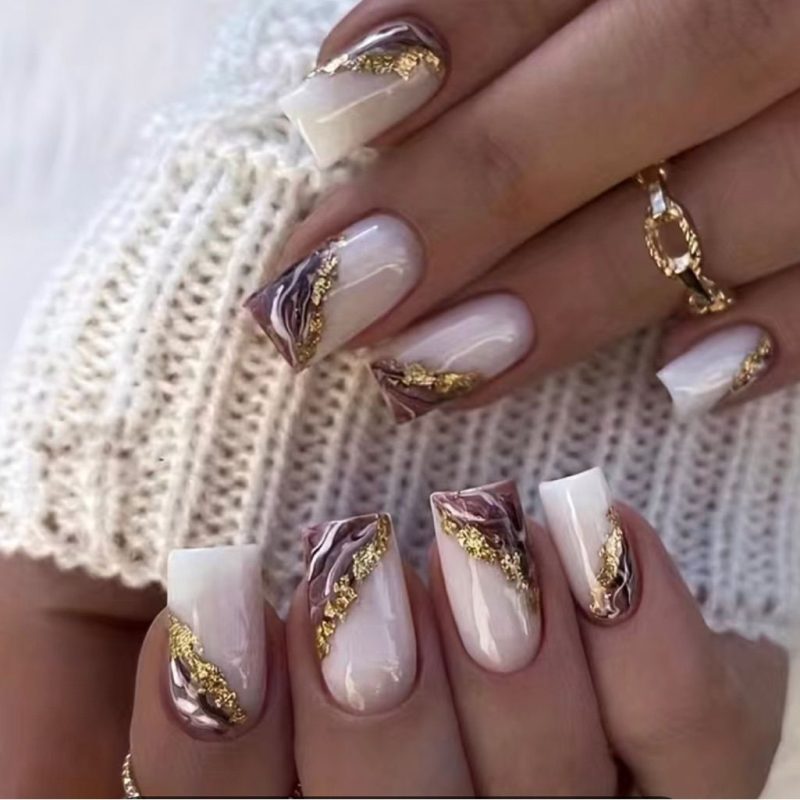
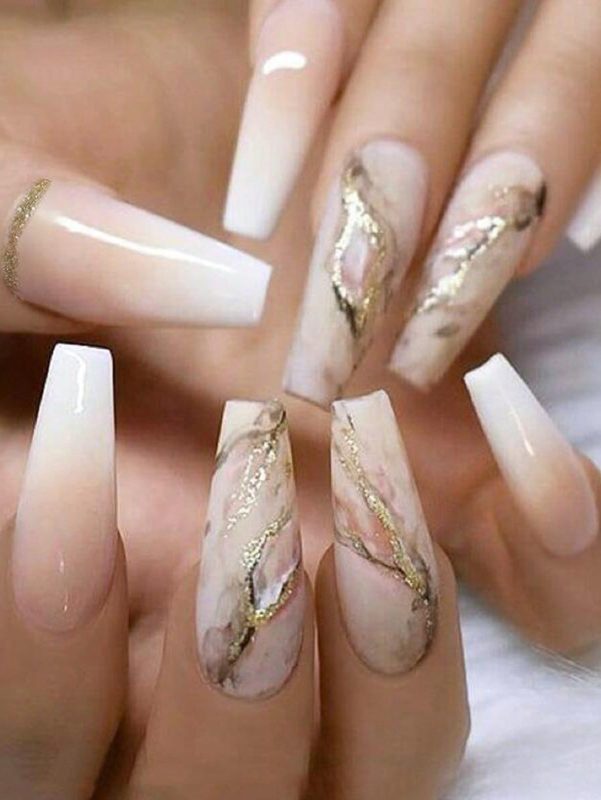
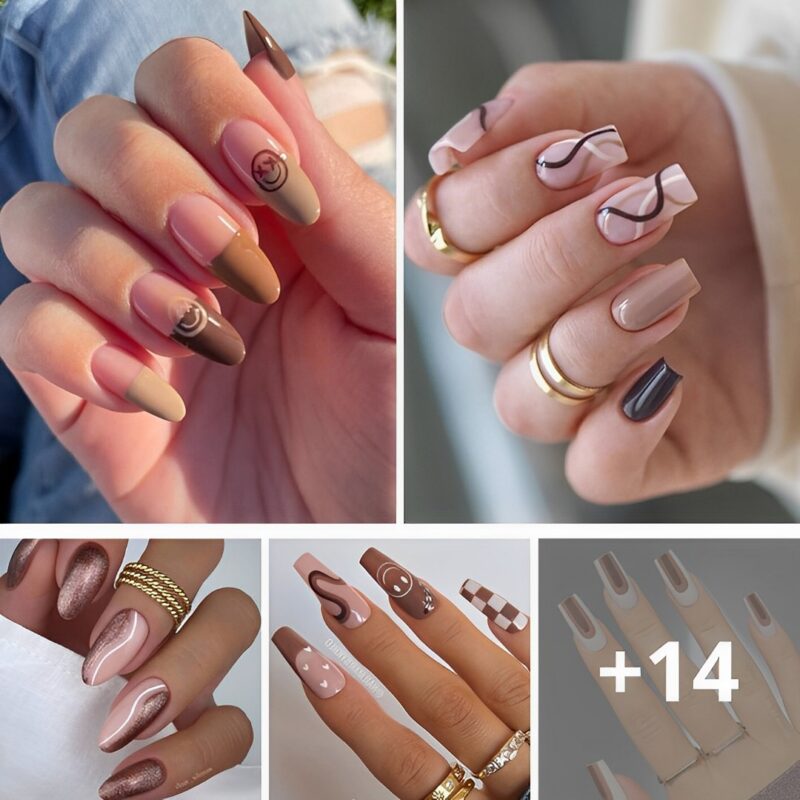
Brown nails are making a significant comeback this season, offering a blend of elegance, warmth, and versatility. From deep chocolate hues to light beige tones, brown nail polish can be both subtle and striking, fitting any occasion and complementing various skin tones. Whether you’re aiming for a chic minimalist look...
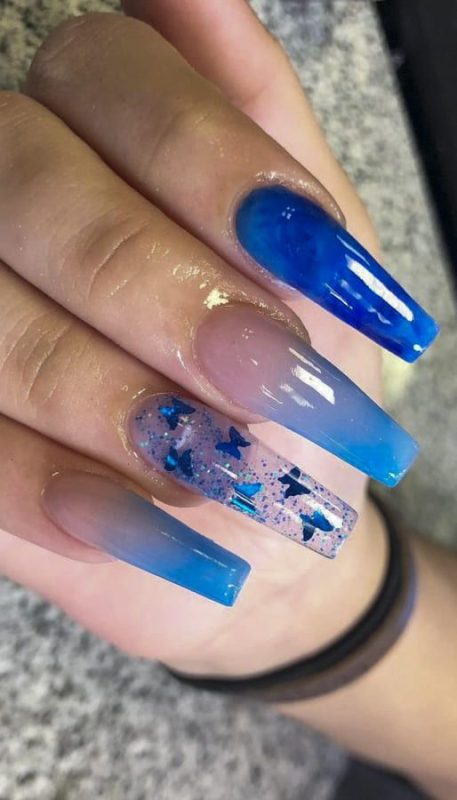
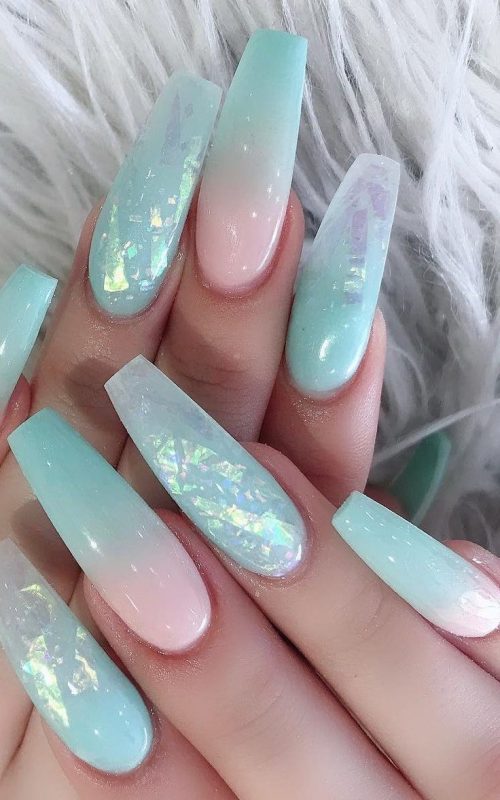
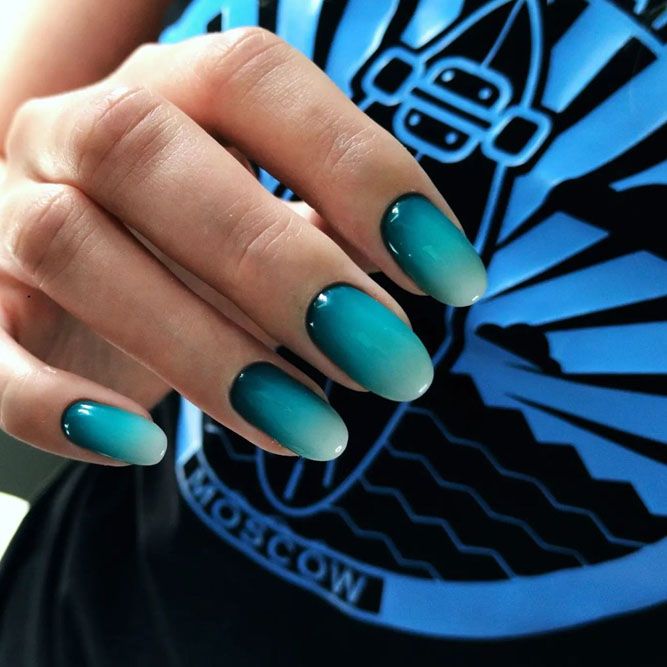
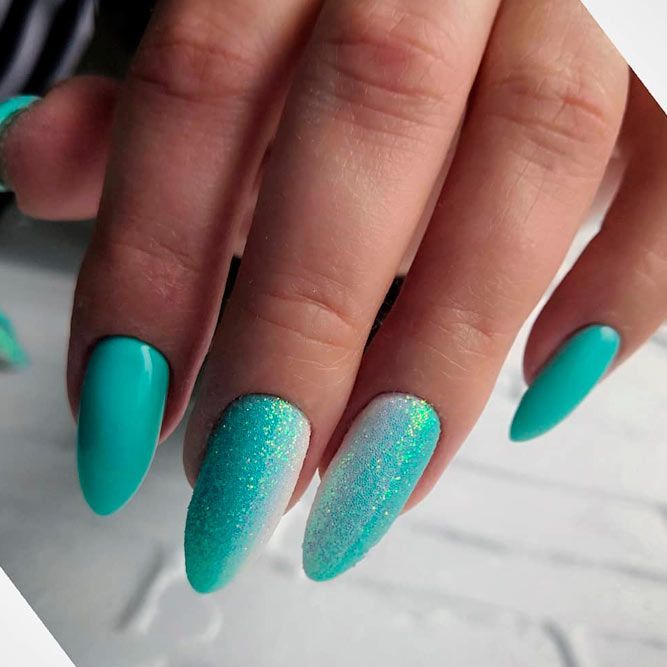
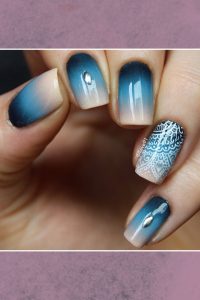
Turquoise Ombre: Start with a clear or pale blue base at the cuticle and gradually blend into a rich turquoise at the tips. This gradient effect mimics the shades of tropical waters and creates a stunning visual appeal. Golden Sands: Pair turquoise with gold accents or flecks. Imagine the shimmer...
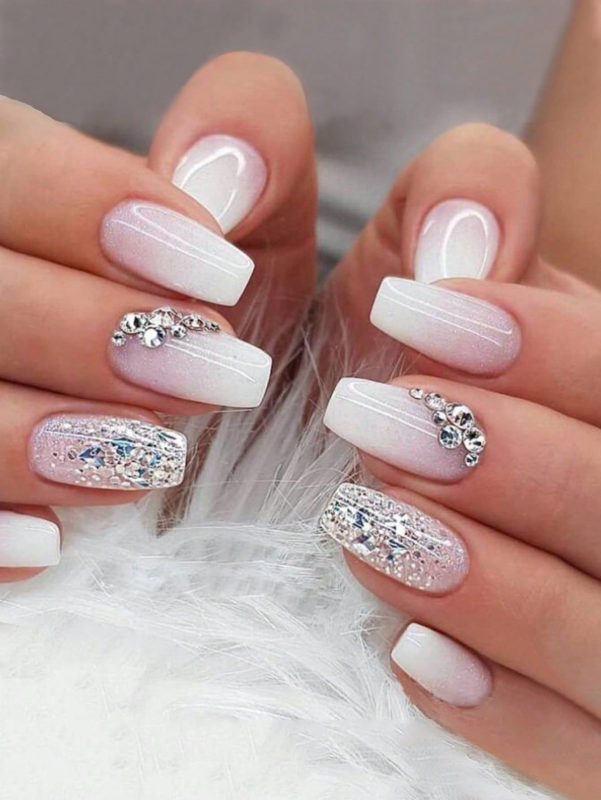
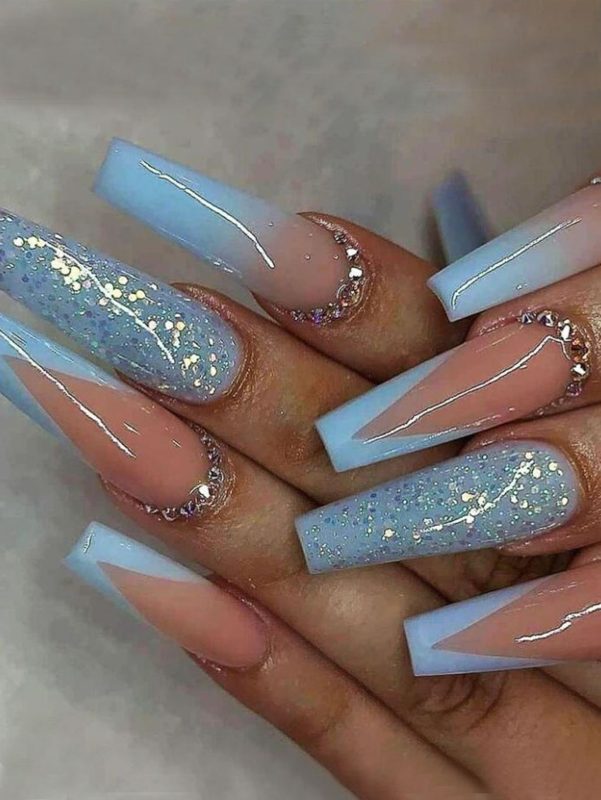
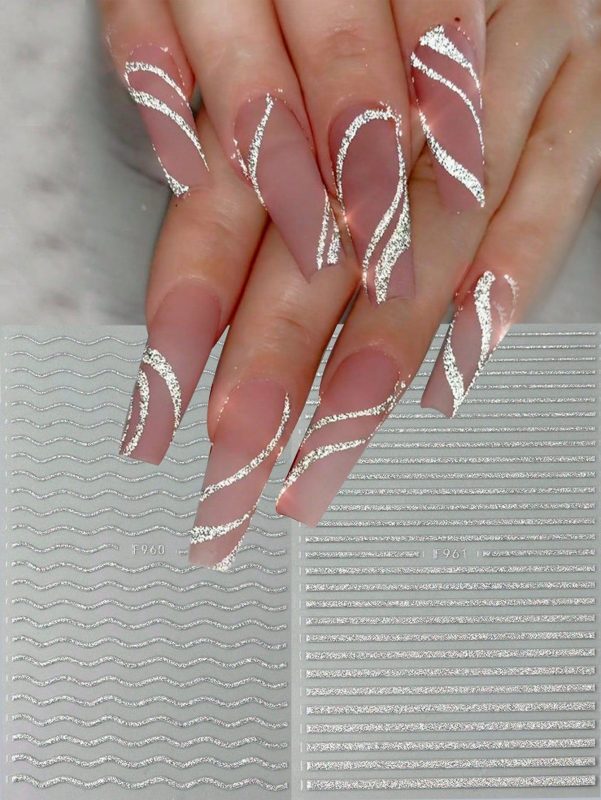
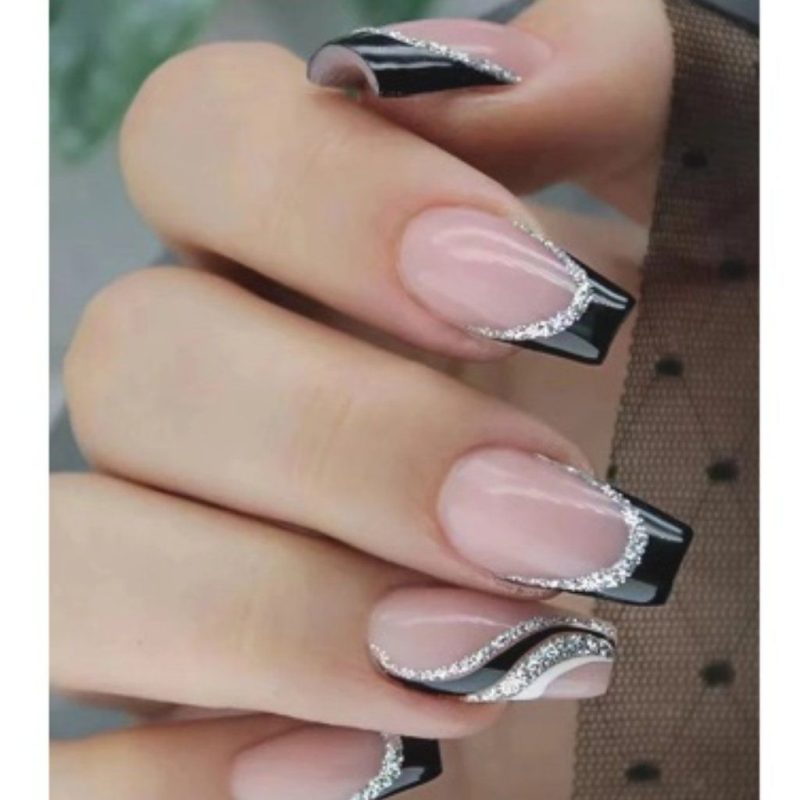
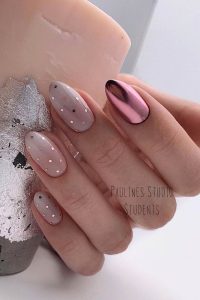
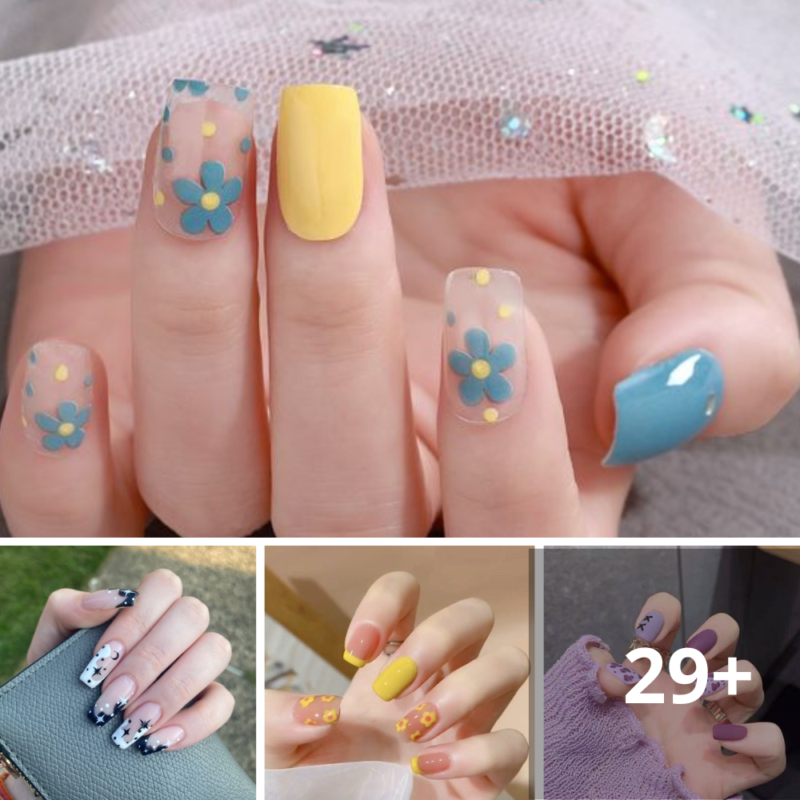
Adding Sparkle to Winter: Trendy Nail Art Designs for the Season As the chill of winter sets in, our fashion often becomes dominated by warm, bulky clothing, making it a bit challenging to express our style. However, there’s one fun and easy way to add some flair to your winter...
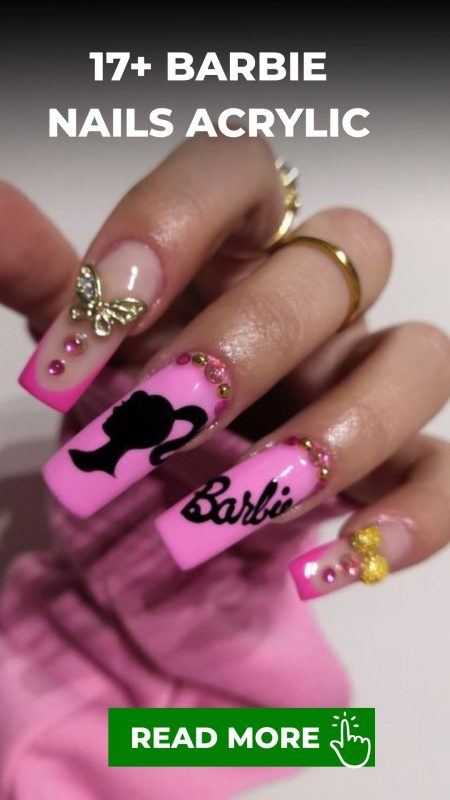
Acrylic nails are renowned for their durability, flexibility, and the canvas they provide for intricate nail art. They’re ideal for those who struggle to grow their natural nails to a desired length or thickness. The right acrylic design can easily transition between seasons and fit various events. Here’s a brief...
We use cookies to ensure that we give you the best experience on our website. If you continue to use this site we will assume that you are happy with it.