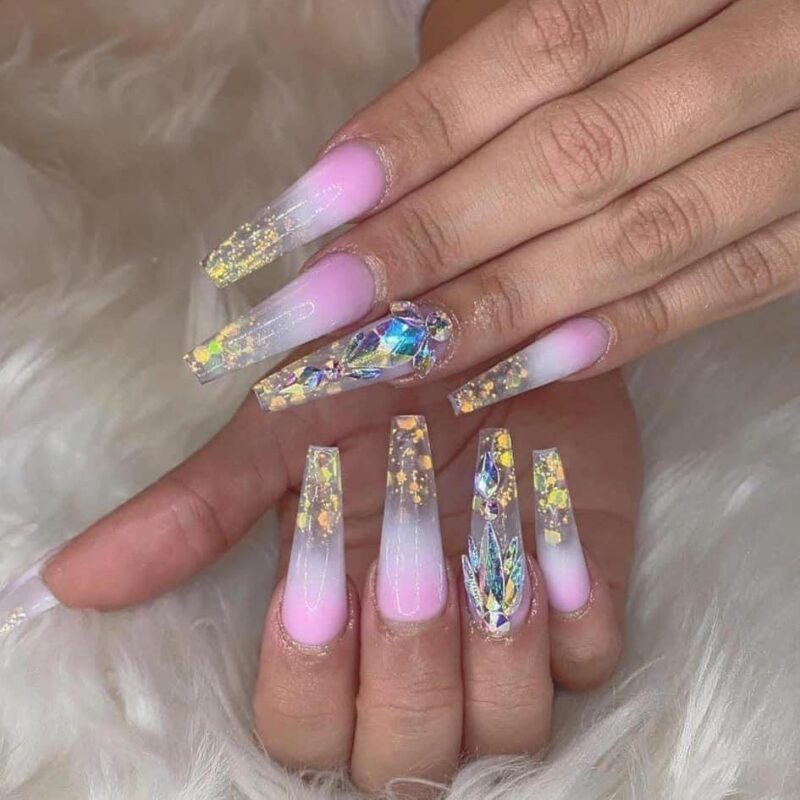
Stepping into the world of nail art can seem daunting, especially when confronted with intricate designs and techniques. However, even if you’re a beginner, there are several designs that are both beautiful and easy to execute. Here are some beginner-friendly nail art ideas to get you started:
Polka Dots:
Tools: Dotting tool or toothpick.
How-To: Apply a base coat in your preferred color. Once dry, dip your tool into a contrasting nail polish and gently dot it onto your nail.
Stripes:
Tools: Striping tape or thin brush.
How-To: After applying your base coat, use the tape or brush to create straight lines, either horizontally, vertically, or diagonally.
Ombre Gradient:
Tools: Makeup sponge.
How-To: Paint two or more colors side by side on the sponge. Press it onto your nail, moving up and down slightly to blend.
Taped Geometric Patterns:
Tools: Scotch tape or nail tape.
How-To: Apply your base coat and let it dry thoroughly. Place tape in desired patterns (like triangles or rectangles), paint over with a second color, and remove the tape.
Marbled Effect:
Tools: Orange stick or toothpick.
How-To: Apply a base coat and, while still wet, add a few drops of another polish color. Use the stick to swirl the colors together.
Stenciled Designs:
Tools: Stencils or stickers.
How-To: Stick the stencil onto your dried base coat and paint over with another color. Remove the stencil while the top polish is still wet.
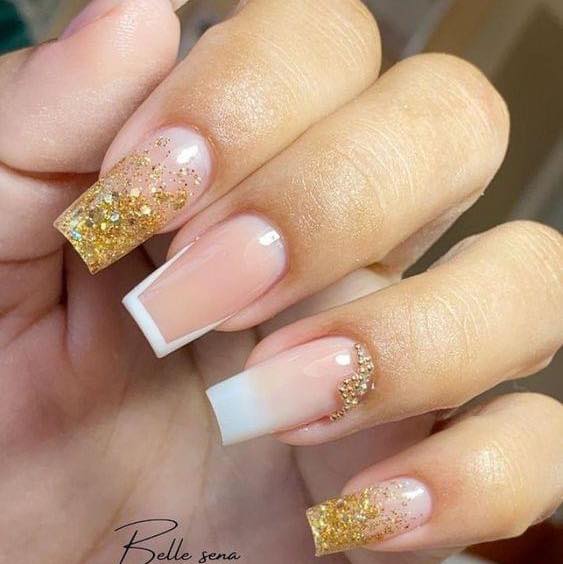
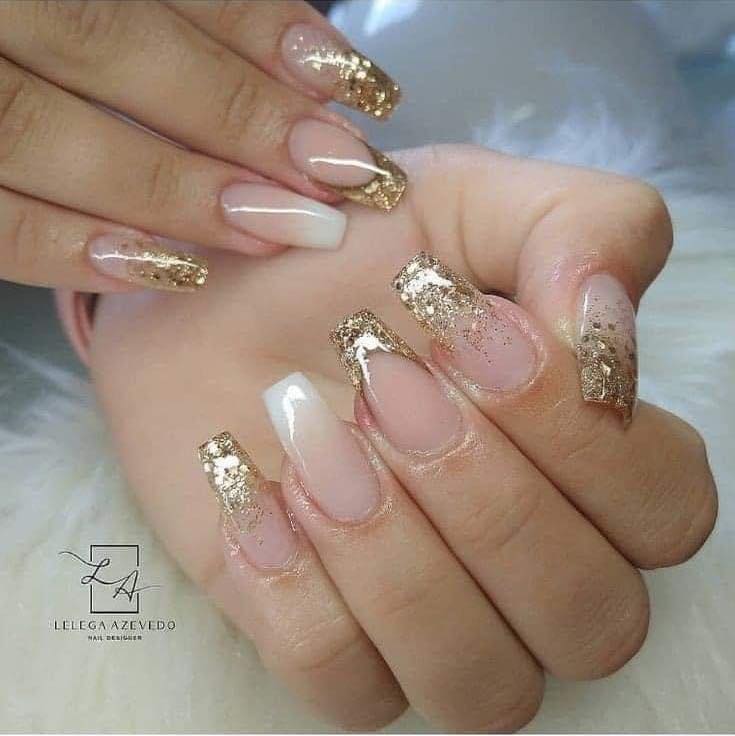
French Tip with a Twist:
Tools: Scotch tape.
How-To: After applying a base coat, place tape over most of the nail, leaving the tips exposed. Paint the tips in a fun color or glitter.
Glitter Fade:
Tools: Sponge.
How-To: After your base coat, apply some glitter polish onto the sponge and dab onto the tip of the nail. This creates a sparse glitter effect as it moves towards the base.
Dry Brush Technique:
Tools: Nail polish brush (with most of the polish removed).
How-To: After your base coat, take a contrasting polish, wipe off most of it from the brush, and then lightly brush it onto the nail for a distressed look.
Simple Accents:
Tools: Rhinestones or stickers.
How-To: Apply your base coat and simply add a sticker or stick a rhinestone to your nail while the polish is still tacky. Seal with a topcoat.
Final Thoughts: Starting with easy nail art designs will help you practice and gain confidence. As you get more comfortable, you can begin to explore more intricate designs and techniques. Remember, the key is to have fun and express yourself – there’s no right or wrong in nail art!
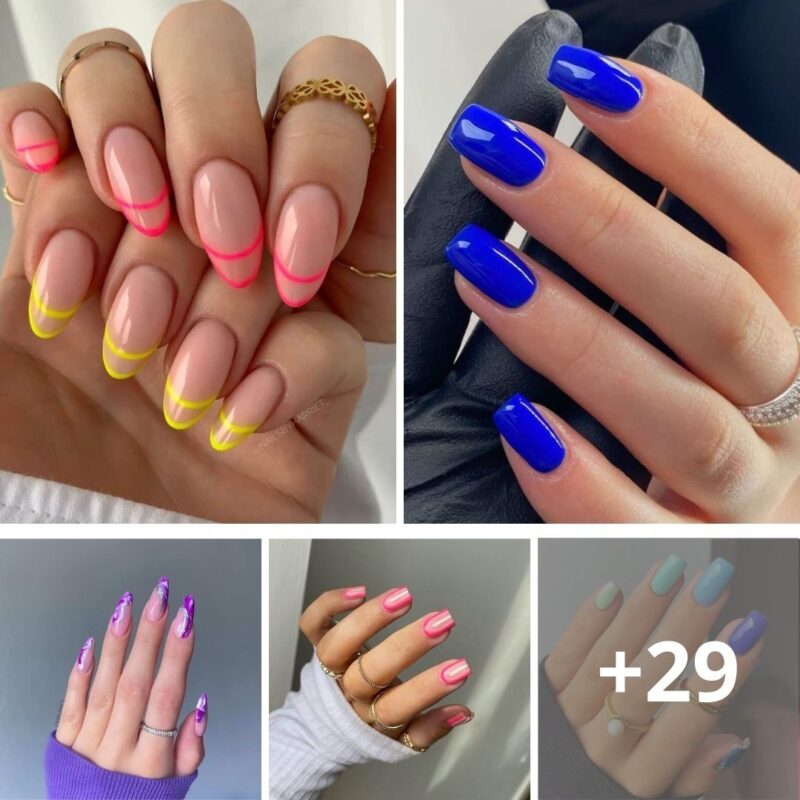
Summer is the perfect time to experiment with bright, bold, and fun nail designs that reflect the vibrant energy of the season. Here are some summer nail ideas that are sure to add a pop of color and style to your look: Neon Brights: Embrace the heat with neon nails....
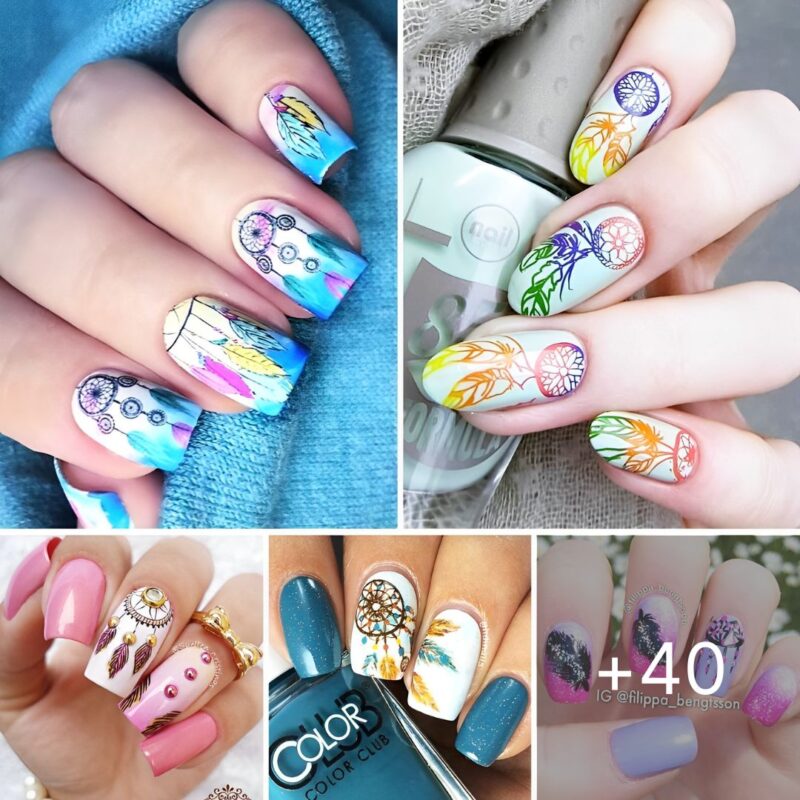
Dreamcatcher nail art is a beautiful and spiritual way to add intricate, meaningful designs to your manicure. The delicate feathers, beads, and web-like patterns of a dreamcatcher symbolize protection and positivity, making it a perfect design to showcase on your nails. Here are some dreamy concepts with dreamcatcher nail art...
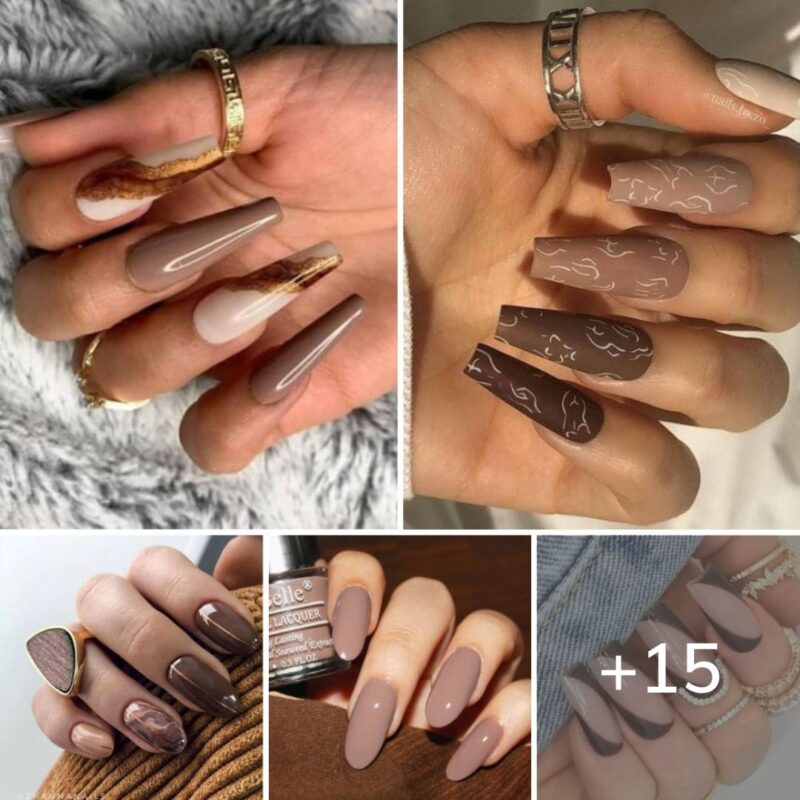
Brown nails are a timeless and sophisticated choice that complements various styles and occasions. The rich, earthy tones of brown can be paired with other colors and textures to create a wide range of stunning nail designs. Here are some fancy brown nail designs to inspire your next manicure: Classic...
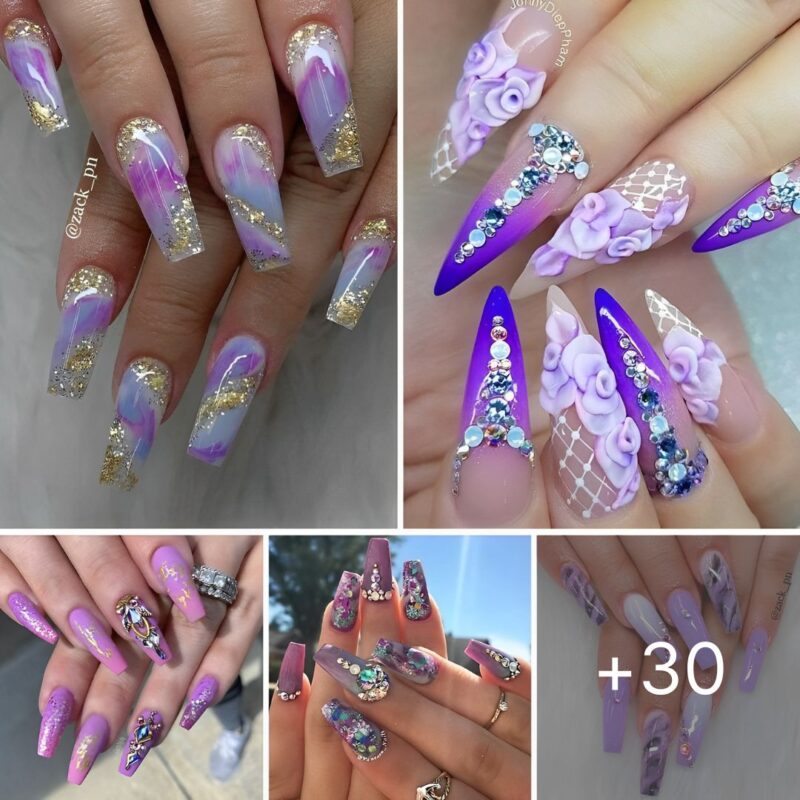
Violet nails are a beautiful and versatile choice for nail art. The color violet encompasses a range of shades from soft lavenders to deep purples, making it a popular choice for a variety of nail designs. Here are some violet nail ideas to inspire you: Classic Purple Manicure: A simple...
We use cookies to ensure that we give you the best experience on our website. If you continue to use this site we will assume that you are happy with it.