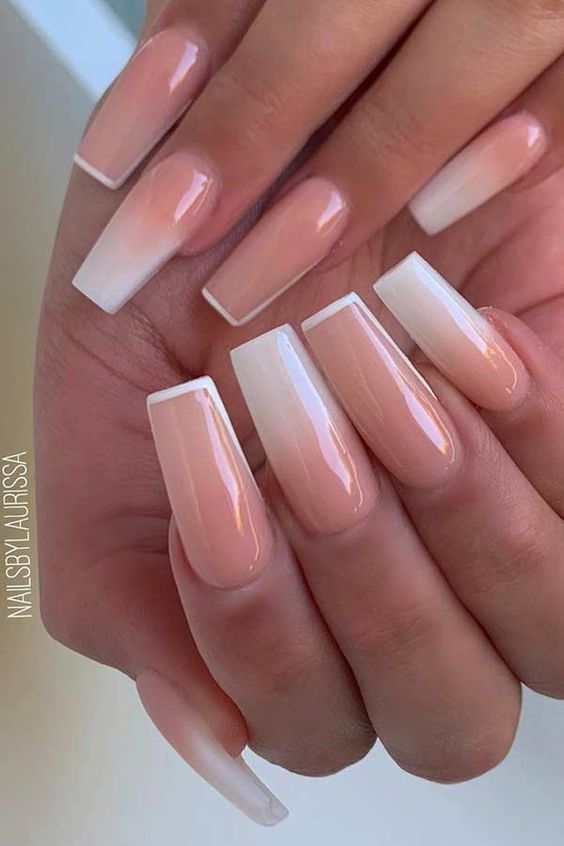
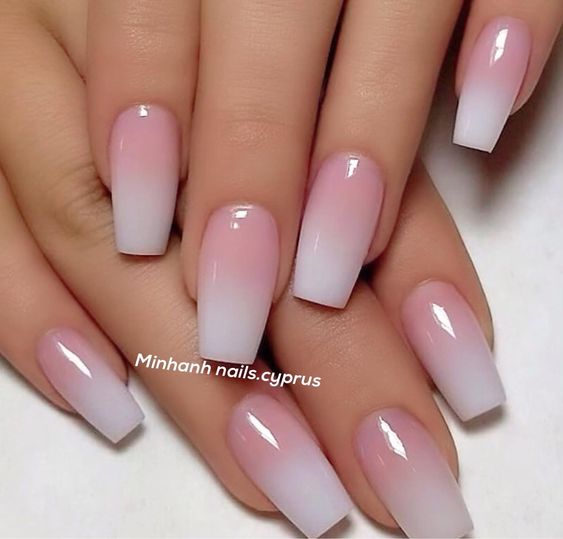
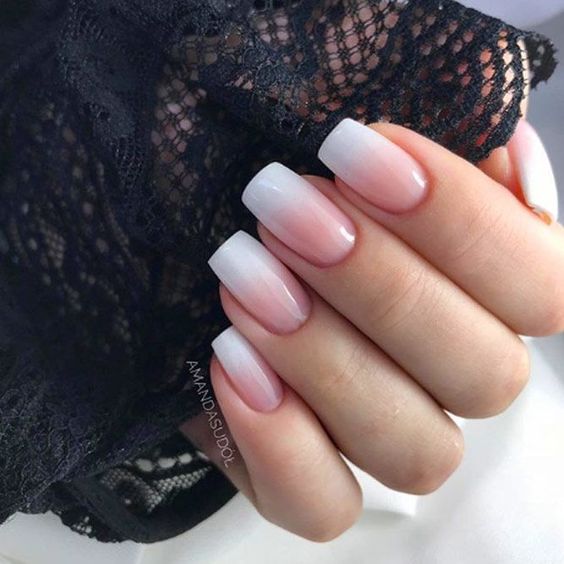
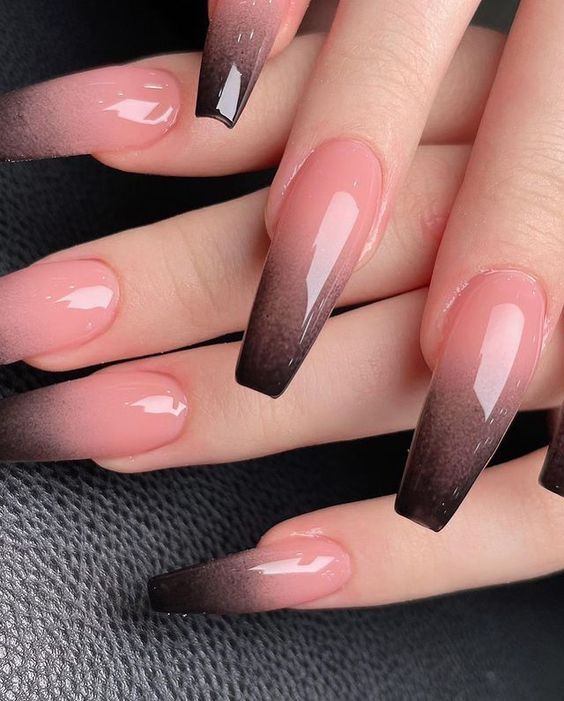
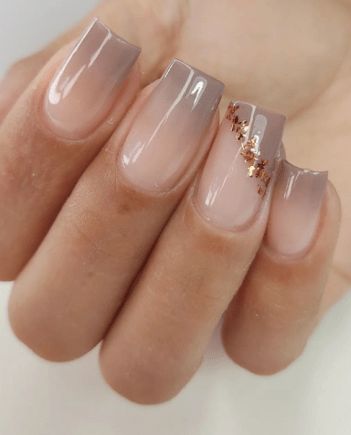
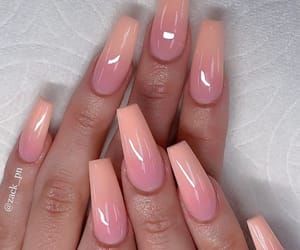
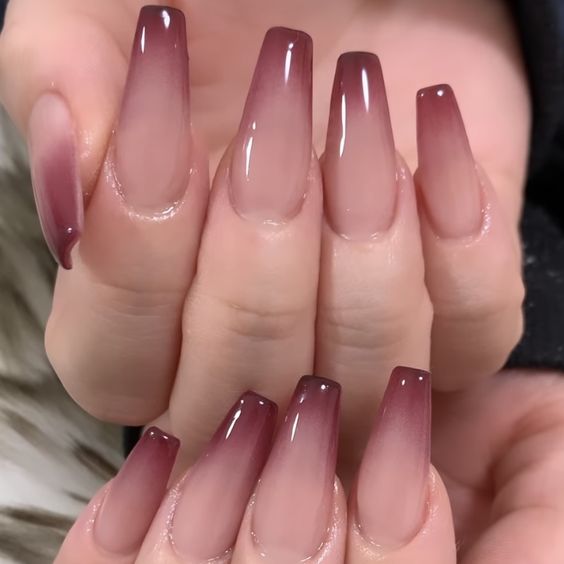
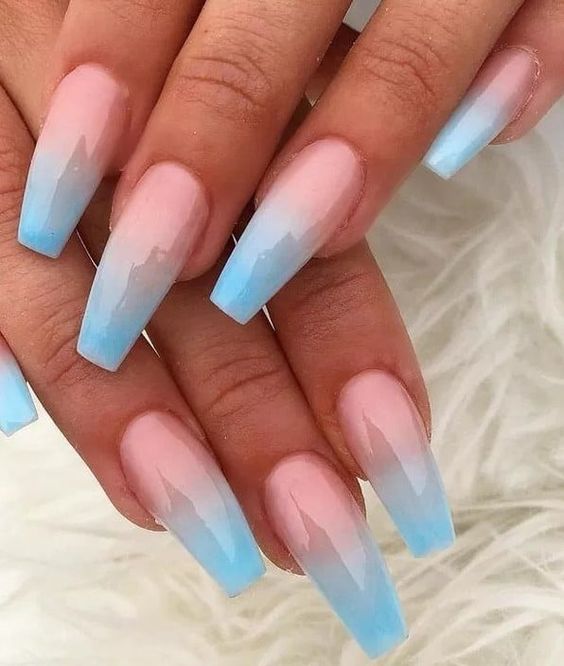
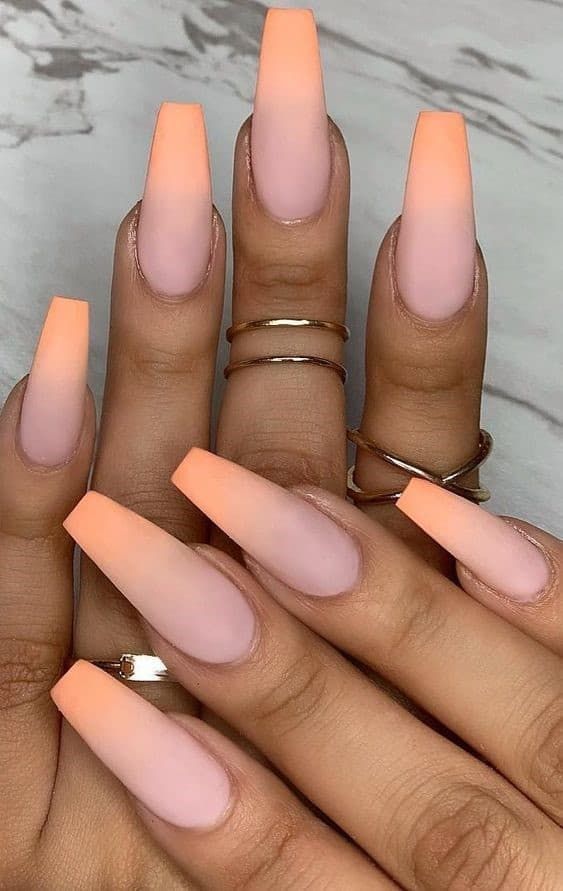
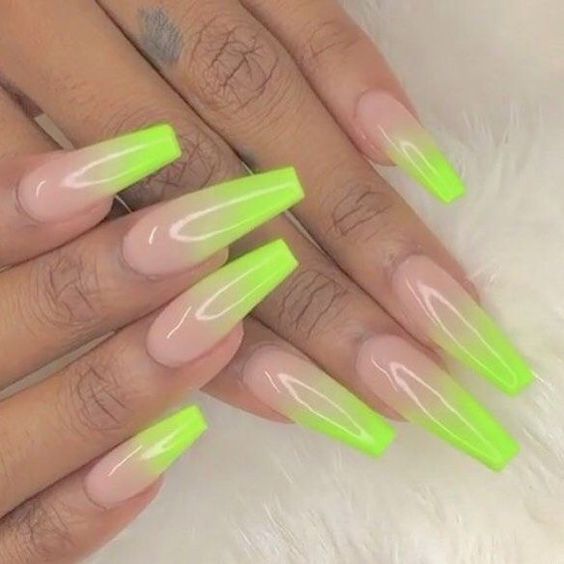
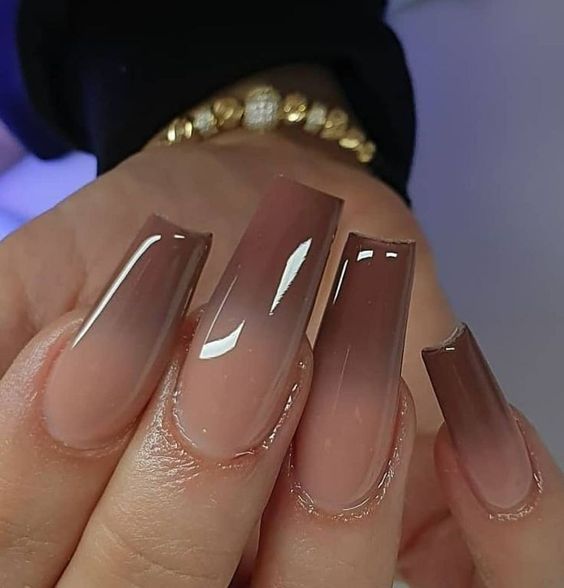
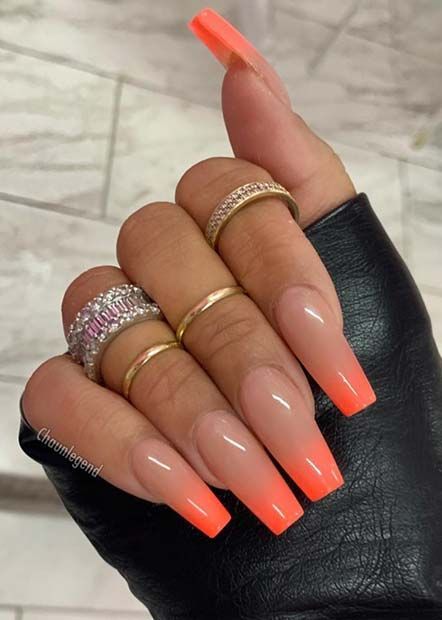
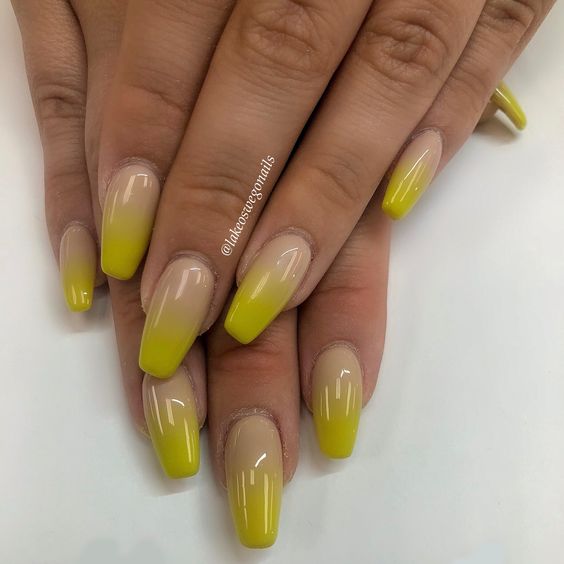
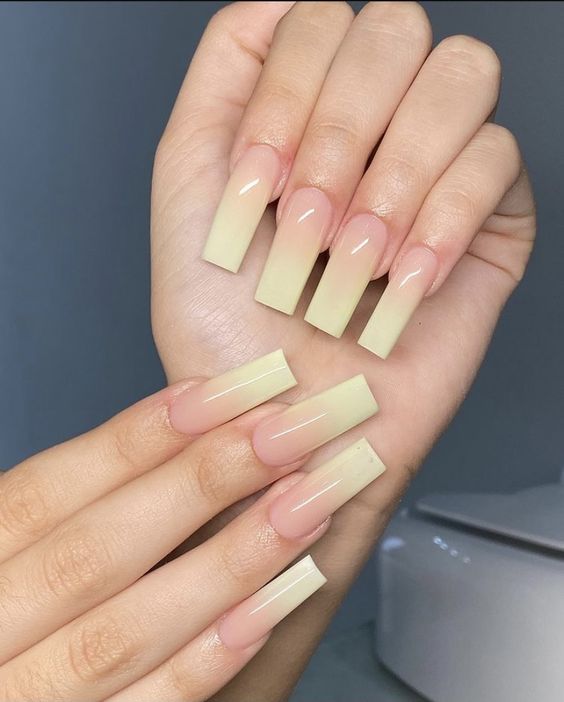
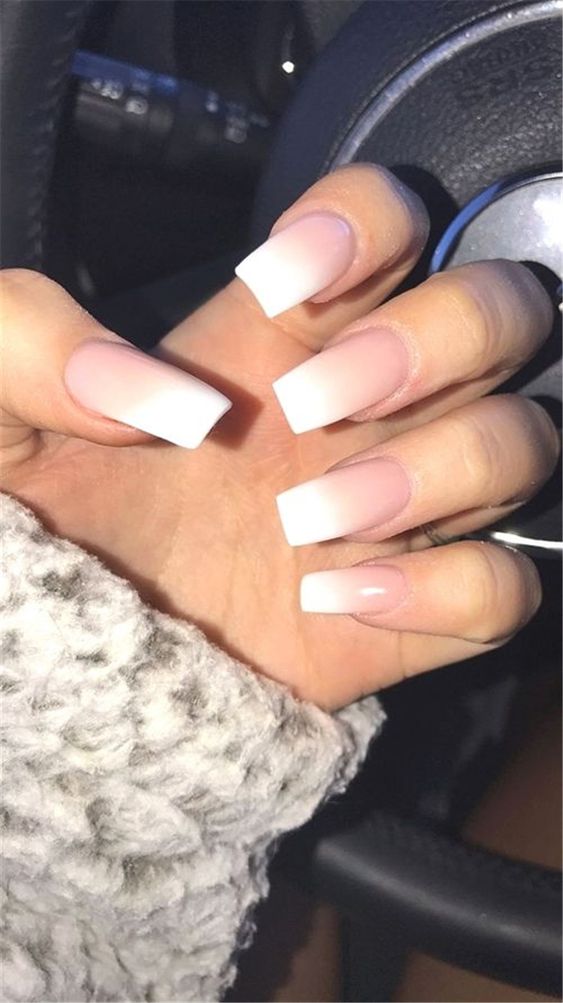
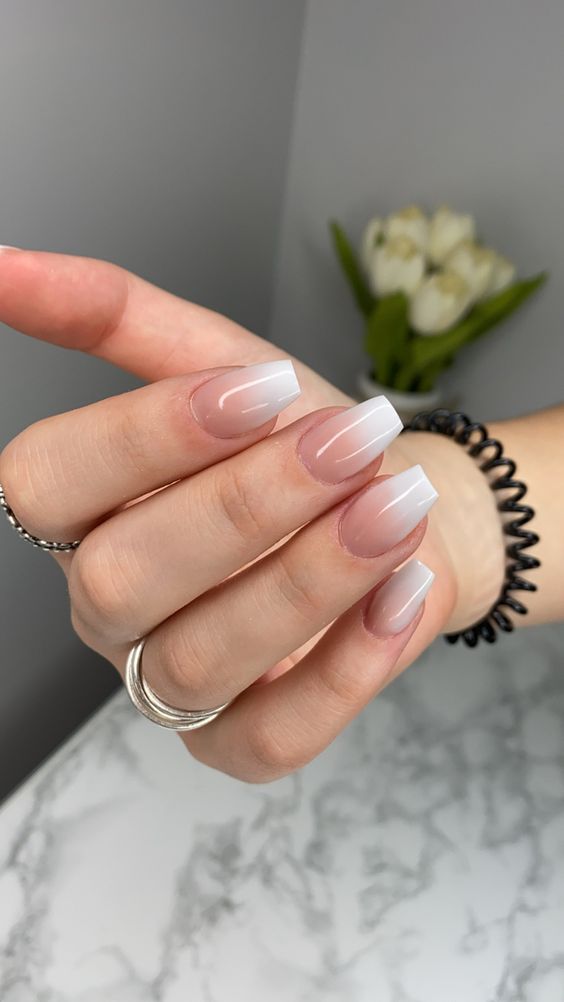
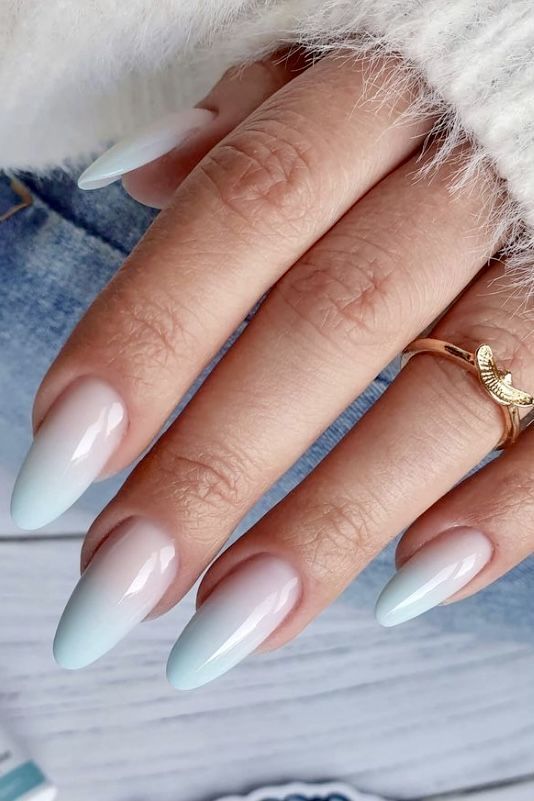
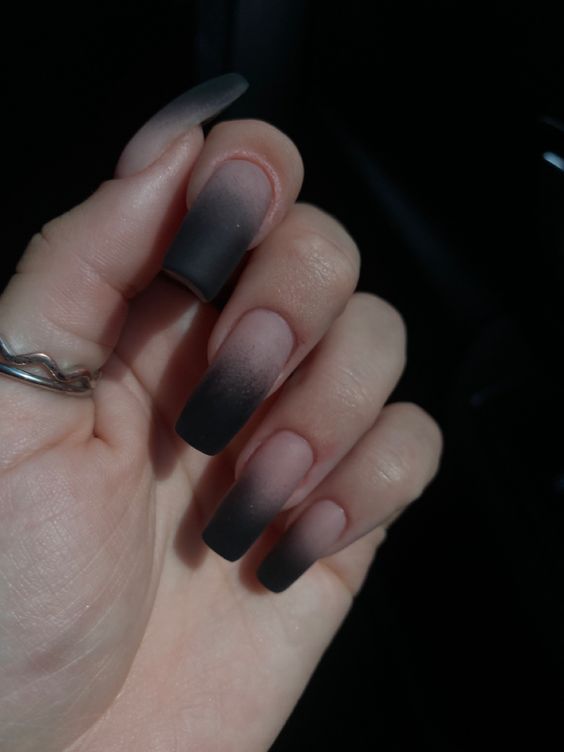
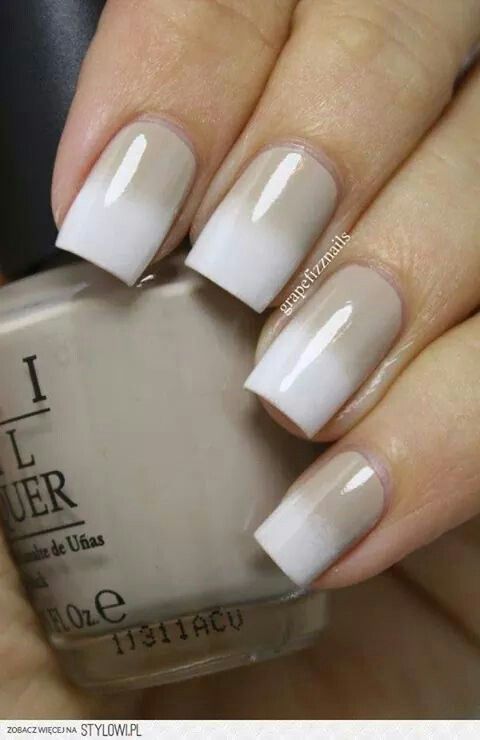
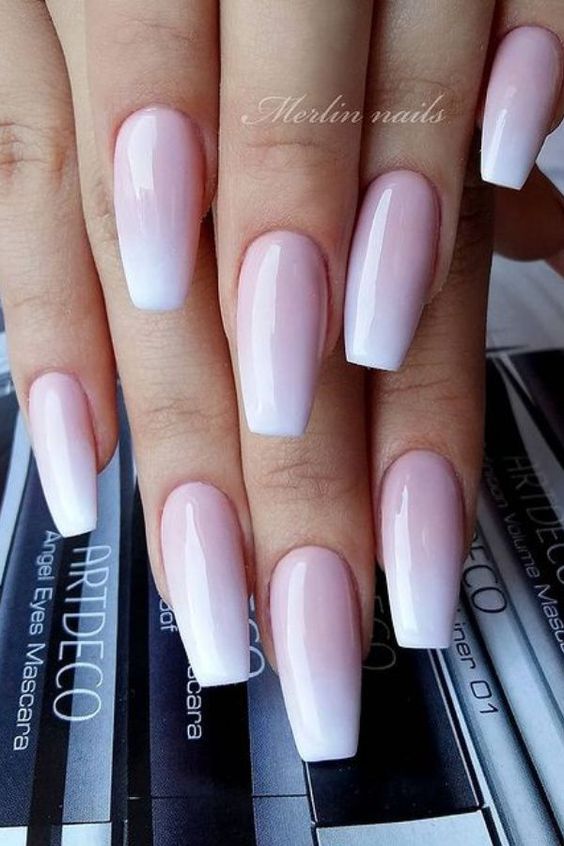
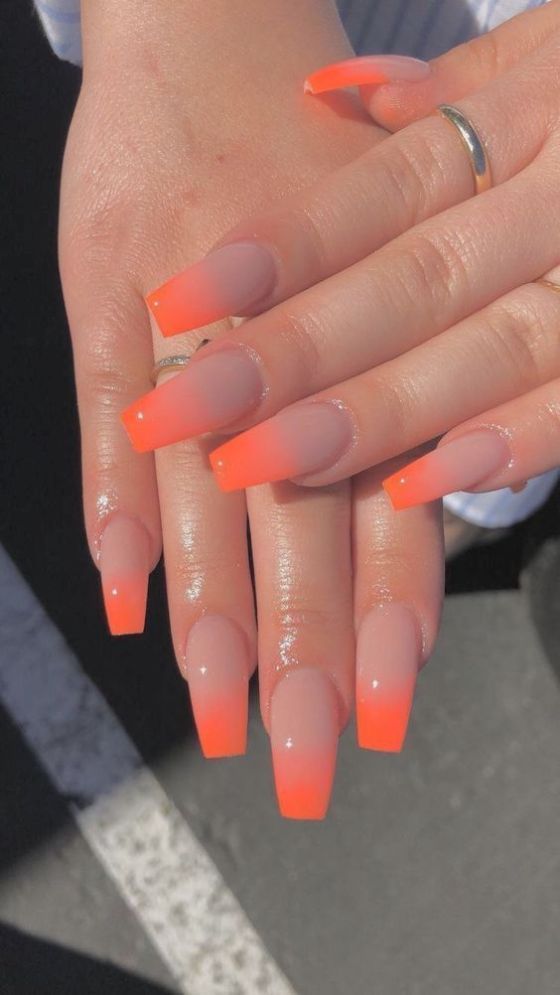
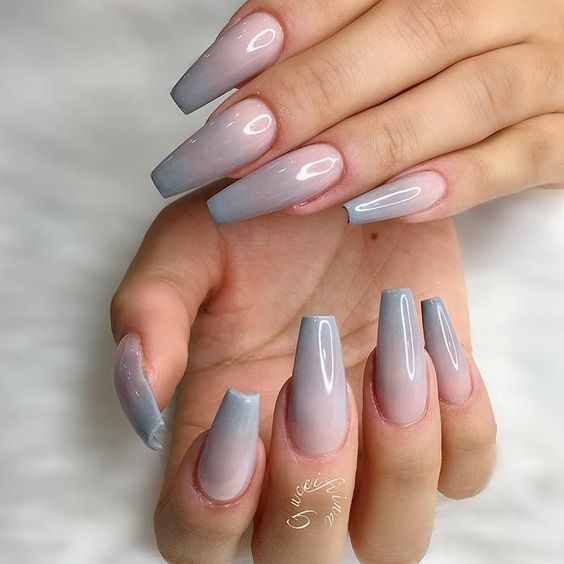
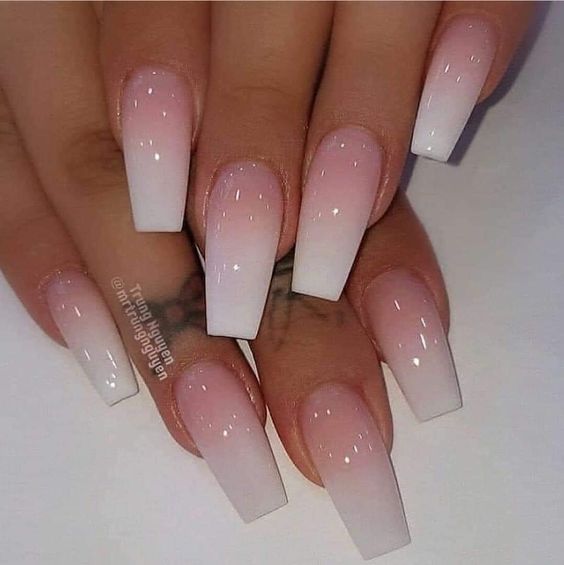
Ombre nails, a gradient effect where one color fades into another, have been a trendy choice in nail art for quite some time. When done in nude tones, this design offers a sophisticated, chic look suitable for both everyday wear and special occasions. Here’s a rundown of stunning nude ombre nail inspirations to consider:
Classic Fade: Start with a soft, pale nude at the base of the nail, blending into a darker, rich nude at the tips.
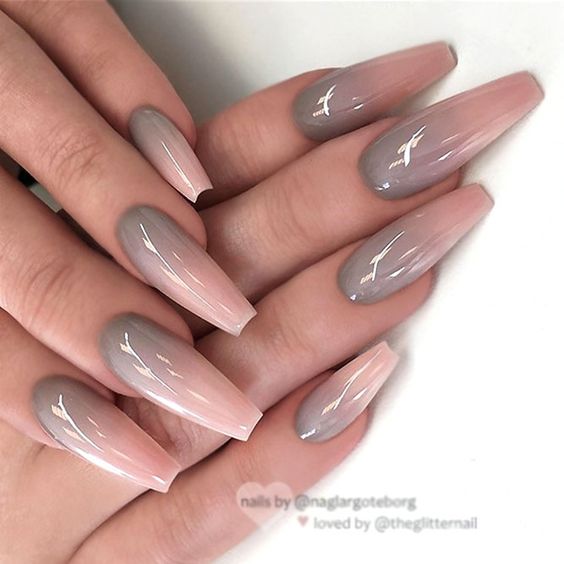
Reverse Ombre: For a unique twist, start with the darker shade at the cuticle and fade into a lighter shade at the tip.
Horizontal Ombre: Instead of the usual vertical gradient, try a side-to-side fade from one nude shade to another.
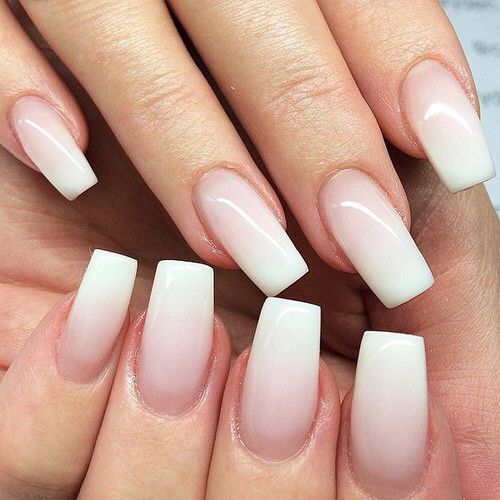
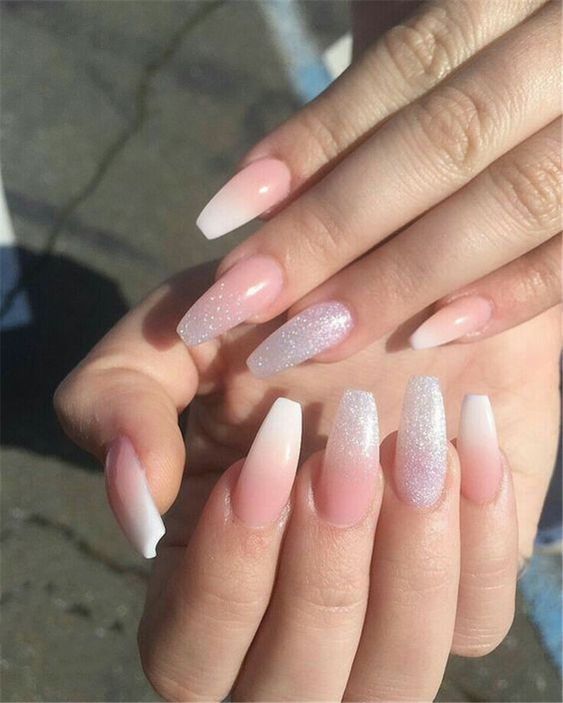
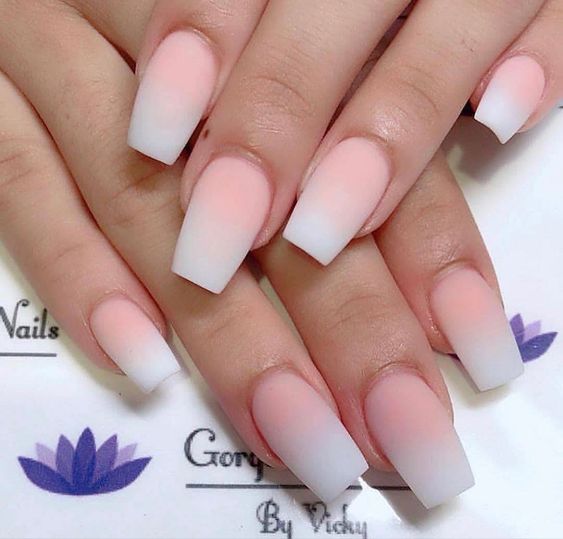
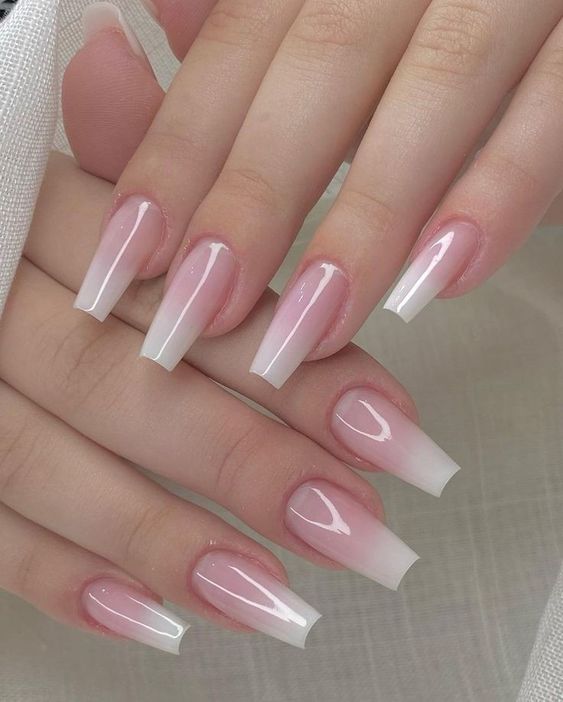
French Ombre: Combine the classic French manicure with the ombre technique. Start with a translucent pink base and let it fade into a soft white tip.
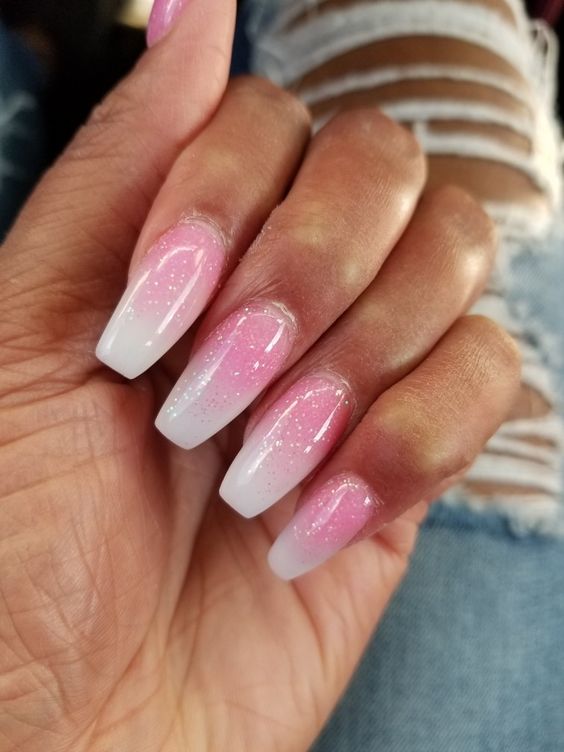
Nude to Glitter Fade: Begin with a basic nude at the base and blend it into a glittery tip, adding a touch of sparkle.
Rose Gold Ombre: Start with a nude base and fade it into a stunning rose gold tip.
Matte Ombre: Once you’ve applied your ombre gradient, use a matte top coat to give your nails a velvety, sophisticated finish.
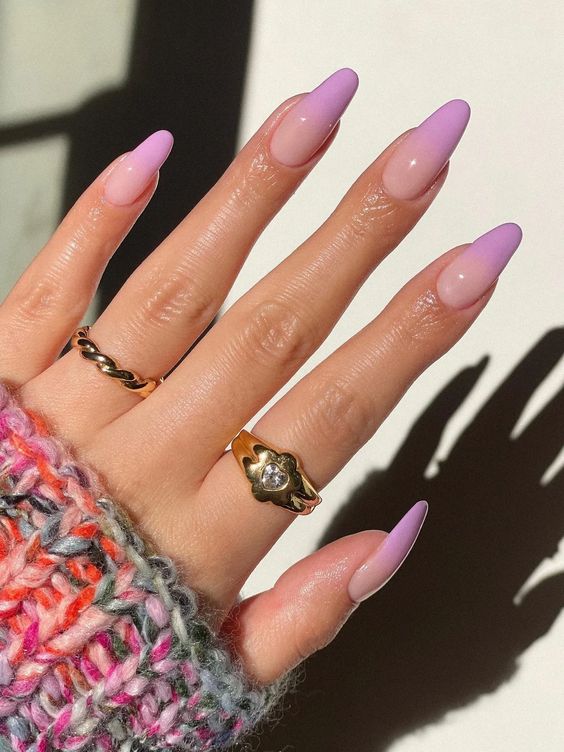
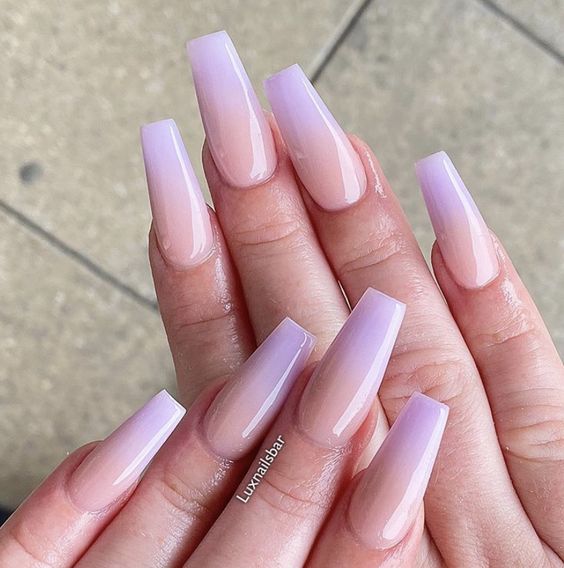
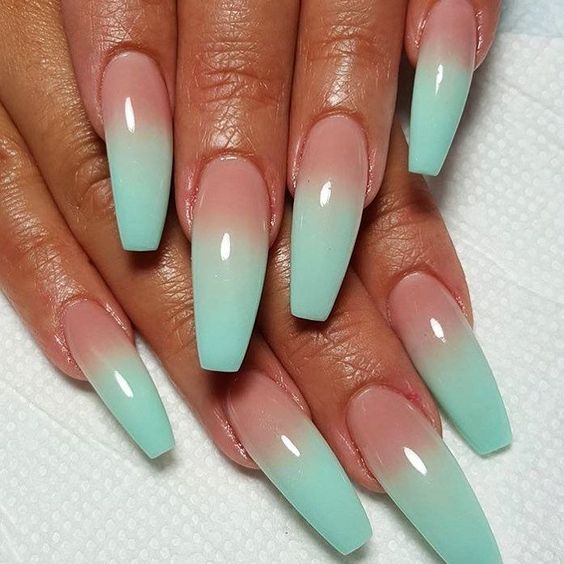
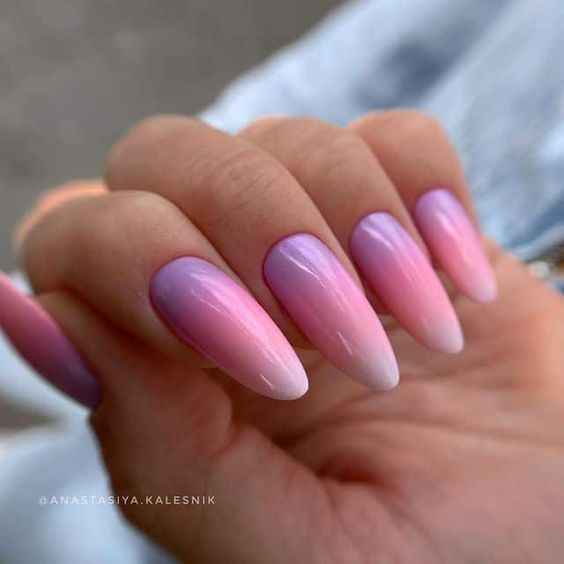
Nude and Pastel Ombre: Pair a soft nude with a gentle pastel color like lavender or blush pink for a feminine touch.
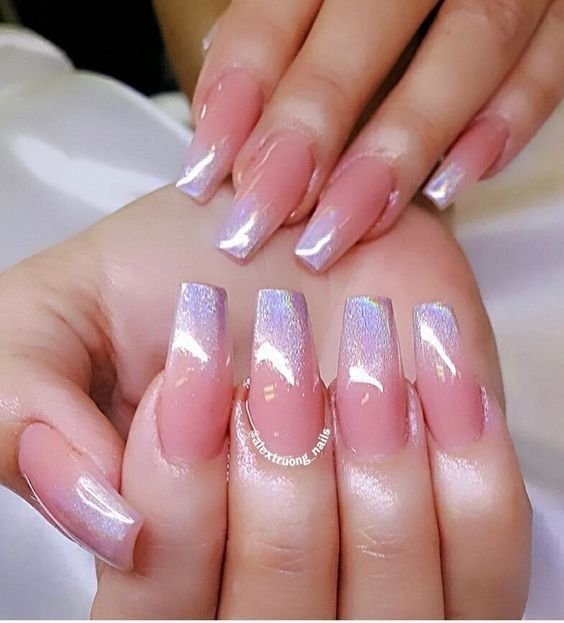
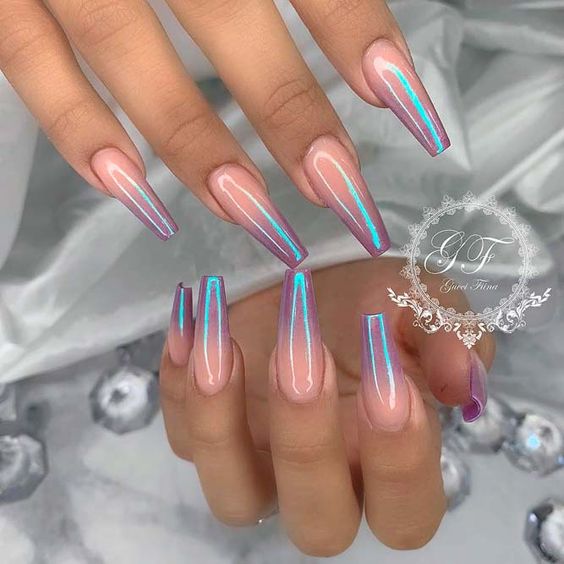
Nude with Chrome Tips: Start with a creamy nude and let it fade into a shiny, chrome tip for a modern twist.
Tri-tone Fade: Instead of two shades, incorporate three by having a lighter nude at the base, a medium shade in the middle, and a darker nude at the tips.
Sponge Technique: Use a makeup sponge to achieve the gradient effect. Apply the nail polishes in stripes on the sponge and dab it onto the nail, repeating until you achieve the desired opacity.
Brush Technique: Use a fan brush to sweep and blend the colors together on the nail.
Quality Matters: Invest in good quality nail polishes and base/top coats. They will make a difference in the final look and longevity of your manicure.
Patience: Ombre nails require patience and practice to perfect. Don’t get discouraged if it’s not perfect on your first try. Practice makes perfect!
Protection: Always use a base coat to protect your nails and a top coat to seal in your design and add shine.
Nude ombre nails are timeless and versatile, making them a perfect choice for anyone wanting to make a subtle yet stylish statement.
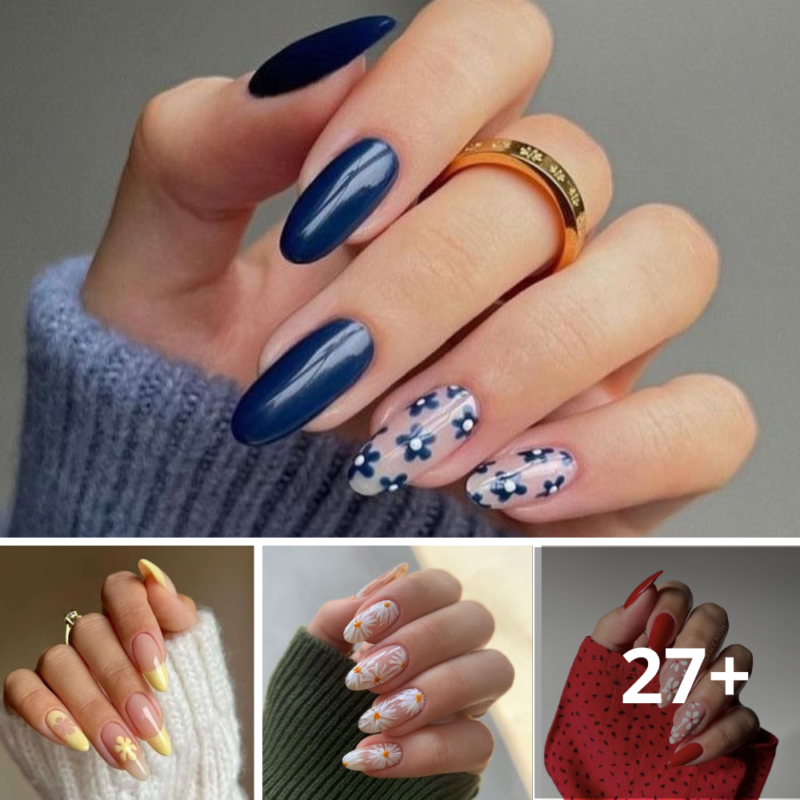
1. Classic Daisy Duo: White petals with a golden-yellow center on a clear or pastel base – this is the traditional daisy look that’s evergreen in the world of nail art. 2. Lavender Fields & Daisies: Mix lavender sprigs with tiny daisy patterns on a light pastel background for a...
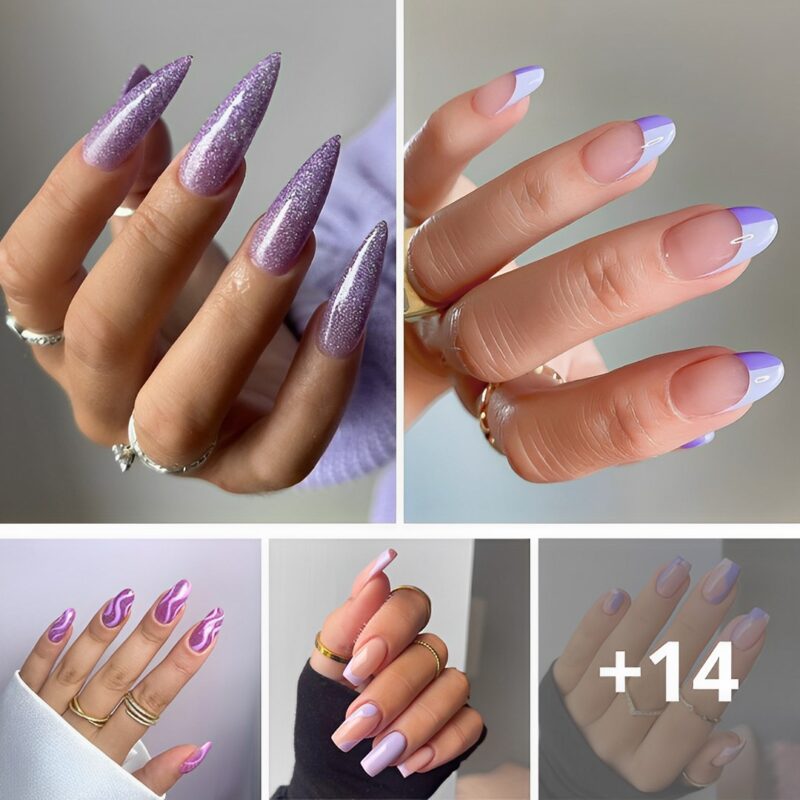
Lavender nail designs are perfect for achieving a sweet and soft look. This pastel purple hue is not only soothing to the eye but also versatile, complementing various styles and occasions. From simple to sophisticated, lavender nails can be adorned with various designs and embellishments. Here are some delightful lavender...
Classy nail designs are all about elegance and sophistication. They often feature clean lines, subtle details, and a refined color palette. Here are some ideas for classy nail designs that can suit any occasion: Nude and Neutrals: A manicure in nude, beige, or soft pink exudes class and elegance. These...
The New Year is the perfect time to embrace all things glittering and glamorous, and what better way to do so than with your nails? As we step into the New Year, let your nails reflect the excitement and joy of new beginnings with over 40 sparkling nail designs. From...
We use cookies to ensure that we give you the best experience on our website. If you continue to use this site we will assume that you are happy with it.