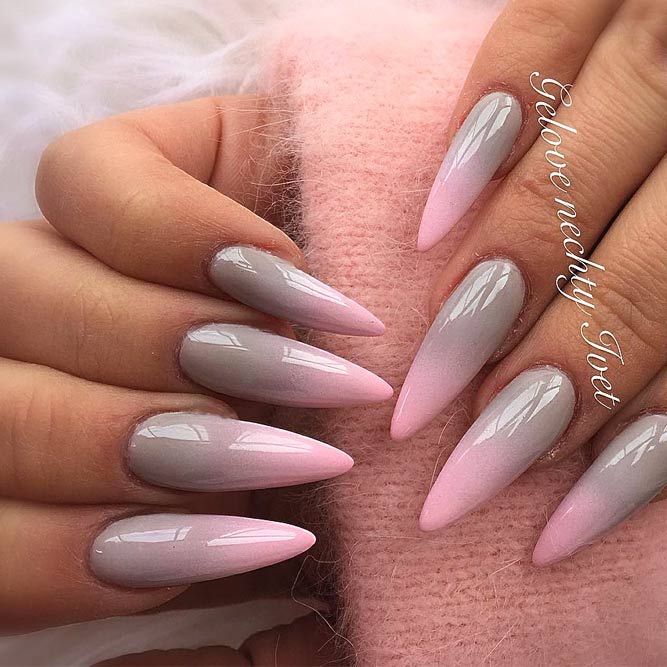
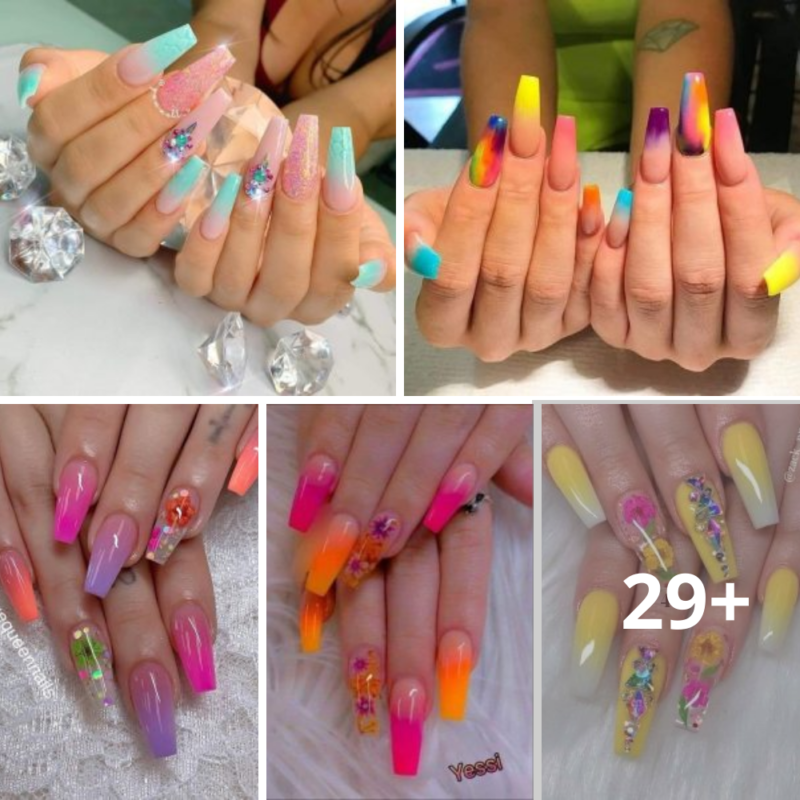
Ombre nails have become a staple in the world of nail art, offering a chic and versatile way to play with colors and gradients. Whether you’re preparing for a special occasion or just want to add a touch of glamour to your everyday look, ombre nails are a fabulous choice. In this article, we’ll explore some glam concepts for ombre nails and provide a step-by-step tutorial to achieve this trendy look at home.
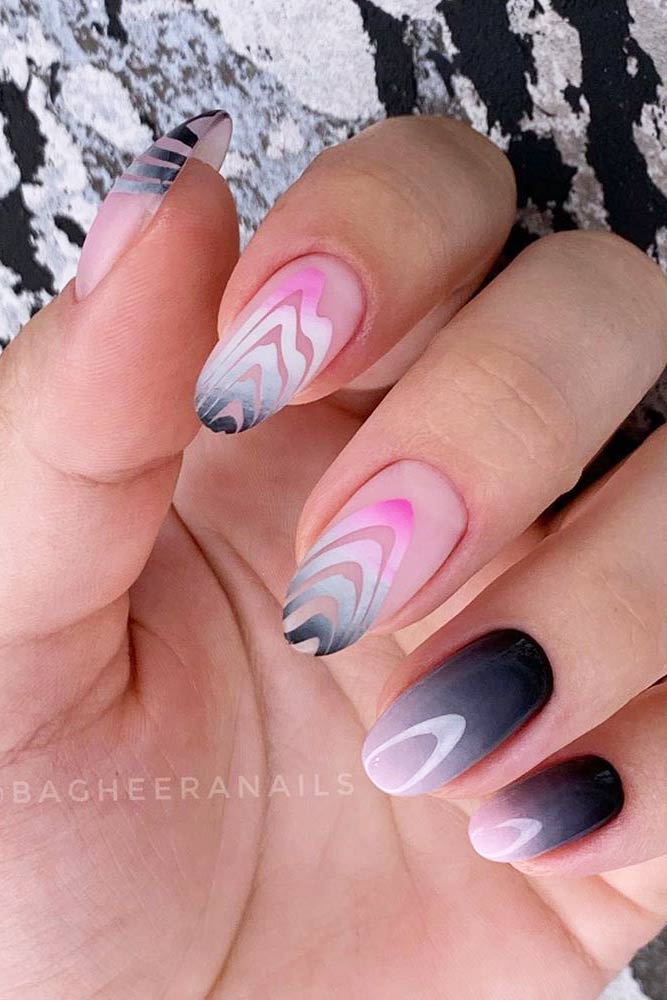
Concept Ideas for Ombre Nails
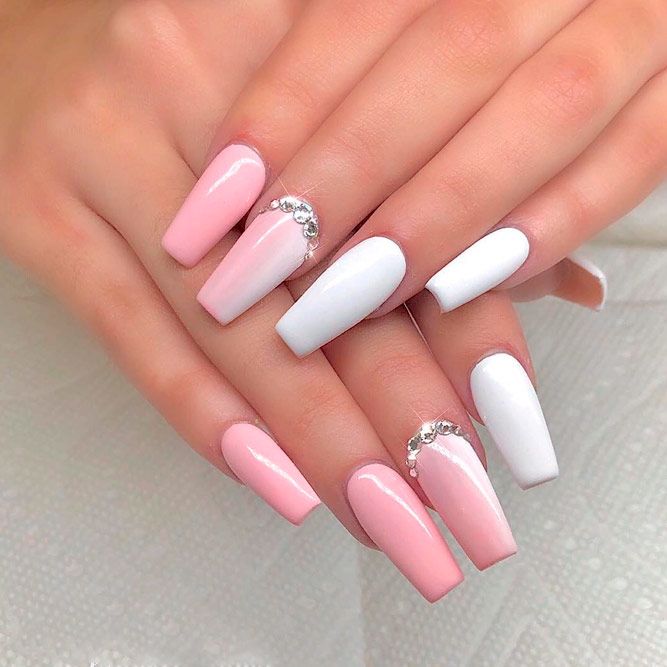
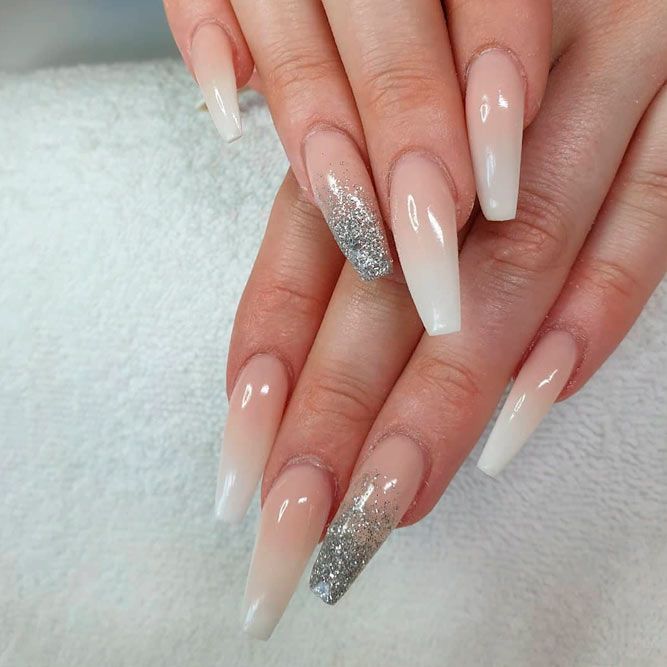
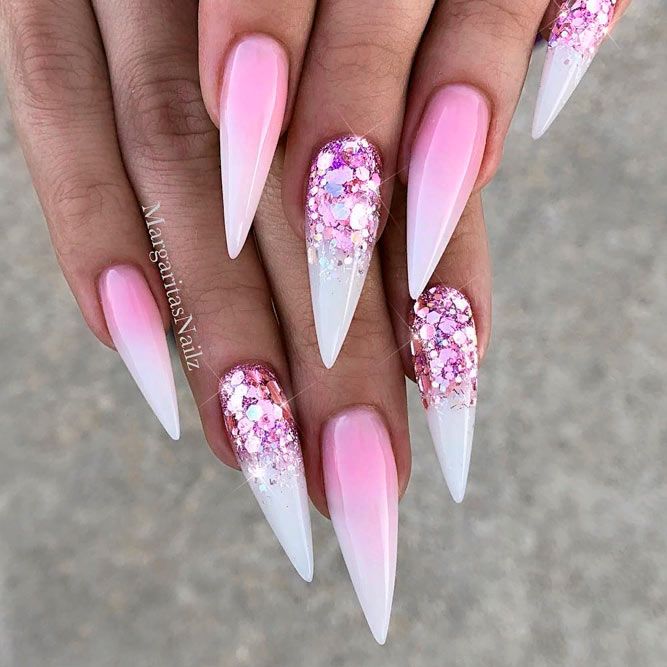
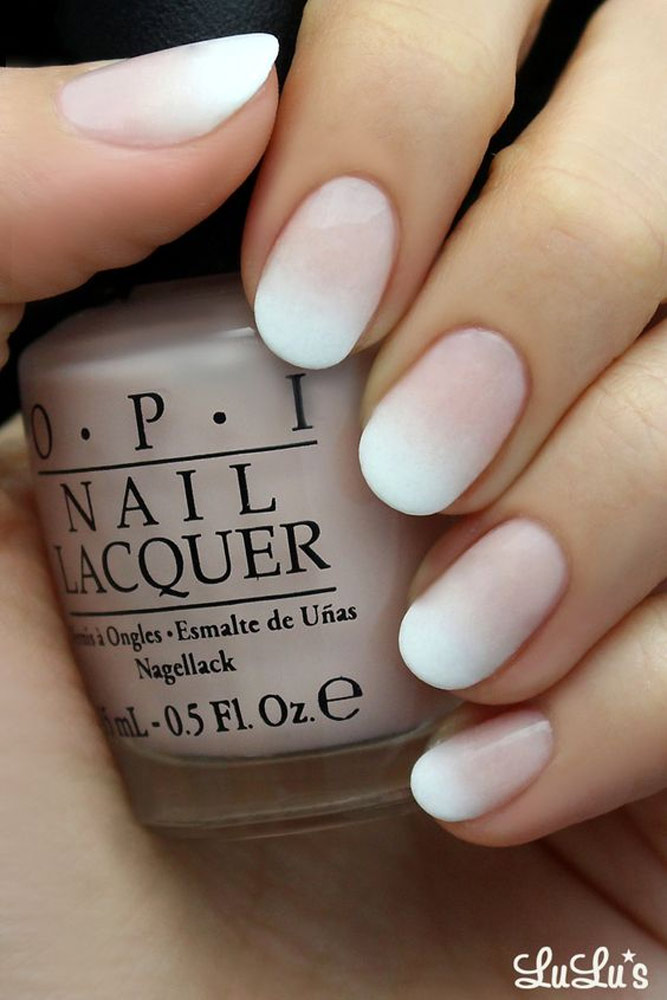
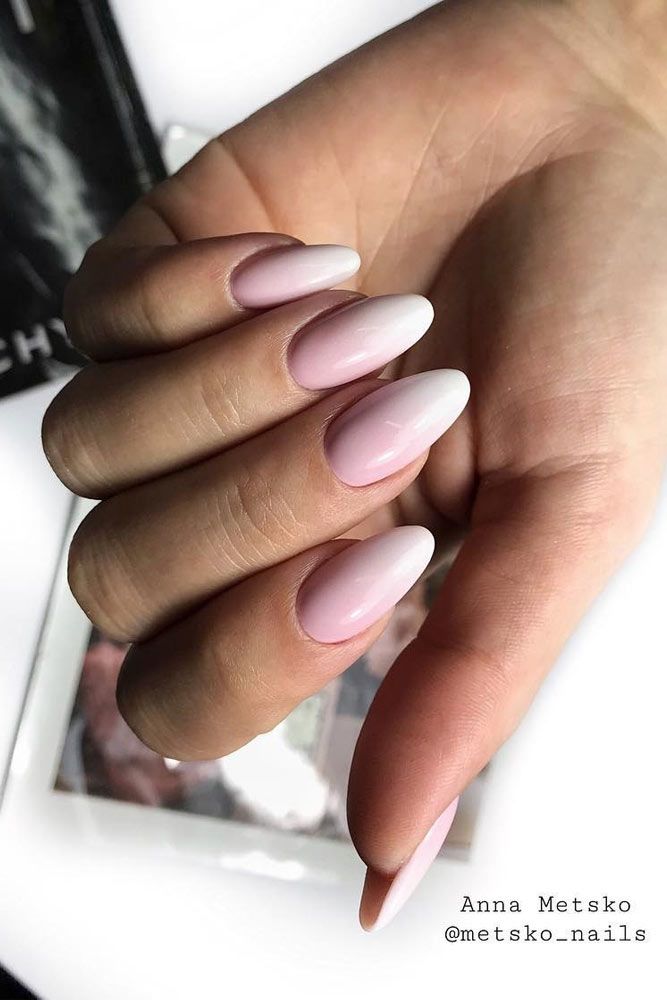
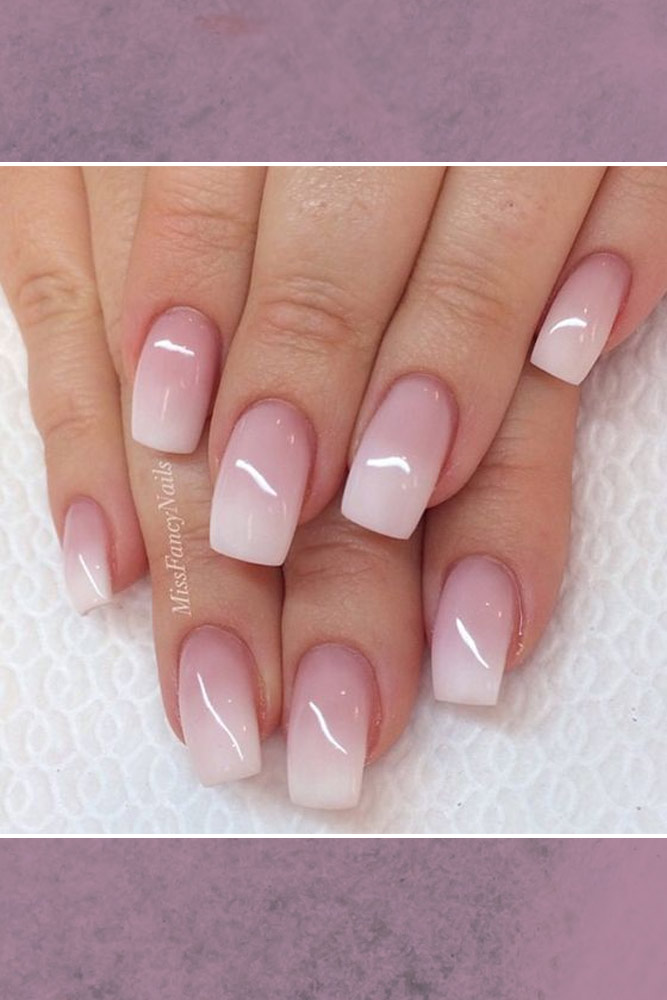
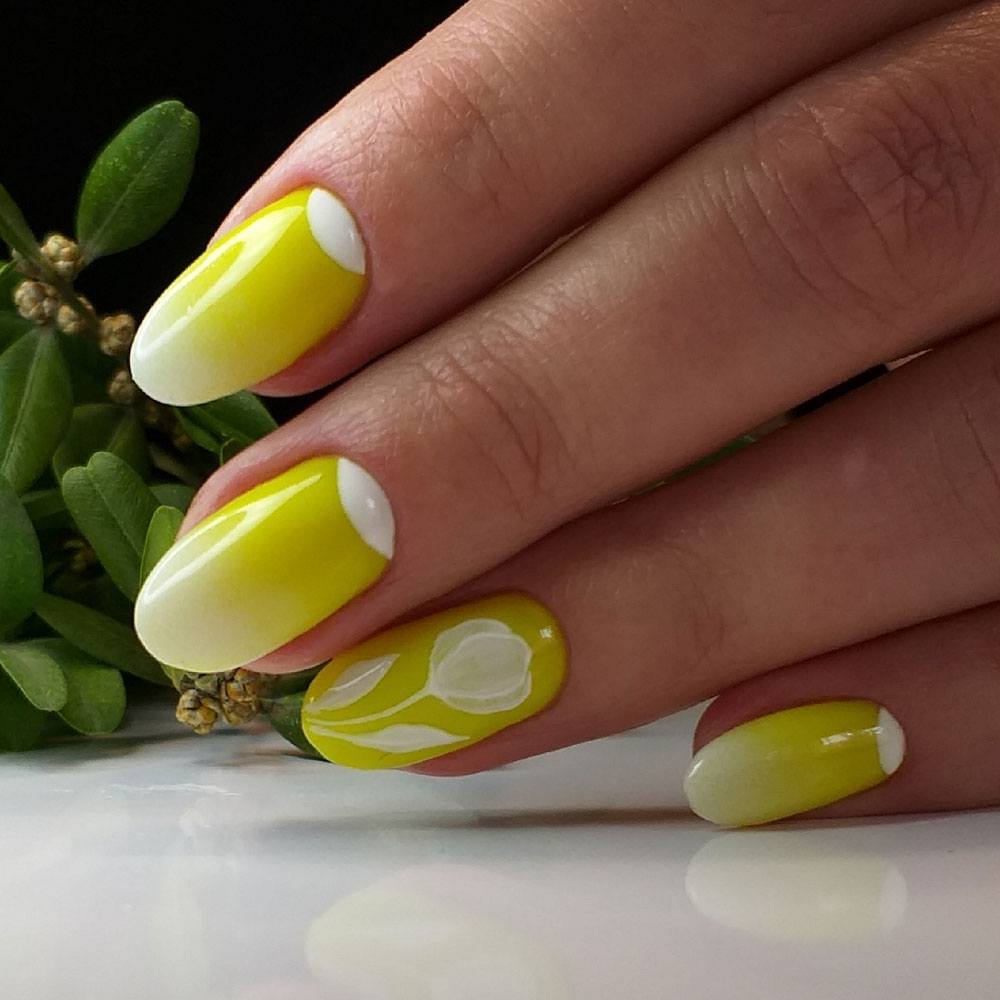
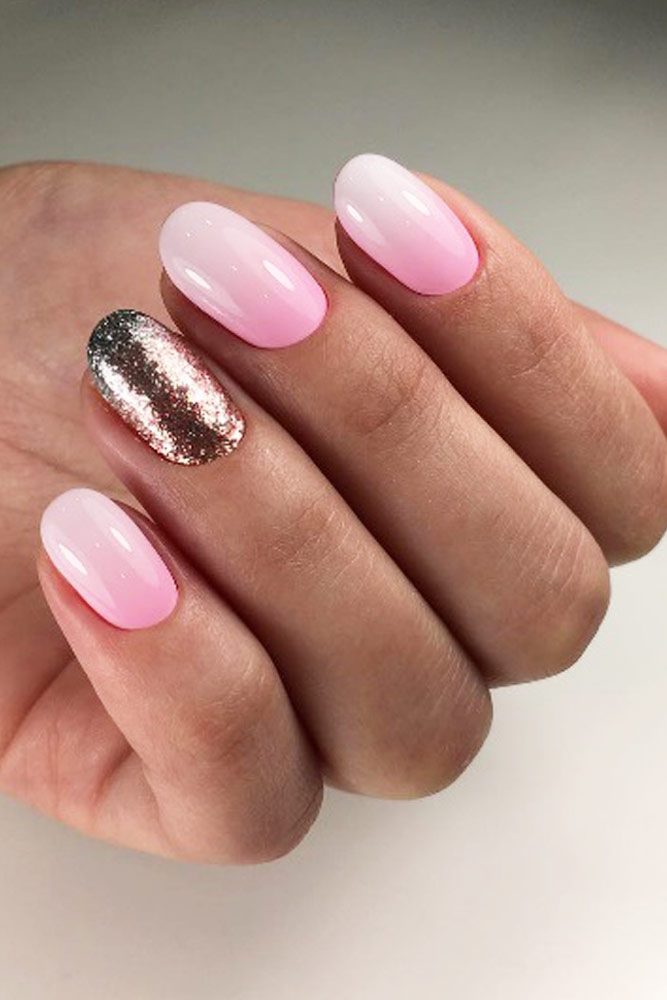
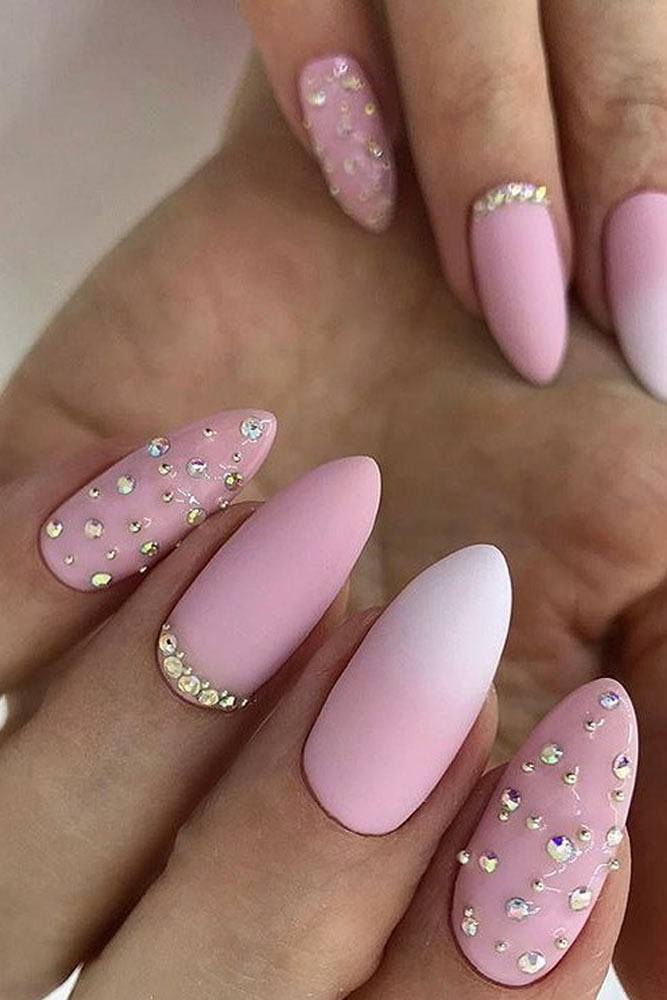
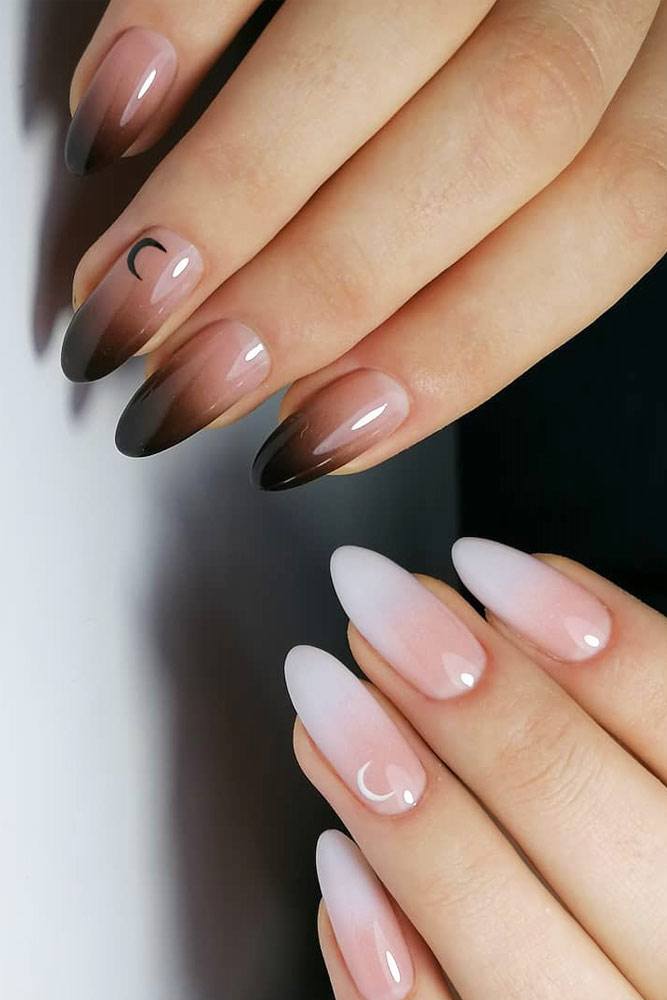
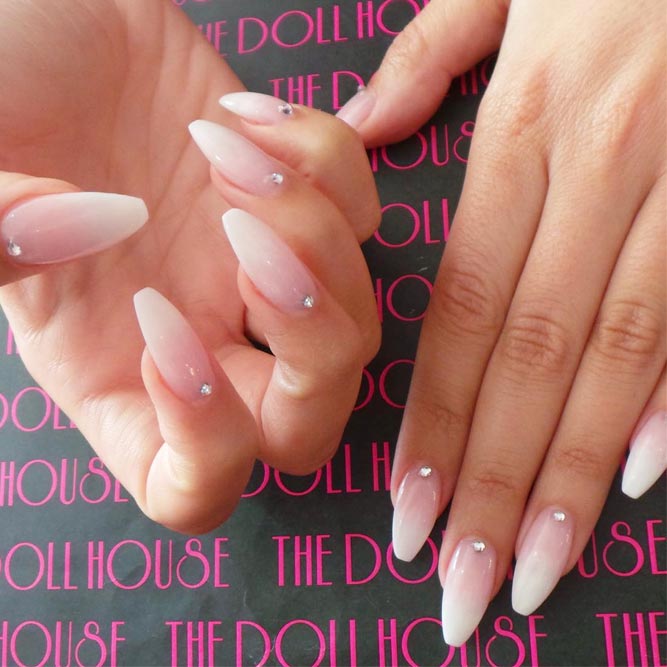
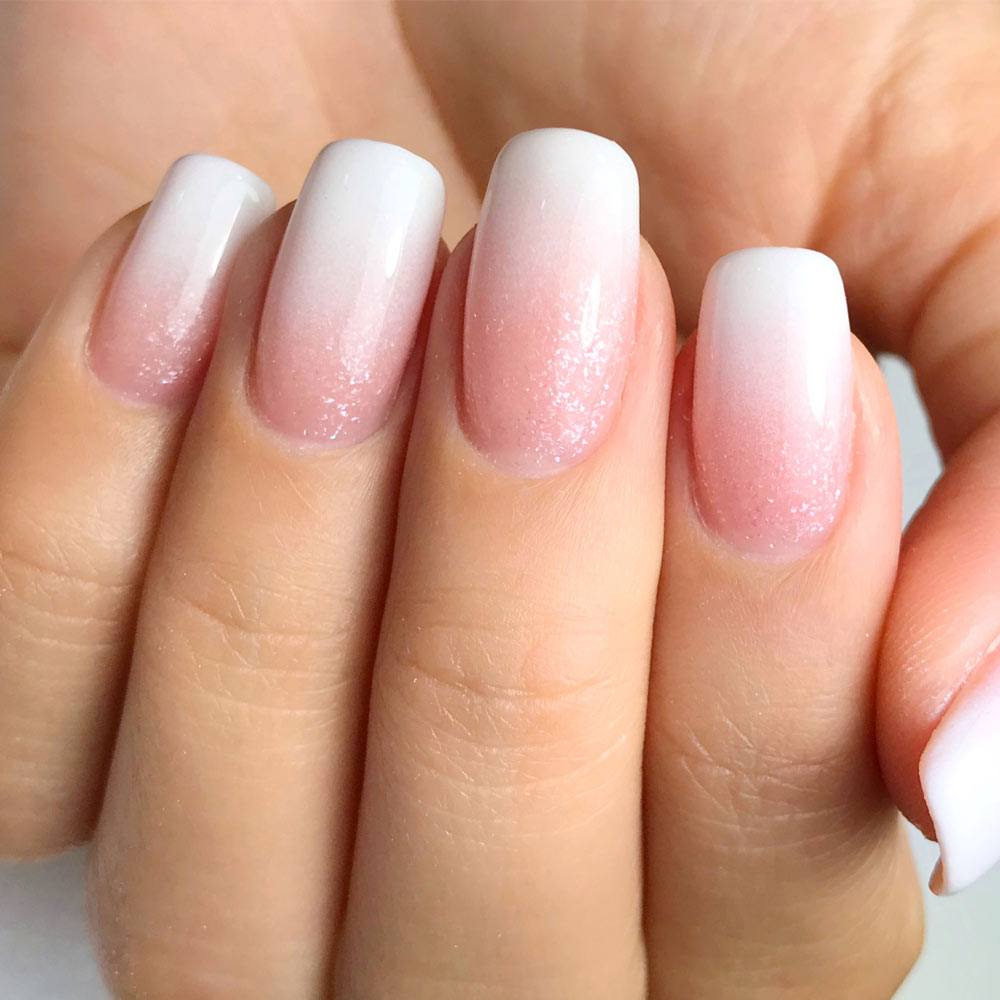
Classic French Ombre: Blend a pale pink base into white tips for a sophisticated and elegant take on the traditional French manicure.
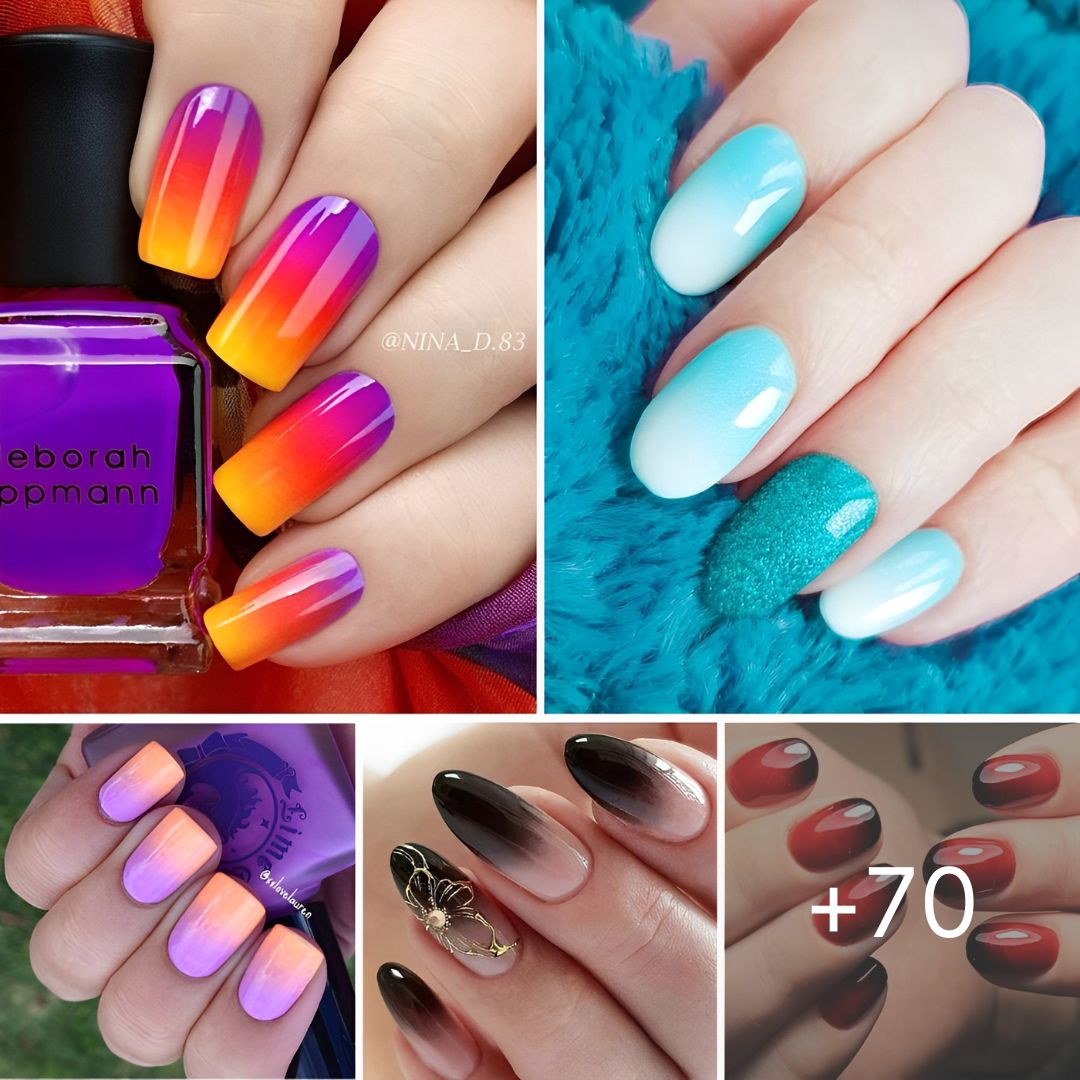
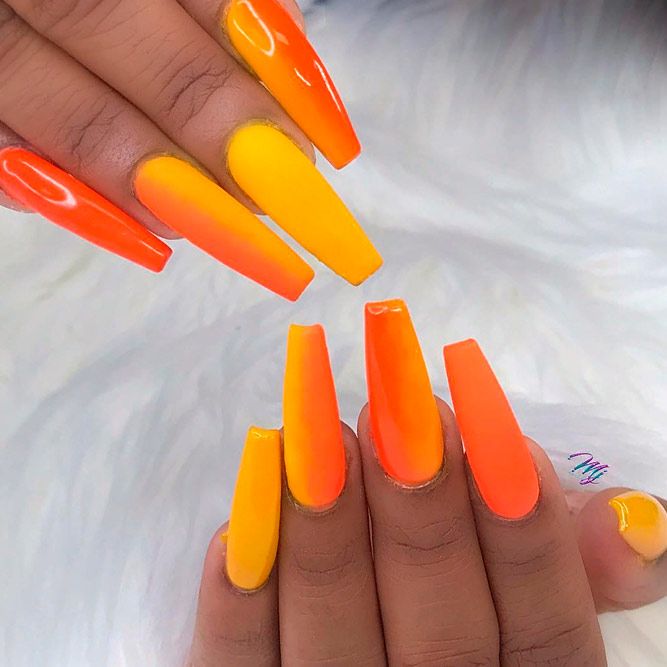
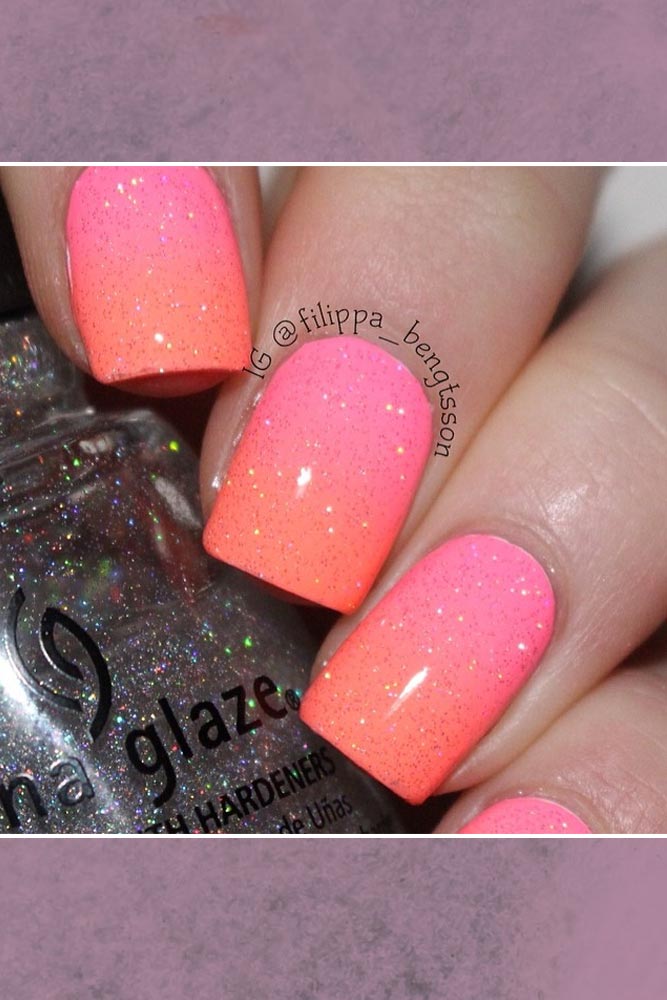
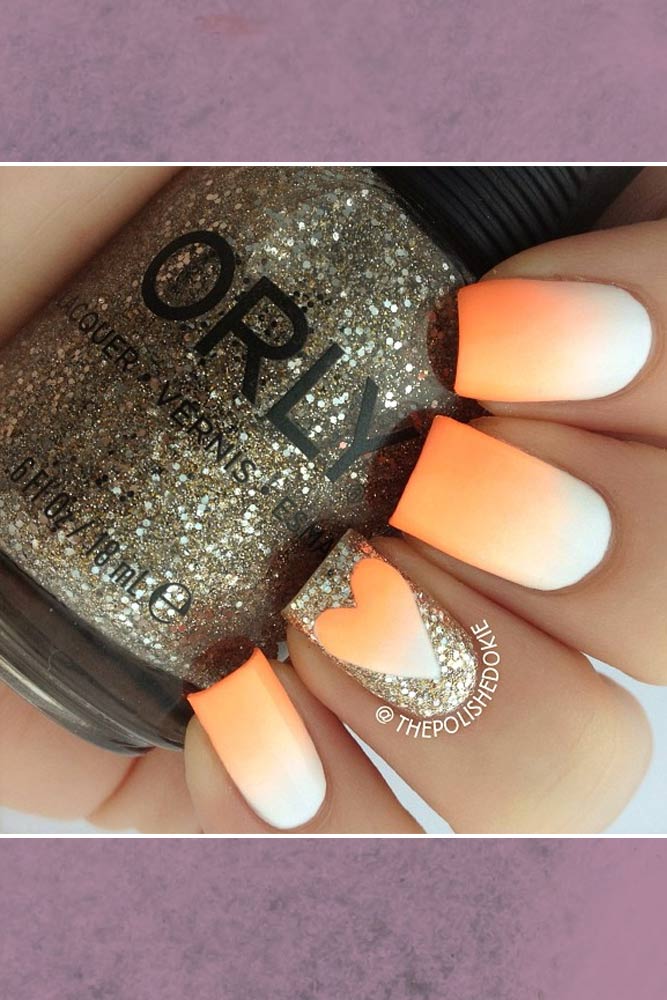
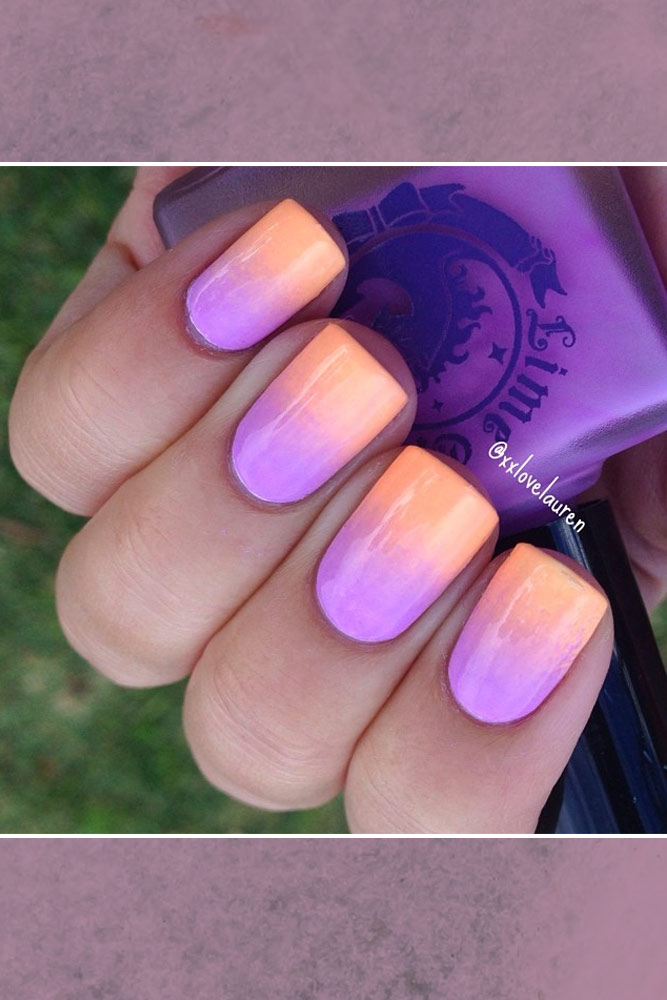
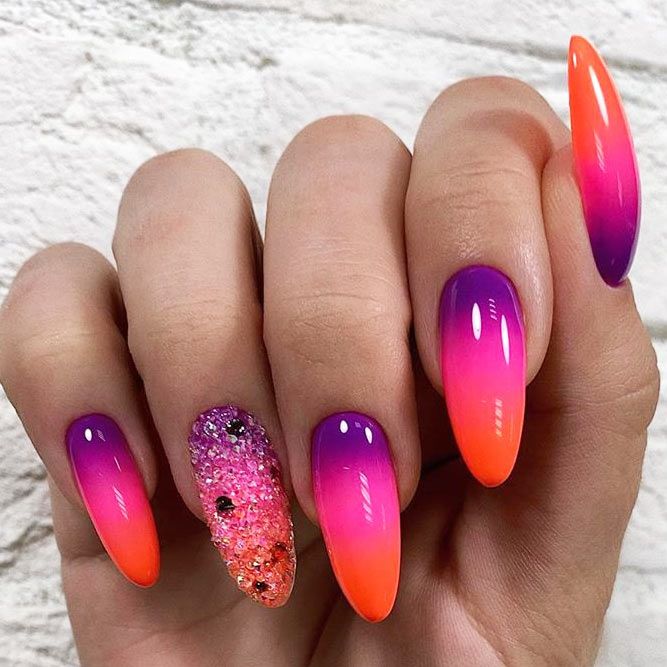
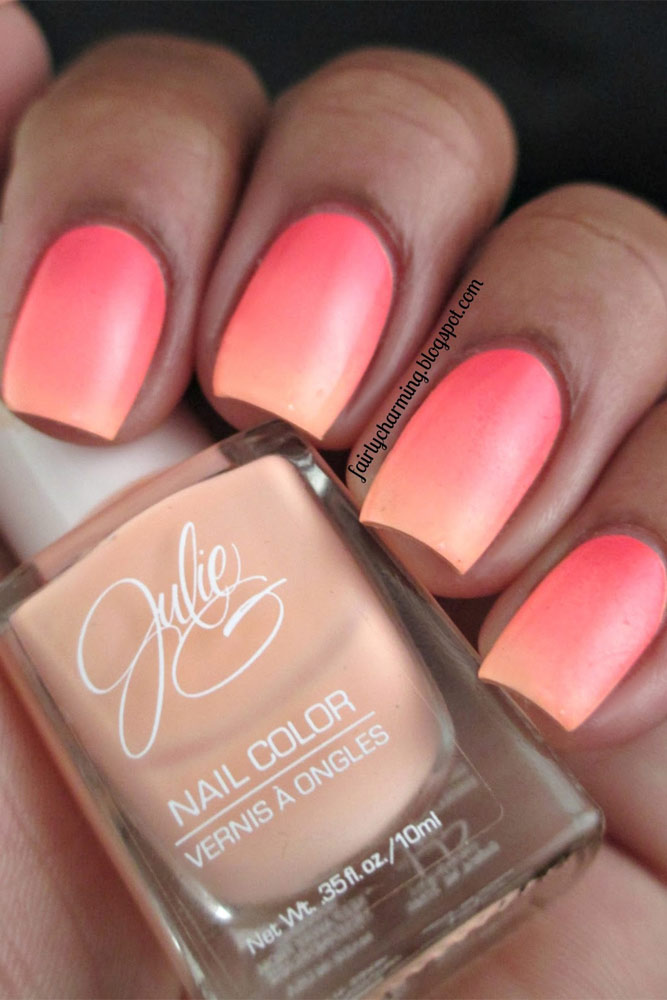
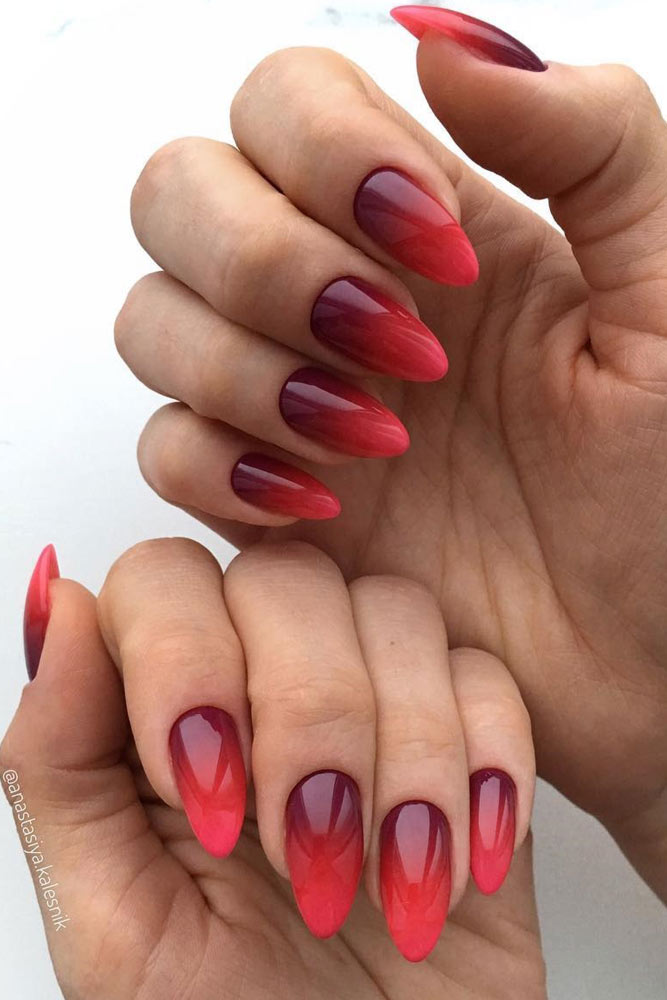
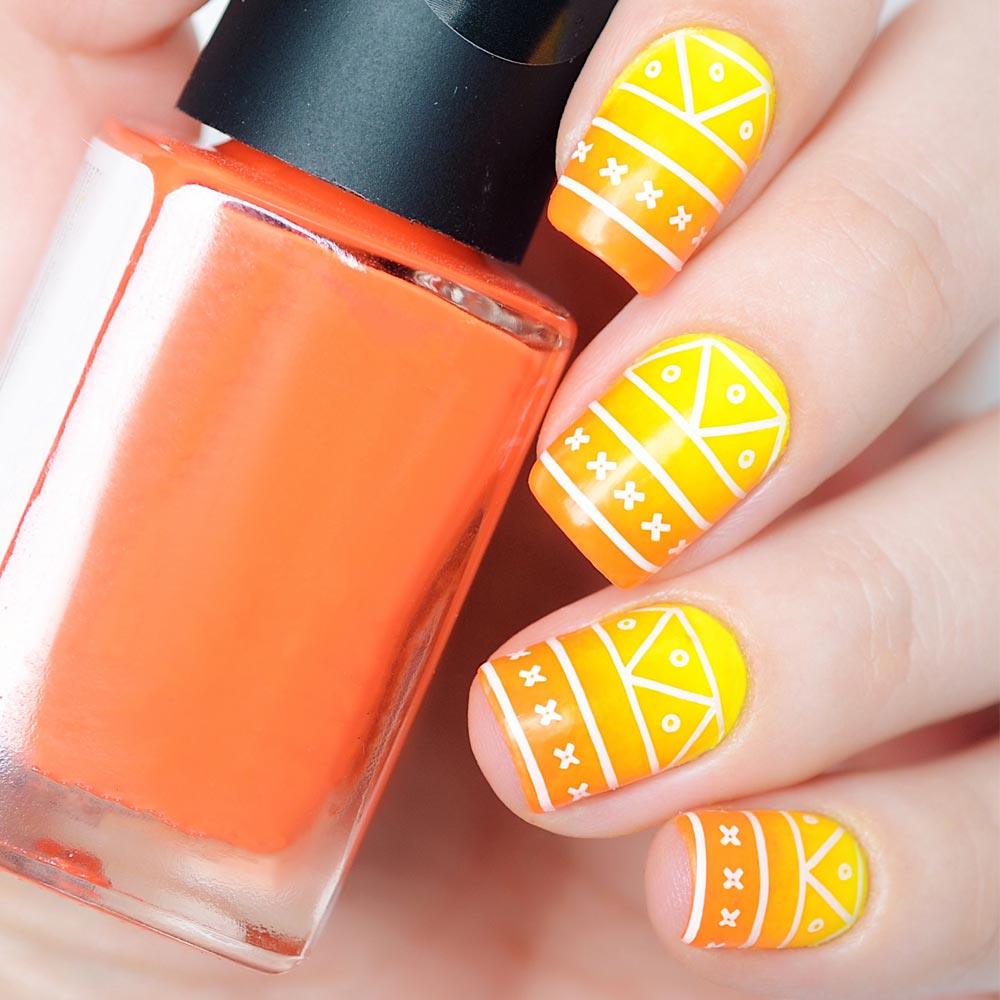
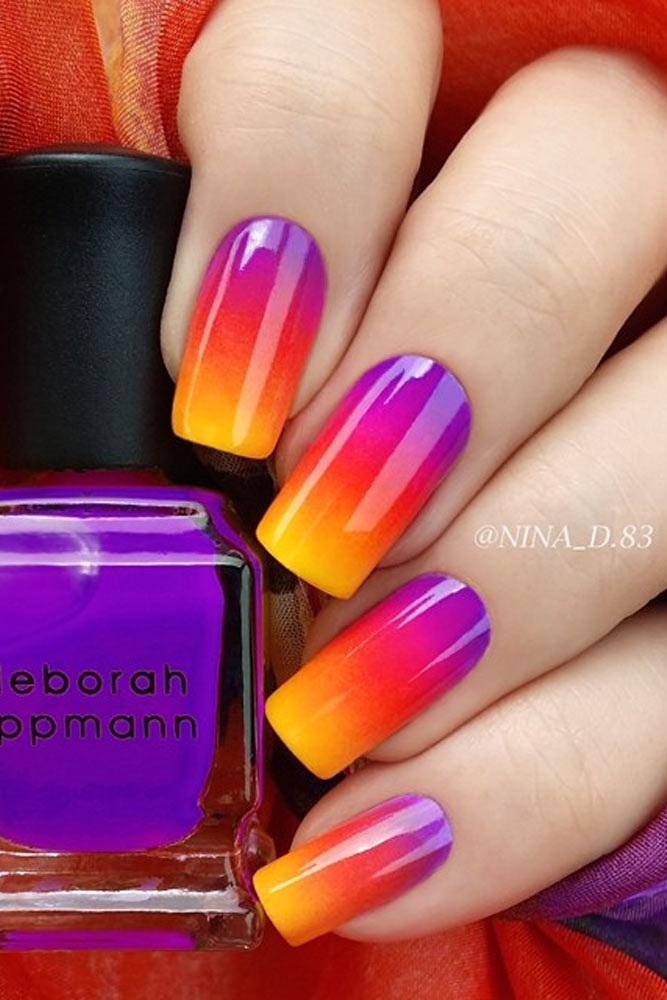
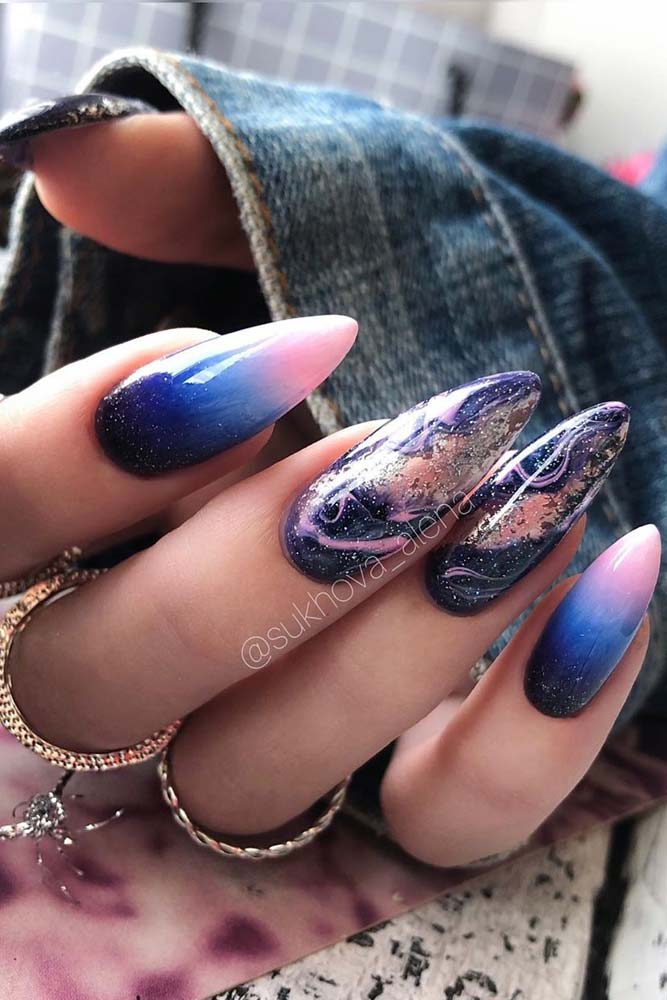
Sunset Glow: Mimic the colors of a sunset by blending vibrant oranges, pinks, and yellows. This design is perfect for summer or to brighten up a dull day.
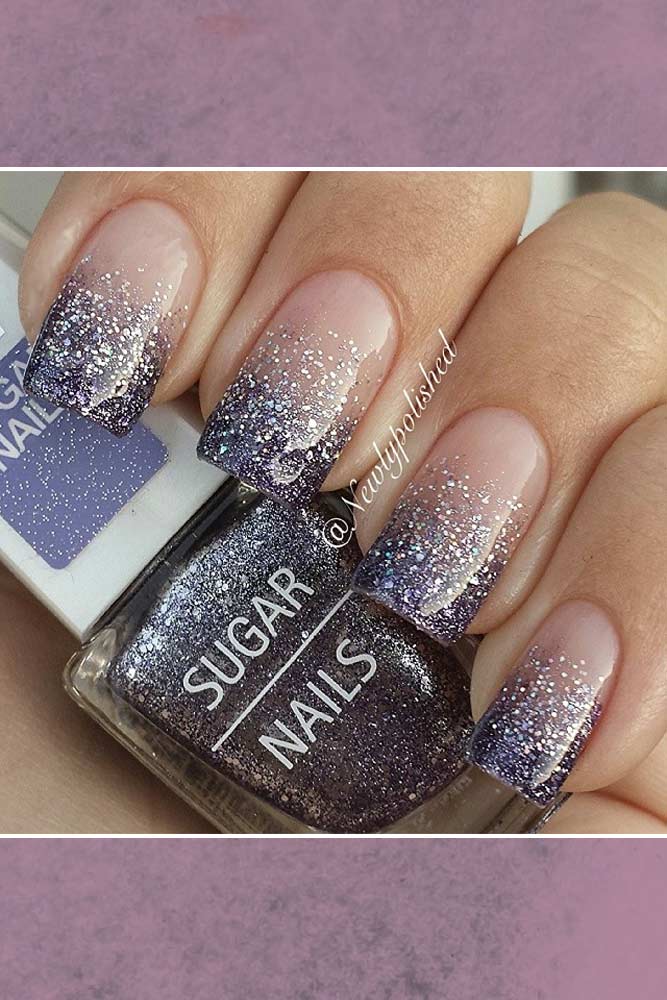
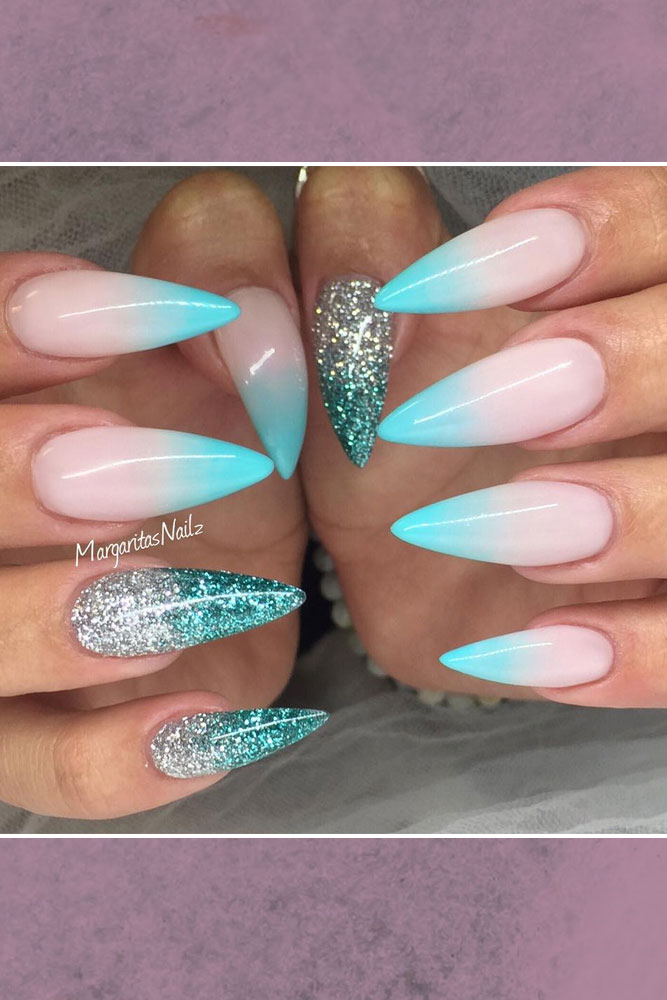
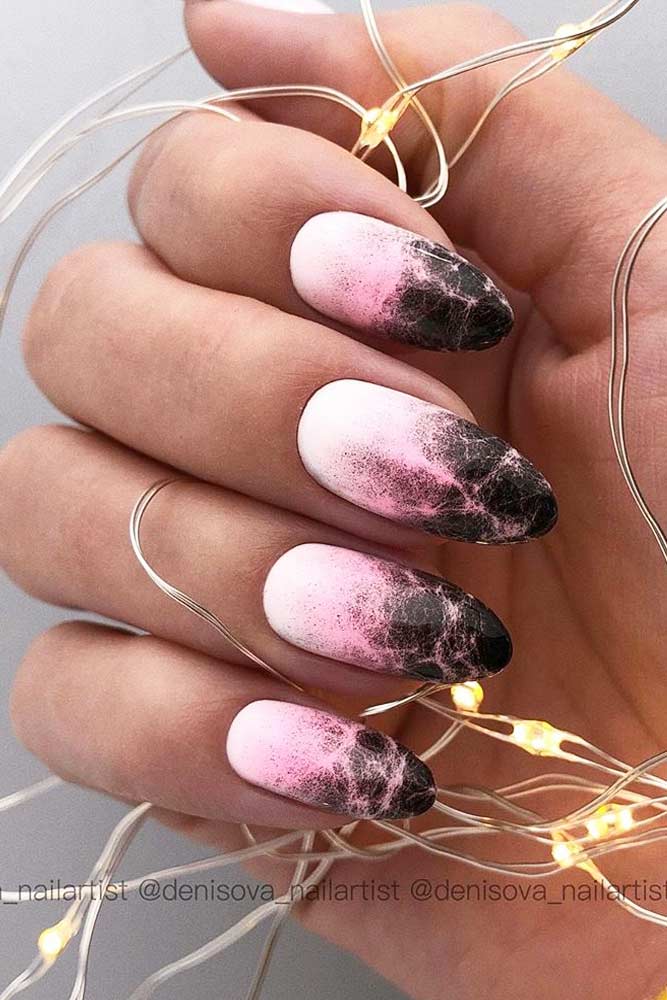
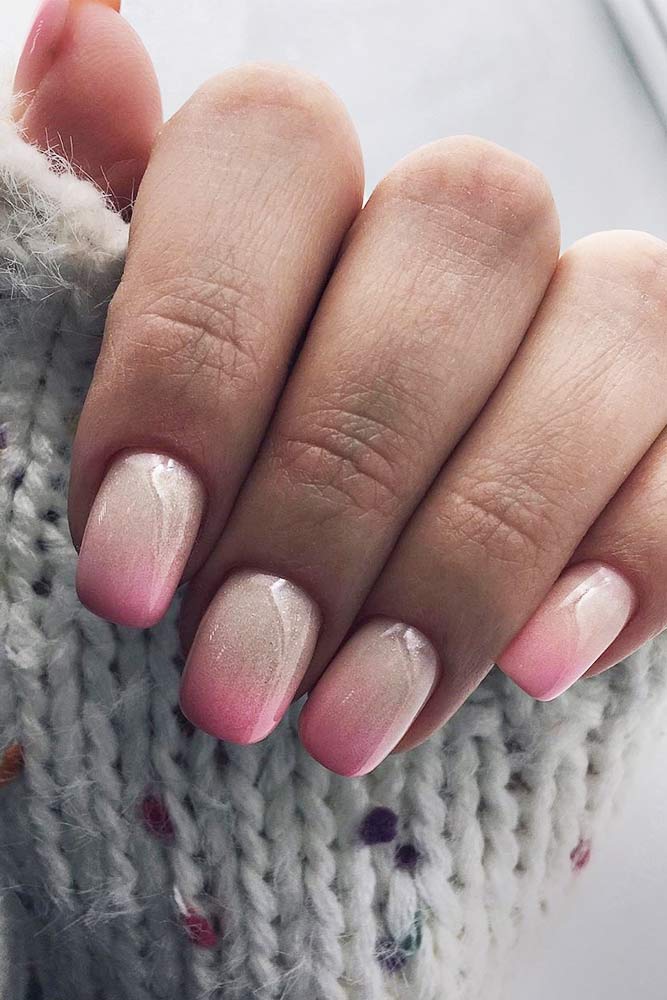
Glitter Fade: Start with a solid color at the base and gradually fade into a glittery tip. This design adds sparkle and is ideal for evening events.
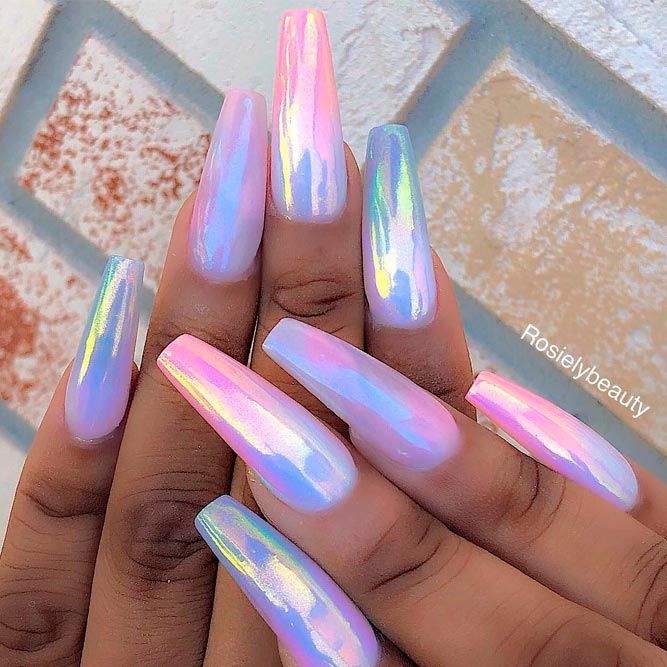
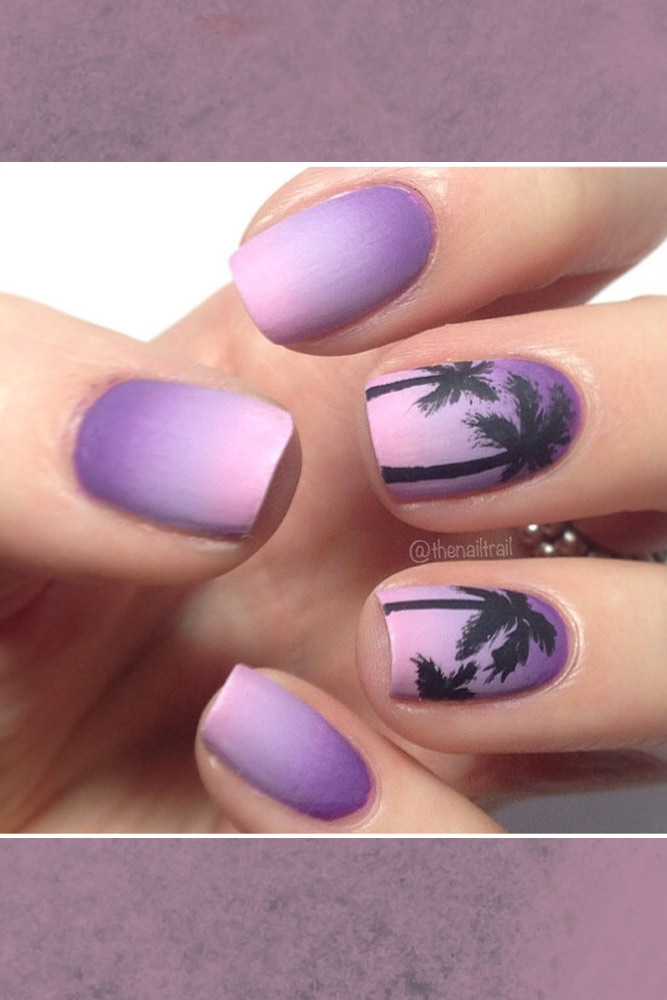
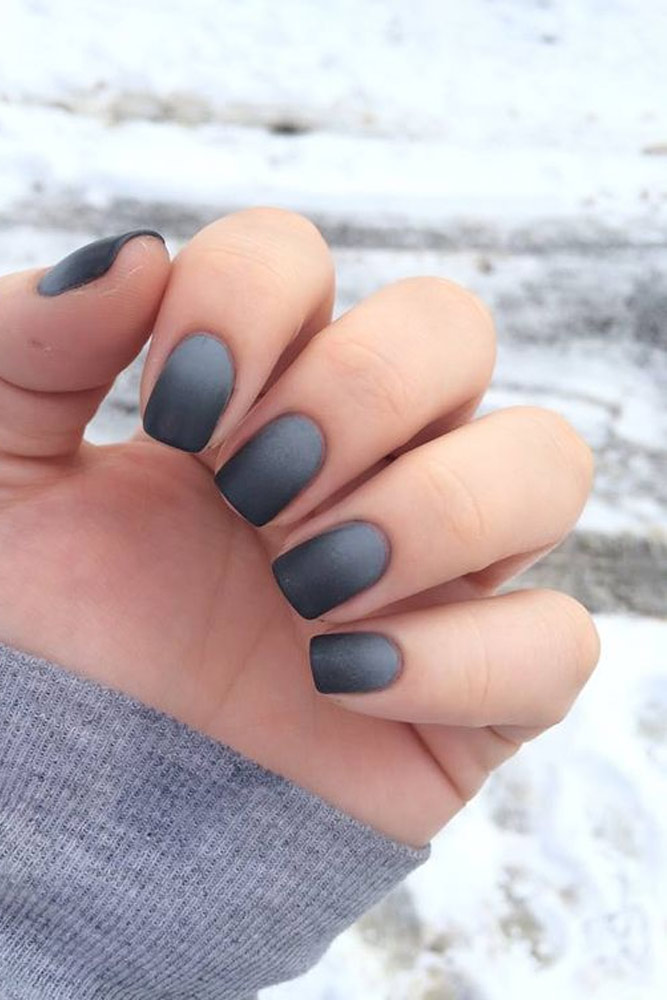
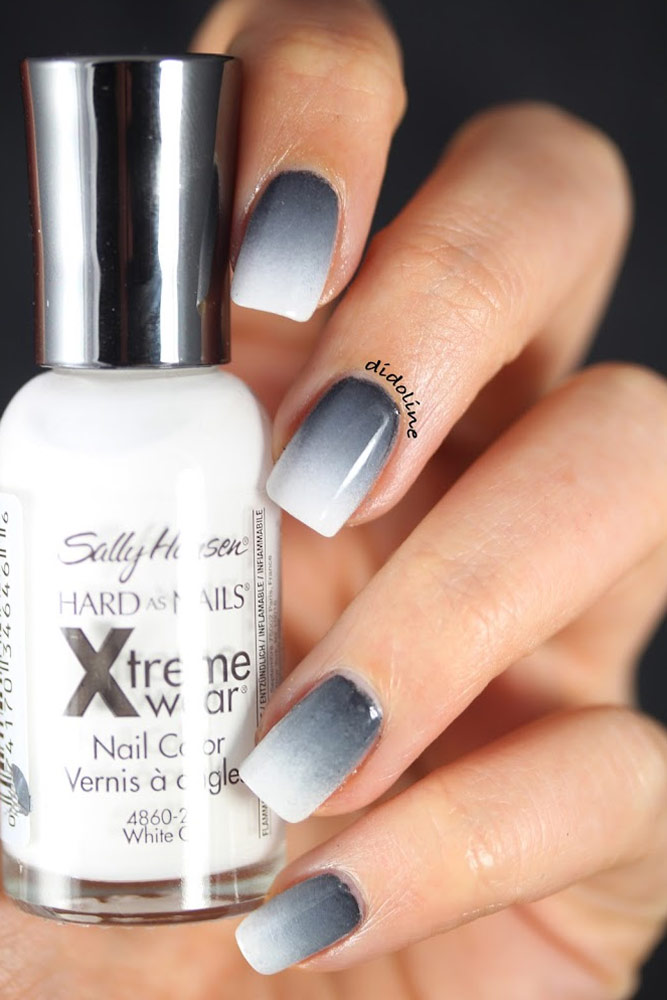
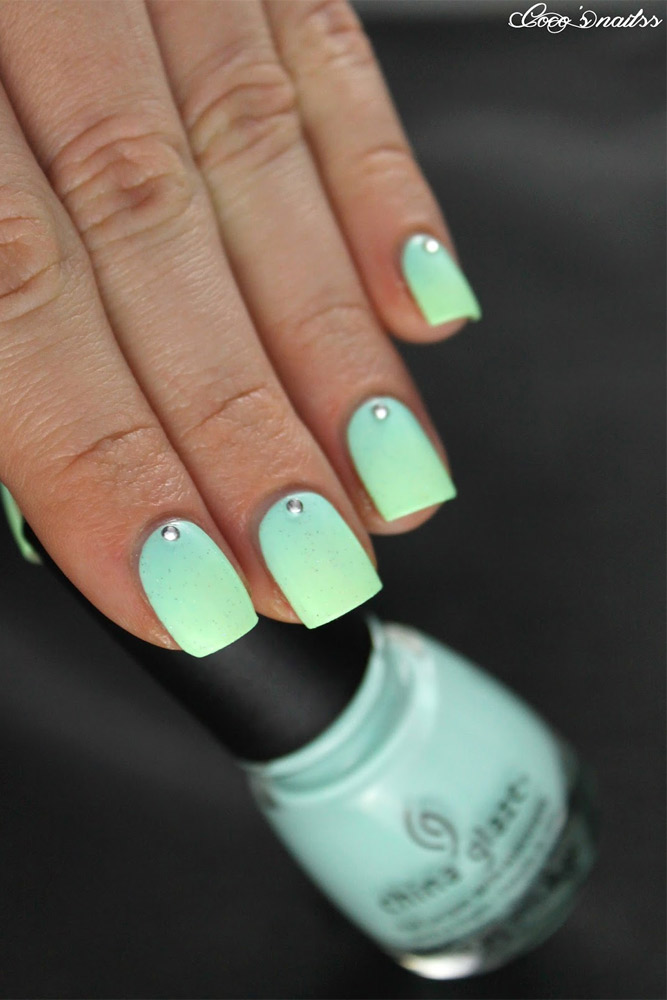
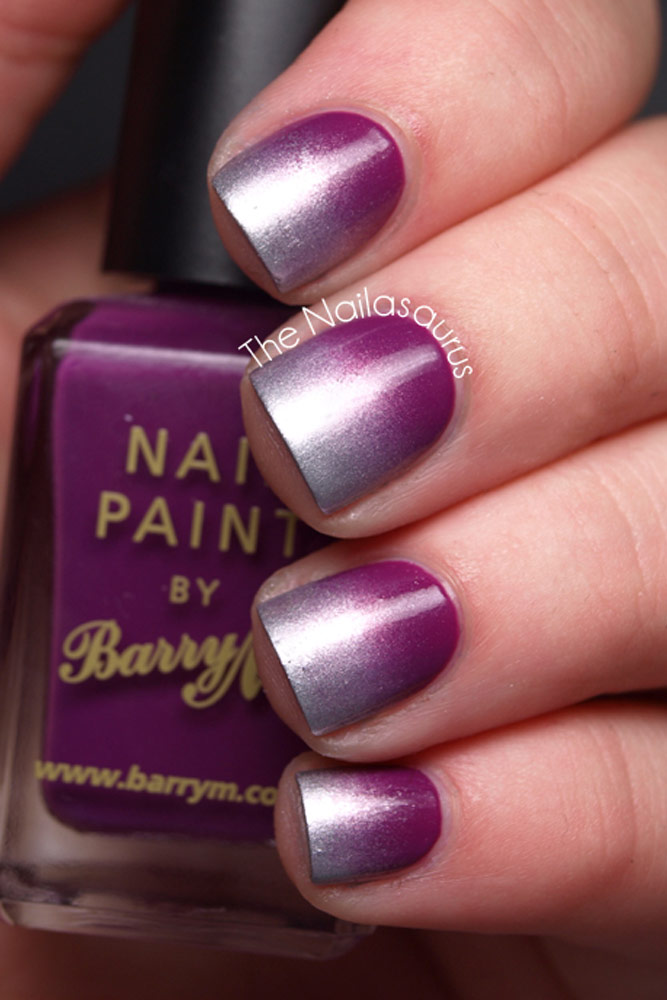
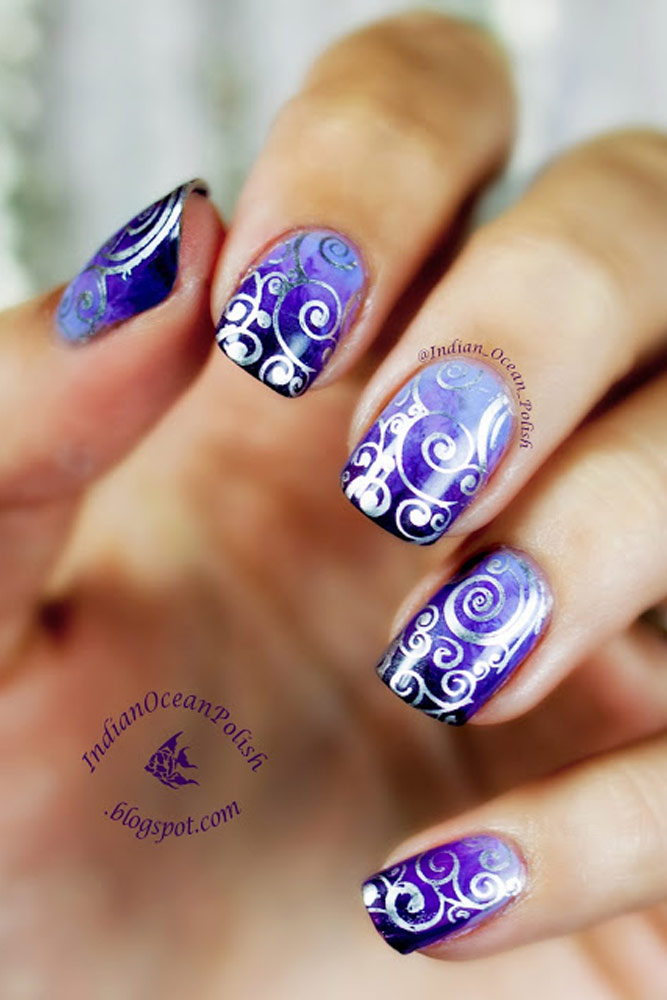
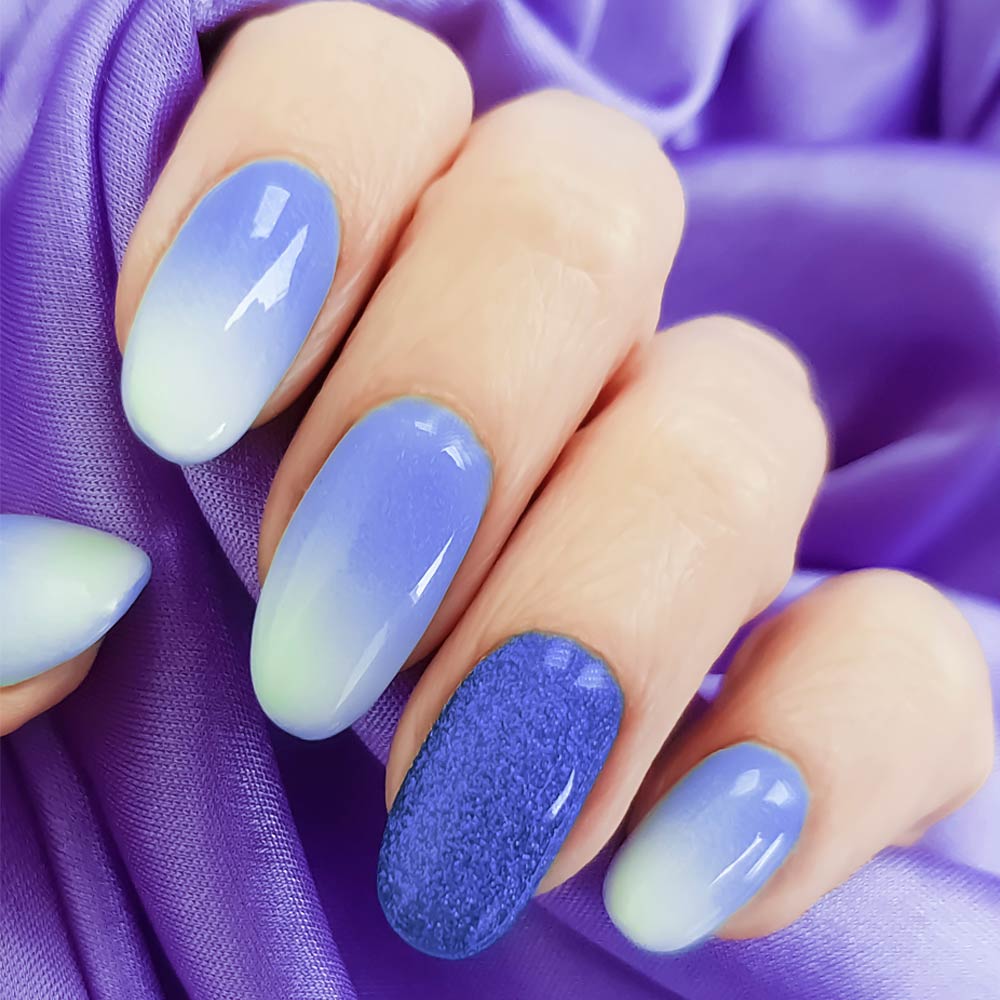
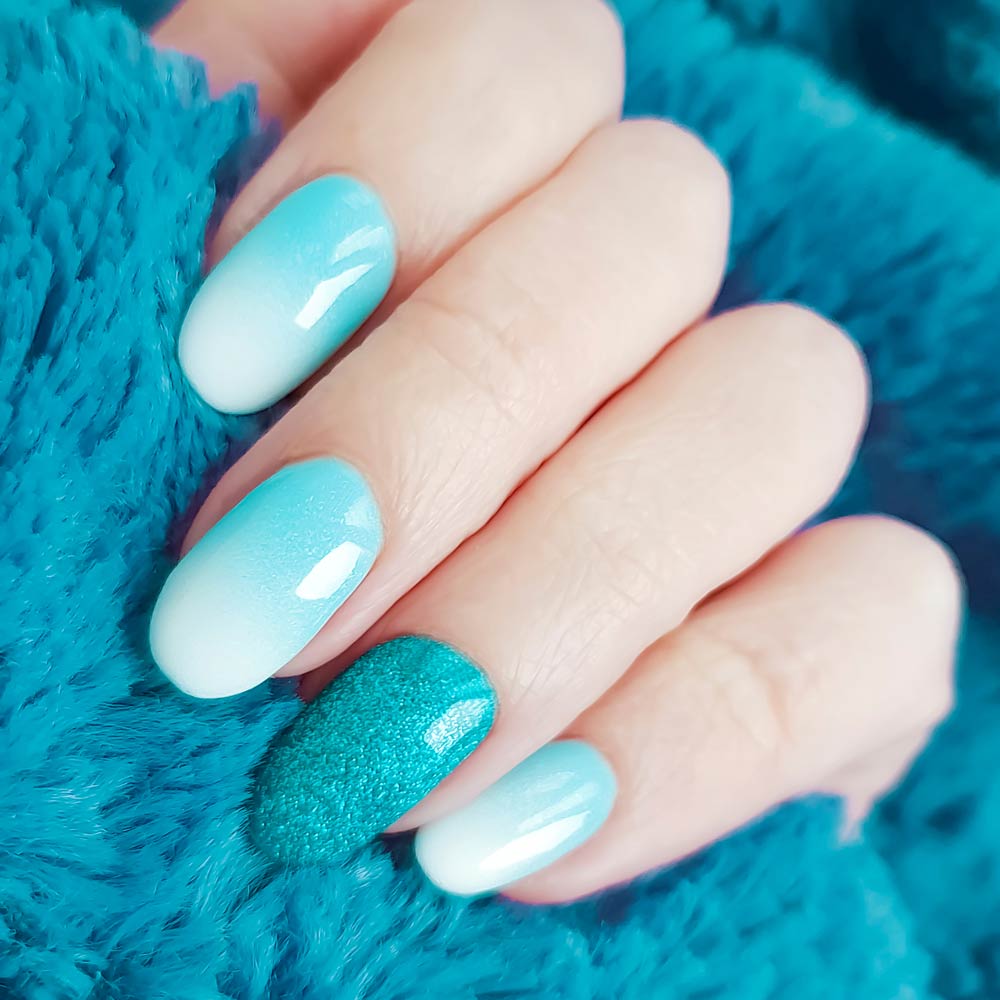
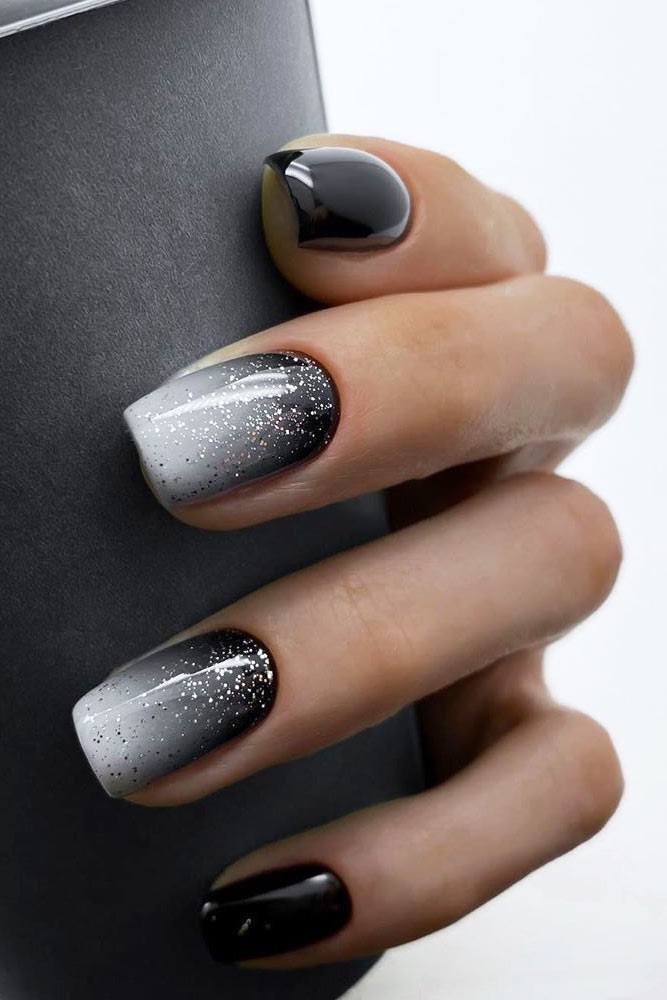
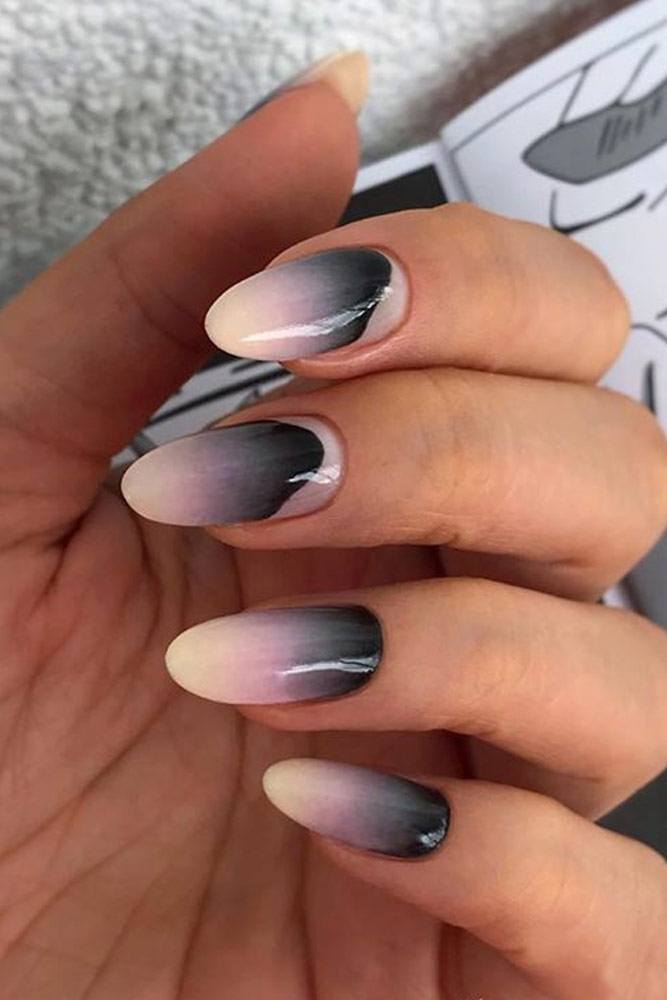
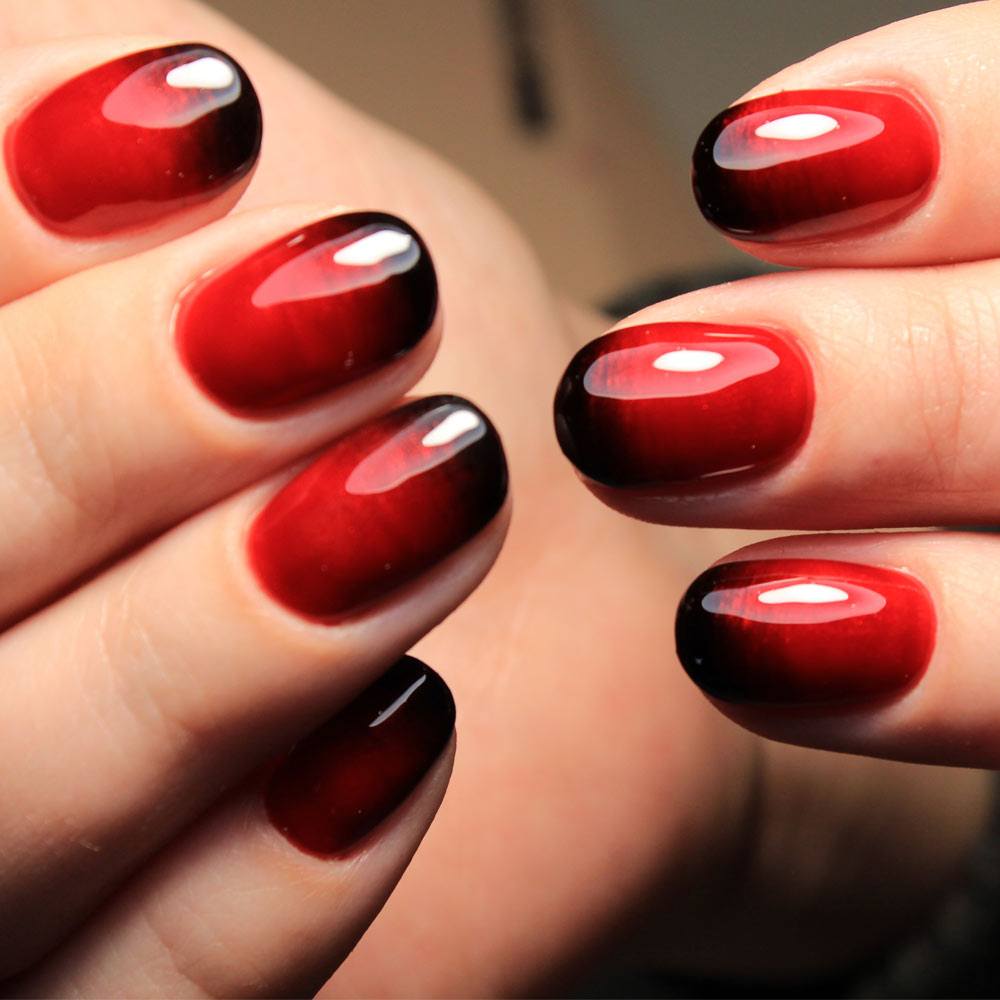
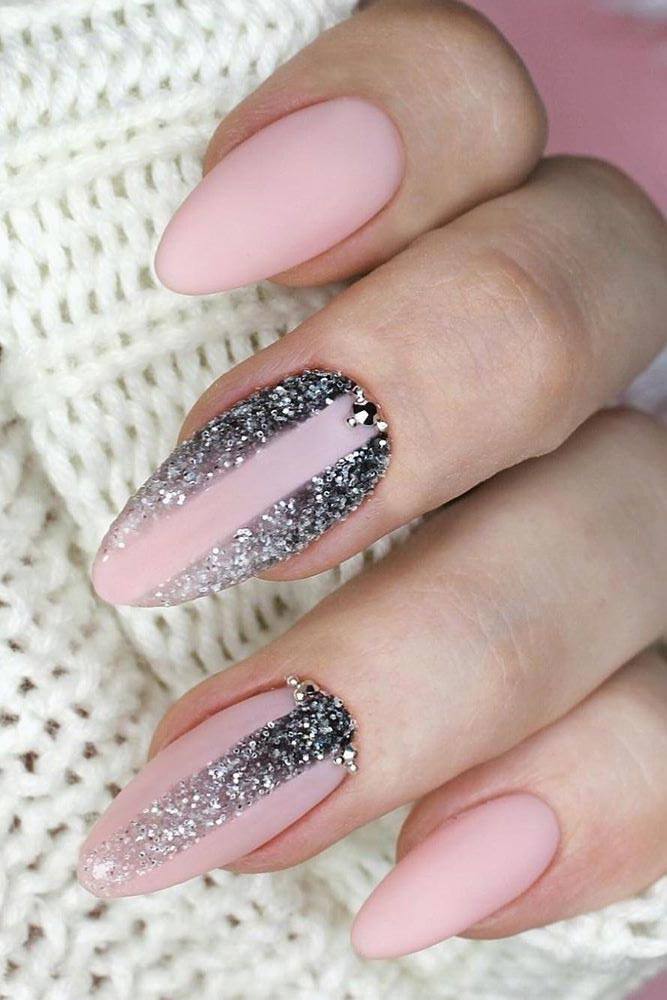
Metallic and Matte Combo: Combine a matte base color with a metallic gradient for a modern and edgy look.
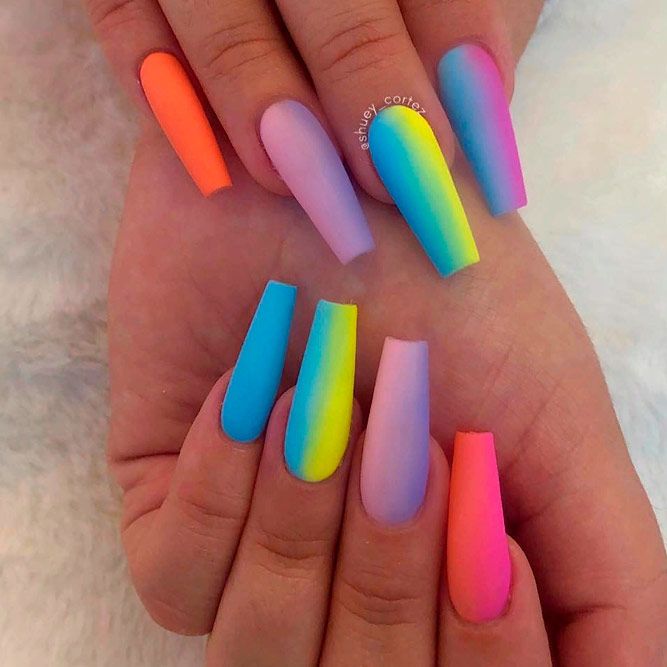
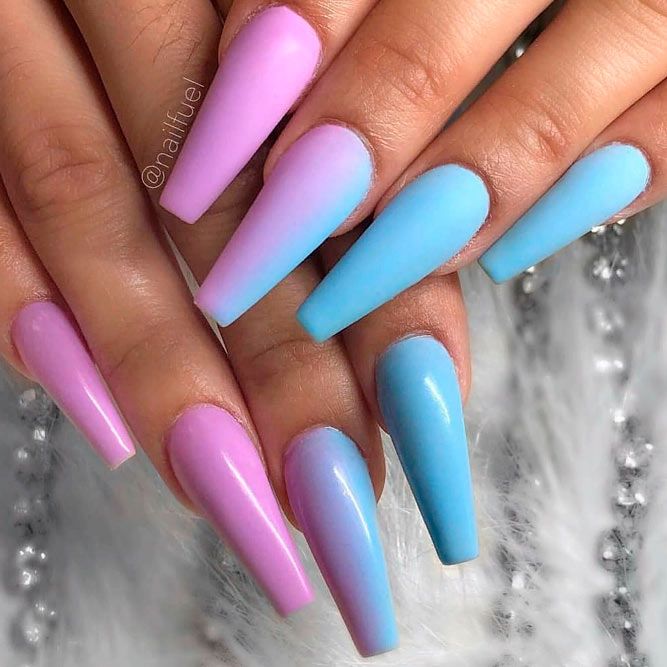
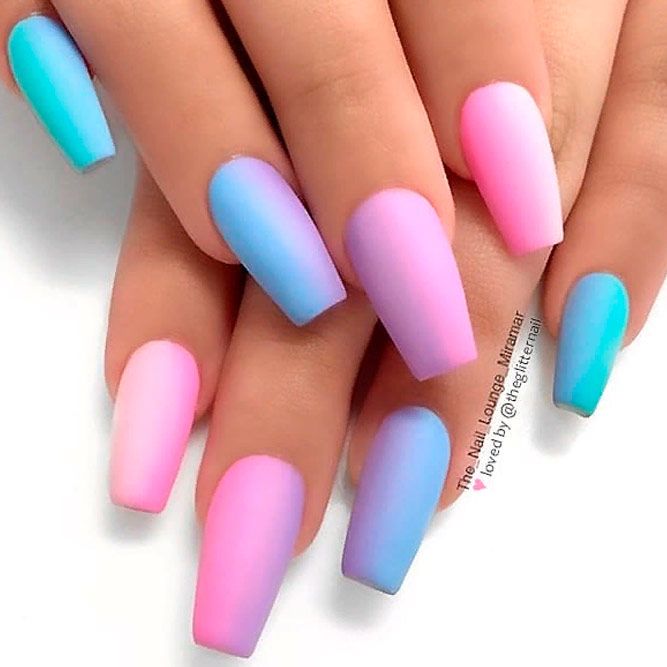
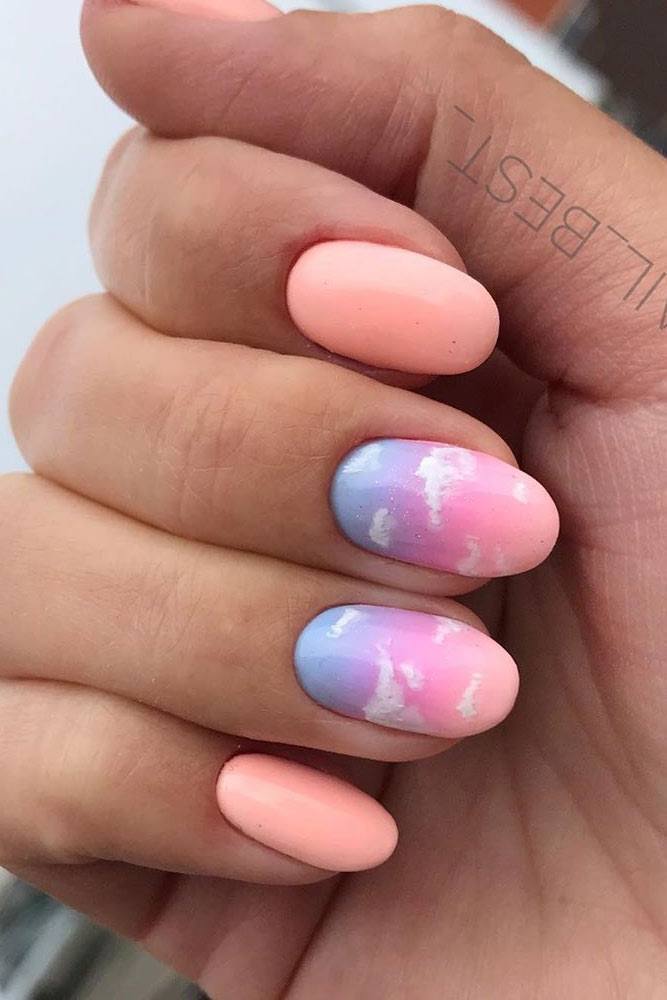
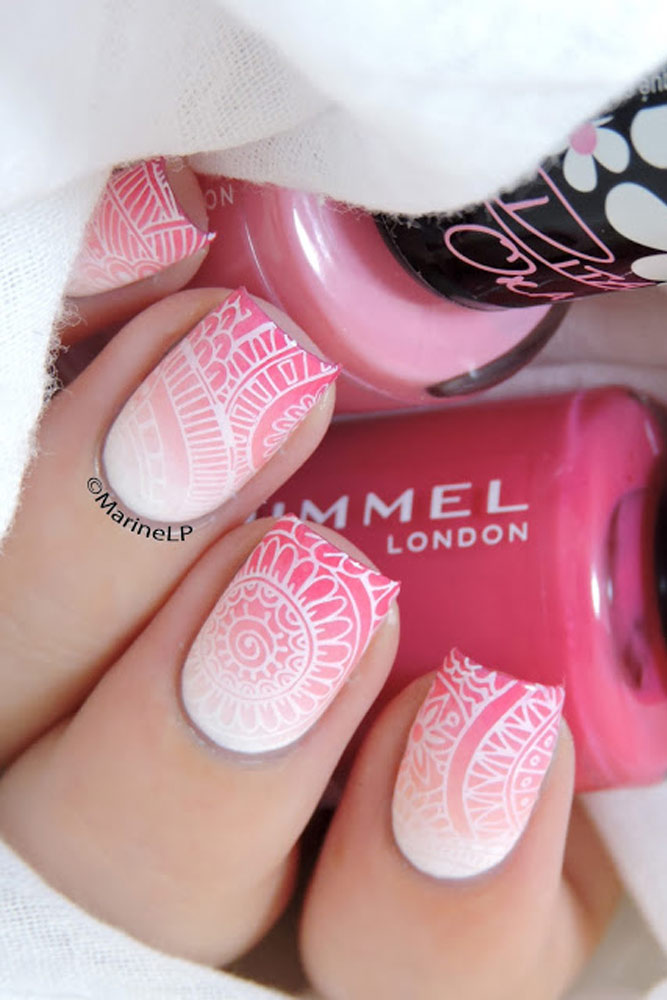
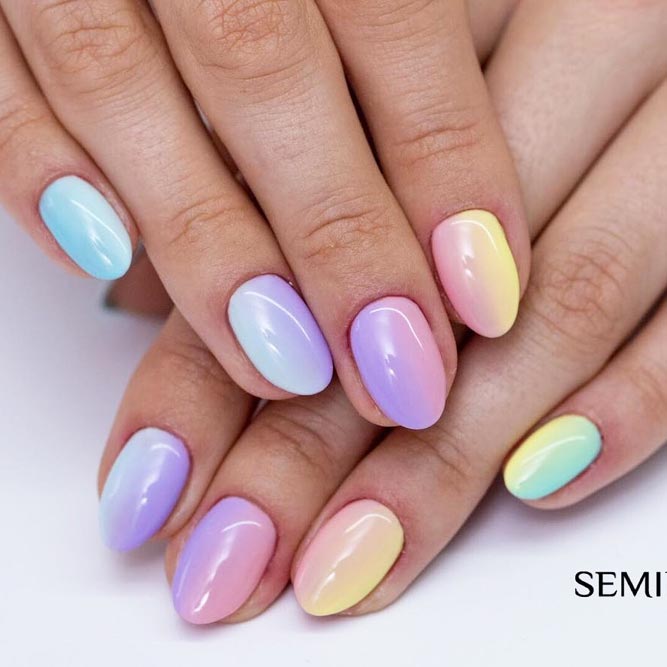
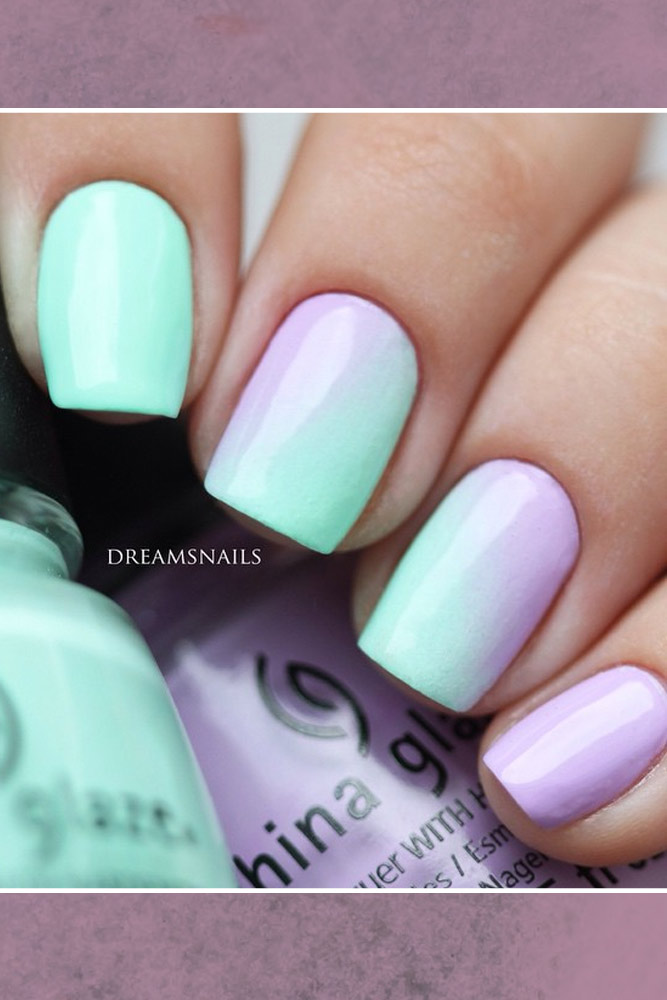
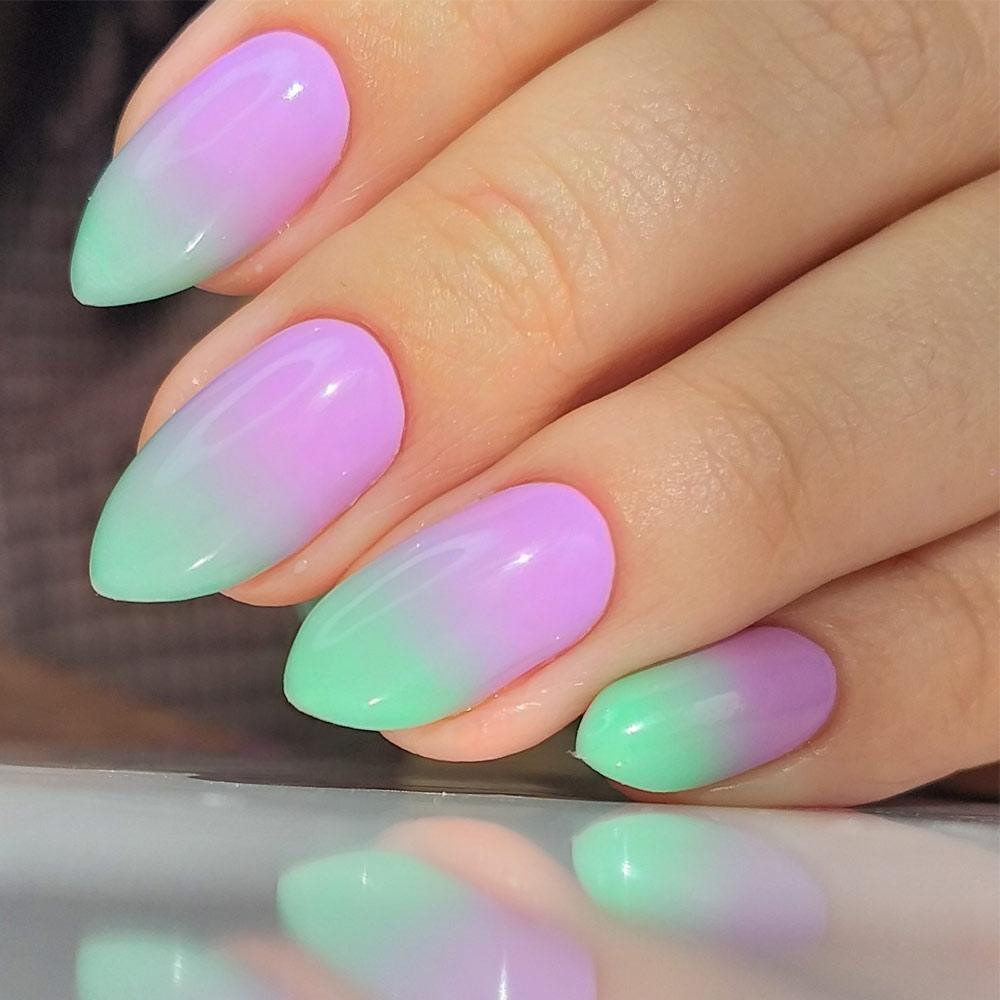
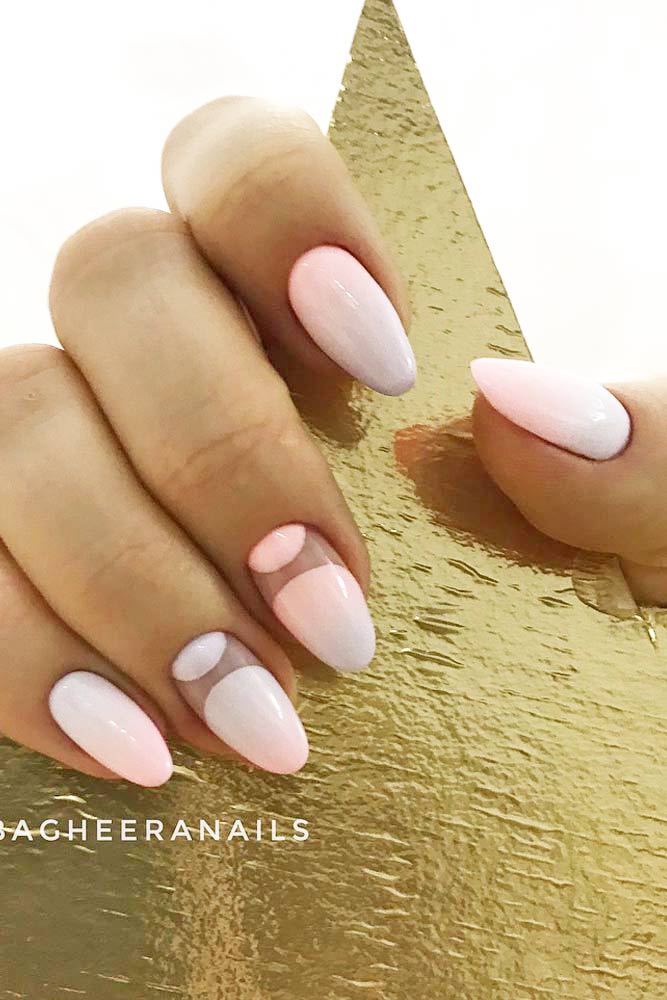
Pastel Rainbow: Use soft pastel shades to create a gentle, rainbow effect across your nails, perfect for spring.
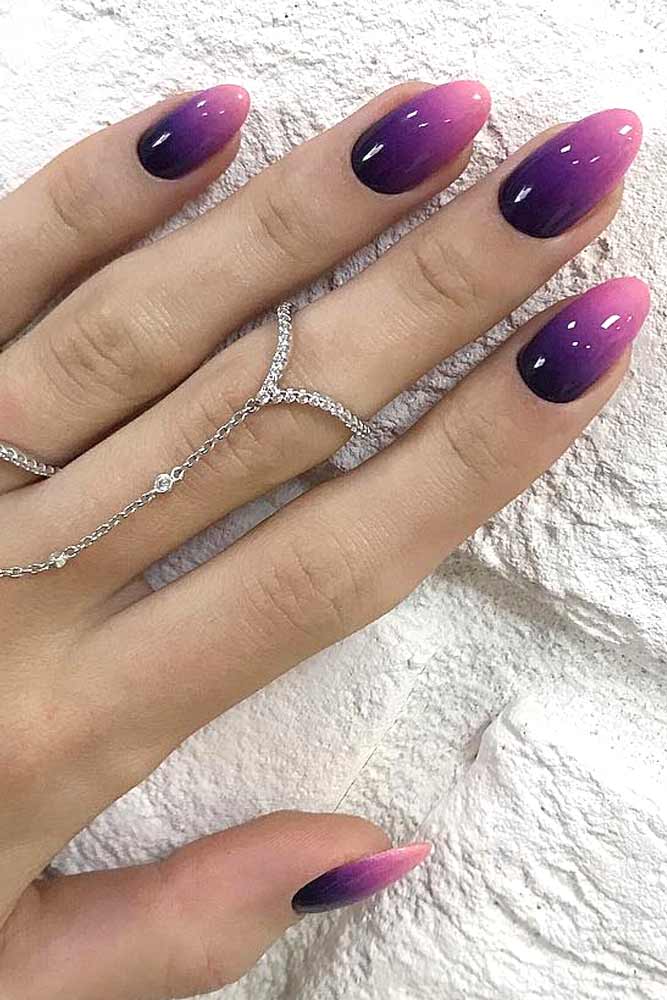
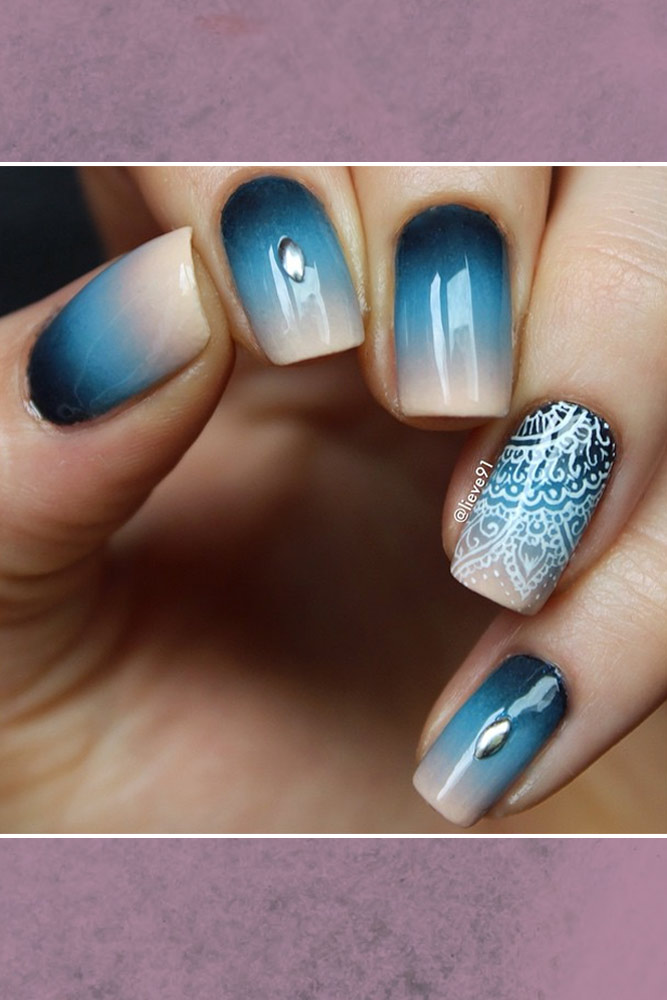
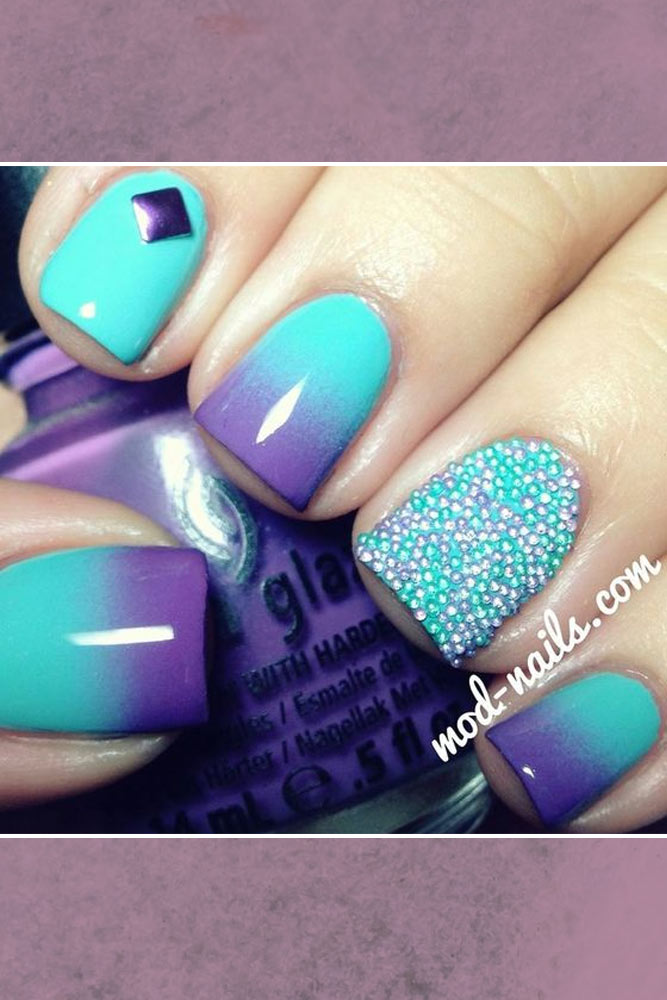
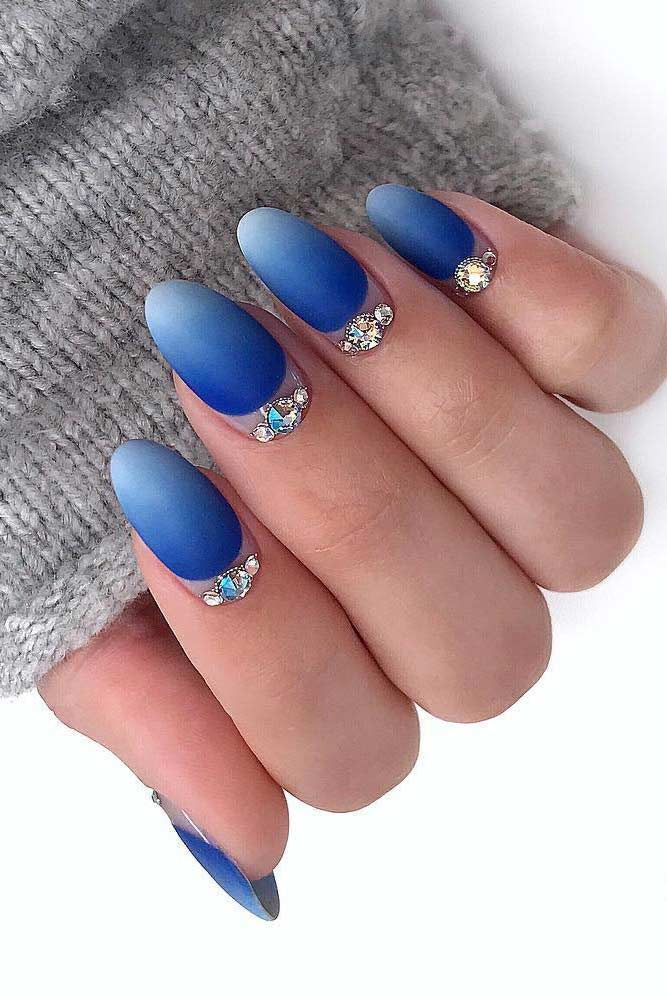
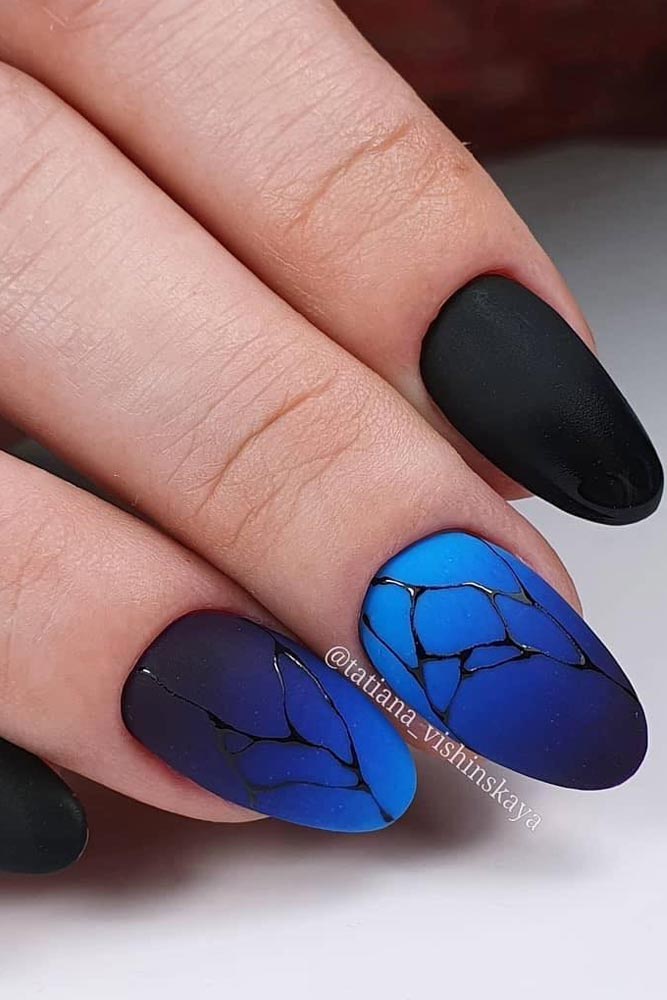
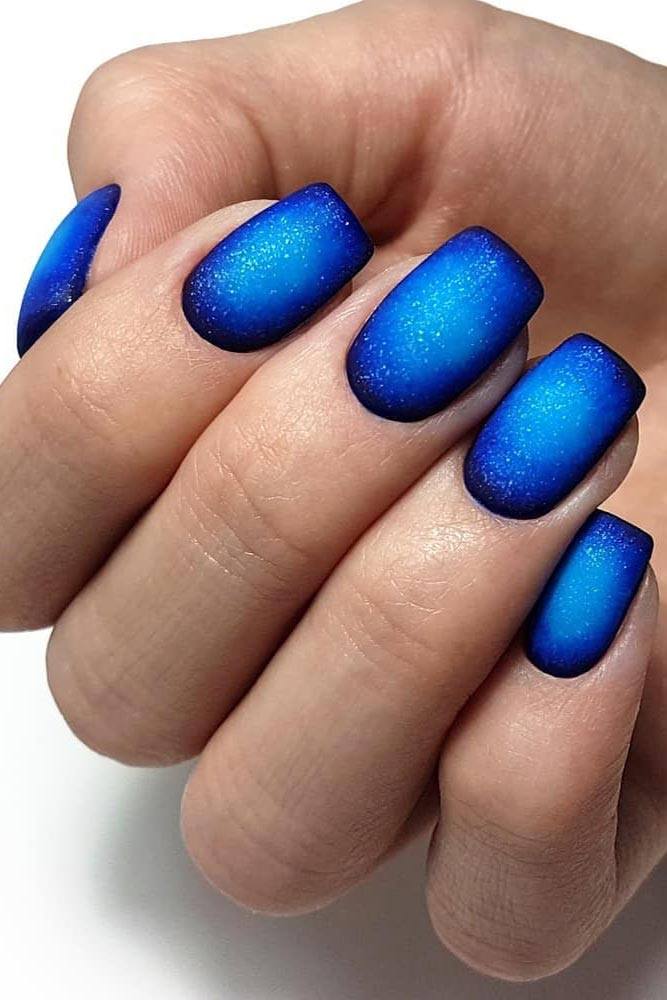
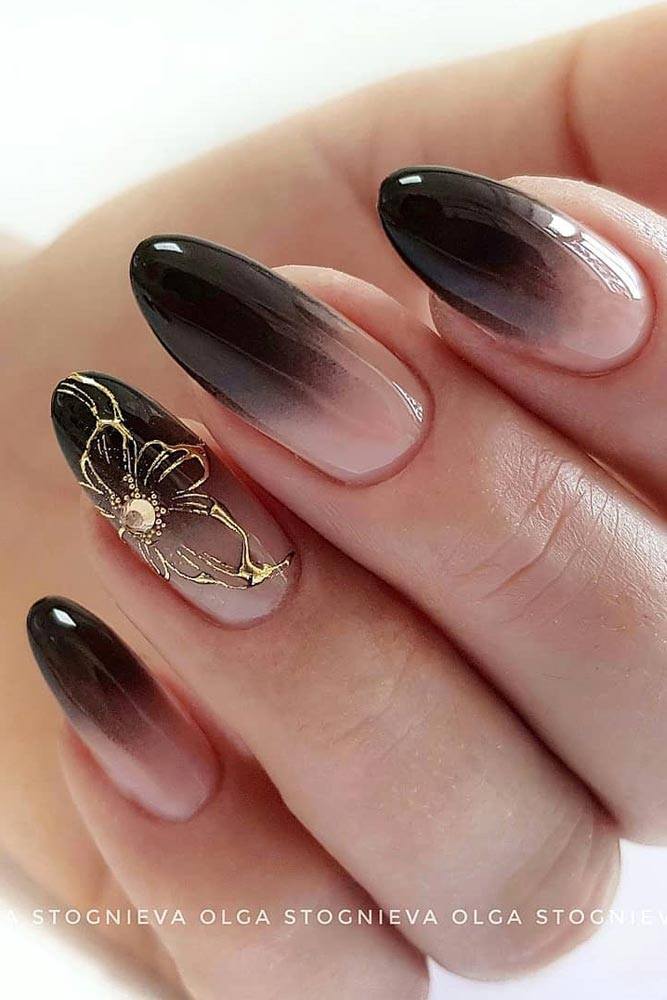
Deep Sea Blues: Blend various shades of blue to mimic the deep, mysterious hues of the ocean, ideal for a cool and calming effect.
DIY Ombre Nail Tutorial
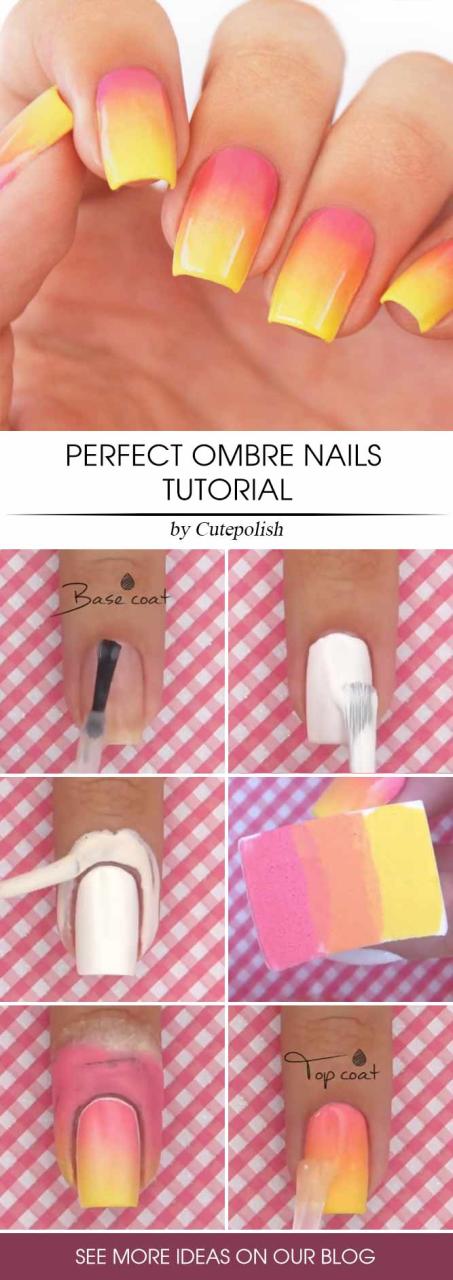
What You’ll Need:
Two or more nail polish colors
A makeup sponge
A top coat
Nail polish remover and a clean-up brush
Steps:
Prepare Your Nails: Start with clean, shaped nails. Apply a base coat to protect your nails and enhance the longevity of your manicure.
Apply the Base Color: Choose the lightest color as your base and apply it to your nails. Let it dry completely.
Prepare the Sponge: On a makeup sponge, apply your chosen colors side by side, slightly overlapping them.
Dab on the Gradient: Gently dab the sponge onto your nails, pressing the colors onto the nail surface. Repeat until you achieve the desired gradient effect. Allow it to dry.
Clean Up: Use a small brush dipped in nail polish remover to clean up any polish on the skin around your nails.
Apply Top Coat: Finish with a top coat for a glossy look and to seal in your design.
Use a liquid latex barrier around your nails for easier clean-up.
Experiment with different color combinations and finishes.
Conclusion
Ombre nails are a fun and glamorous way to express your style. With these concepts and the tutorial provided, you can easily achieve professional-looking ombre nails at home. Remember, the key to perfect ombre nails is patience and practice. So, grab your favorite polishes and start experimenting!
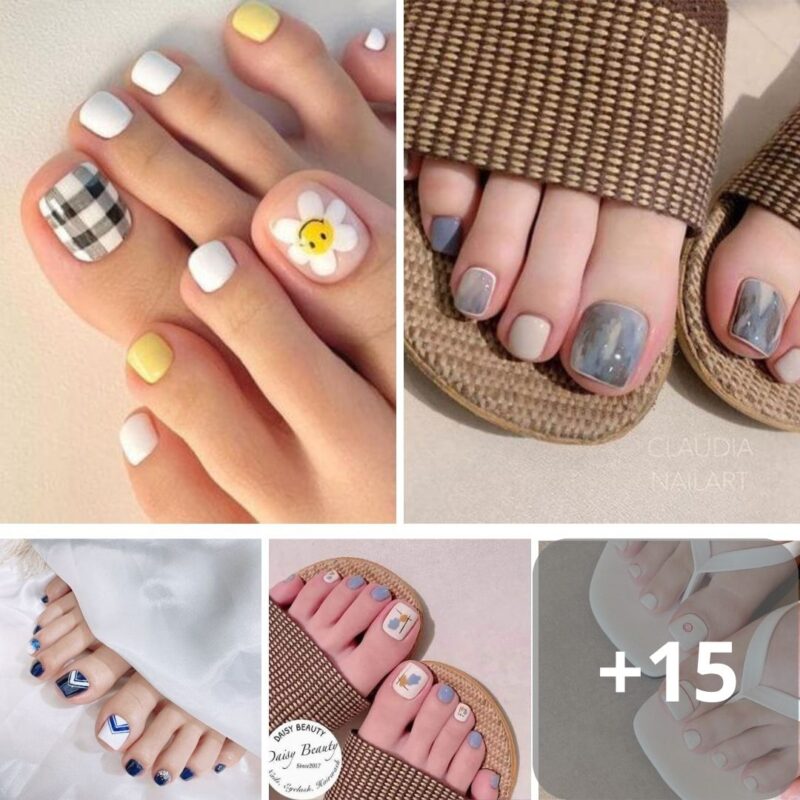
How frequently do you indulge in nail art while ignoring your toes? Unless you’re fortunate enough to show off your feet in sandal weather all year long, it’s just not something that naturally springs to mind. Actually, you can be inventive with both of your sets of nails. Even though...
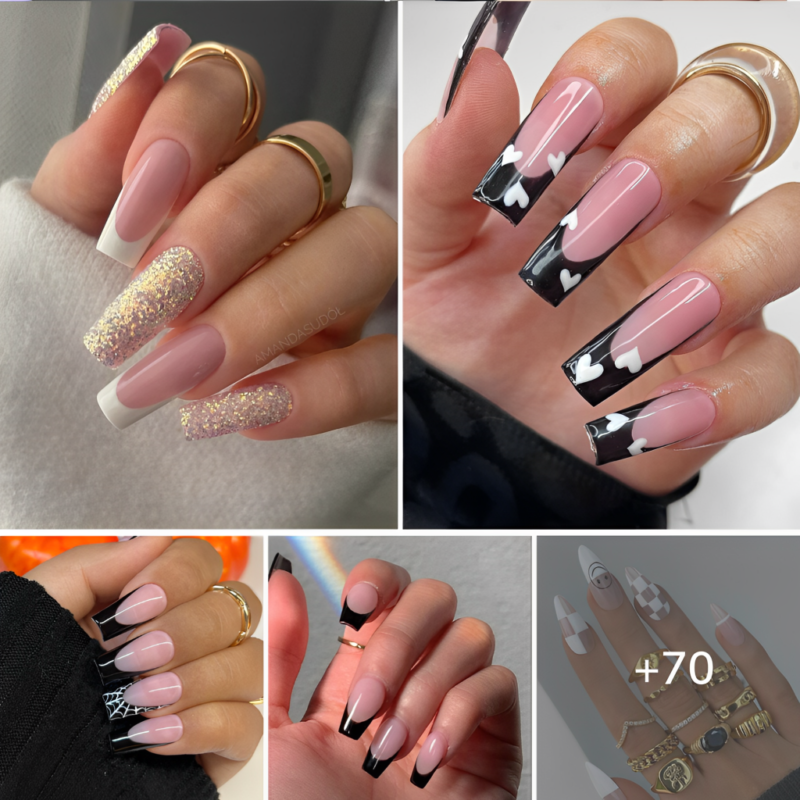
The classic French manicure is getting a chic, modern twist! With the sharp contrast of black tips, this style stands out and is perfect for those looking to make a statement. Here are some black French tip nail designs that are taking 2023 by storm: 1. Classic Black French Tips:...
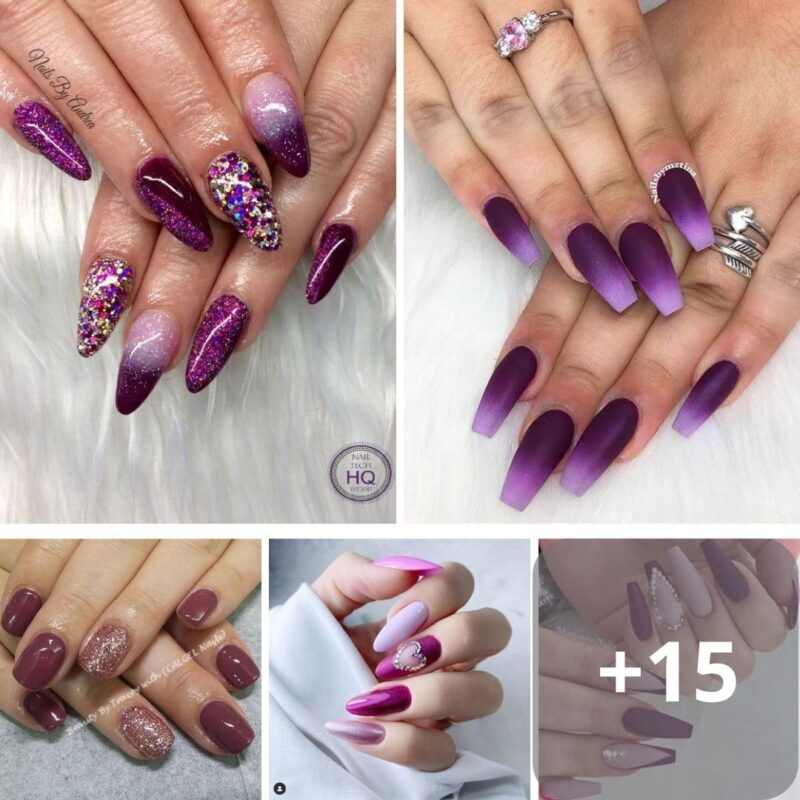
Currently, the ladies are no strangers to the beautiful plum nail designs that are extremely vibrant and prominent, bearing a bold, powerful, seductive, and intoxicating style. It has never stopped being hot and still occupies a certain position at the top of the most favorite color tones. Let’s explore the...
Nails have become a canvas for personal expression and creativity, with countless options to adorn them in a variety of colors and styles. From pastel hues that whisper of spring’s gentleness to the bold and vibrant tones that scream summer’s energy, every shade has its own story and its own...
We use cookies to ensure that we give you the best experience on our website. If you continue to use this site we will assume that you are happy with it.