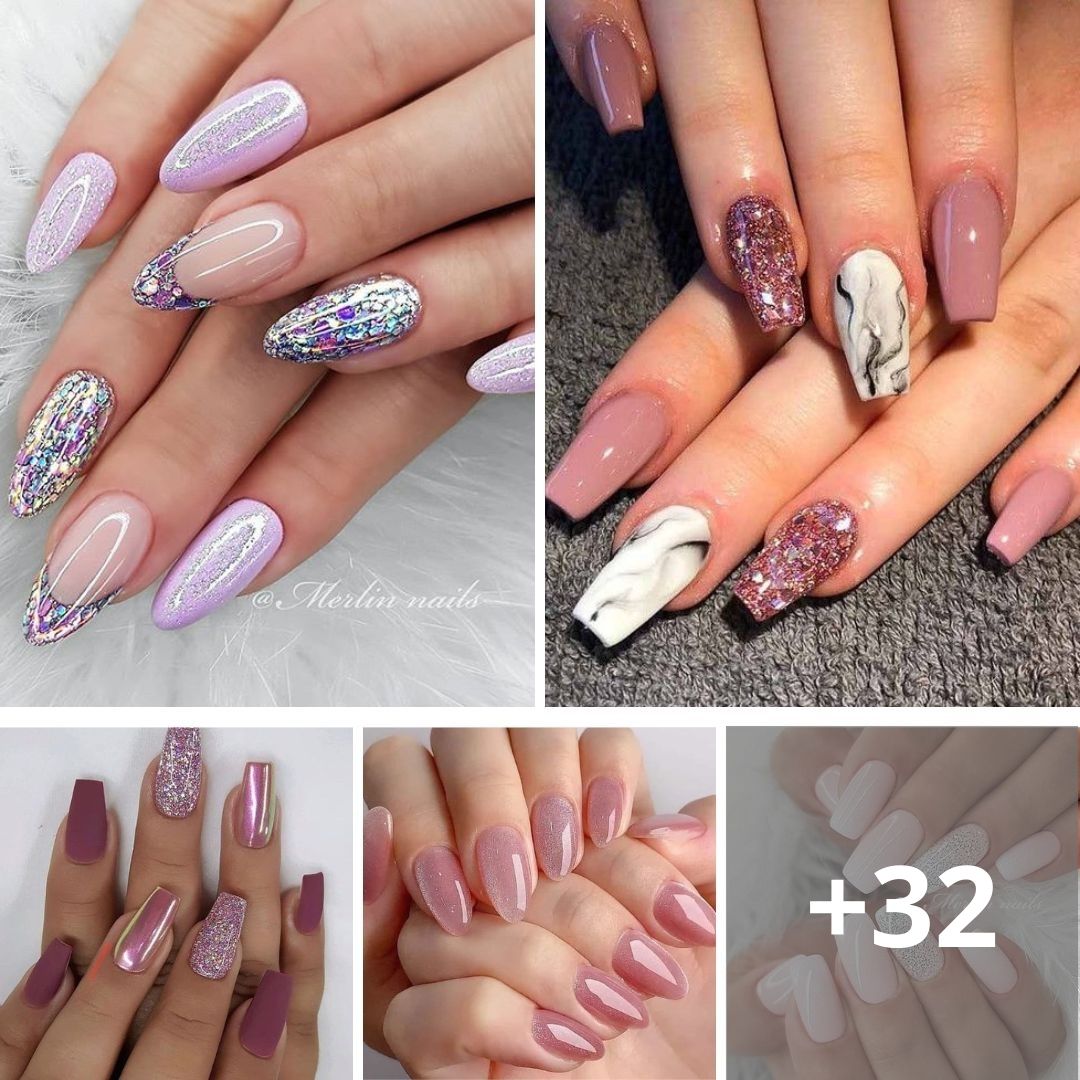
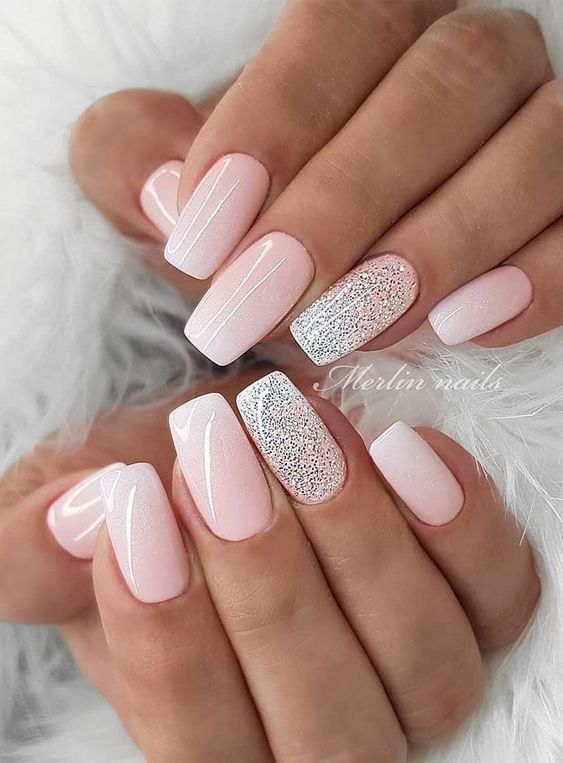
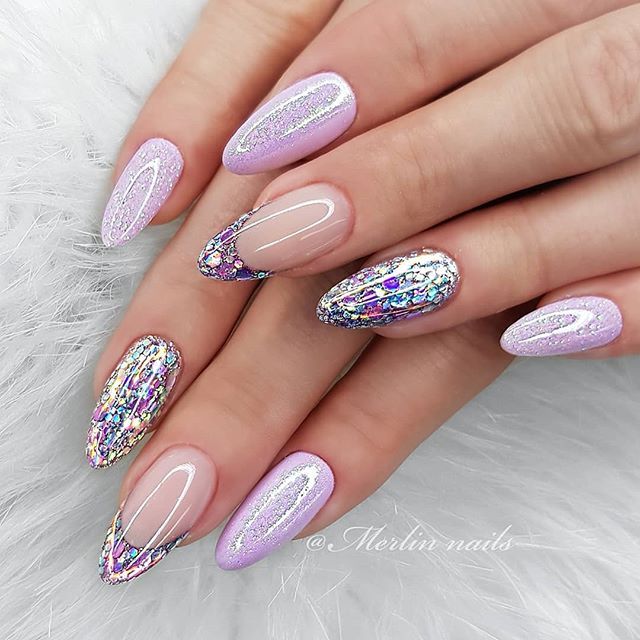
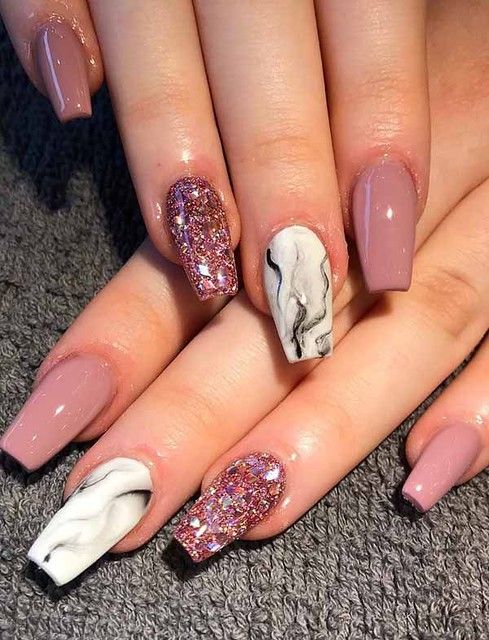
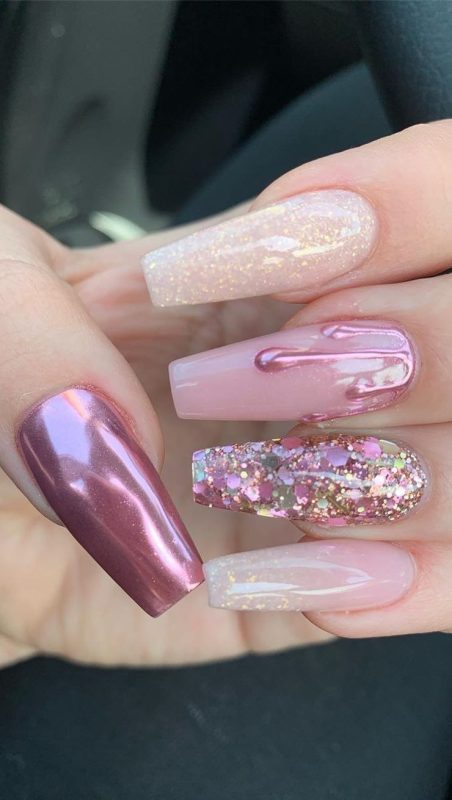
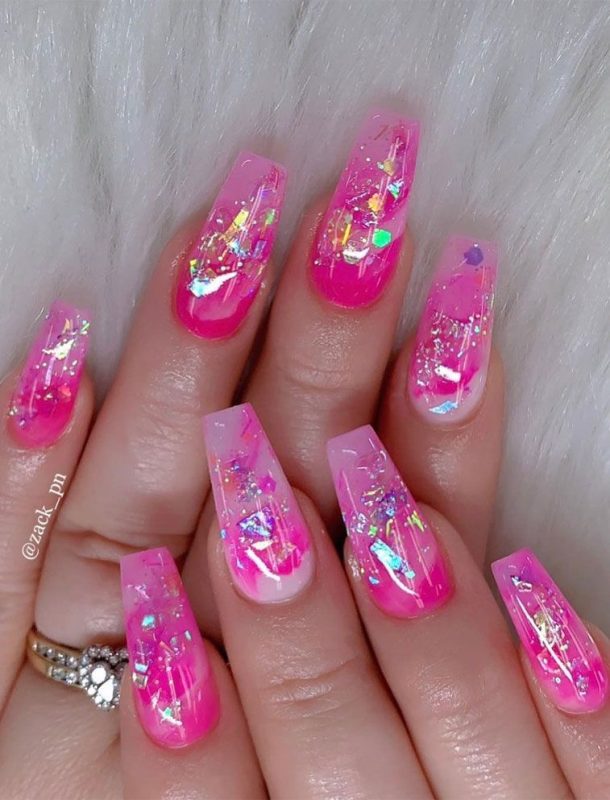
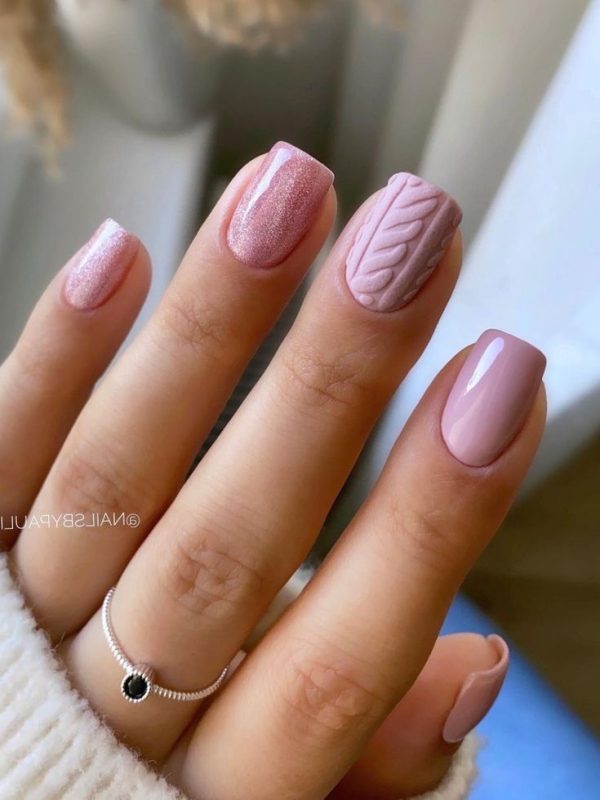
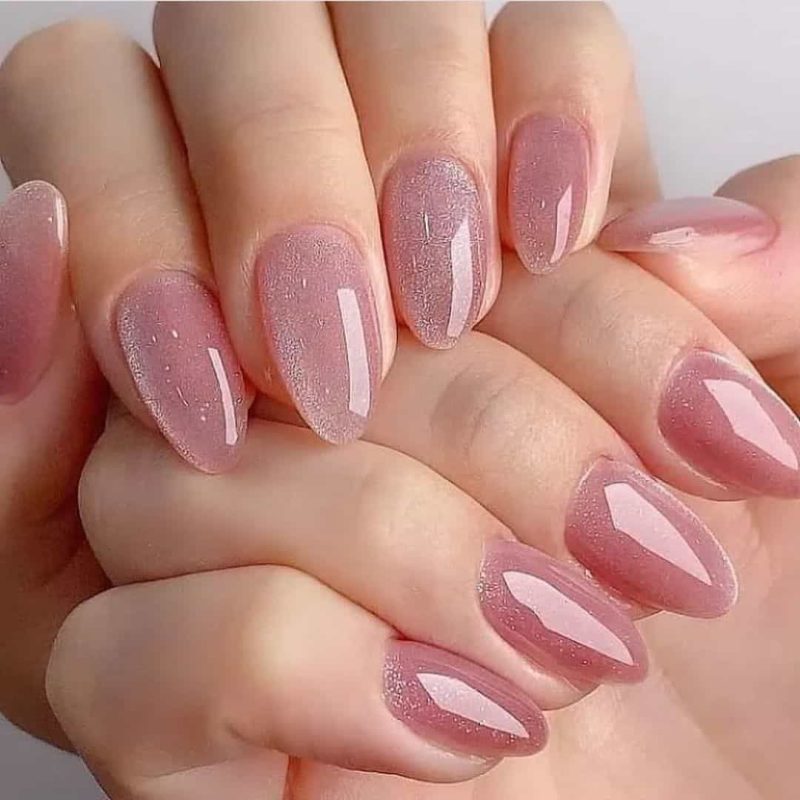
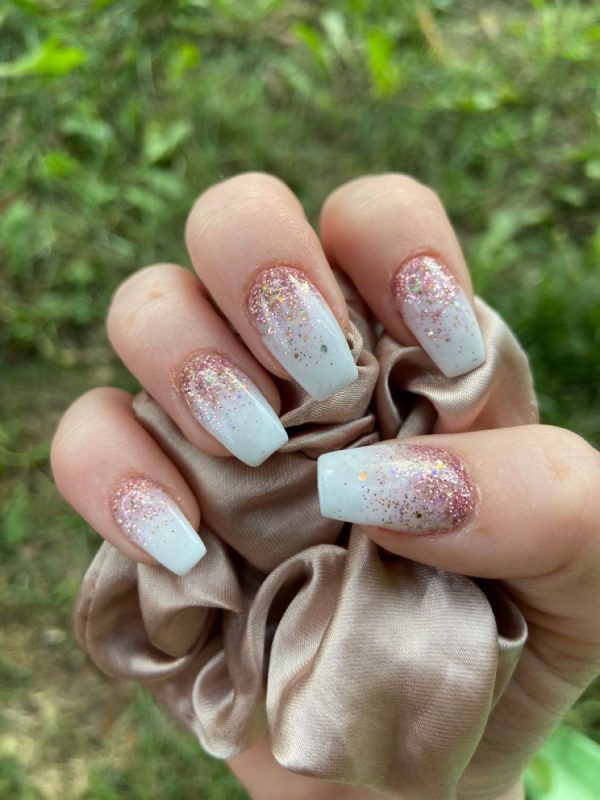
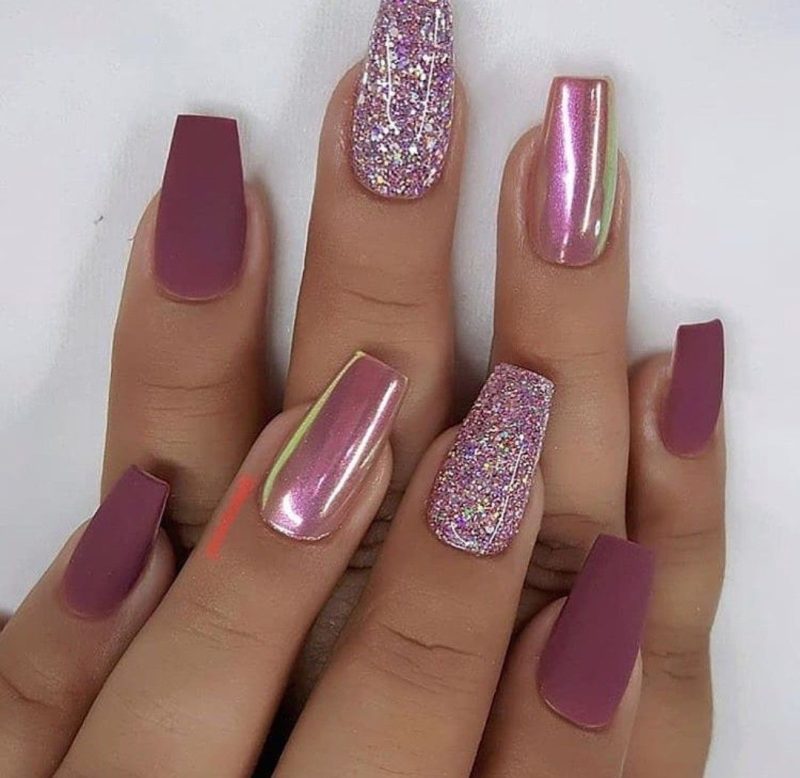
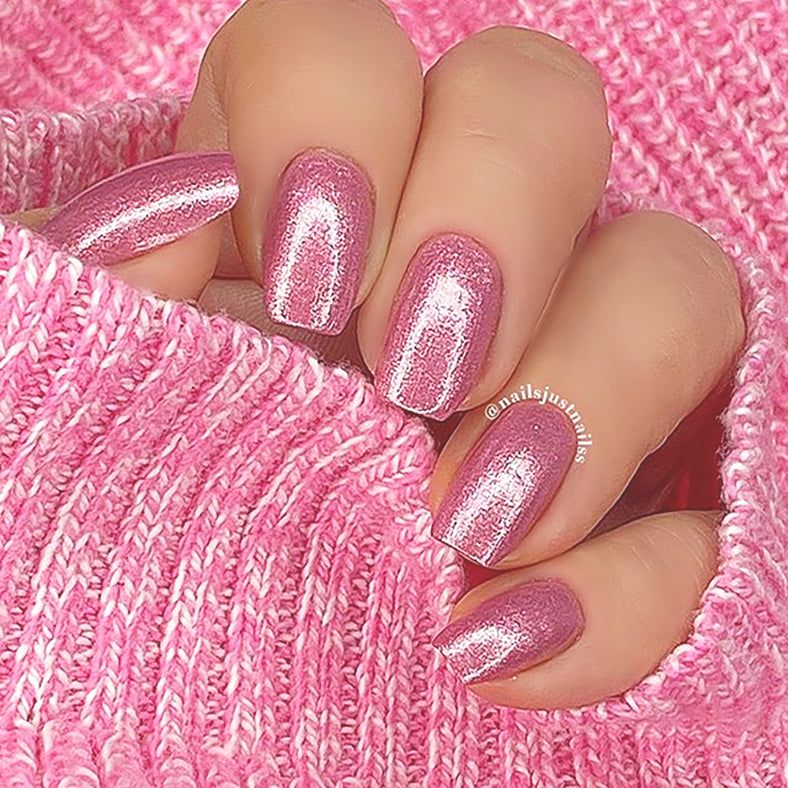
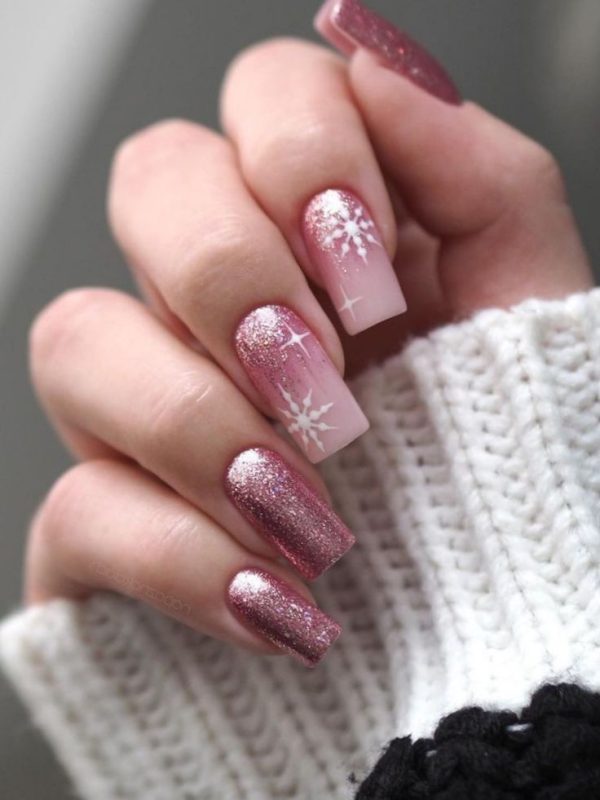
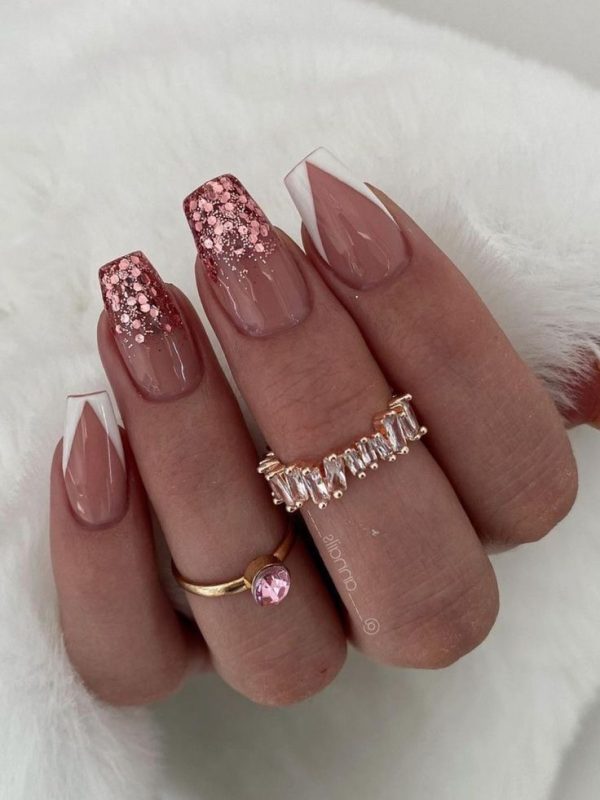
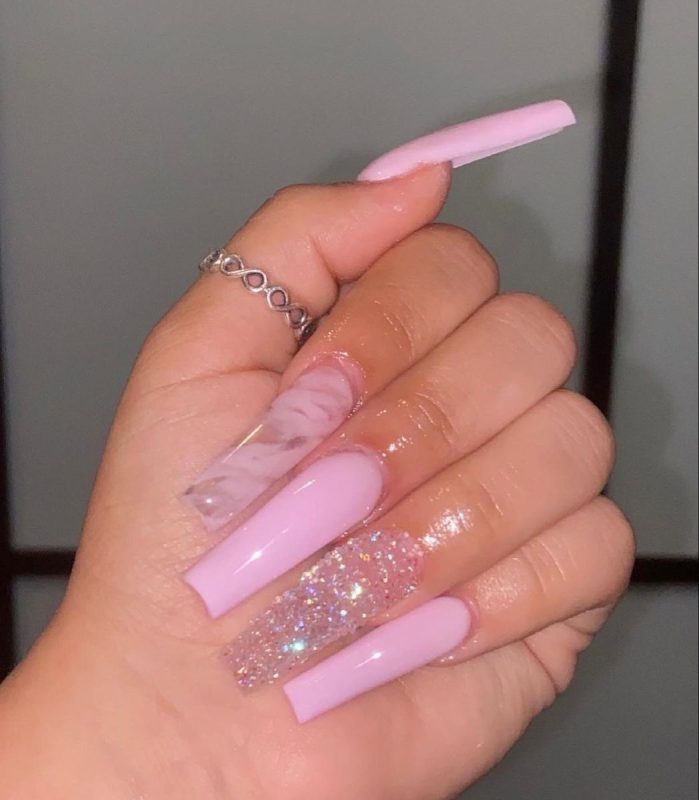
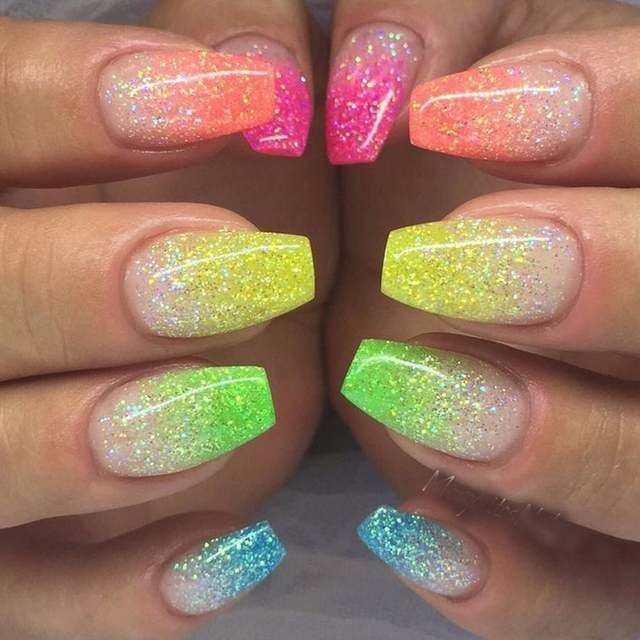
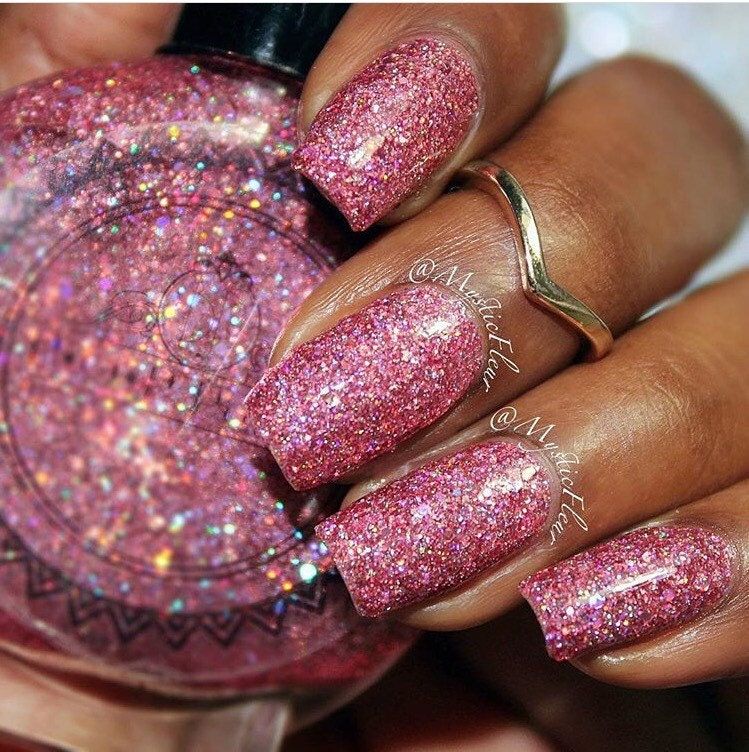
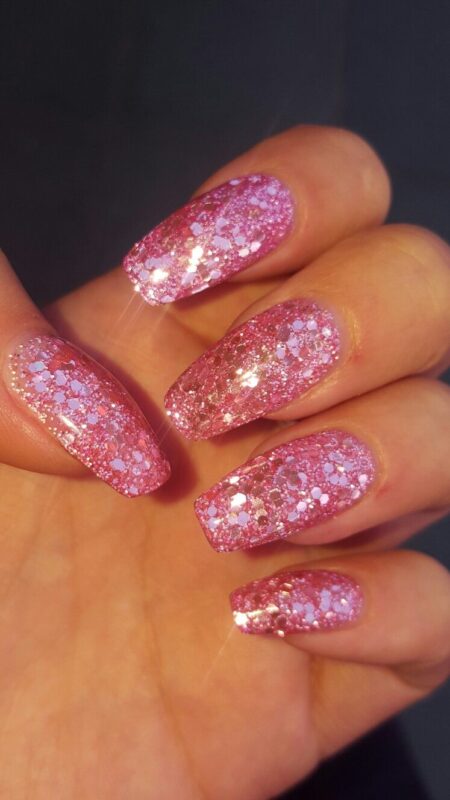
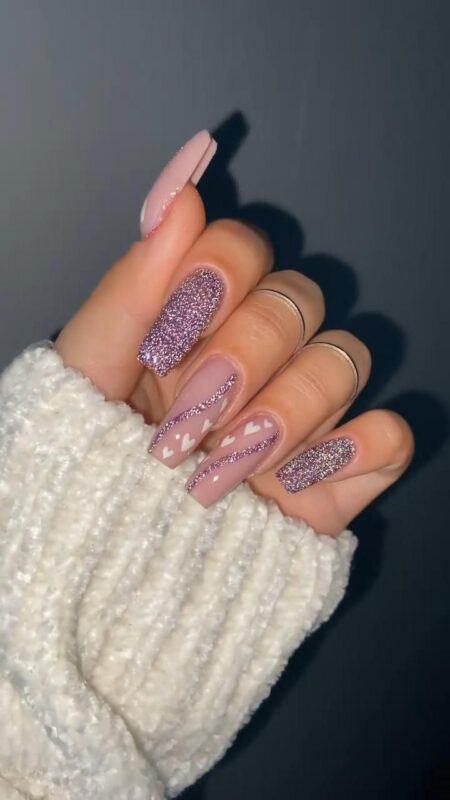
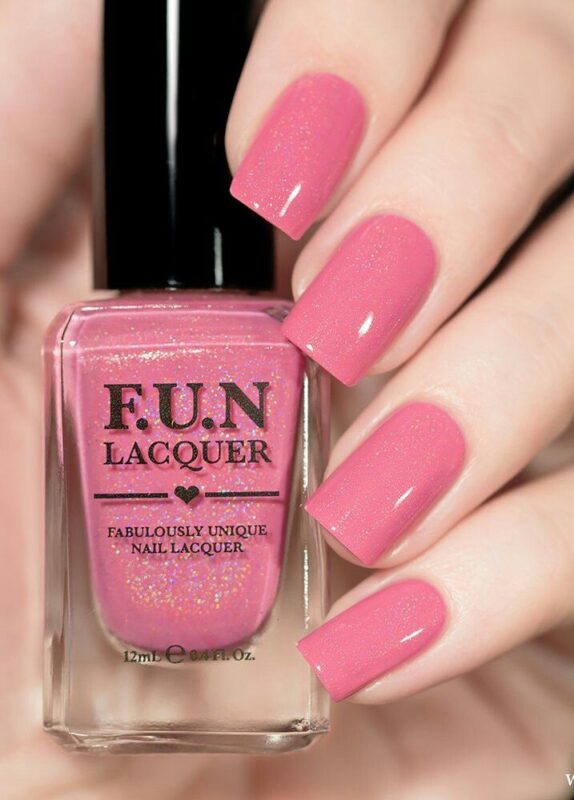
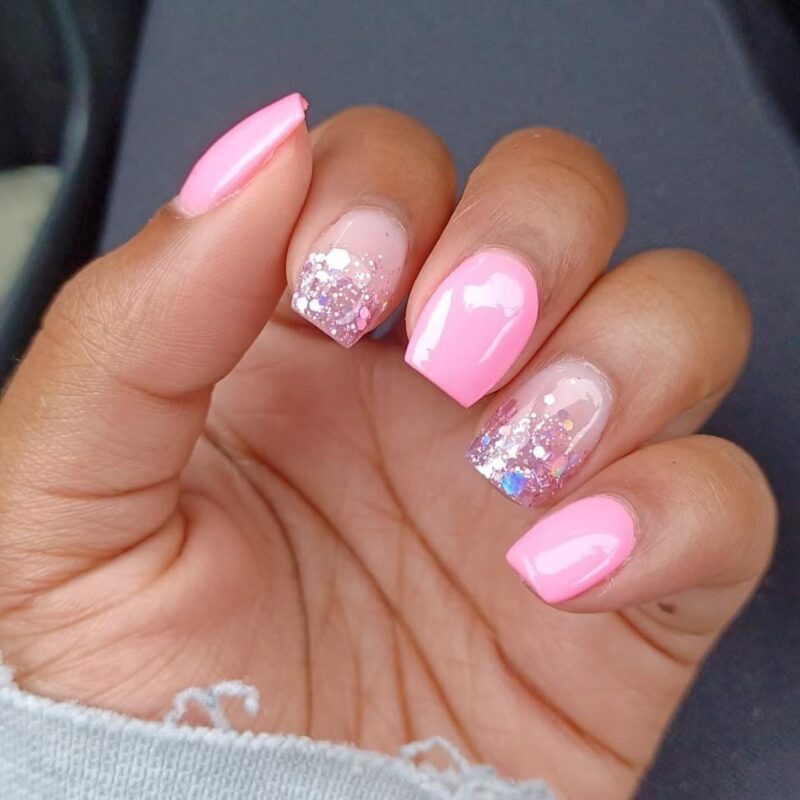
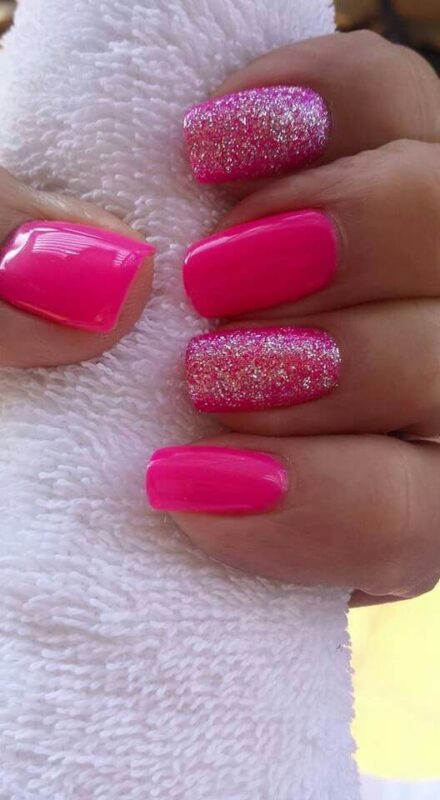
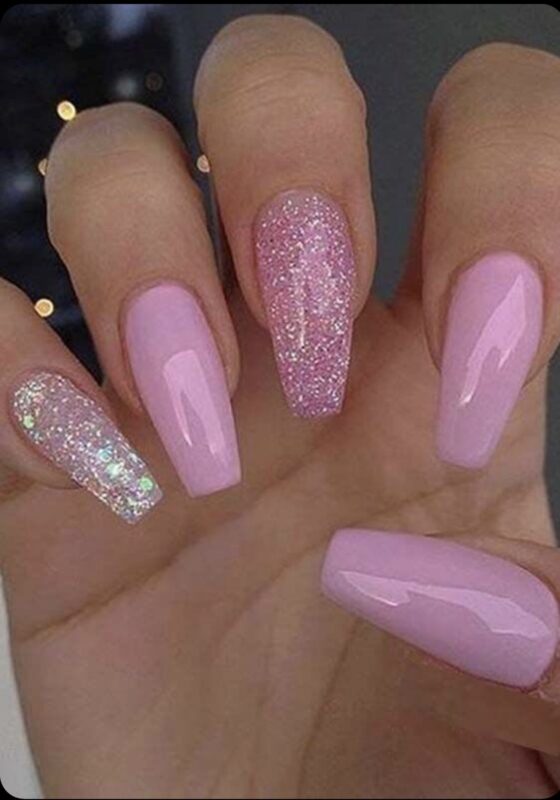
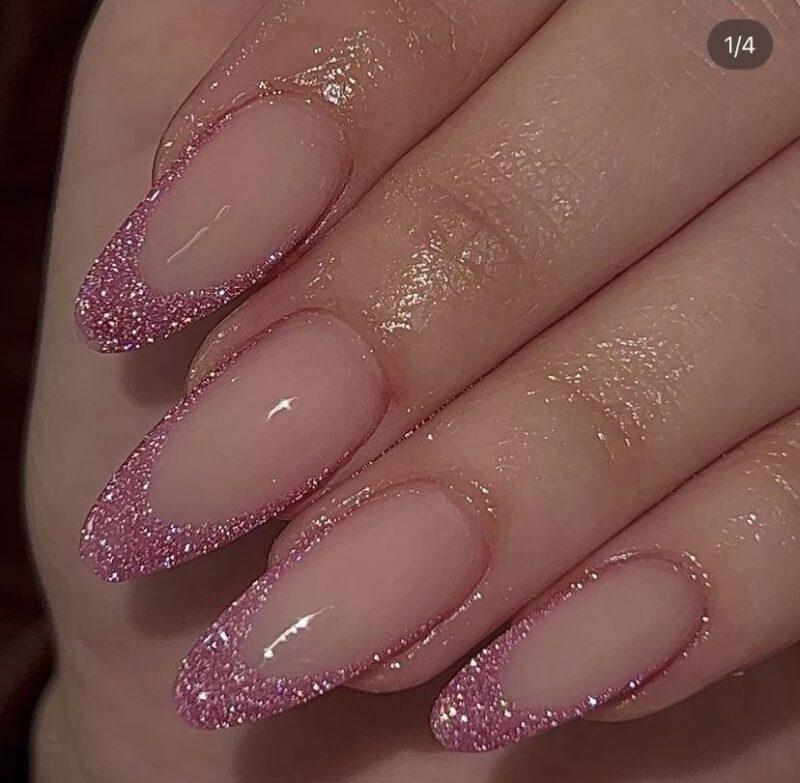
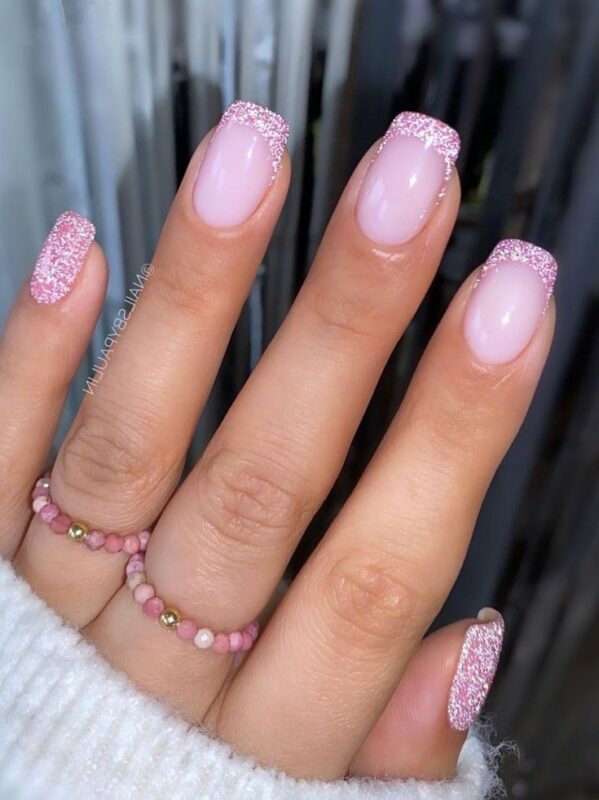
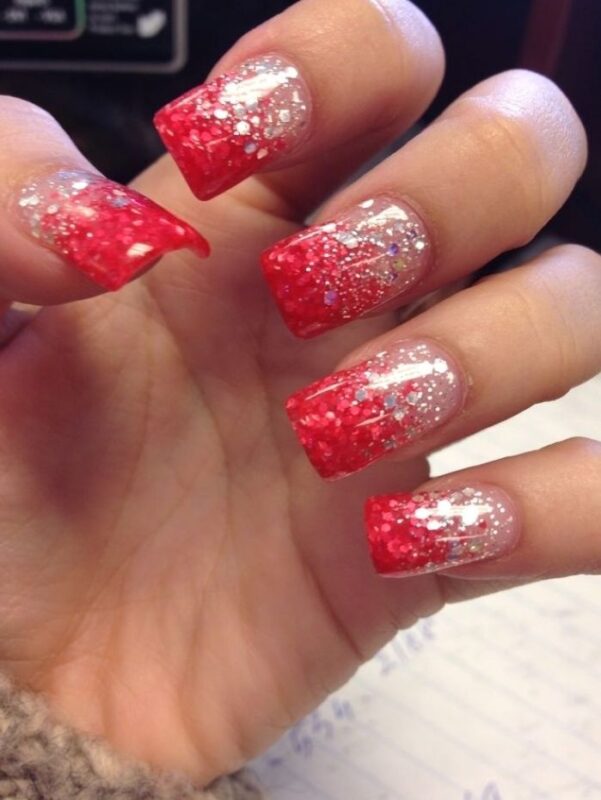
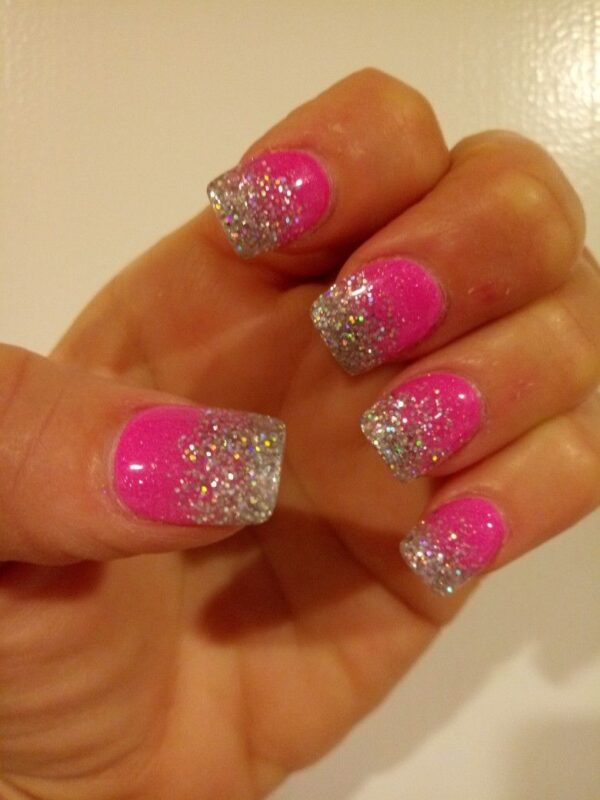
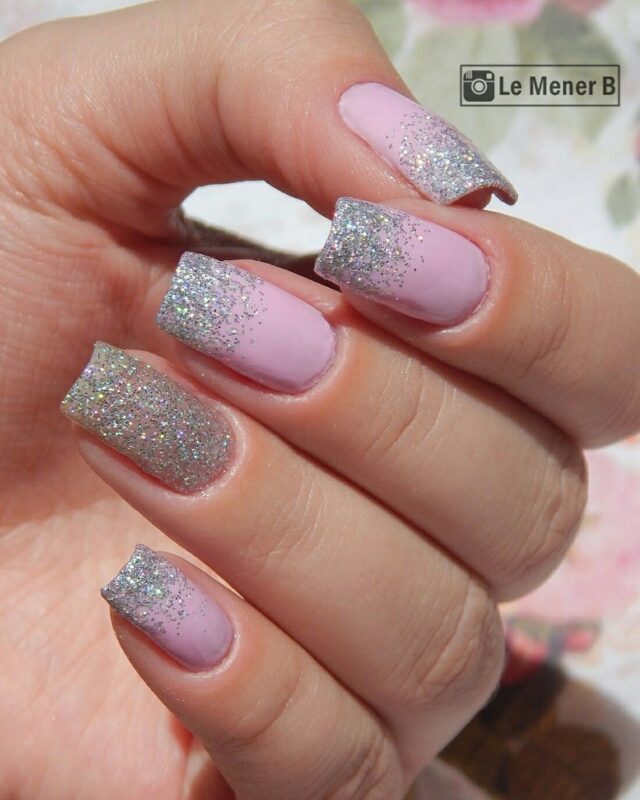
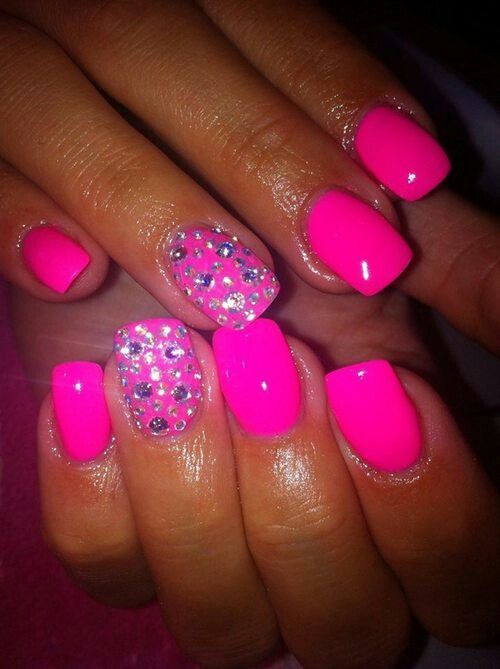
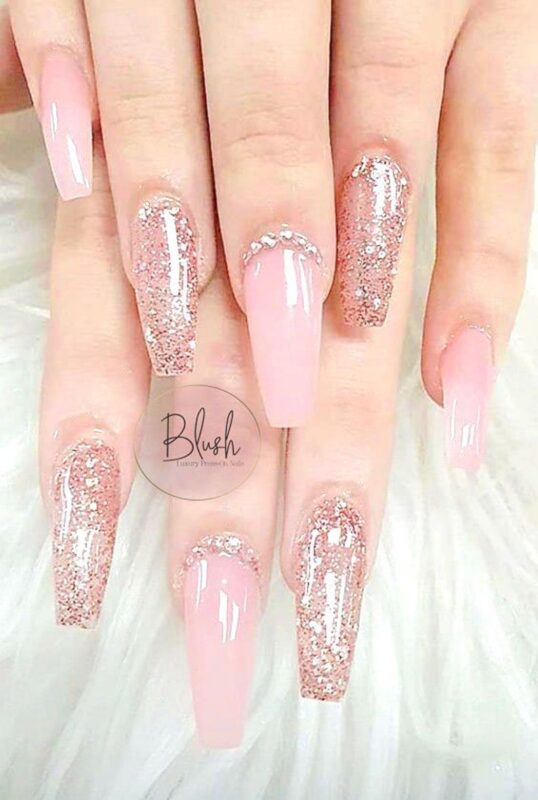
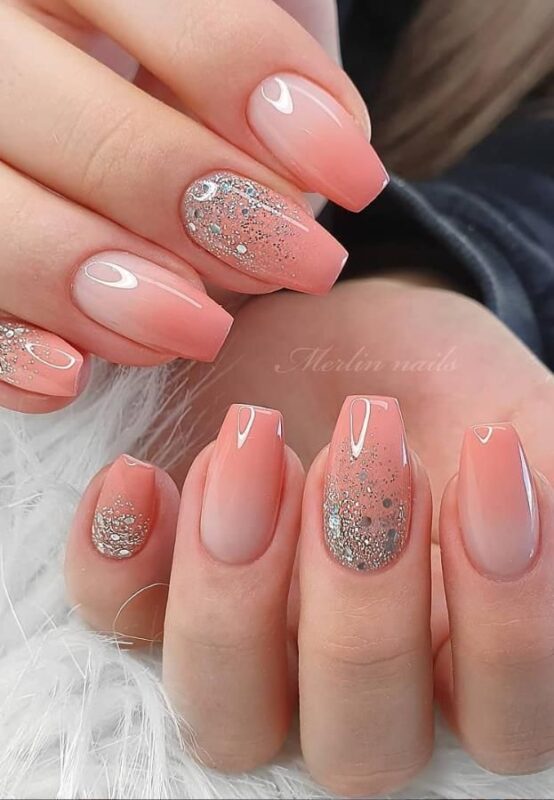
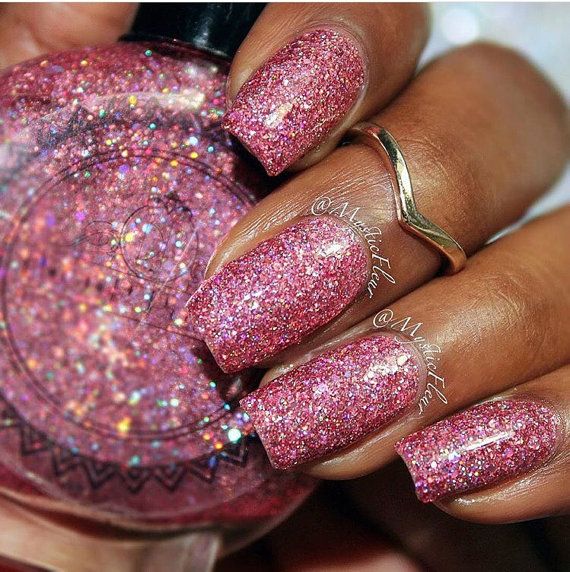
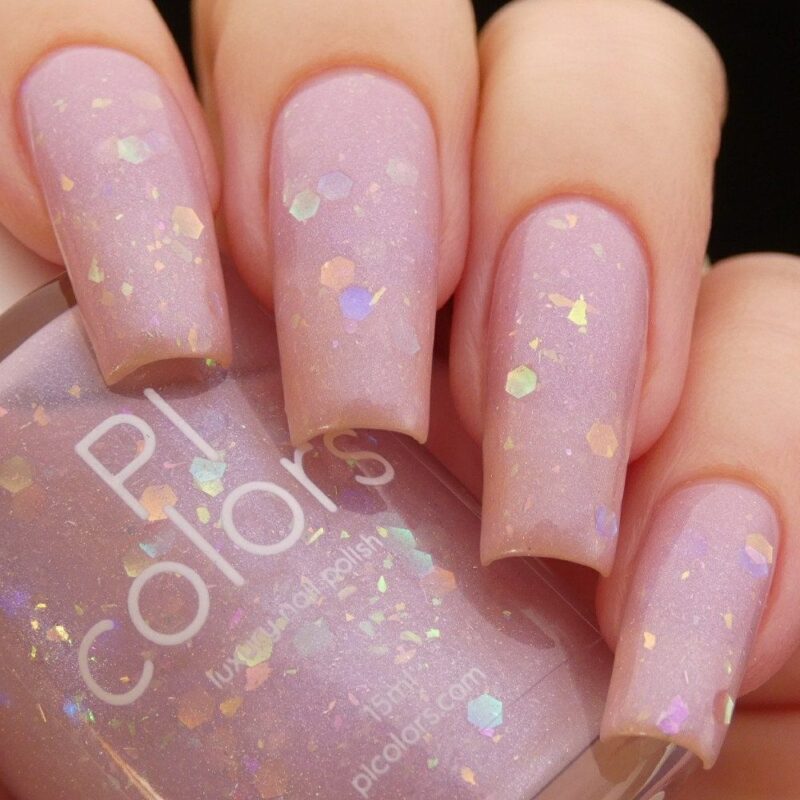
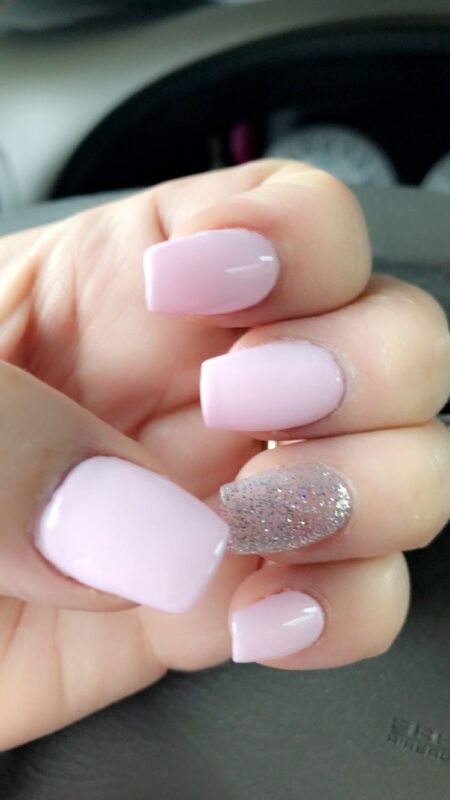
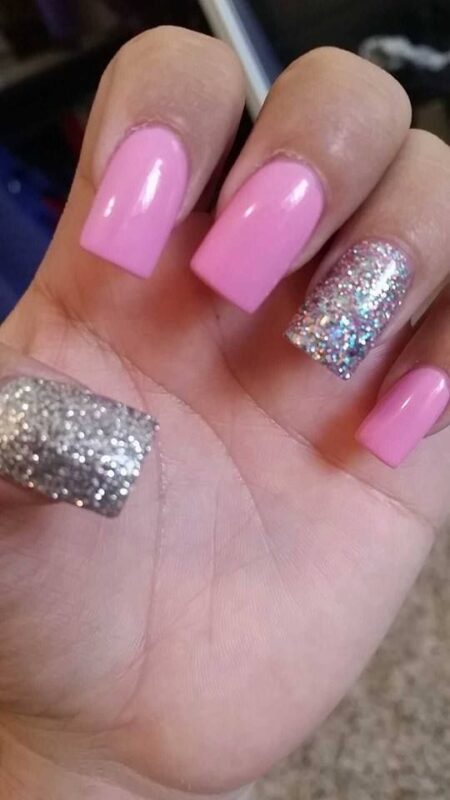
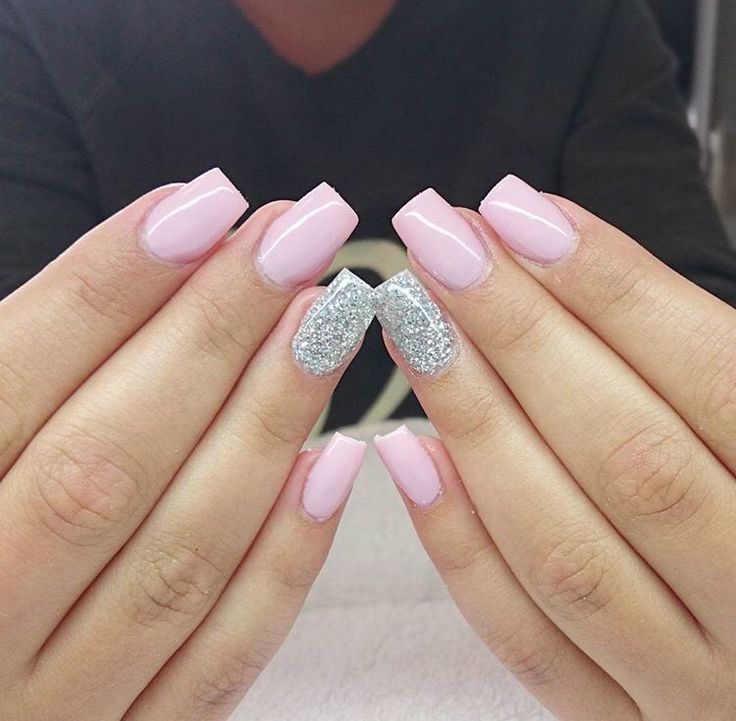
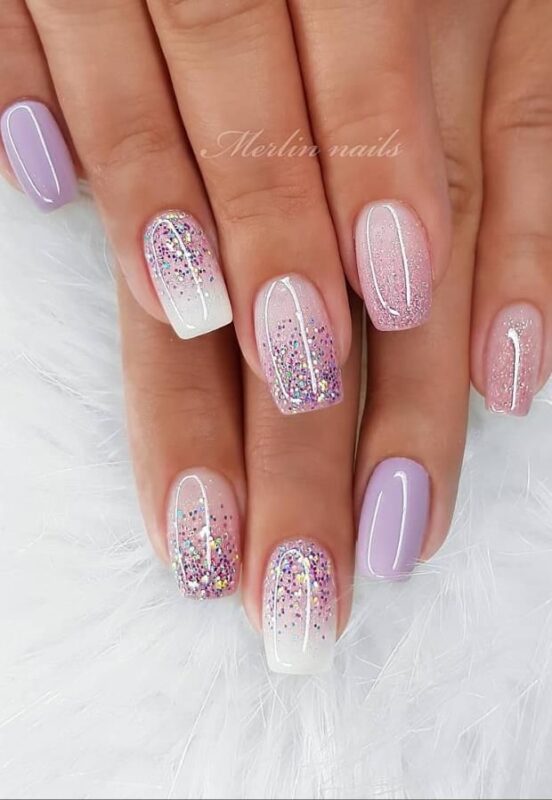
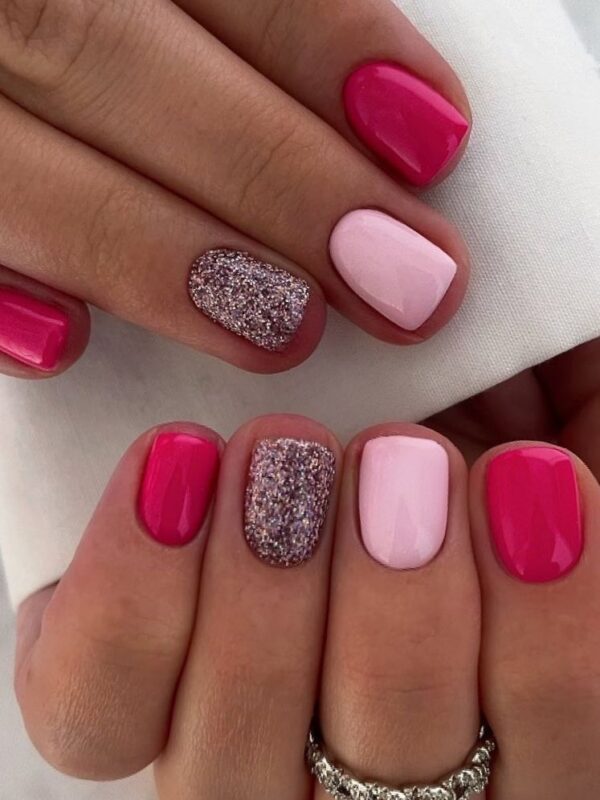
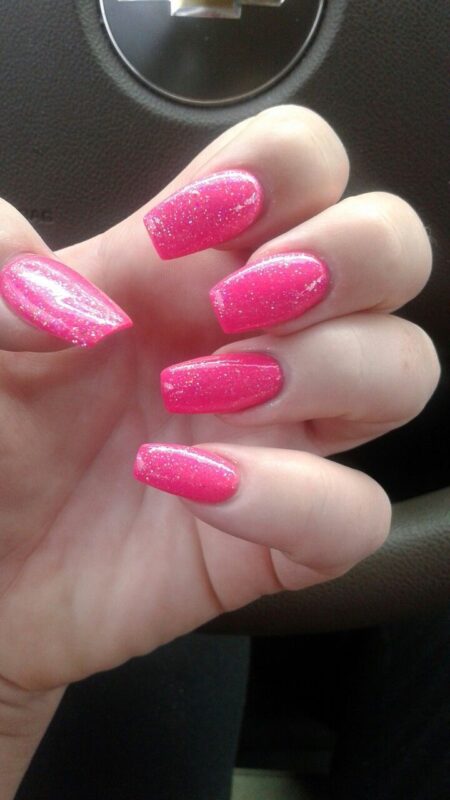
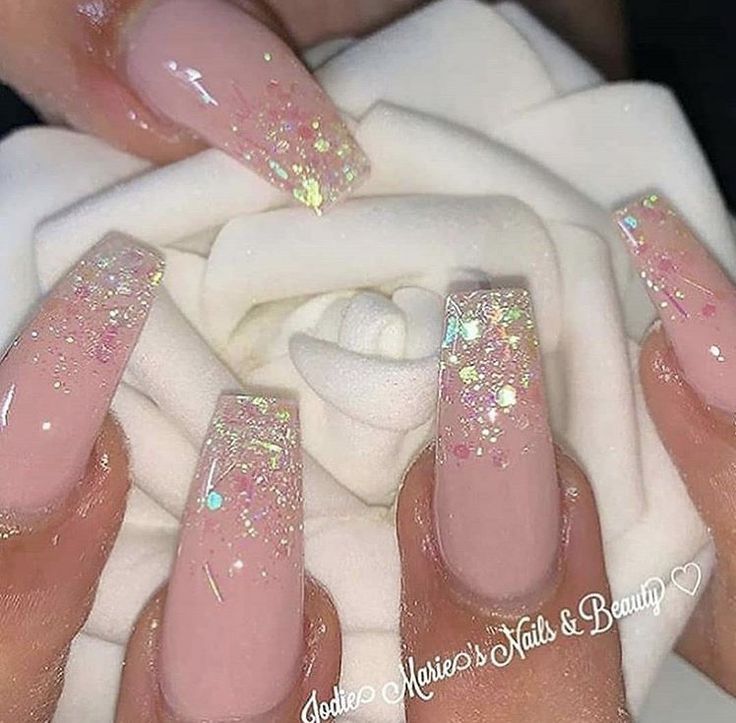
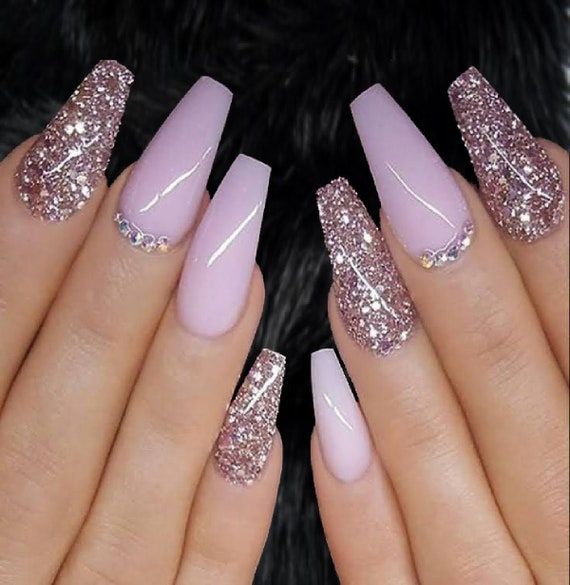
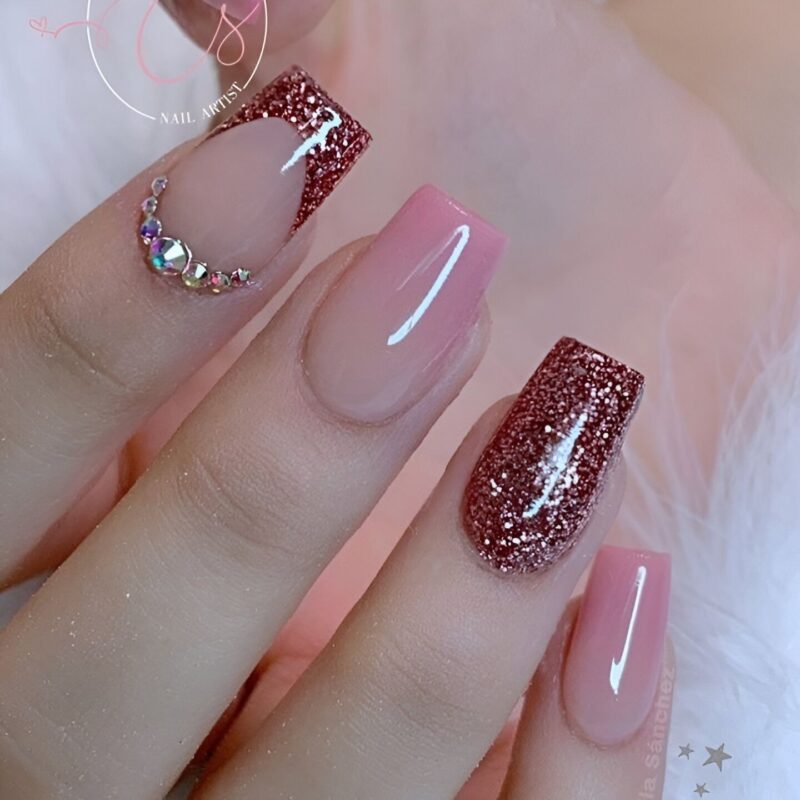
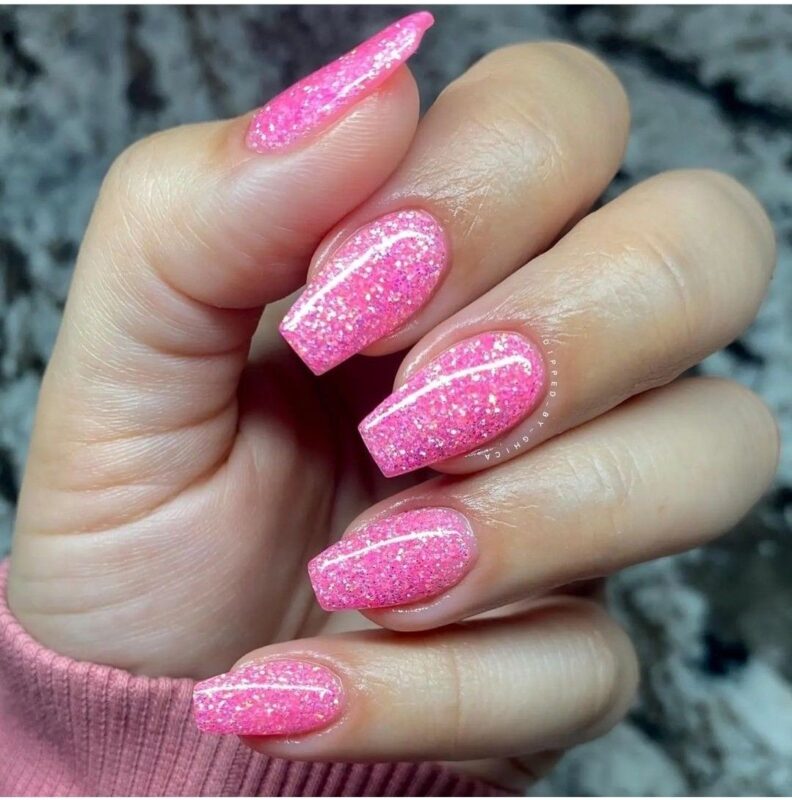
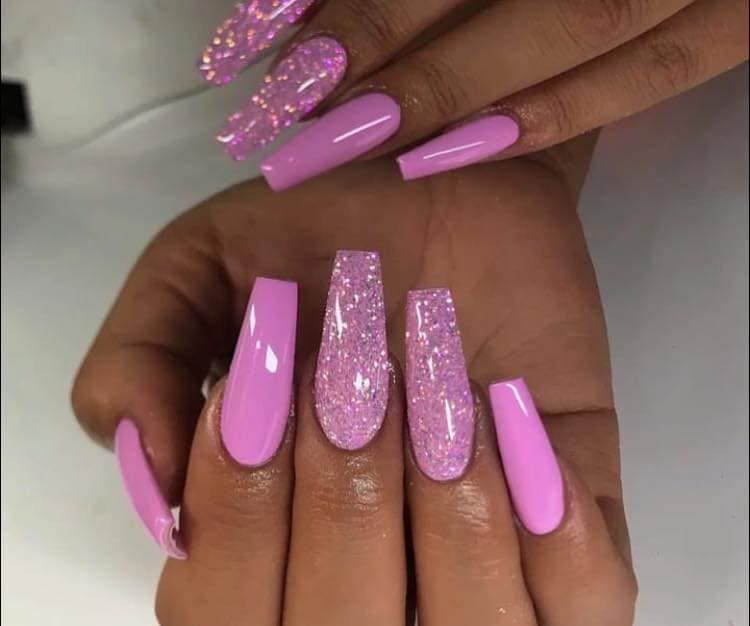
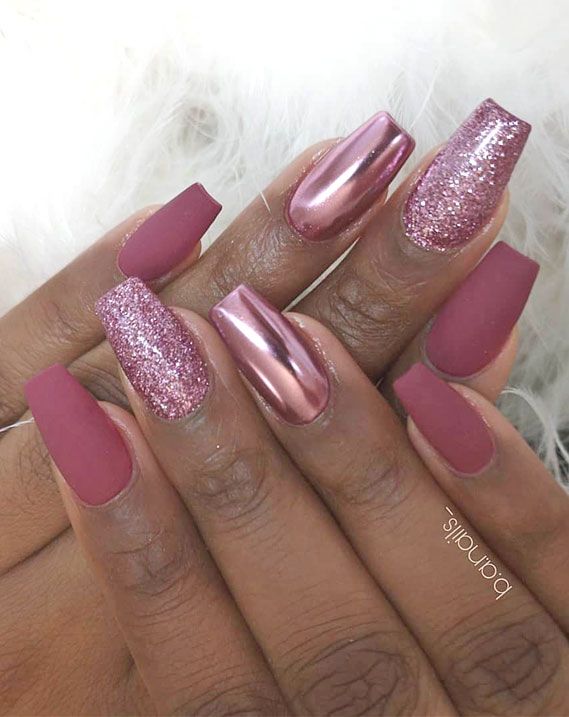
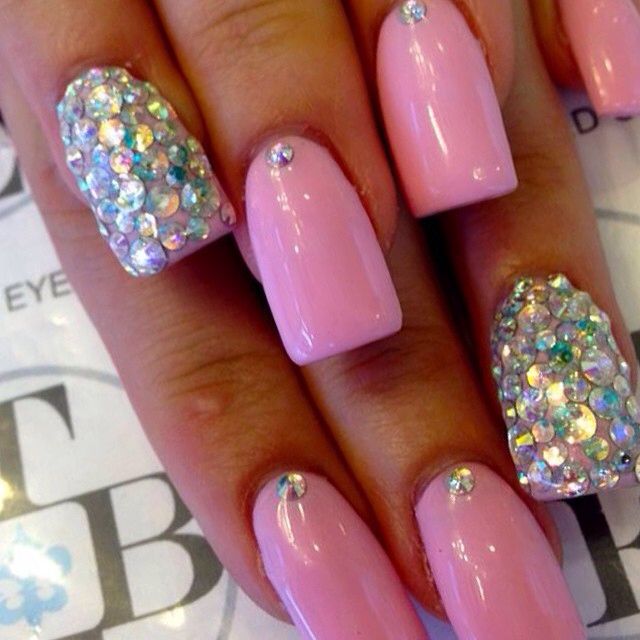
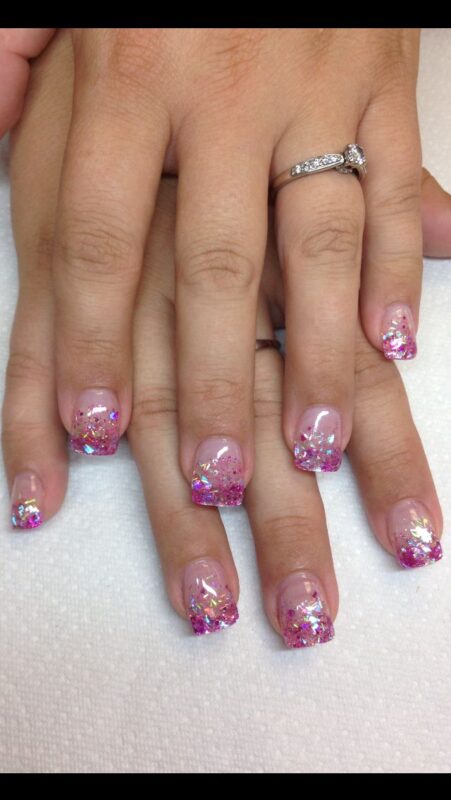
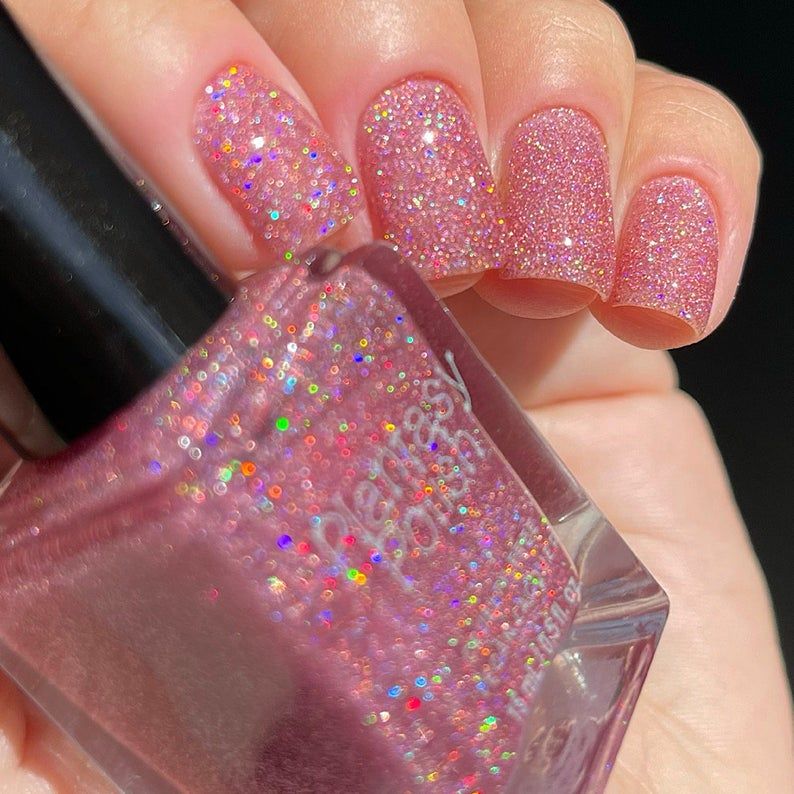
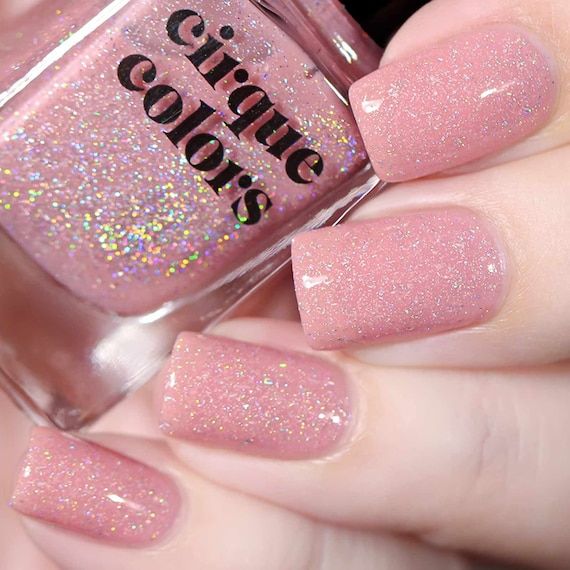
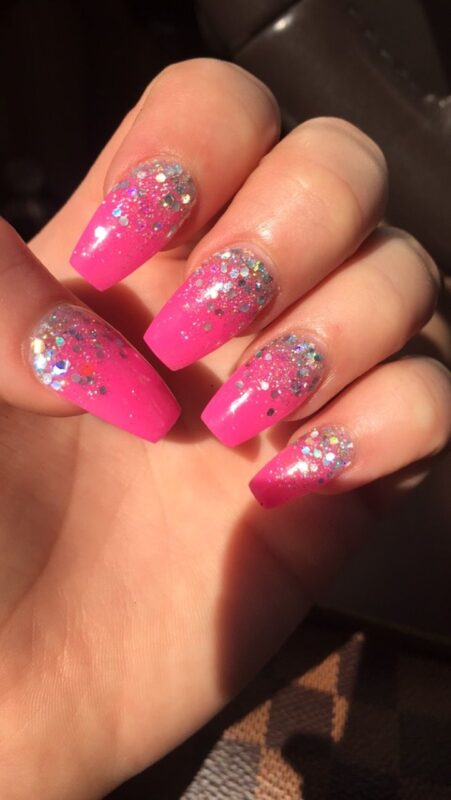
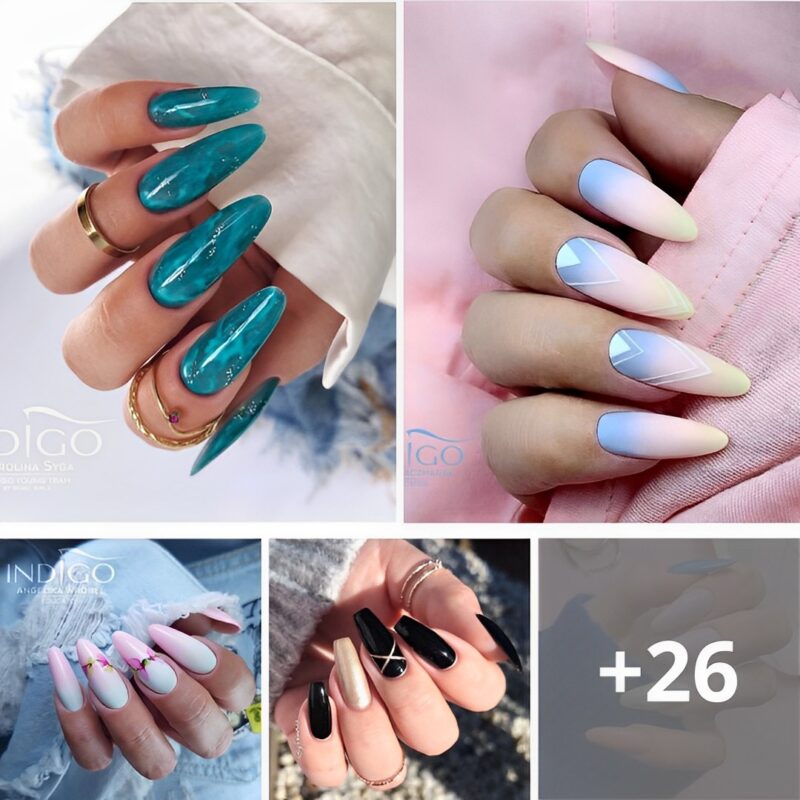
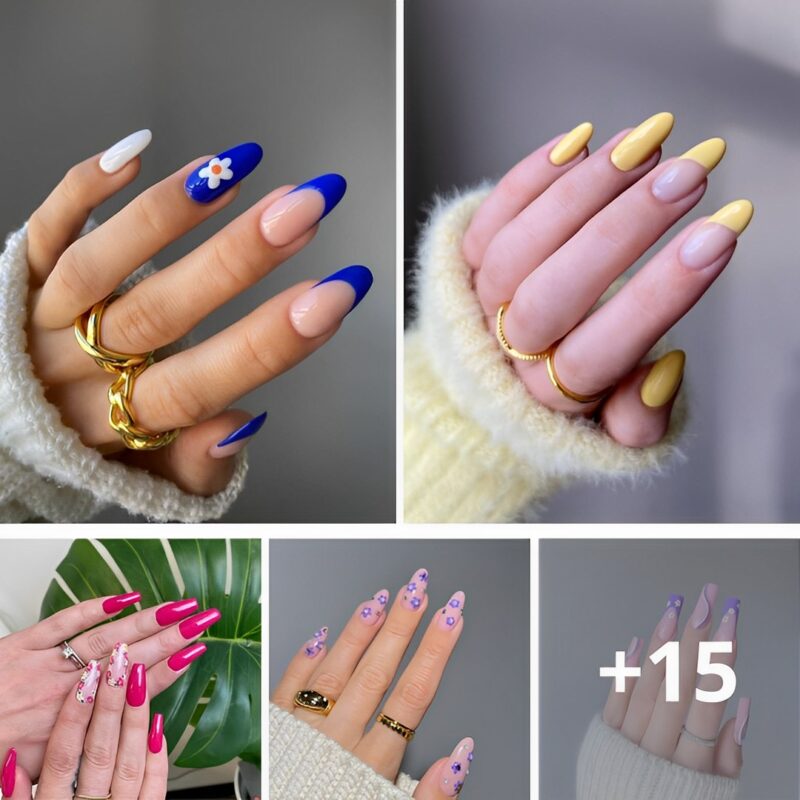
Pink glitter nails are a fabulous choice if you’re looking to make a statement with your manicure. They blend the sweetness of pink with the sparkle of glitter, creating a look that’s both eye-catching and stylish. Here’s how you can get this glamorous look:
Tools and Materials:
Base Coat: To protect your natural nails and ensure a smooth application.
Pink Nail Polish: Choose a shade of pink that you love – from soft pastels to vibrant hot pinks.
Pink Glitter Polish: Select a glitter polish that complements your base pink shade.
Top Coat: For sealing in your design and adding extra shine.
Nail File and Buffer: To shape and smooth your nails before painting.
Cuticle Oil (optional): For nourishing your cuticles and nails.
Steps to Create Pink Glitter Nails:
Prep Your Nails: Start by cleaning your nails. File them into your desired shape and gently buff the surface. Push back your cuticles for a clean nail bed.
Apply Base Coat: Apply a clear base coat to protect your nails and help the polish adhere better. Let it dry completely.
Apply Pink Polish: Apply your chosen shade of pink nail polish as the base color. Depending on the opacity, you may need one or two coats. Allow each coat to dry thoroughly.
Add Glitter: Apply the pink glitter polish. You can cover the entire nail or create a gradient effect by applying the glitter more densely at the tips or base of your nails.
Seal with Top Coat: Once your glitter layer is dry, apply a clear top coat to seal in your design and add a glossy finish. This also helps prevent the glitter from chipping.
Nourish Your Cuticles: After the top coat has dried, apply cuticle oil around your nails for added hydration.
Accent Nail: Instead of doing all glitter nails, you can apply glitter polish on just one or two accent nails per hand.
Ombre Glitter Effect: Create an ombre effect by applying the glitter polish more densely at one end of the nail and fading out.
Glitter French Tips: For a subtler look, apply glitter just on the tips of your nails, mimicking a French manicure.
Tips for the Best Results:
Let Each Layer Dry: Ensure each coat of polish, especially the base color, is completely dry before applying the glitter. This prevents smudging.
Use Quality Polishes: Good quality polishes will provide a smoother application and longer-lasting finish.
Gentle Removal: Glitter polish can be tough to remove. Soak a cotton ball in nail polish remover, place it on your nail, wrap it with foil, and let it sit for a few minutes before gently wiping off the polish.
Pink glitter nails are perfect for a party, a special occasion, or just when you want to add some sparkle to your day. They’re fun, feminine, and guaranteed to grab attention!
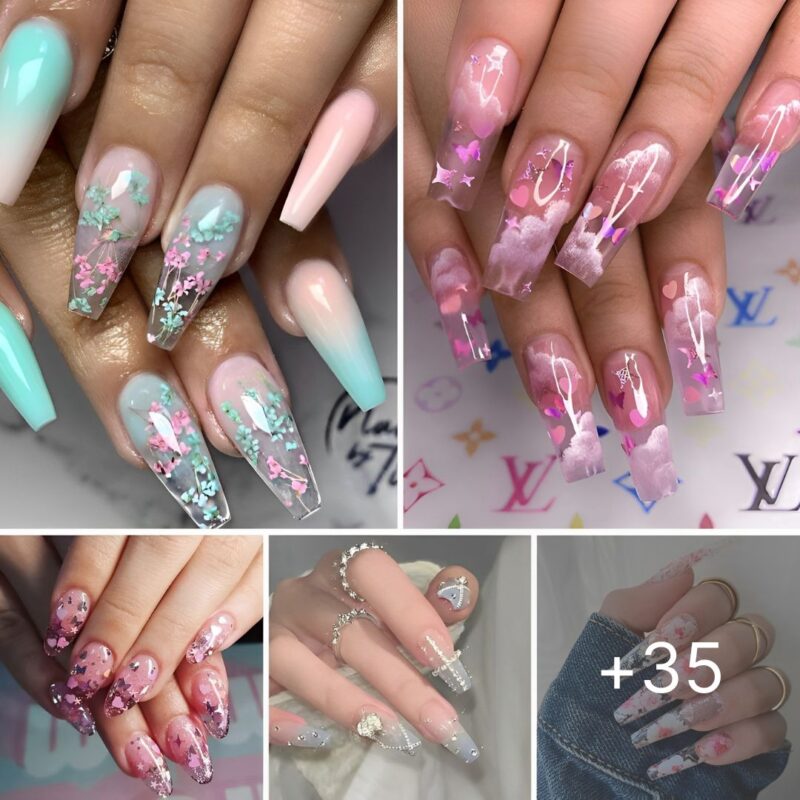
Every girl deserves a little sparkle in her life, and what better way to add some magic than with crystal-clear nails? These stunning manicures capture the elegance of Cinderella’s glass slippers, transforming your fingertips into dazzling works of art. Whether you prefer a simple shimmer or an ultra-glamorous look with...
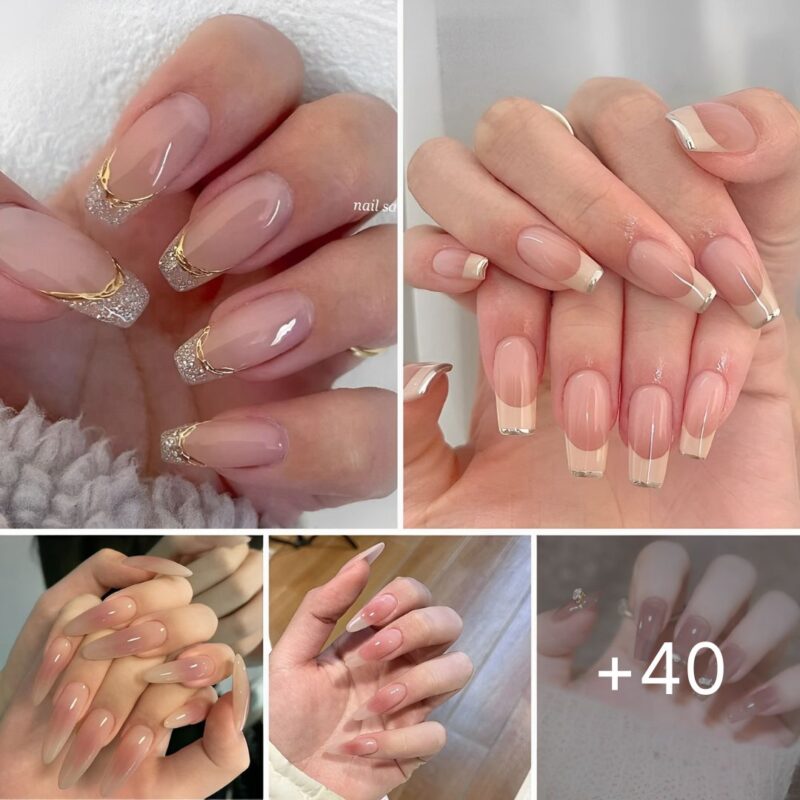
Elegant nails are the perfect choice for any occasion, whether it’s a formal event, a romantic dinner, a wedding, or simply when you want to feel polished and sophisticated. Here are some elegant manicure ideas that you can consider for various occasions: Classic French Manicure: A timeless choice, a French...
Classy nails never go out of style—they’re elegant, understated, and beautifully refined. Whether you’re headed to a formal event or just want a polished everyday look, these nail designs are perfect for showcasing sophistication without going over the top. From soft neutrals to subtle shine and timeless patterns, classy nails...
Creating nail designs that leave an impression requires a blend of creativity, skill, and a keen eye for detail. From intricate patterns to innovative uses of color and texture, here are some stunning nail designs that are bound to leave you in awe and inspire your next manicure adventure. 1....
We use cookies to ensure that we give you the best experience on our website. If you continue to use this site we will assume that you are happy with it.